In addition to starting another garden row, I wanted to experiment with growing more crops vertically this year. I bought a GreenStalk planter and decided to use it for my strawberries. Two years ago the bunnies had quite the buffet at my expense so I thought growing them in this planter might offer more protection. And strawberry plants are perennials in the sense that they send runners out that will create new plants which means more harvest and less work *hopefully*. Though the first year is not meant to be a huge production but moreso about the plants getting established. I bought half June-bearing and the other half everbearing plants. My thinking on this was the everbearing will give us berries all summer long and the June-bearing will provide a good harvest all at once that I can use for jam and jelly. And this is a fun little set up for kids to be involved with because they can walk by and grab a berry.

The end of May is also when I wanted to get all my tomato plants in the ground. I had quite a lot of anxiety about this because I grew all my plants from seed this year so getting them in the ground was pretty close to giving birth with regard to the anticipation and nerves. I’ve been hardening them off gradually the last two weeks, taking them outside for 2 hours in the morning, then 3, then 4, then 5 and working my way up to 8 hours total.
Coincidentally, where I planned to plant the tomatoes was the same space I had planted all my cauliflower and broccoli in. But these brassicas have been maturing so slowly that I’ve been delaying and delaying getting the tomatoes in the ground. Over the last week I just decided I would harvest the heads of cauliflower and forget the rest. I had been told by a few people that doing brassicas in the spring was quite challenging (due to the shortened growing time as the weather typically goes from cool to hot with little transition) and better to try in the fall. But I had to see for myself and they were right 😉
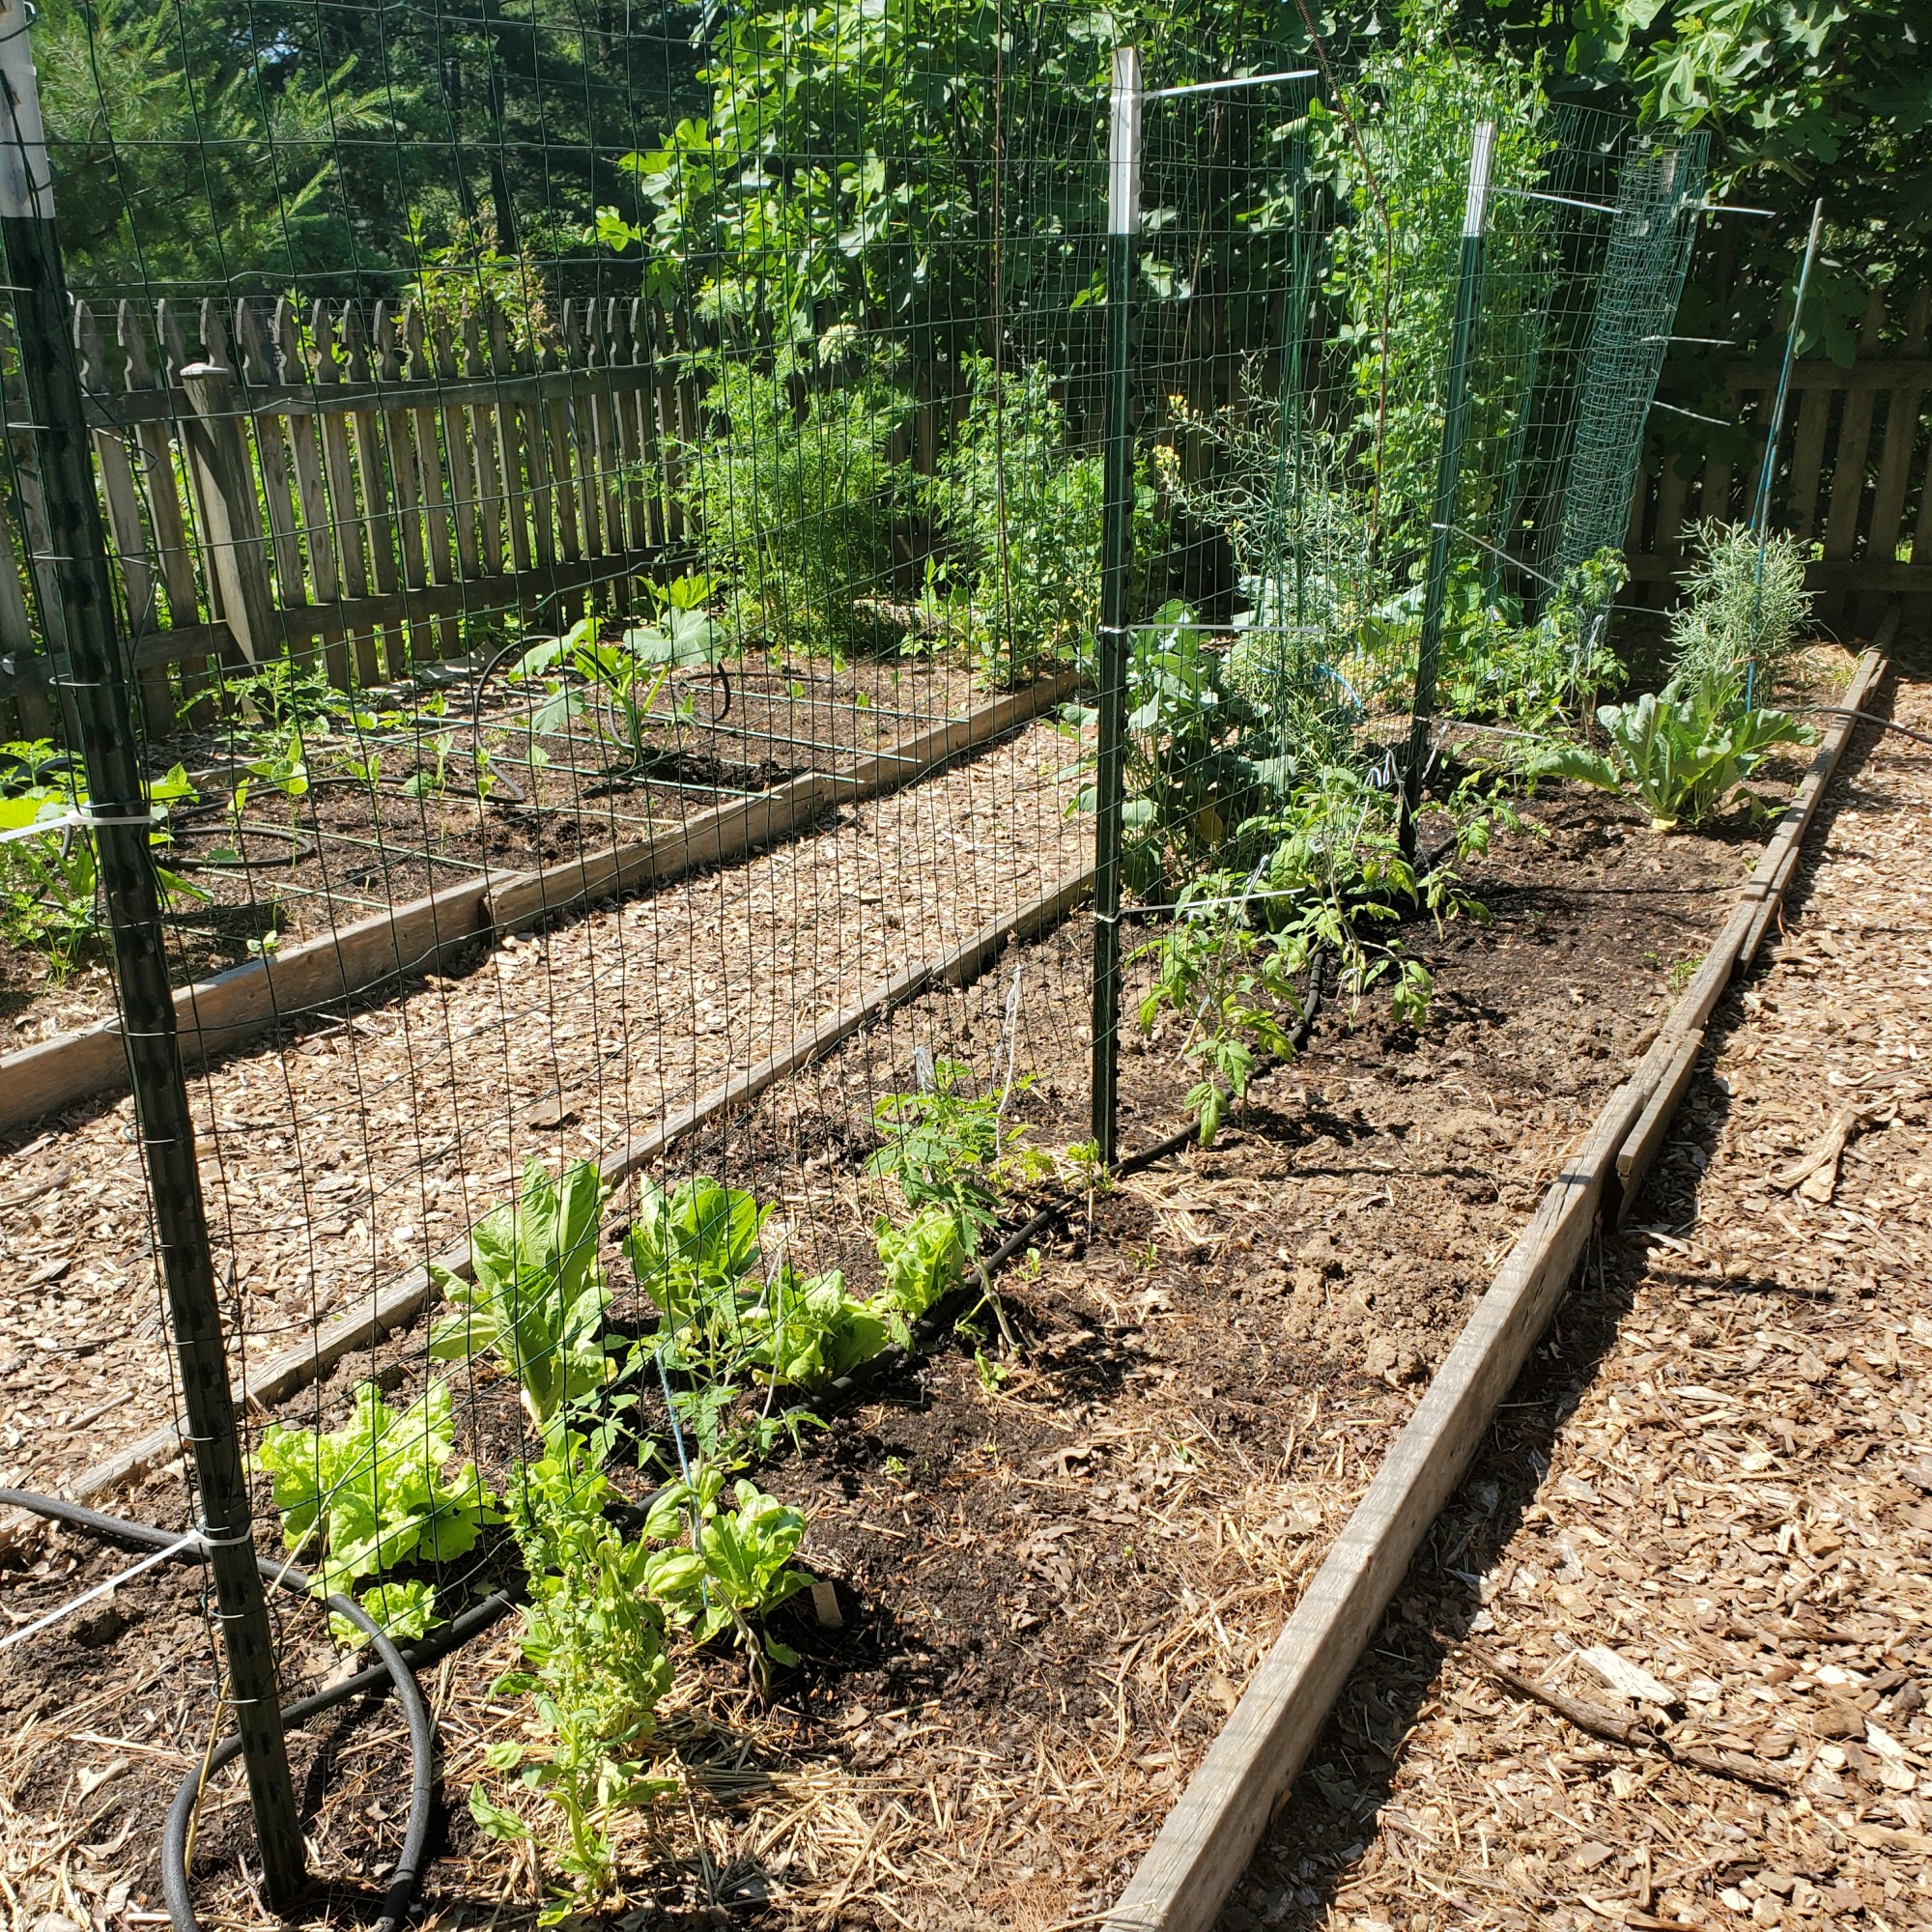
My plan was to create a better supported and more vertical setup for the tomatoes this year. (FYI – the A-frame you see in lots of posts did not work for me last year.) At the farm where I volunteer, they used a setup I really liked and had the supplies for, essentially T-posts and fencing.
Set your tomatoes up for success – here’s what I did:
I spaced my T-posts 5 feet apart and secured the fencing with 3 zip ties to each post.
I dug approximately 12-inch-deep holes in an offset pattern along the fencing, making a zig zag pattern. On one side of the fence they are 24 inches apart, but the nearest plant is 12 inches away on the opposite side of the fence. (I am hoping this doesn’t come back to haunt me.)
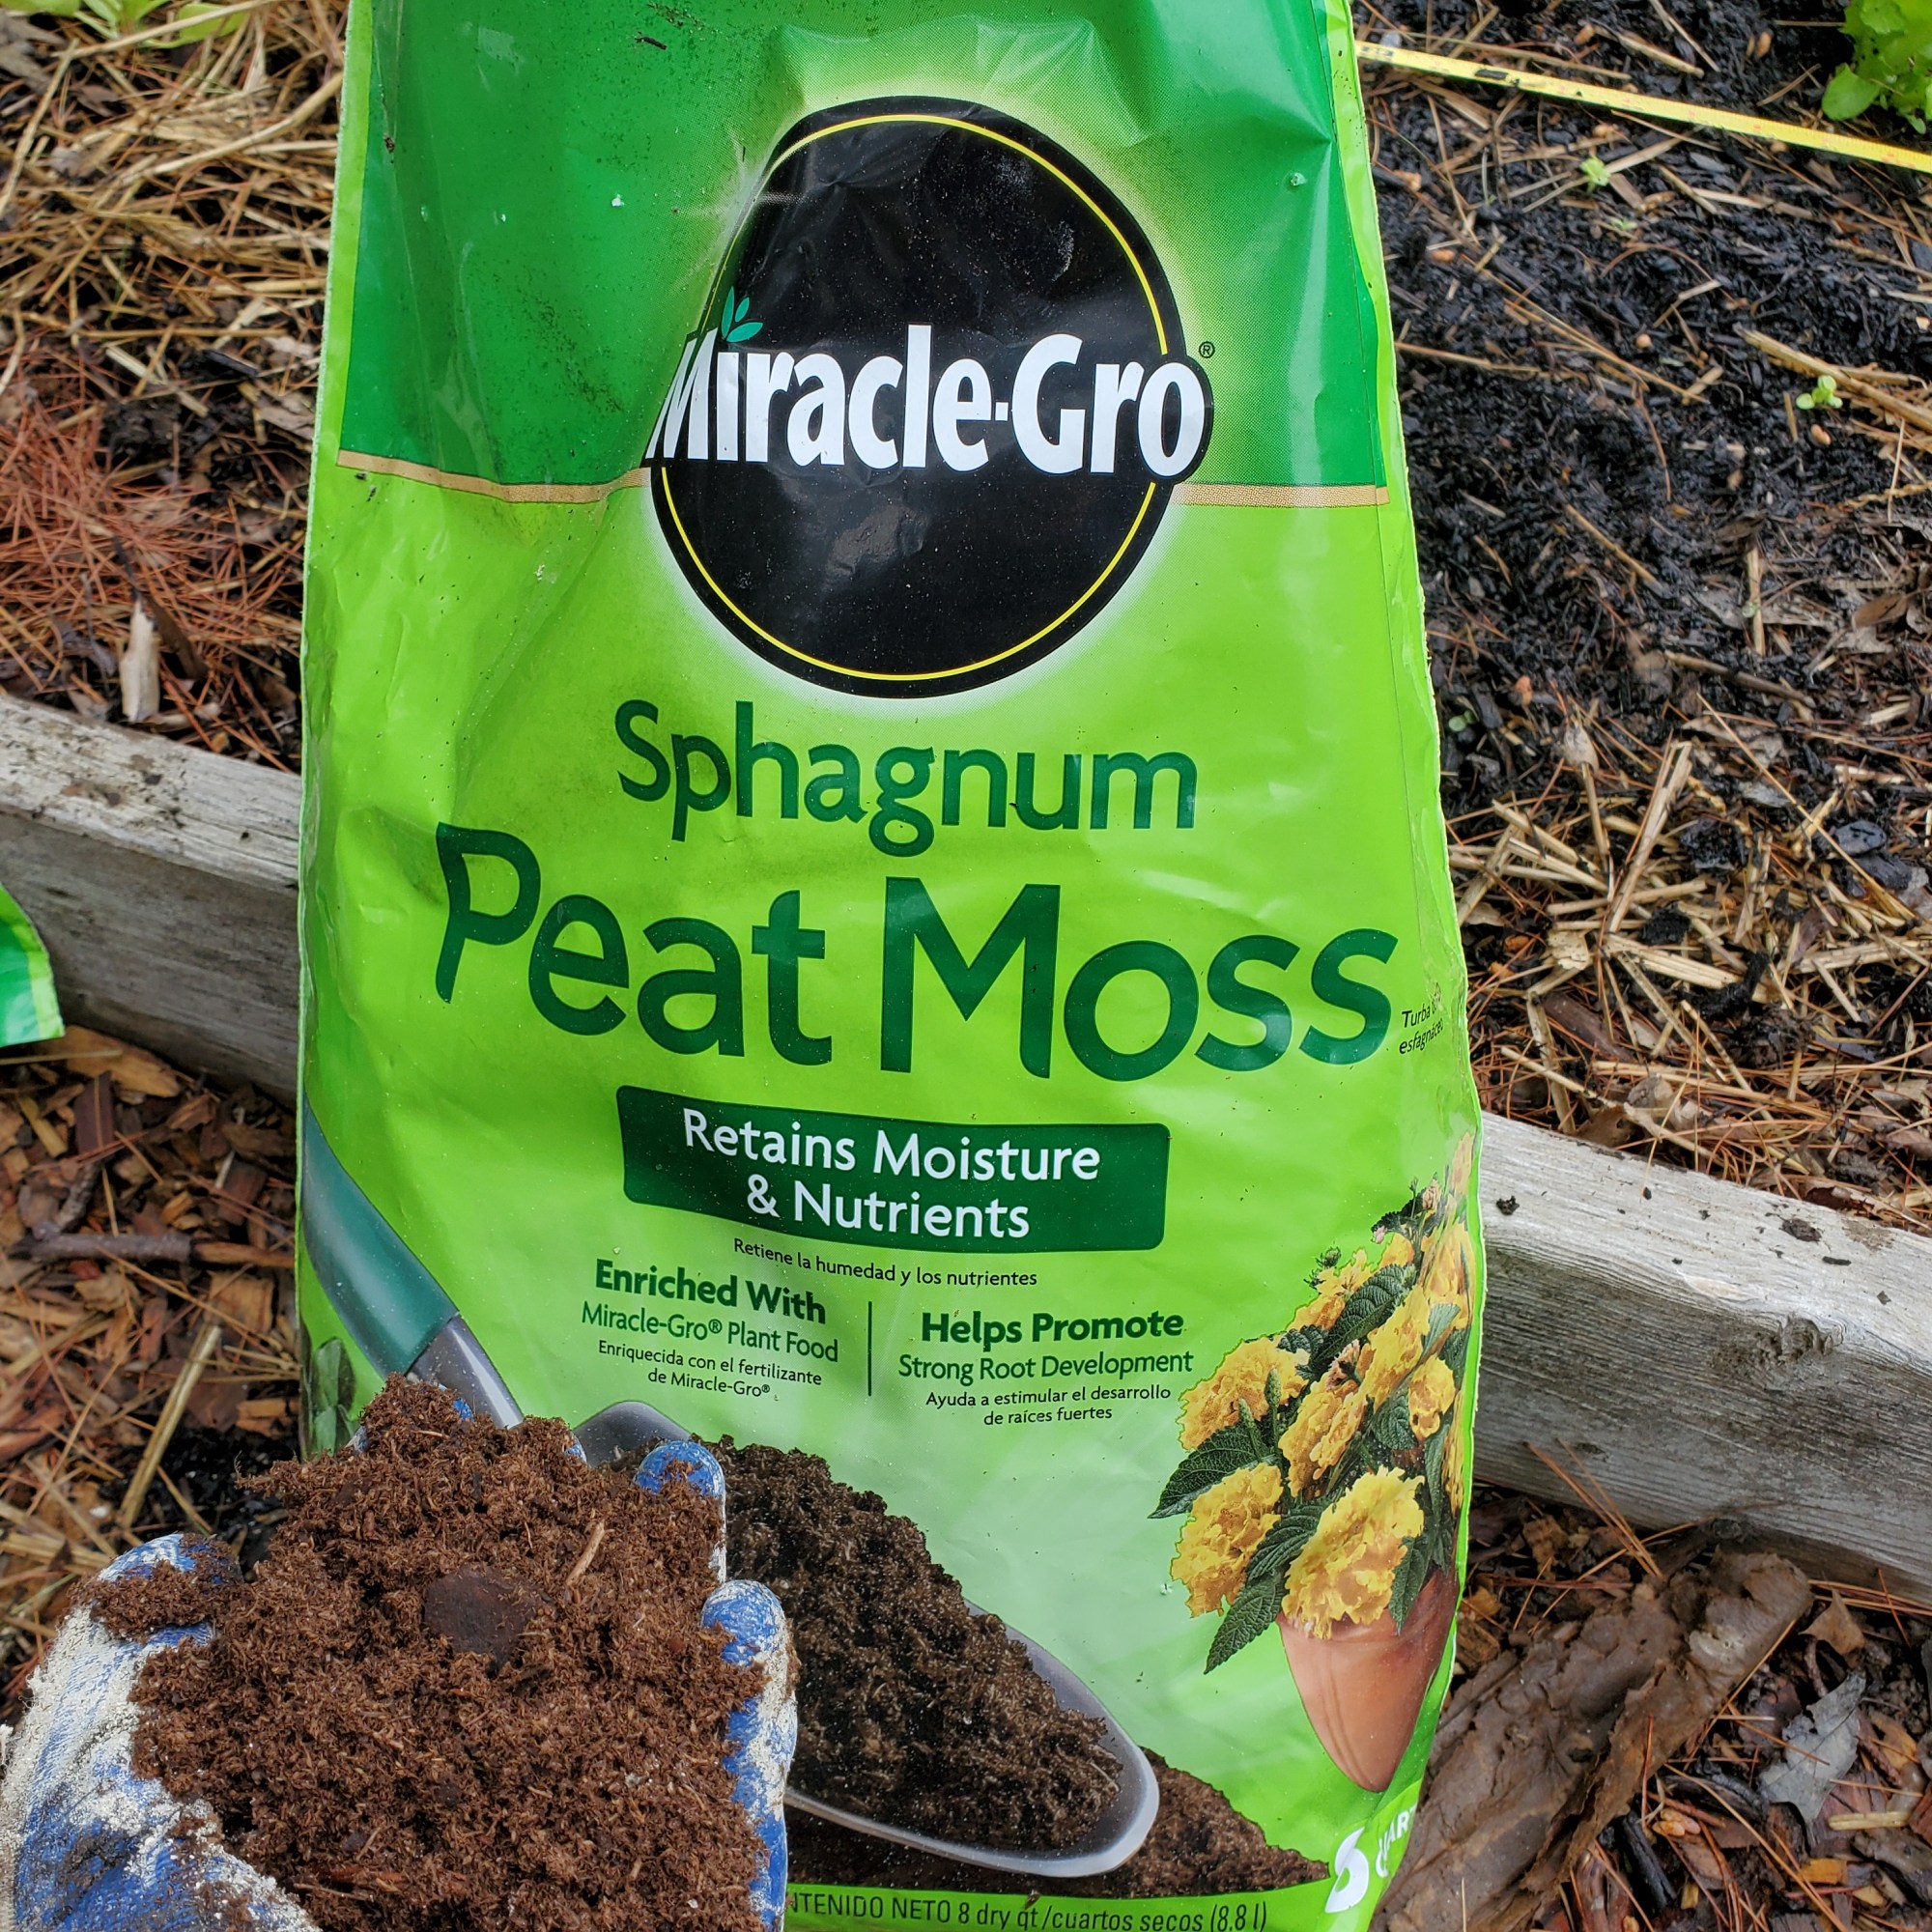
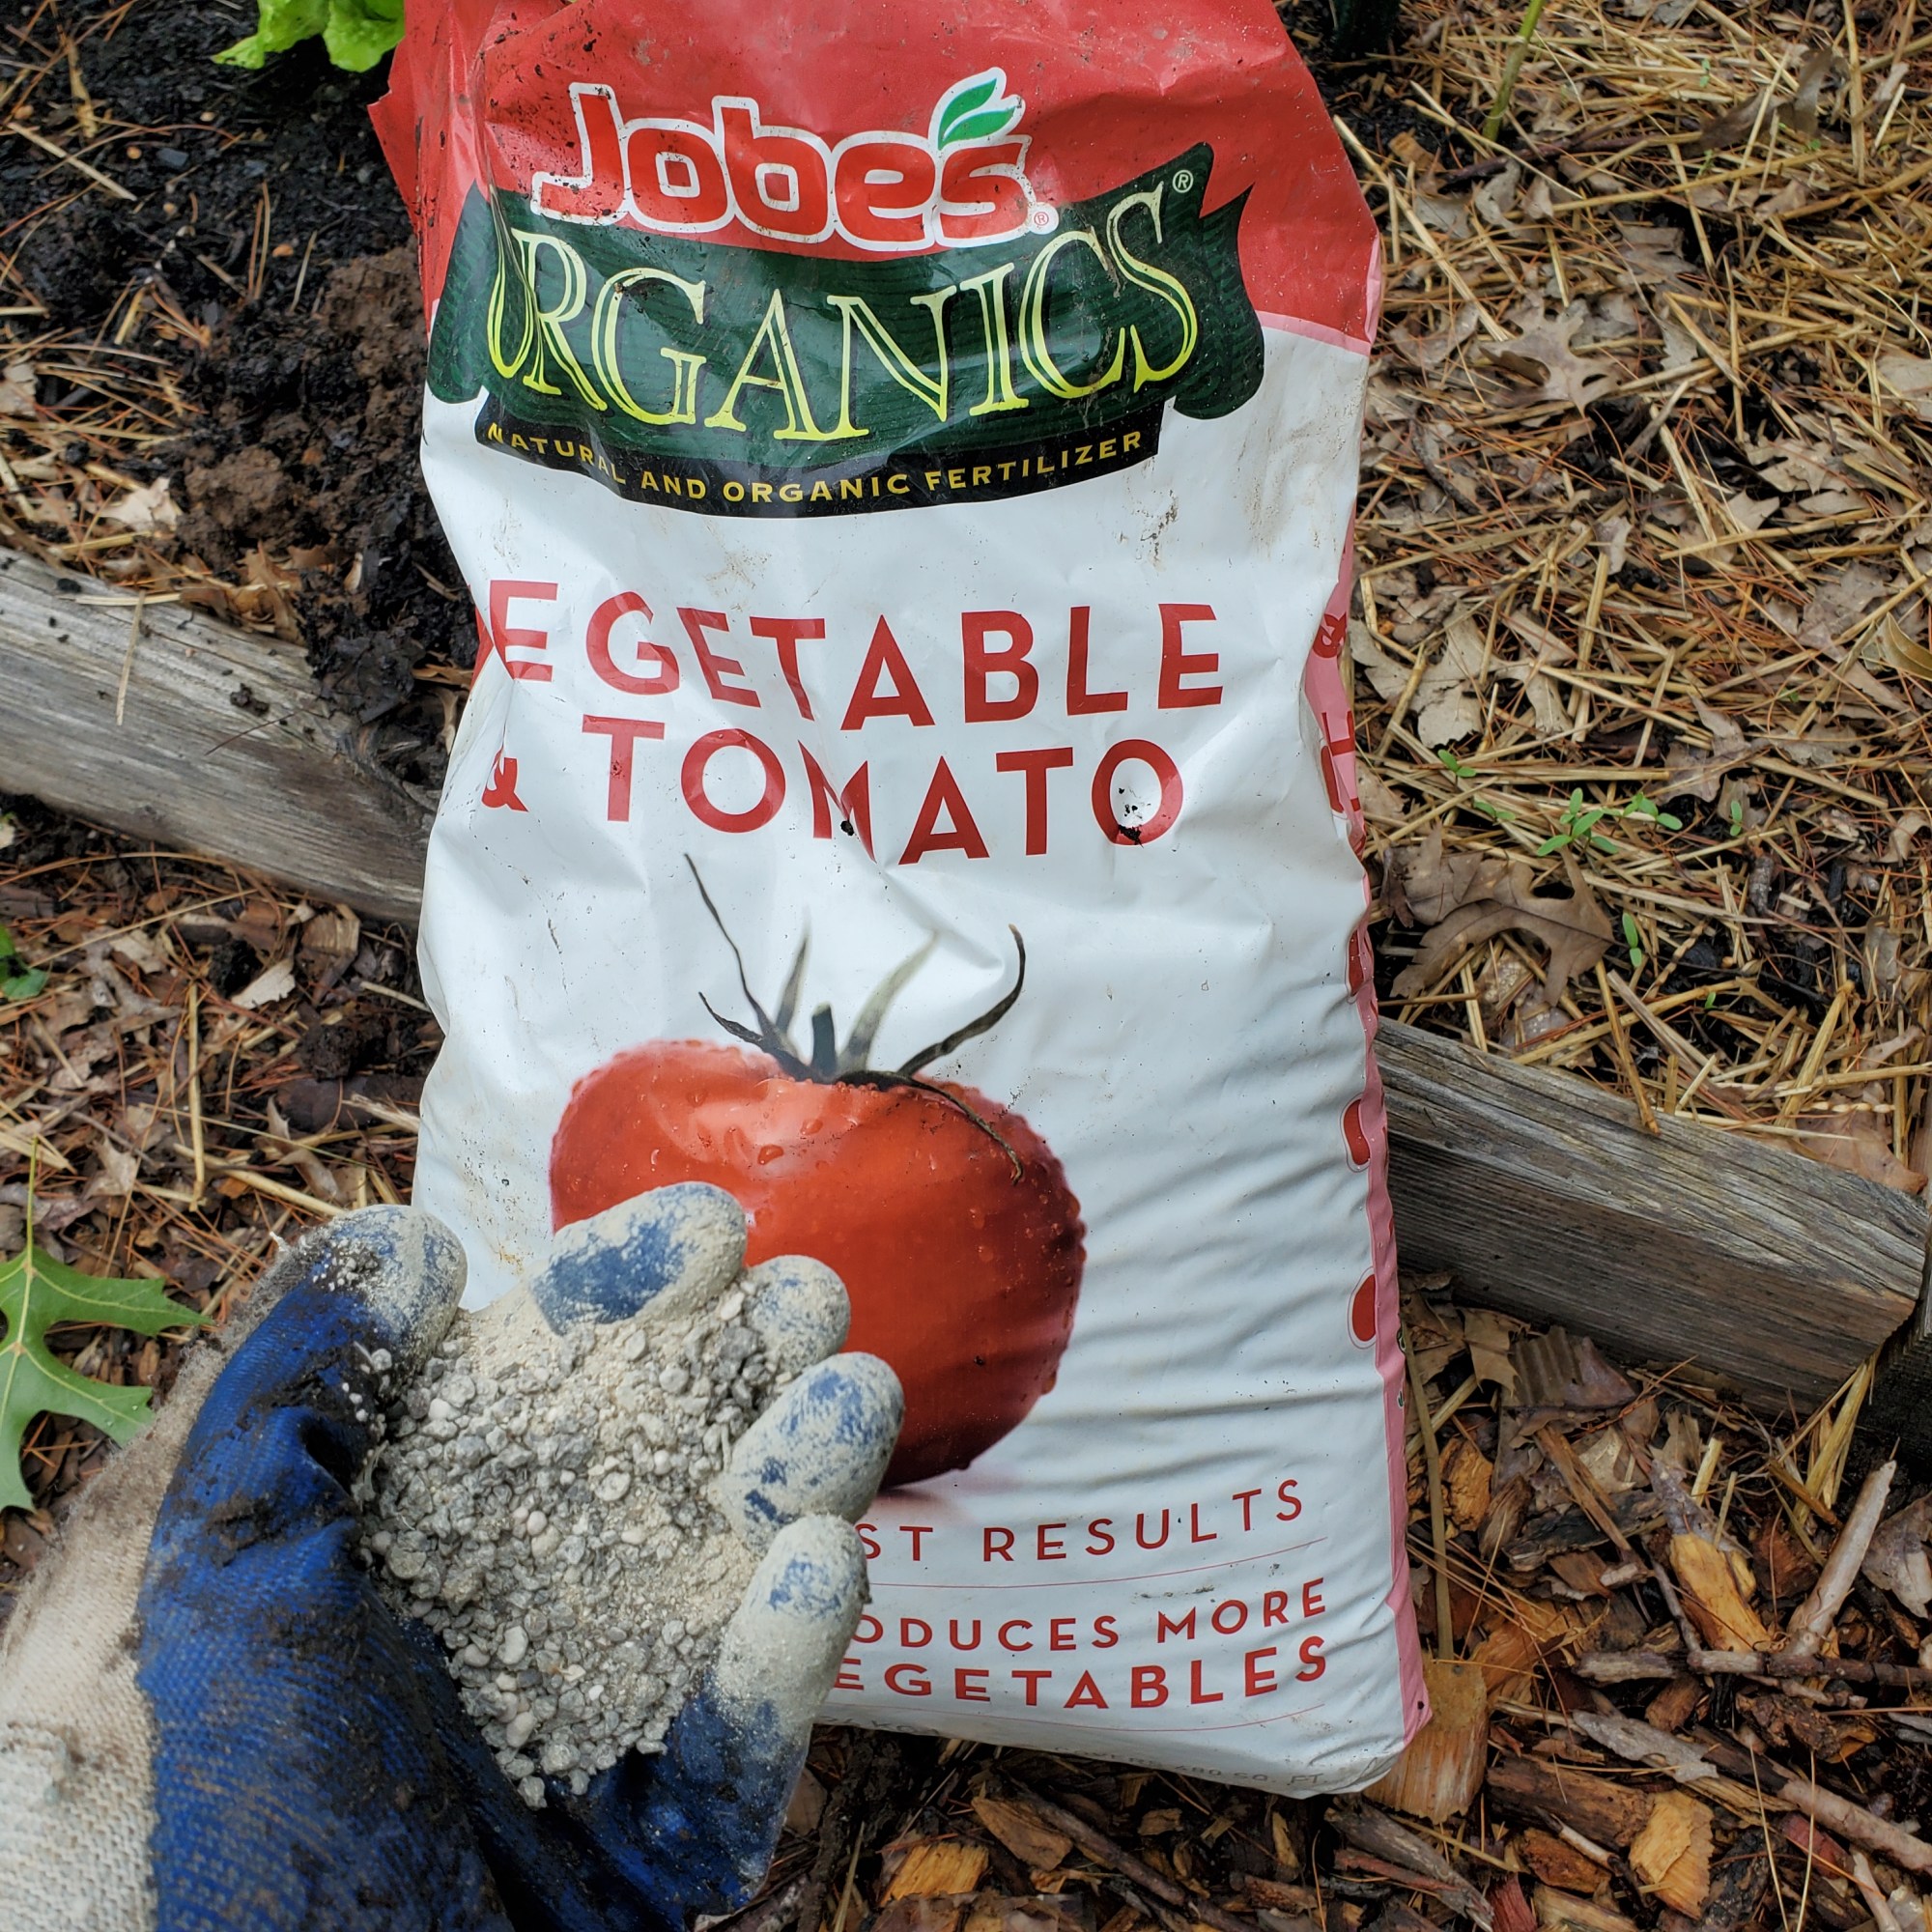
I put a handful of peat moss, and about 2 tablespoons each of fertilizer and crushed egg shells in every hole, mixed it up with compost and soil and then placed my seedlings in. Tomatoes need to be pretty deep down to help establish strong root systems and the peat moss should help with that as well. I think coco coir is a more environmentally friendly option but I couldn’t find any at the local hardware store. The egg shells provide calcium and along with the peat moss help to make the dense, clay soil we have here a little more light and aerated.
Not all of them are tall enough to reach the fence just yet, but for those that are I am clipping them with these handy tomato clips.


All in all, it took me about 2 hours with the help of Cactus installing the T-posts, to plant my 15 tomato plants. These are my babies and I am so excited to see how they grow.
