Fall is just so gorgeous that I hate to think of it as the end of something. Every season shines in its own way, and fall feels like the slow, gentle closing of the final chapter of a book that I really enjoyed. With the cool crops planted and some of the fast ones like lettuce, greens and radish nearly ready for harvest, my mind naturally meanders toward ideas and plans for what next year will look like. (Spoiler: my 2022 reflections will be the next post.)
Each year I try to figure out ways to simply, streamline, and build more sustainability into my gardening. Getting the timing down for seed starting, perfecting the numbers of plants of each crop I need to have enough to harvest and preserve, and minimizing weed and pest management are all important aspects. And seed saving is one of the biggest pieces.
Plants are natural reproducers. They want to go forth and multiply. And as fun as paging through seed catalogs is every December, I want to have my staple crops pretty well nailed down. There is always room to experiment and find new favorites (one of my favorite things about talking to other gardeners and volunteering on a farm), but it makes the most sense to have your seed bank naturally replenishing itself each season.
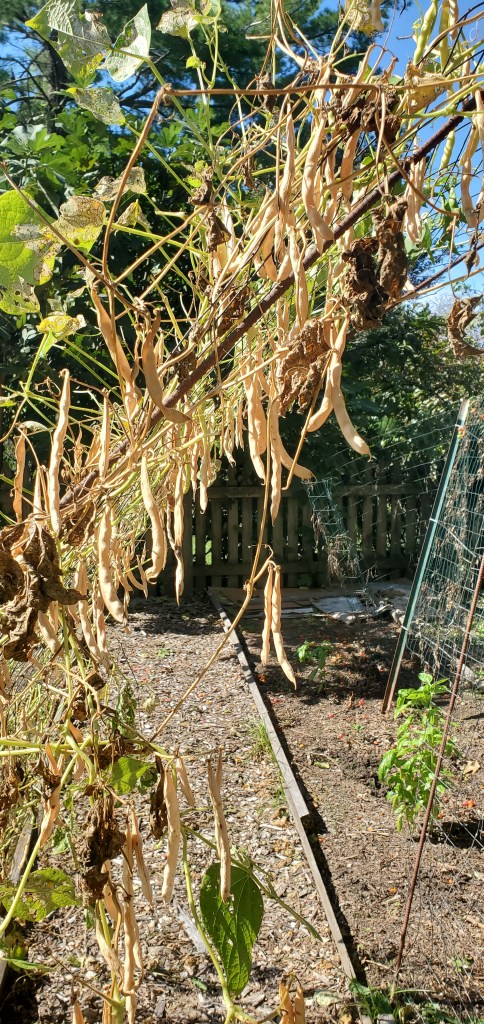
If you’re new to saving seeds, definitely start with the easy crops like green beans, peppers, and squash. Lettuces and greens are easy when they bolt in the spring. I’ll be honest in saying I haven’t yet tried to save tomato seeds but I plan to do this next year.
The main factor in saving seeds is letting one or two of the plants go to seed. This is the part I find challenging because when I’m ready to transition a bed from cool to warm or warm to cool, I just want to rip stuff out. However, that’s where a little planning pays off. This year, I did three long rows in each bed. The two outer rows were for the cool crops and the middle row was for the warm crops. This allowed me to let things bolt and stay longer than necessary because I wasn’t vying for the space. You can easily do this in smaller beds and containers as well.
Here are some tips for your seed saving endeavors:
- Let your strongest plants go to seed. While growing, identify your best producers and take note that they are the chosen ones.
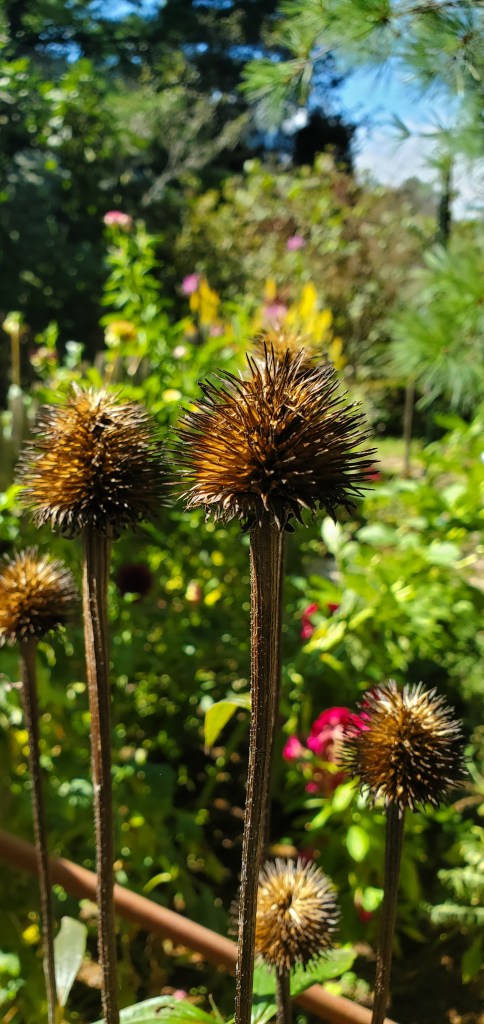
- Pay attention for when they have created seed pods or seed heads (this applies to veggies and flowers).
- Let the seed head/pod dry out completely. You can do this by leaving them on the plant for a week or two, but you run the risk of birds and other garden friends enjoying them and/or rain interfering. Or you can pick the seed pod/head and leave it in a cool place with decent air flow so that it dries out.
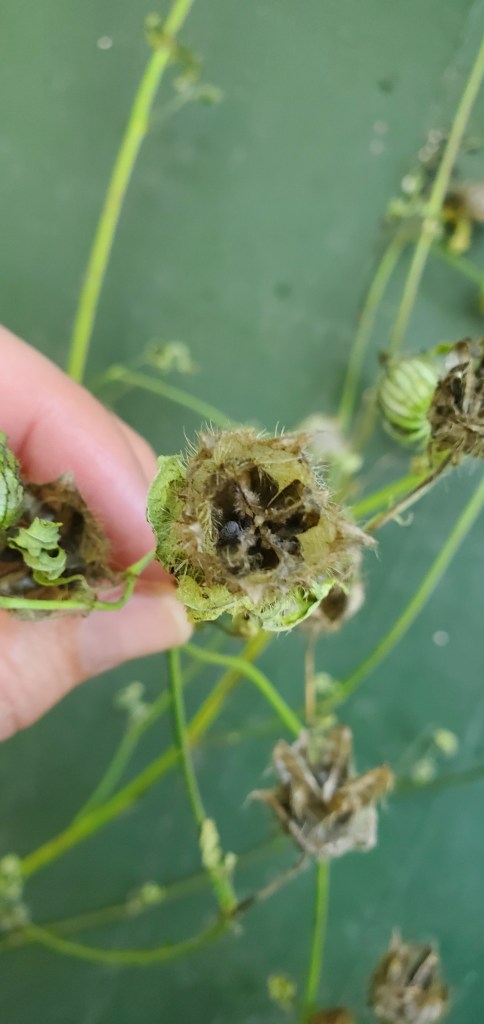
- Then you go to work emptying the dried seeds from the pod or carefully breaking apart the seed head. I do this over a big piece of newspaper (the free one that shows up in my mailbox) and write on it with the name of the seed. Trust me, you think you’ll remember and you won’t.
- Leave the seeds to dry on the piece of paper another 1-3 days.
- Store the seeds in a paper envelope or other package where they will stay cool and dry and out of direct light until the next season.
What is your favorite seed to save? What tricks have made seed saving easier for you?
