May is the Month

Here in the Mid-Atlantic, May is “Go Time” for gardeners.  [Please get a mental image of the Grinch doing his workout to steal Christmas.] Our last spring frost #LSF is usually around April 20 or thereabouts but I like to use May 1 for ease in calculating start dates.

May is the month. This is when all the preparation and care of the last 2-3 months gets to become real. 

Here is a general to do list to work on throughout the month so that you are set up for gardening success all summer long.  Take your time. It doesn’t all have to be done in one day or weekend. And you will undoubtedly need to modify and re-touch things as the summer goes on.

Preparation

  • Weed your pathways and beds if you haven’t already. This takes regular upkeep but you want to minimize it as much as possible
  • Put down cardboard and a 3-5” layer of woodchips on all your paths to reduce weeds. Most places have free chip drops from nearby arborists. 
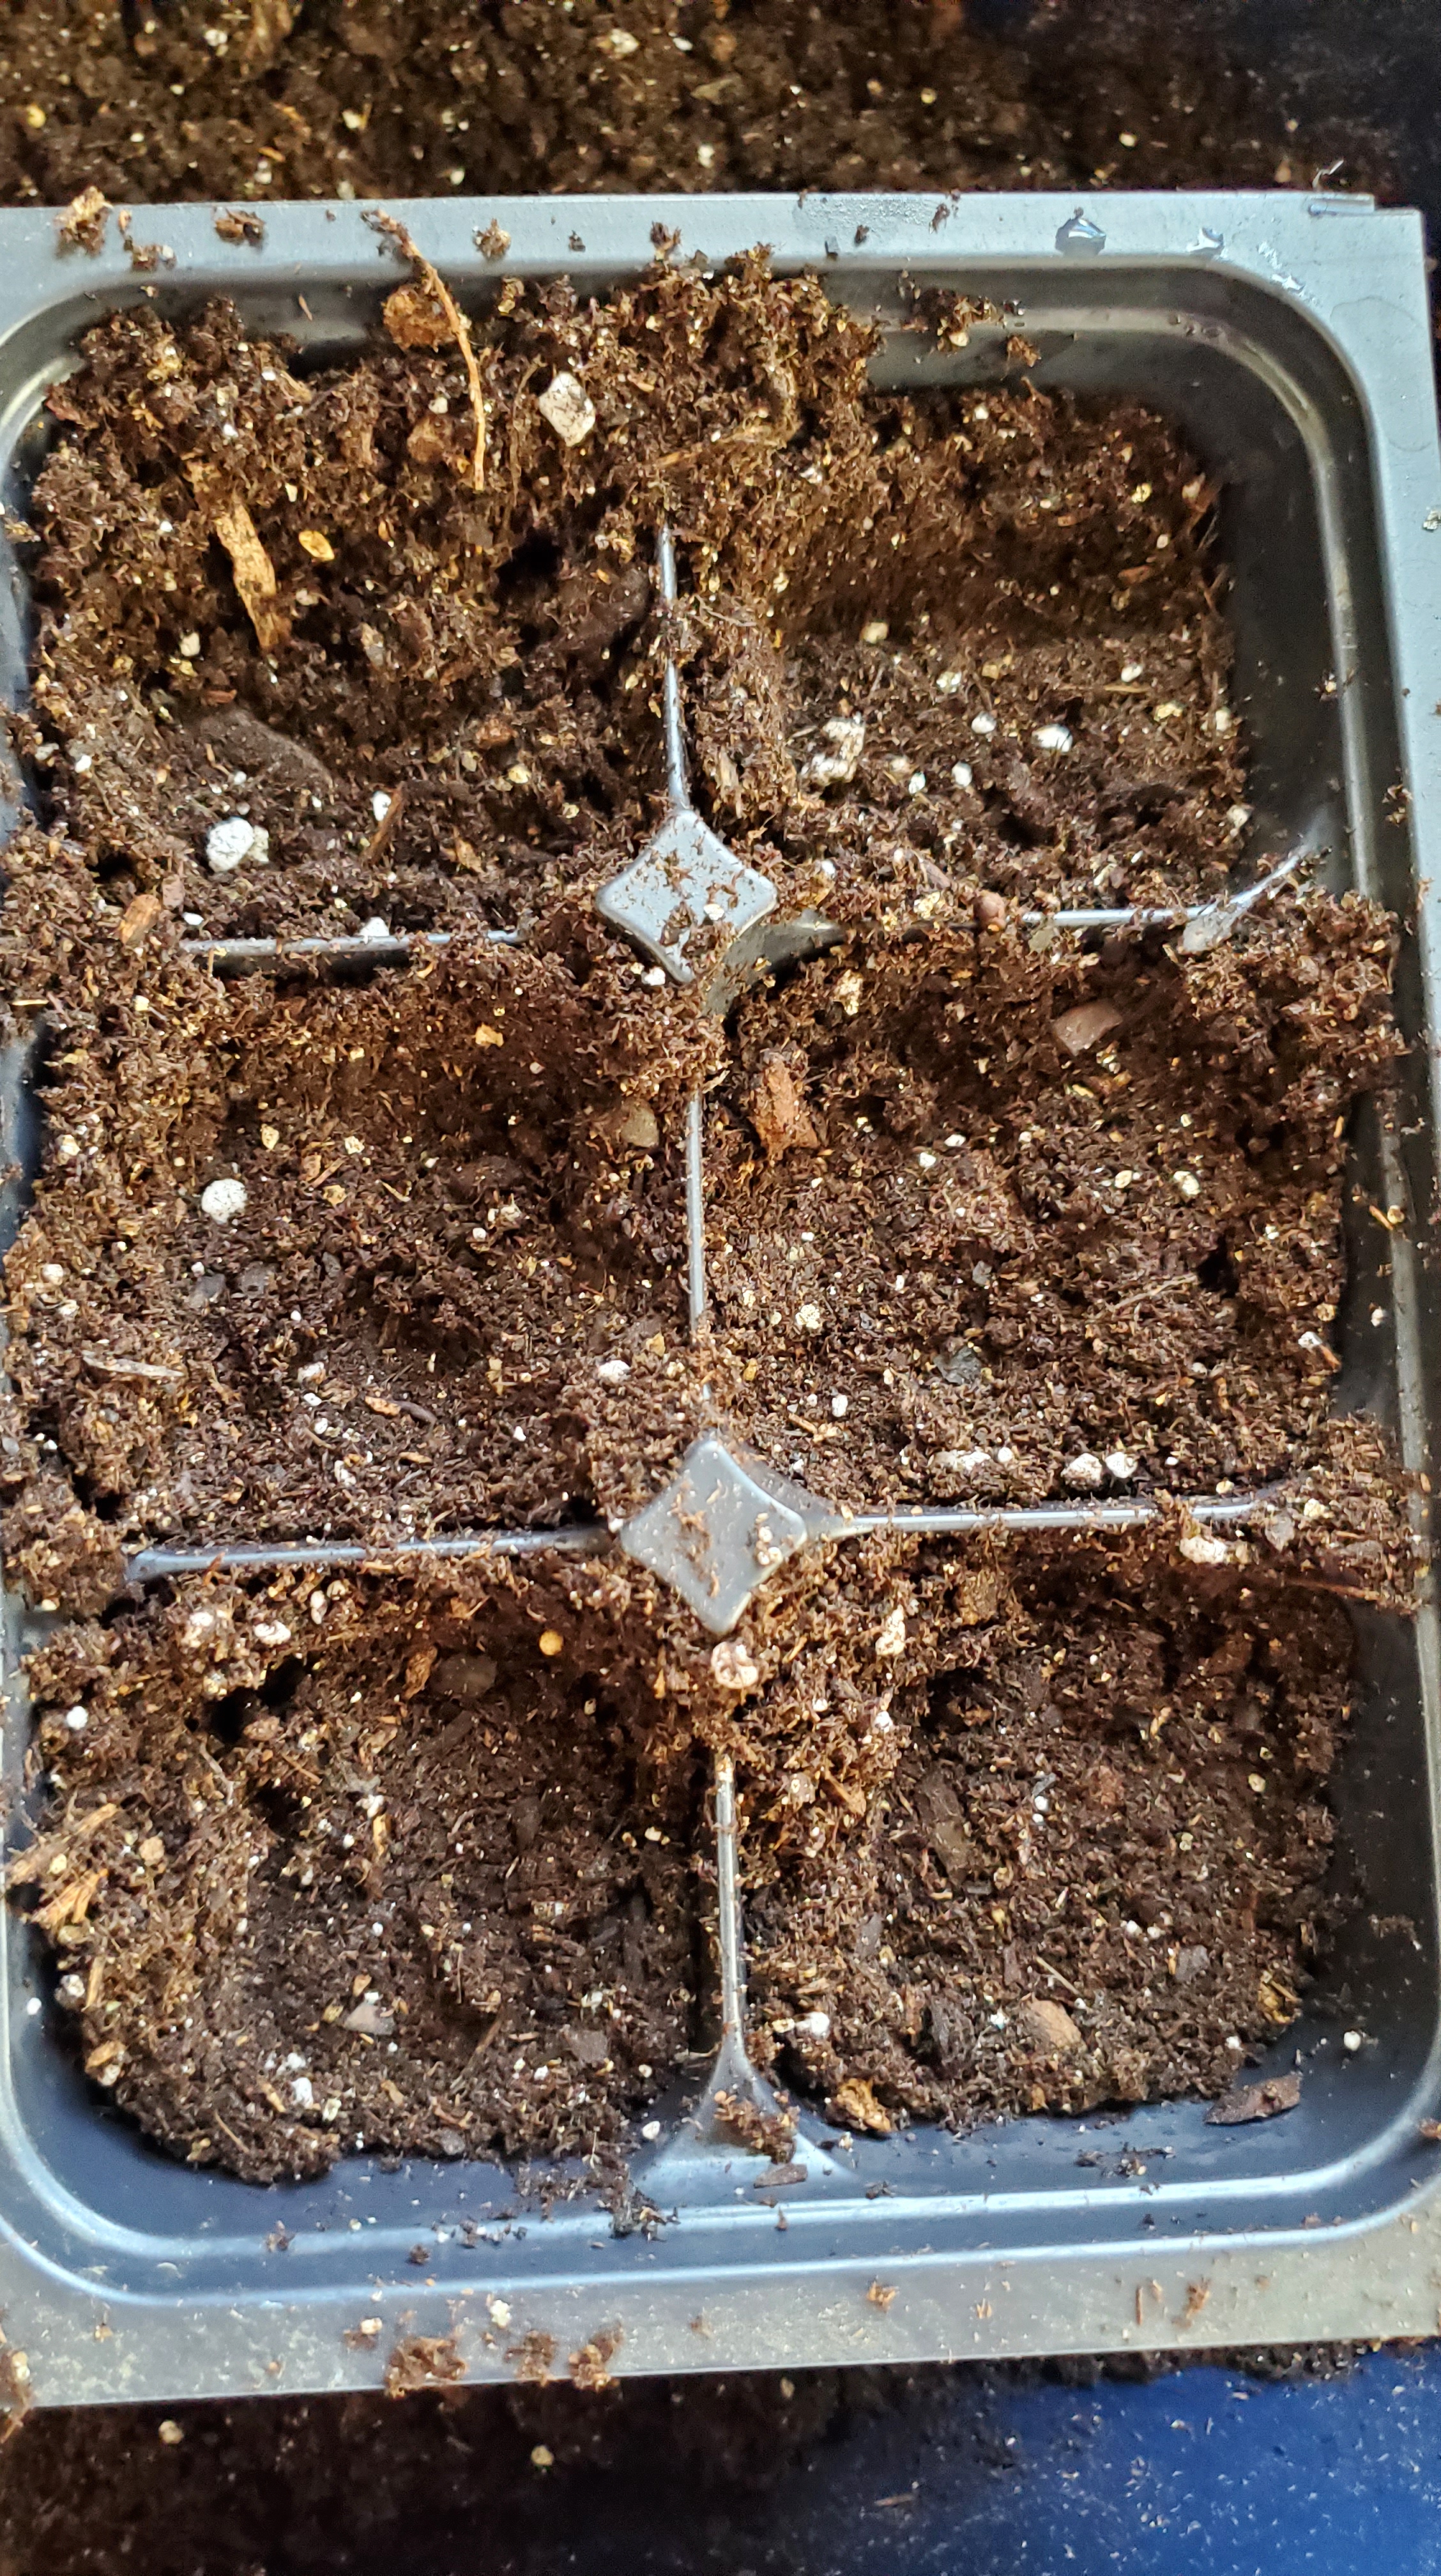
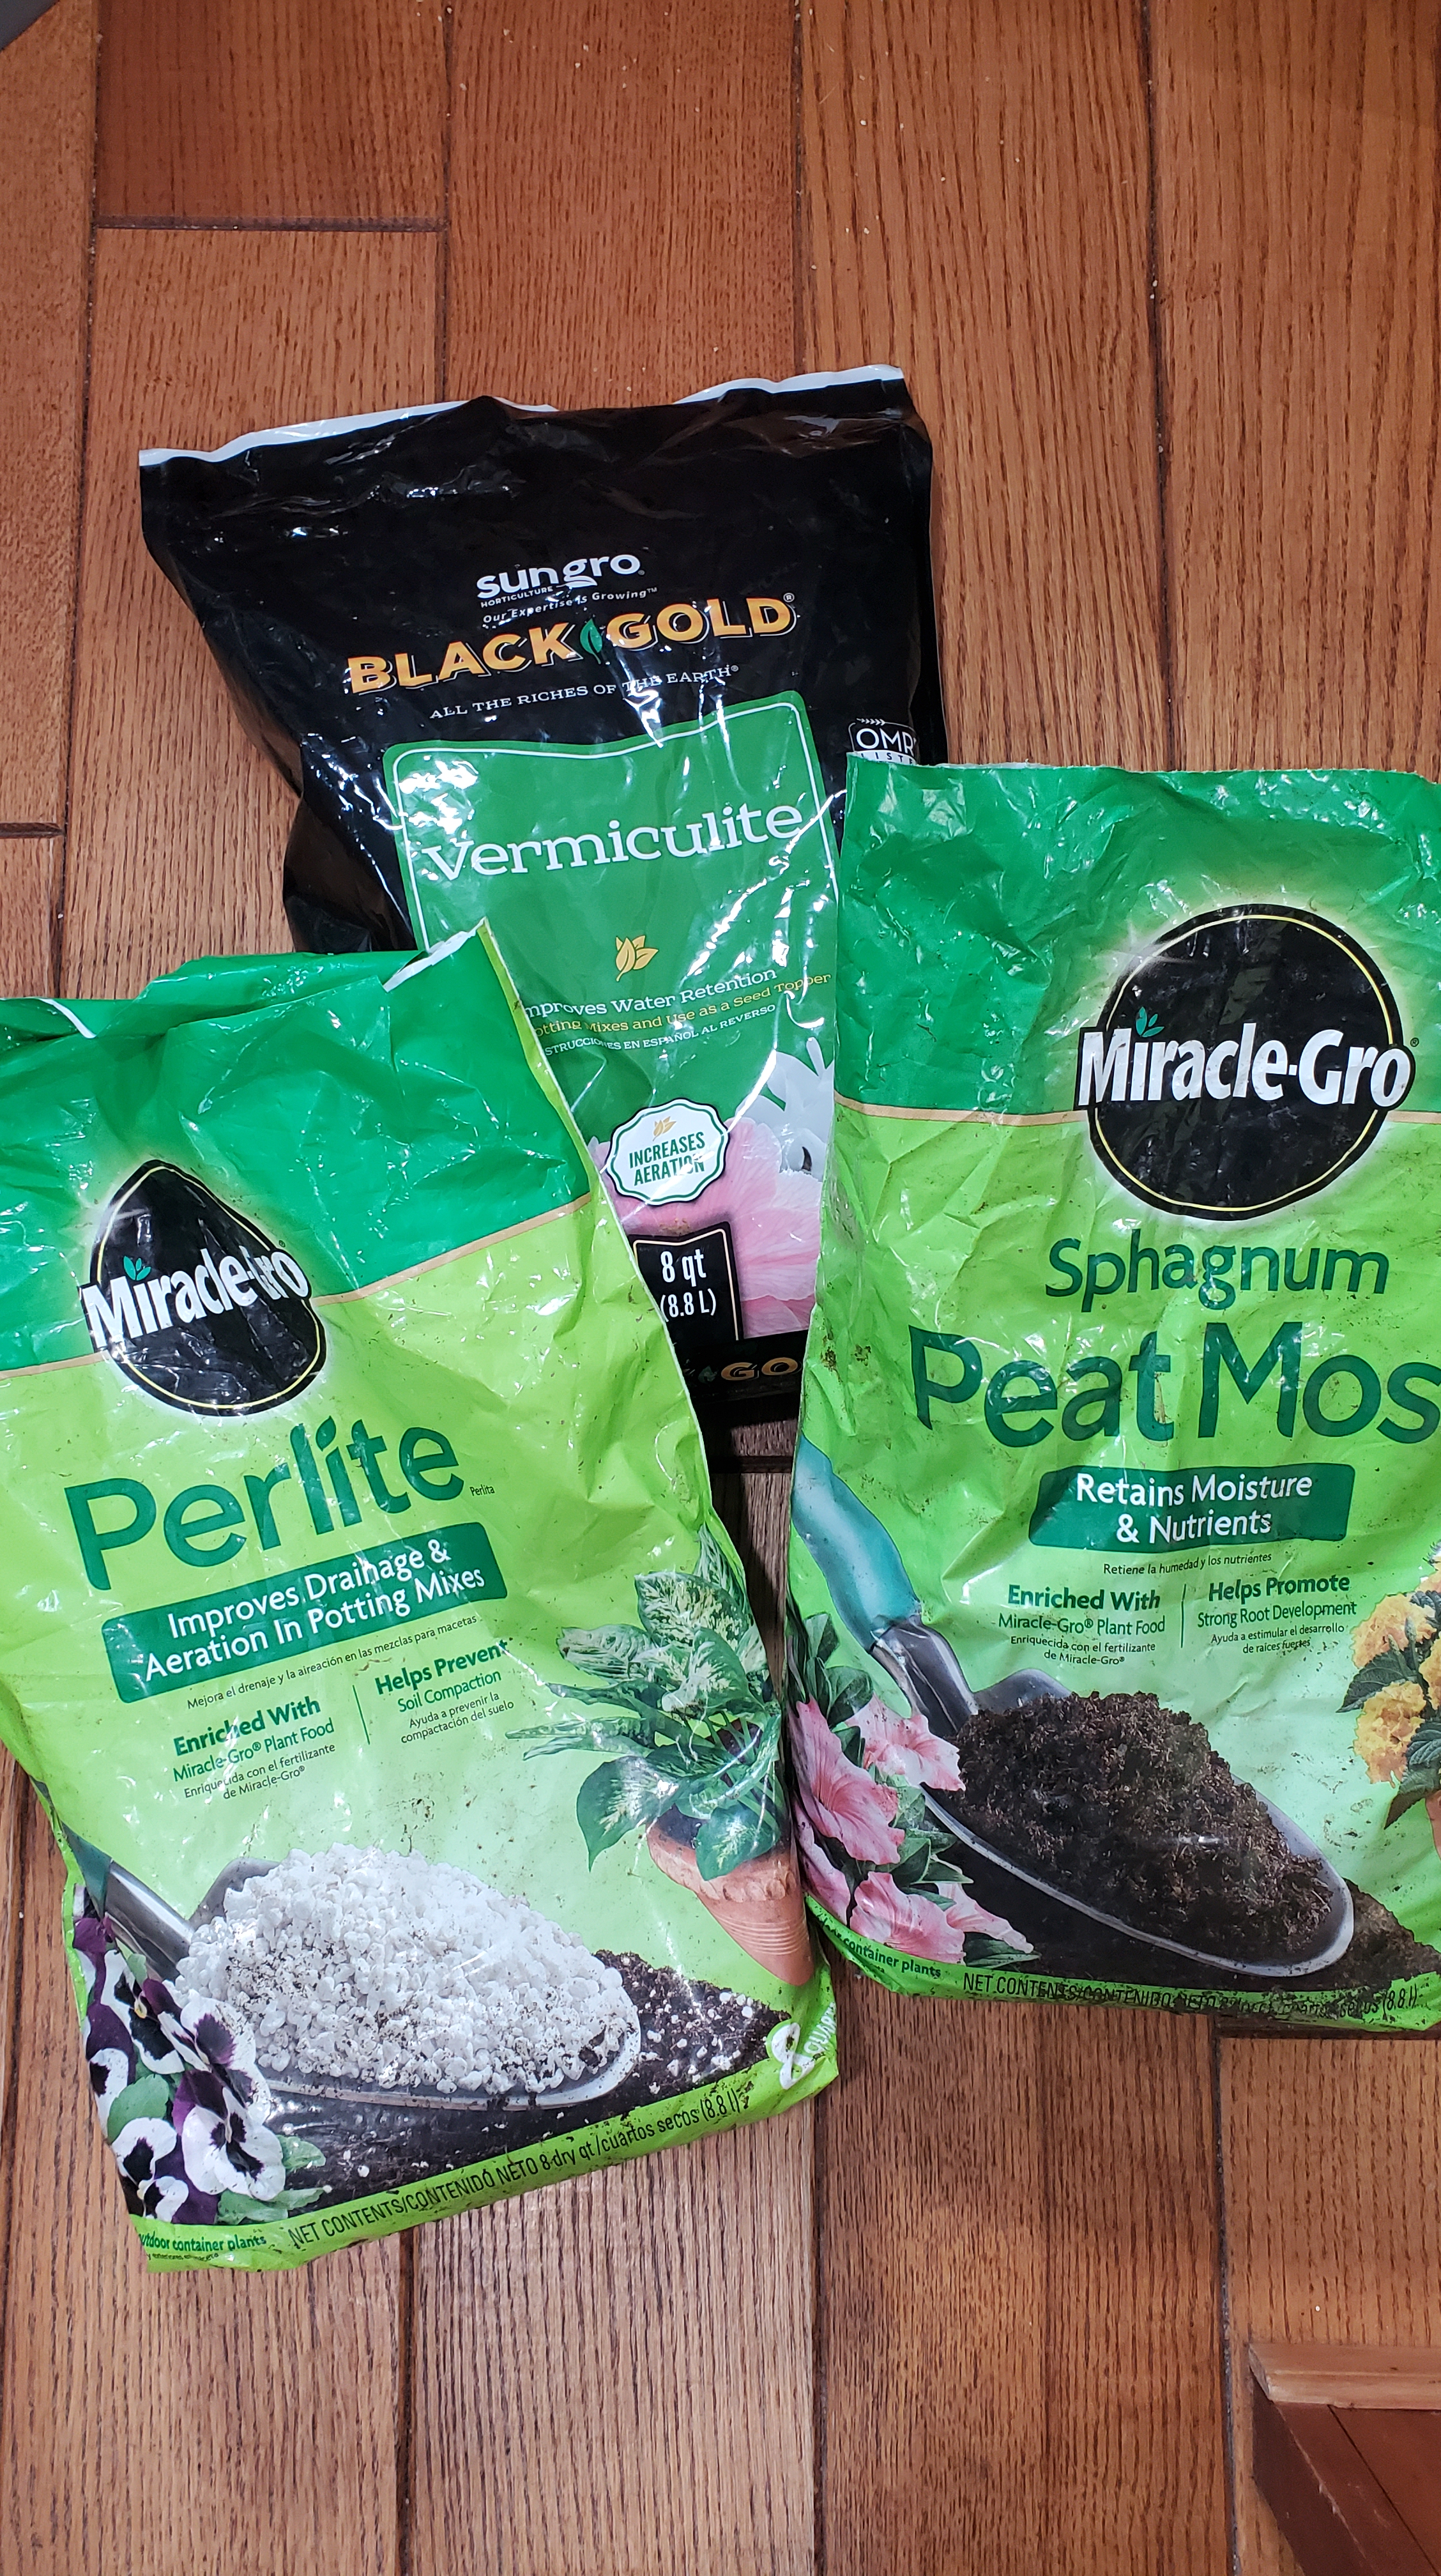
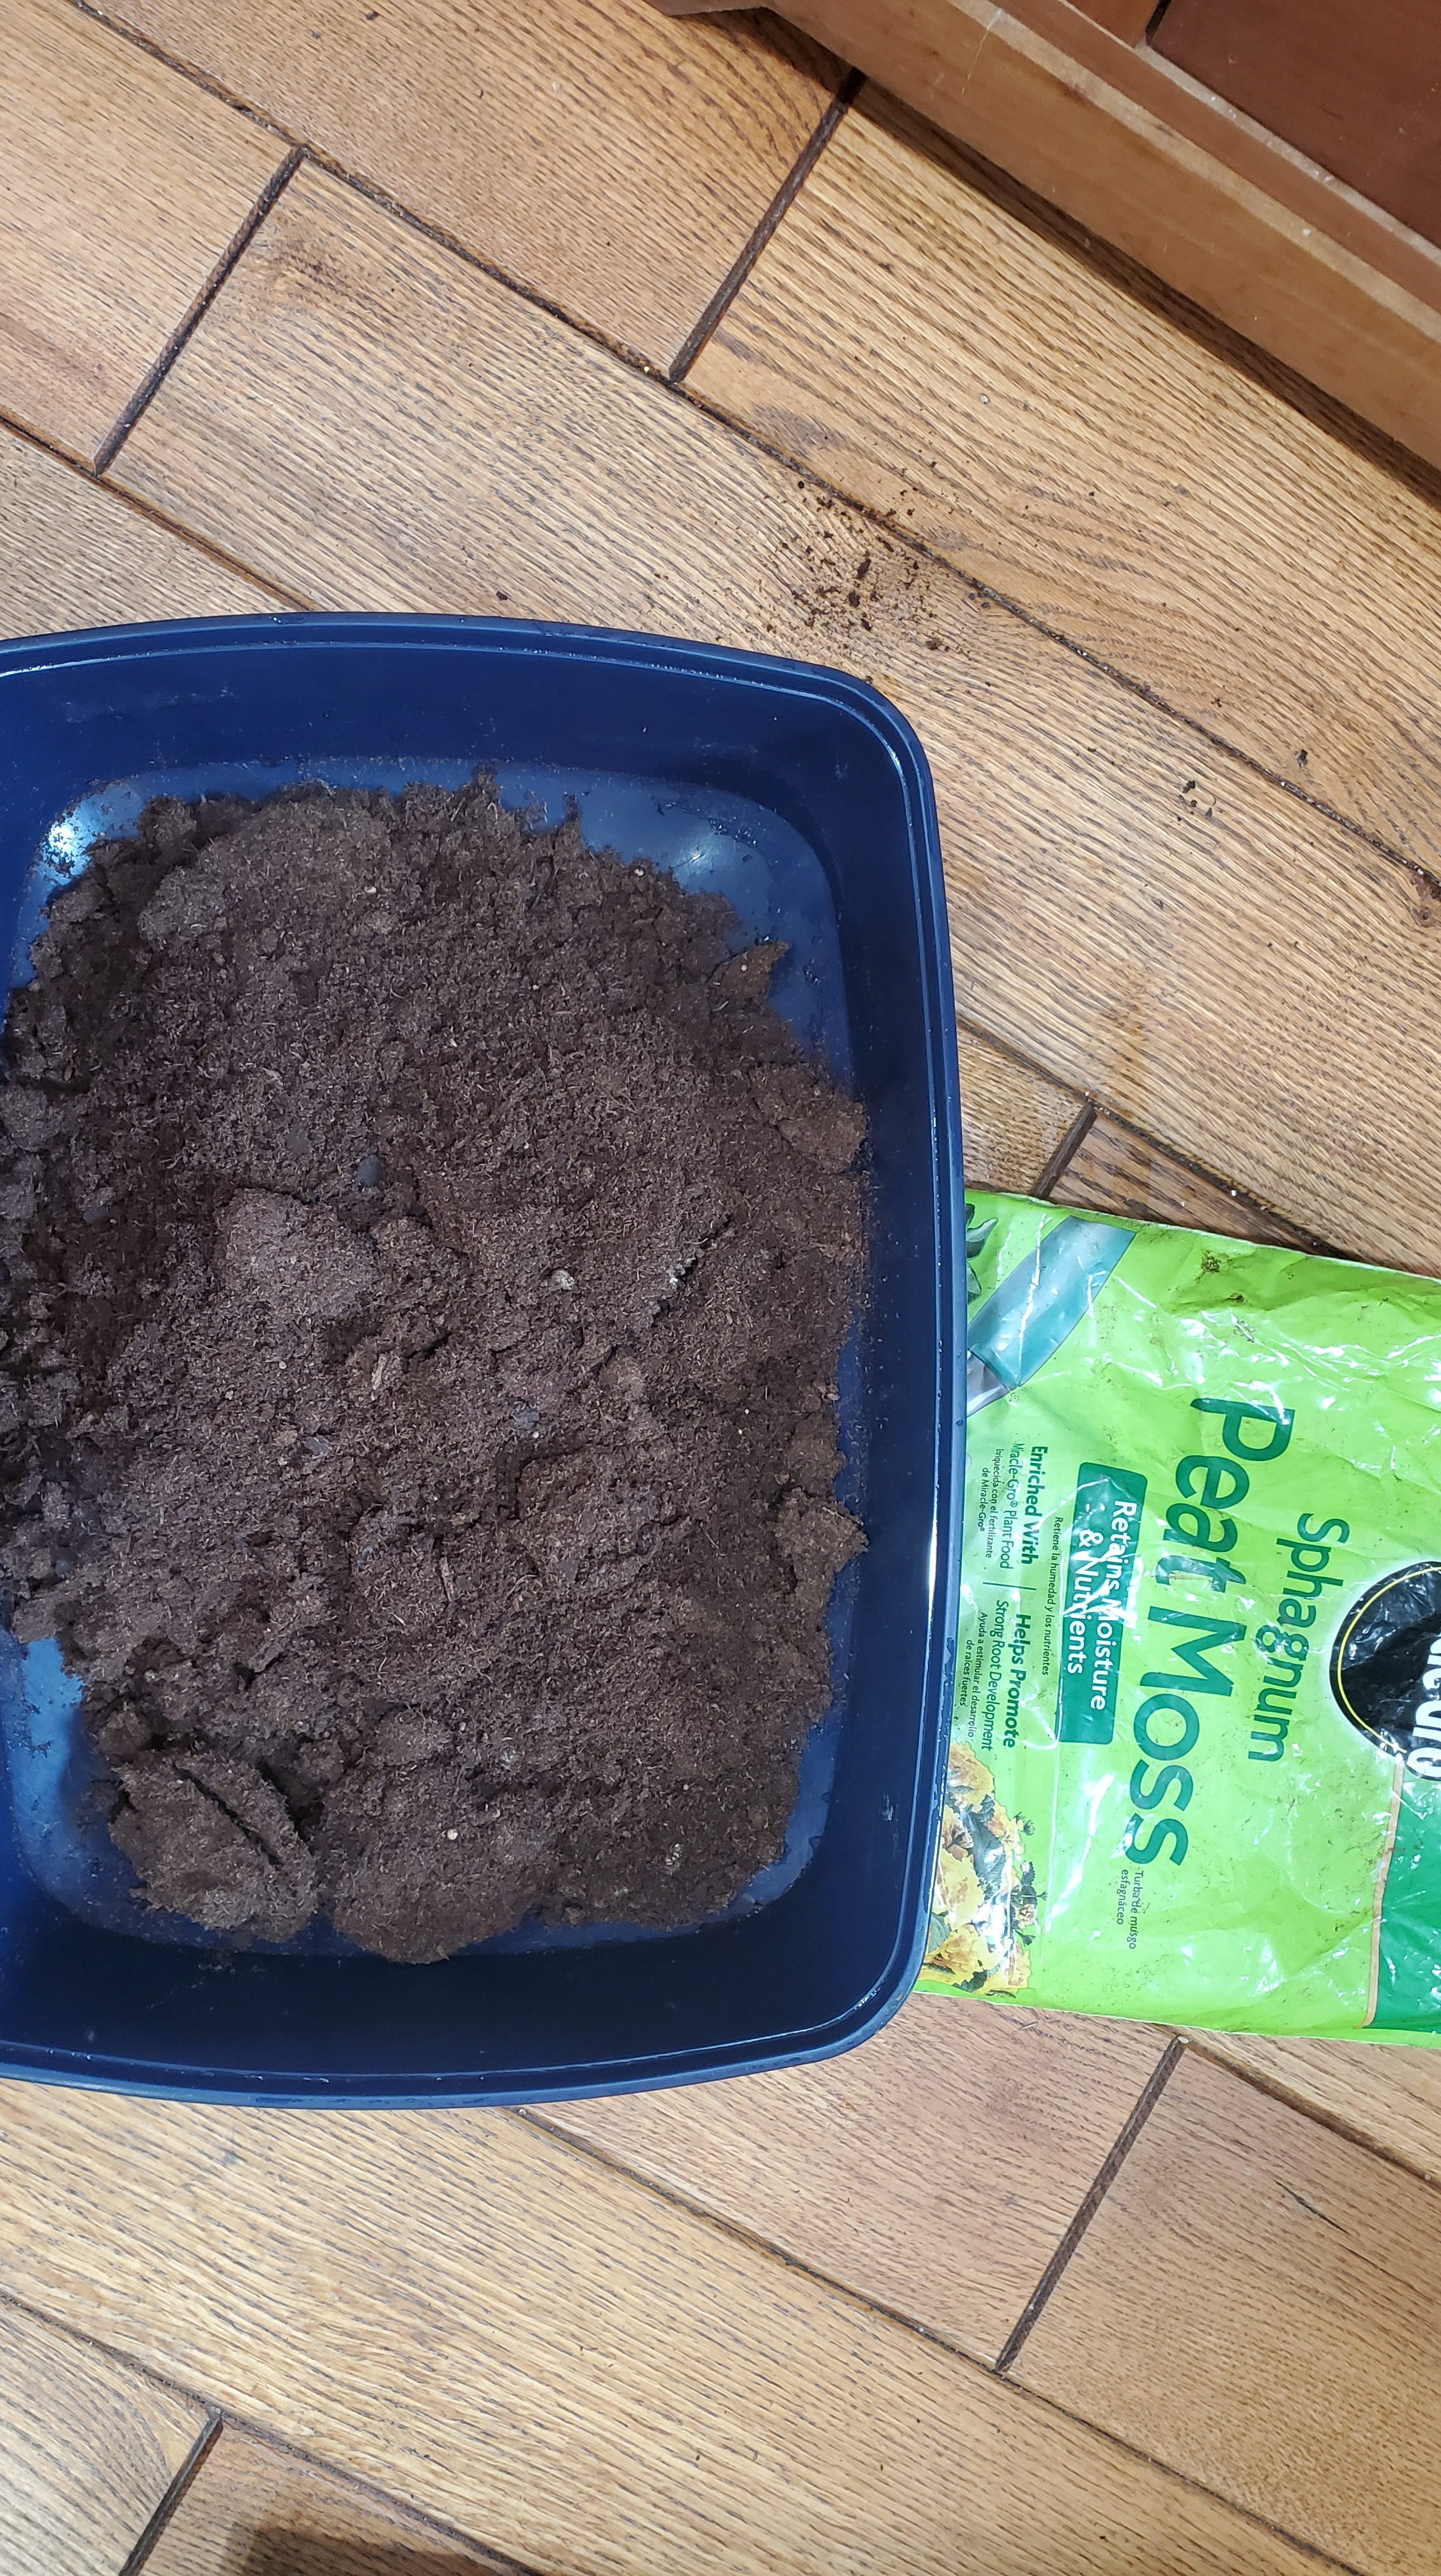
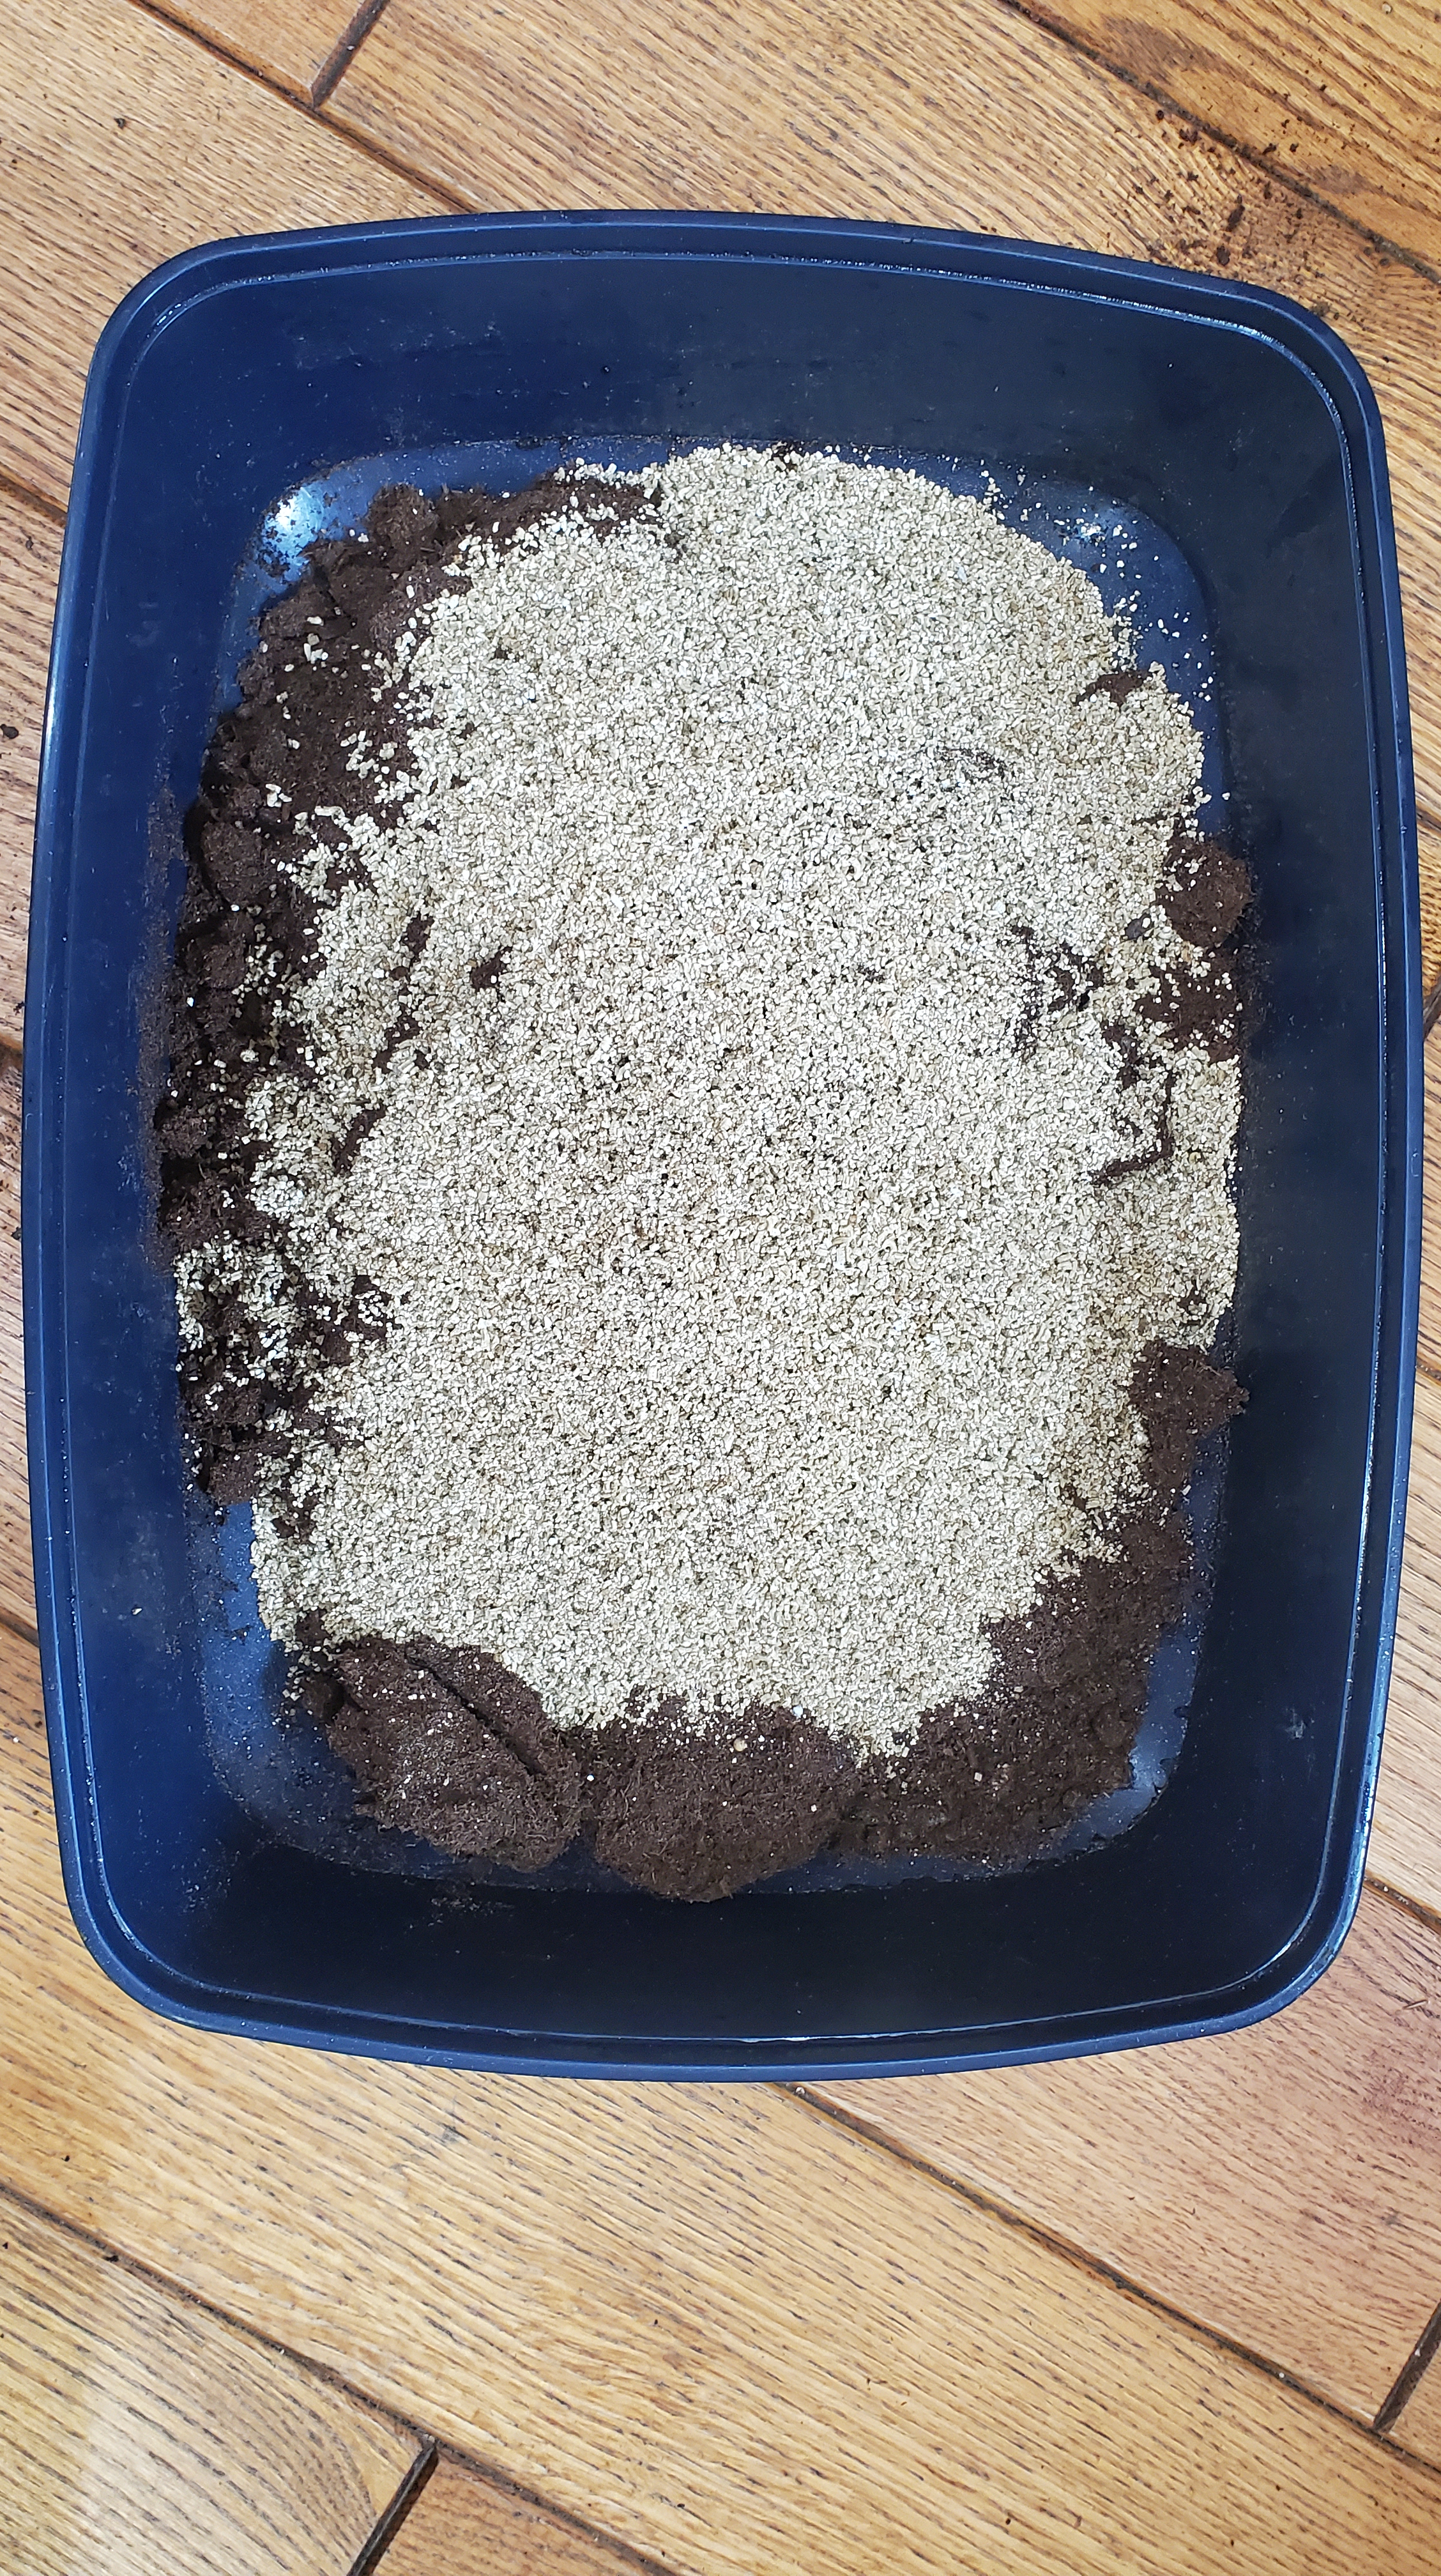
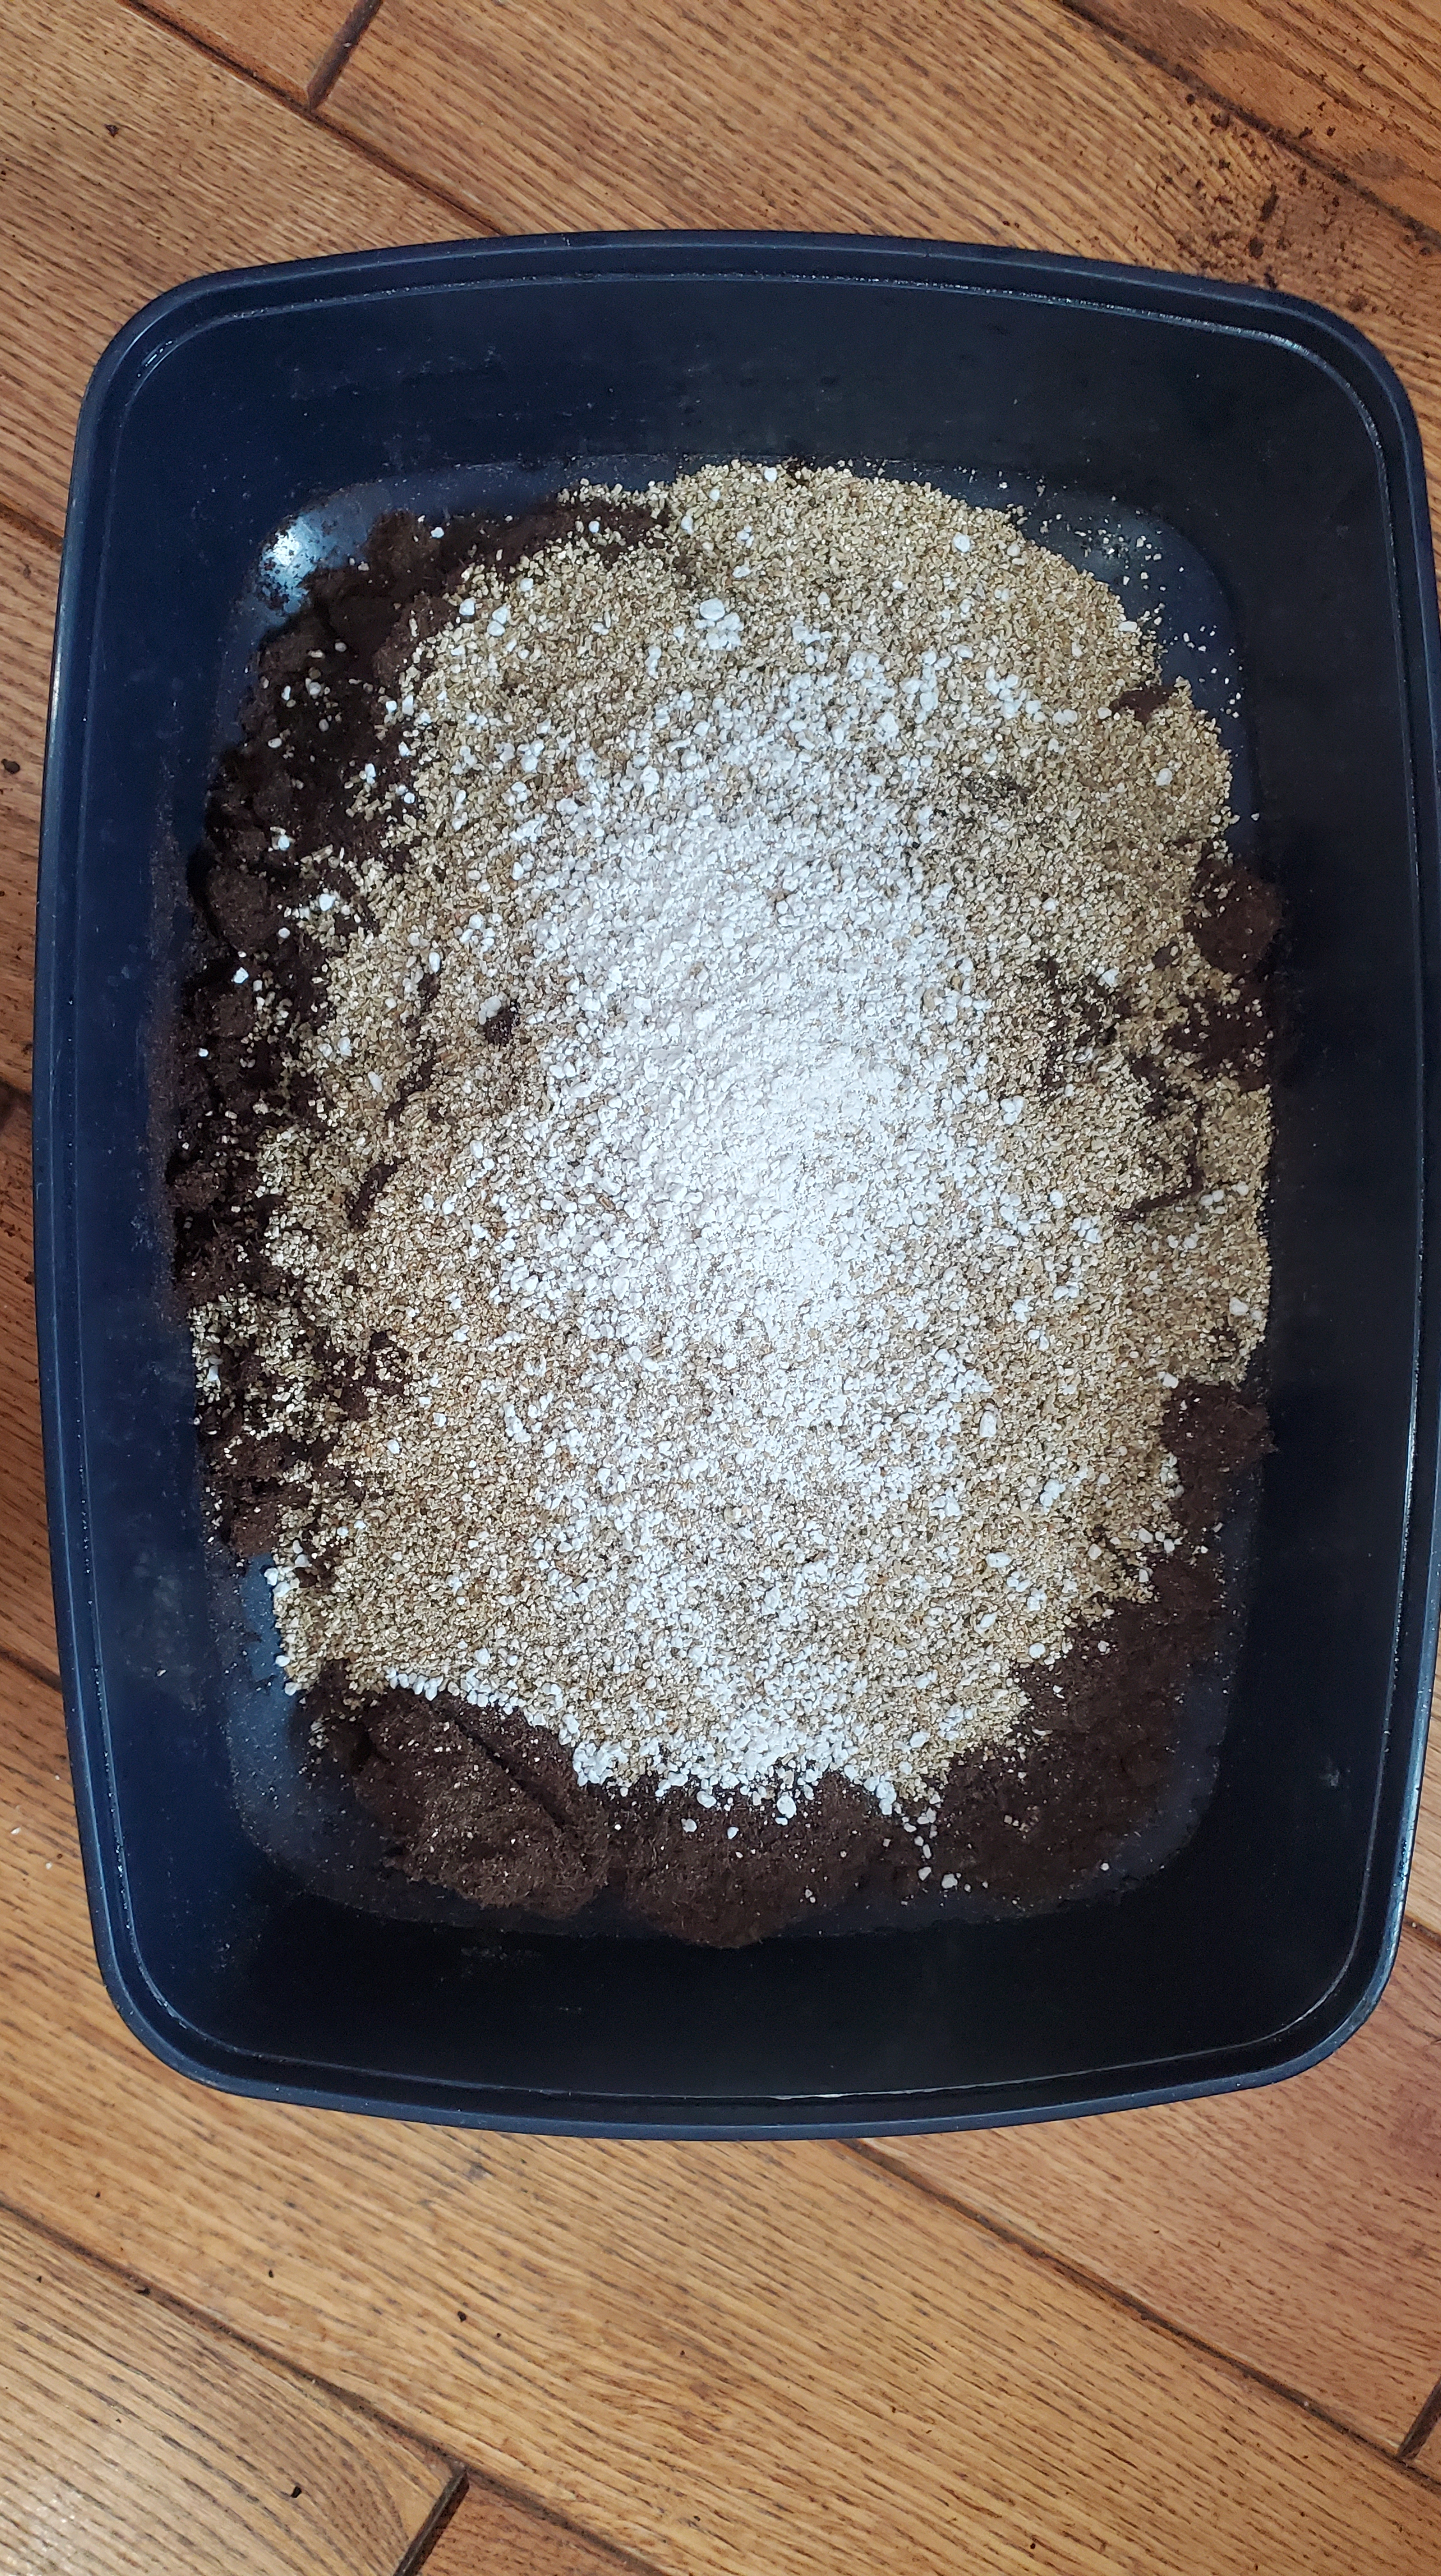
  • Prep your beds with a fresh layer of compost and manure if you can.  Craigslist is a great place to get cheep manure from a local horse farm.

Plantings

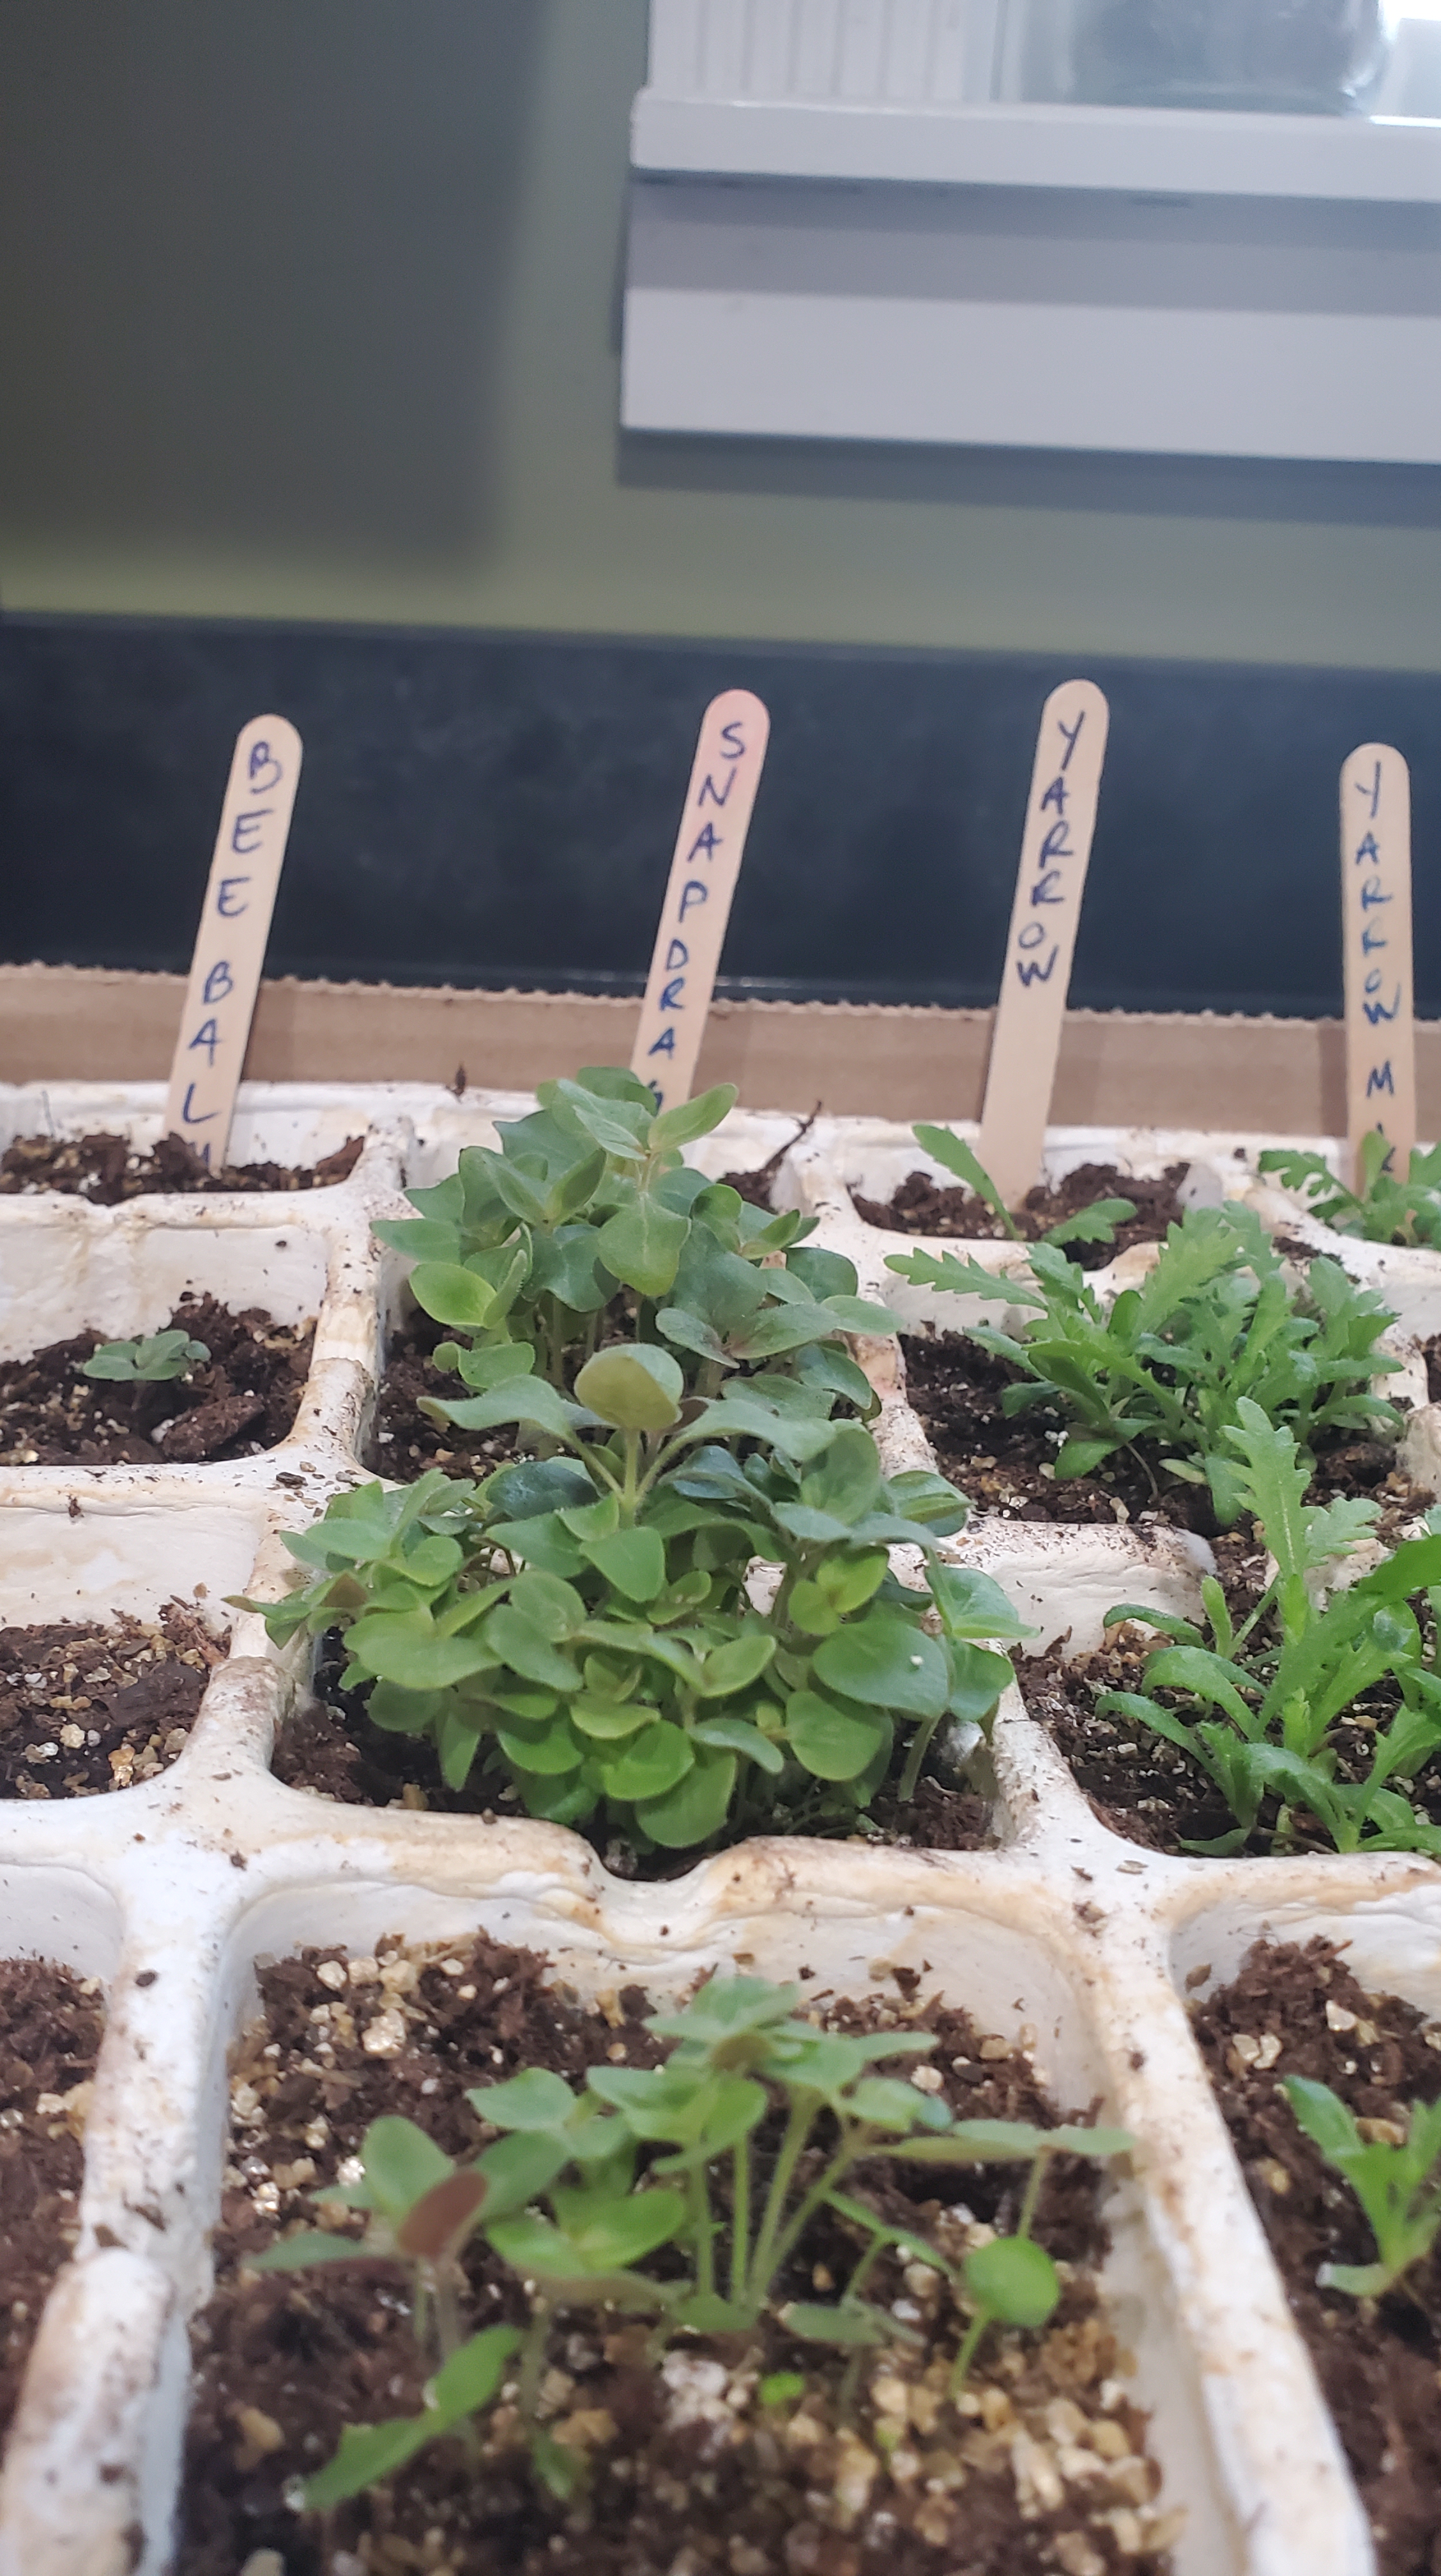
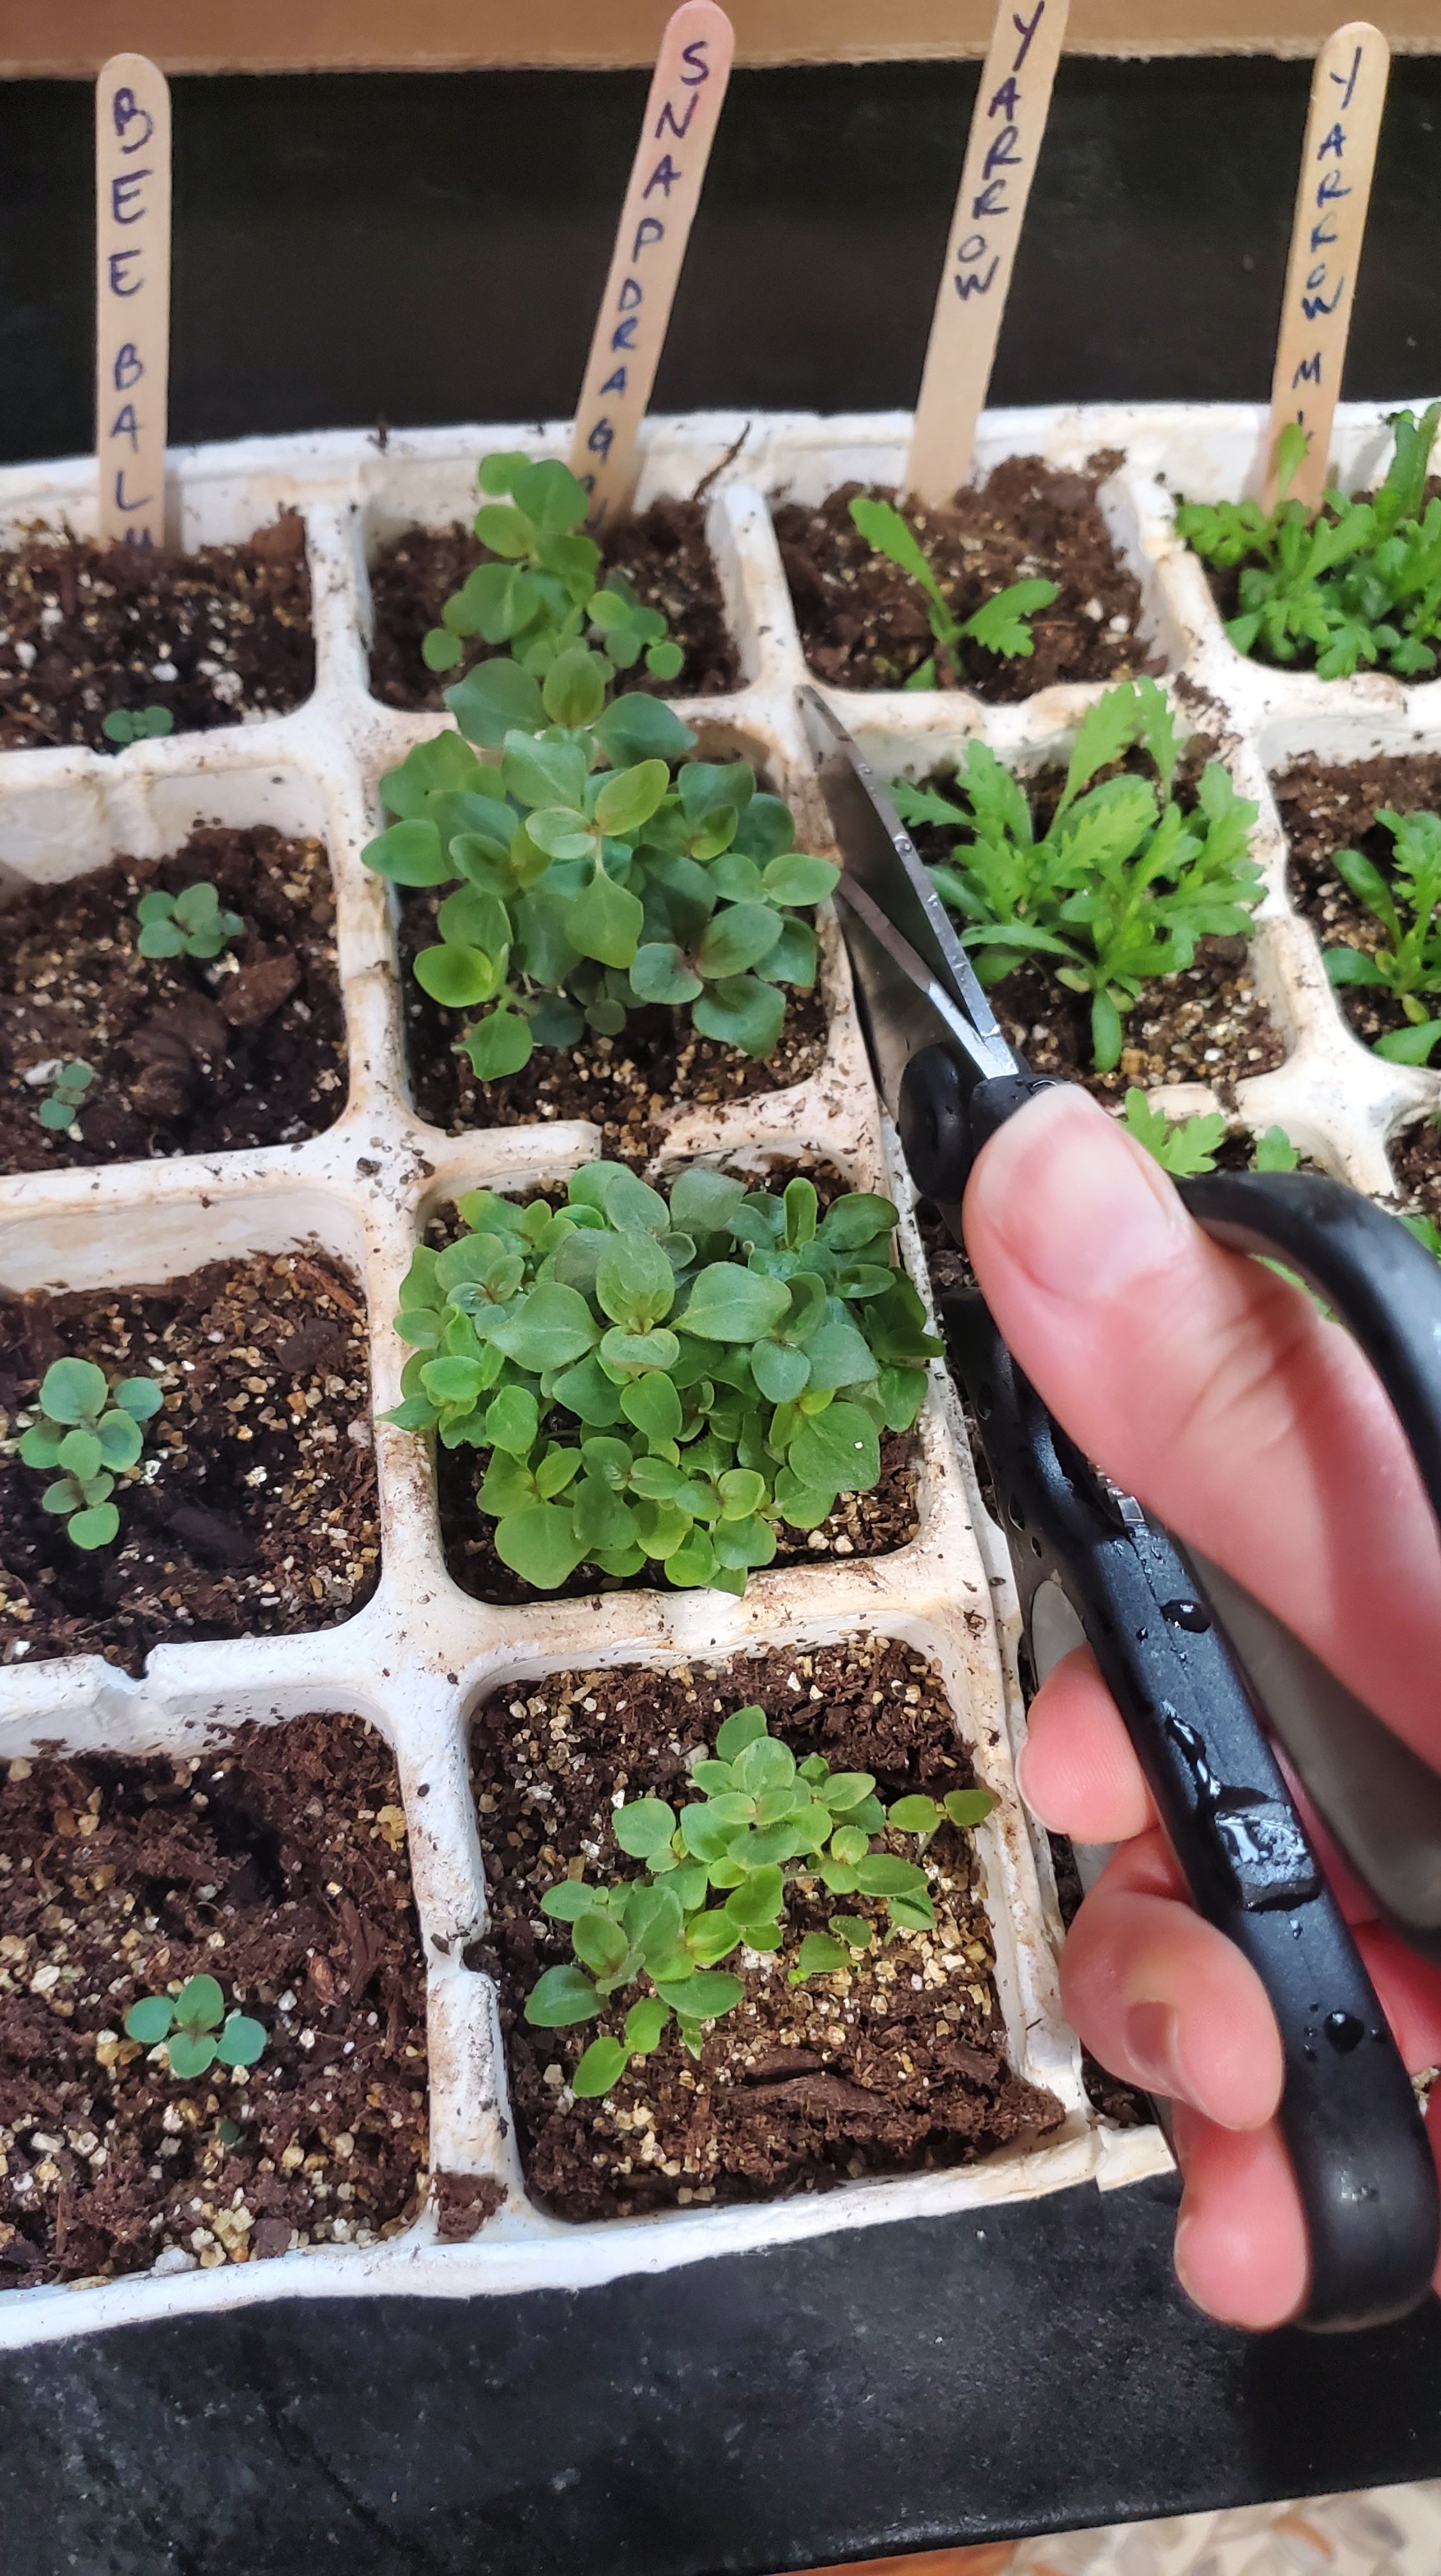
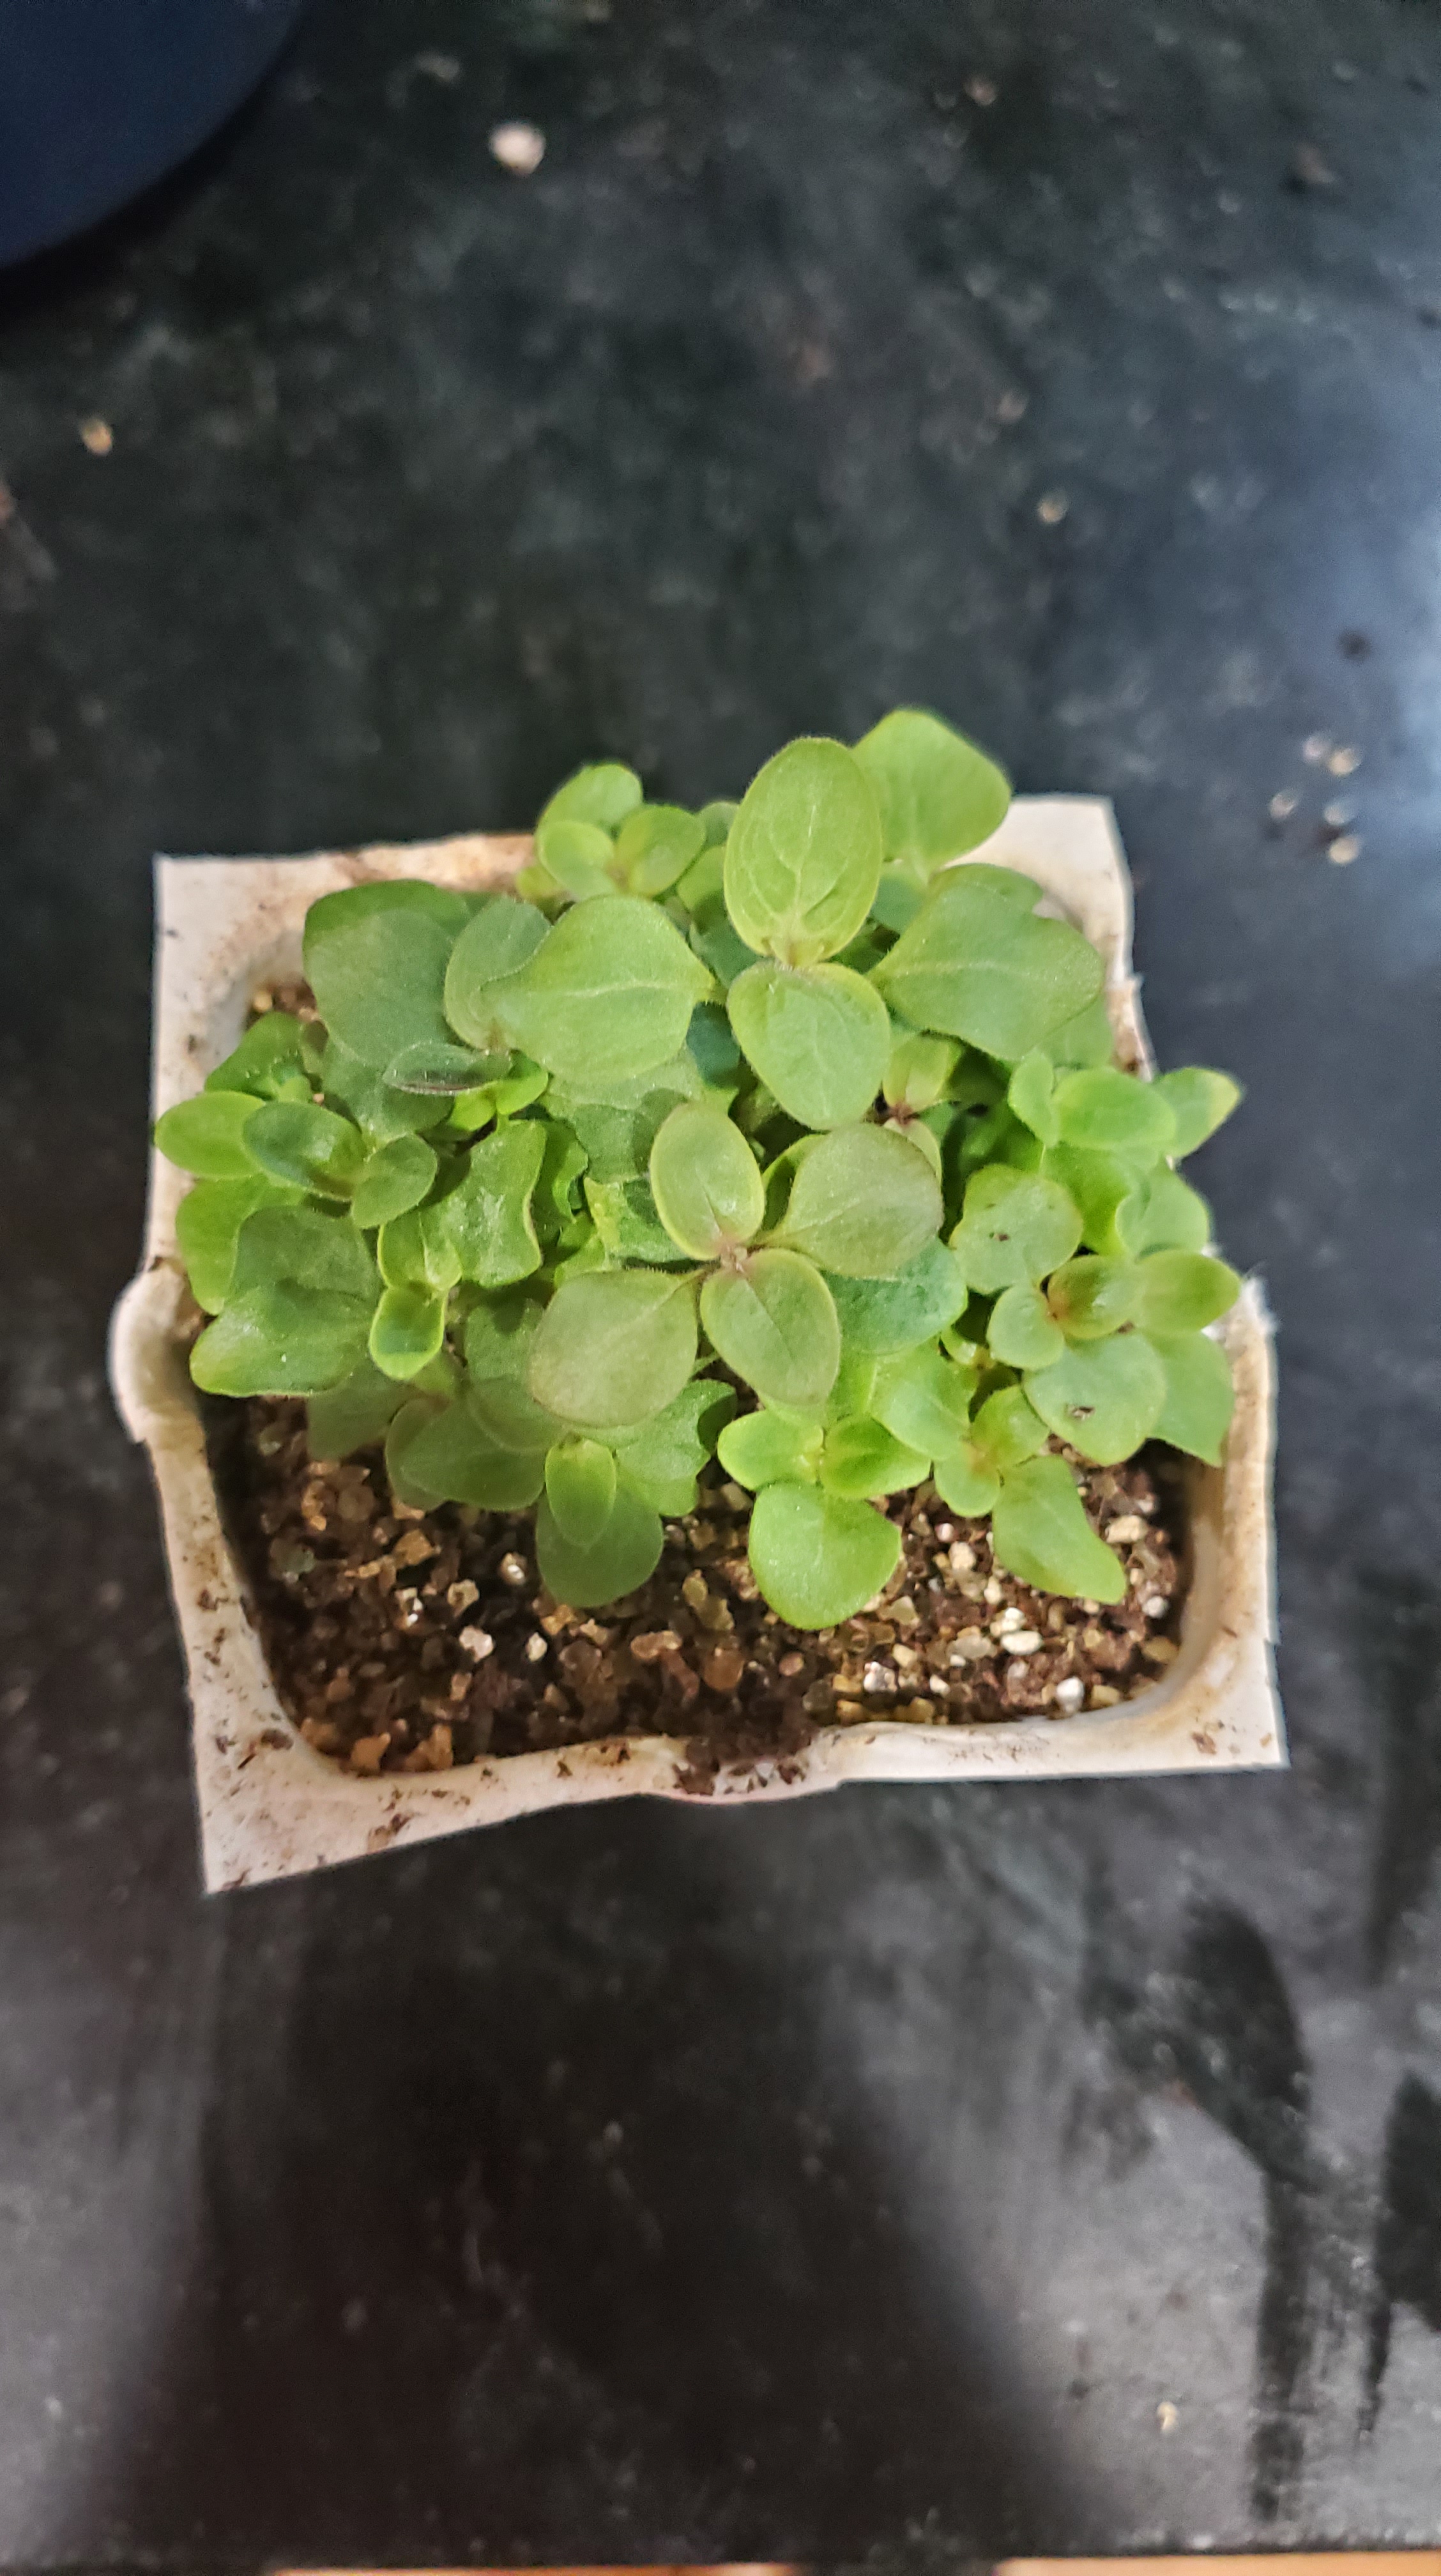
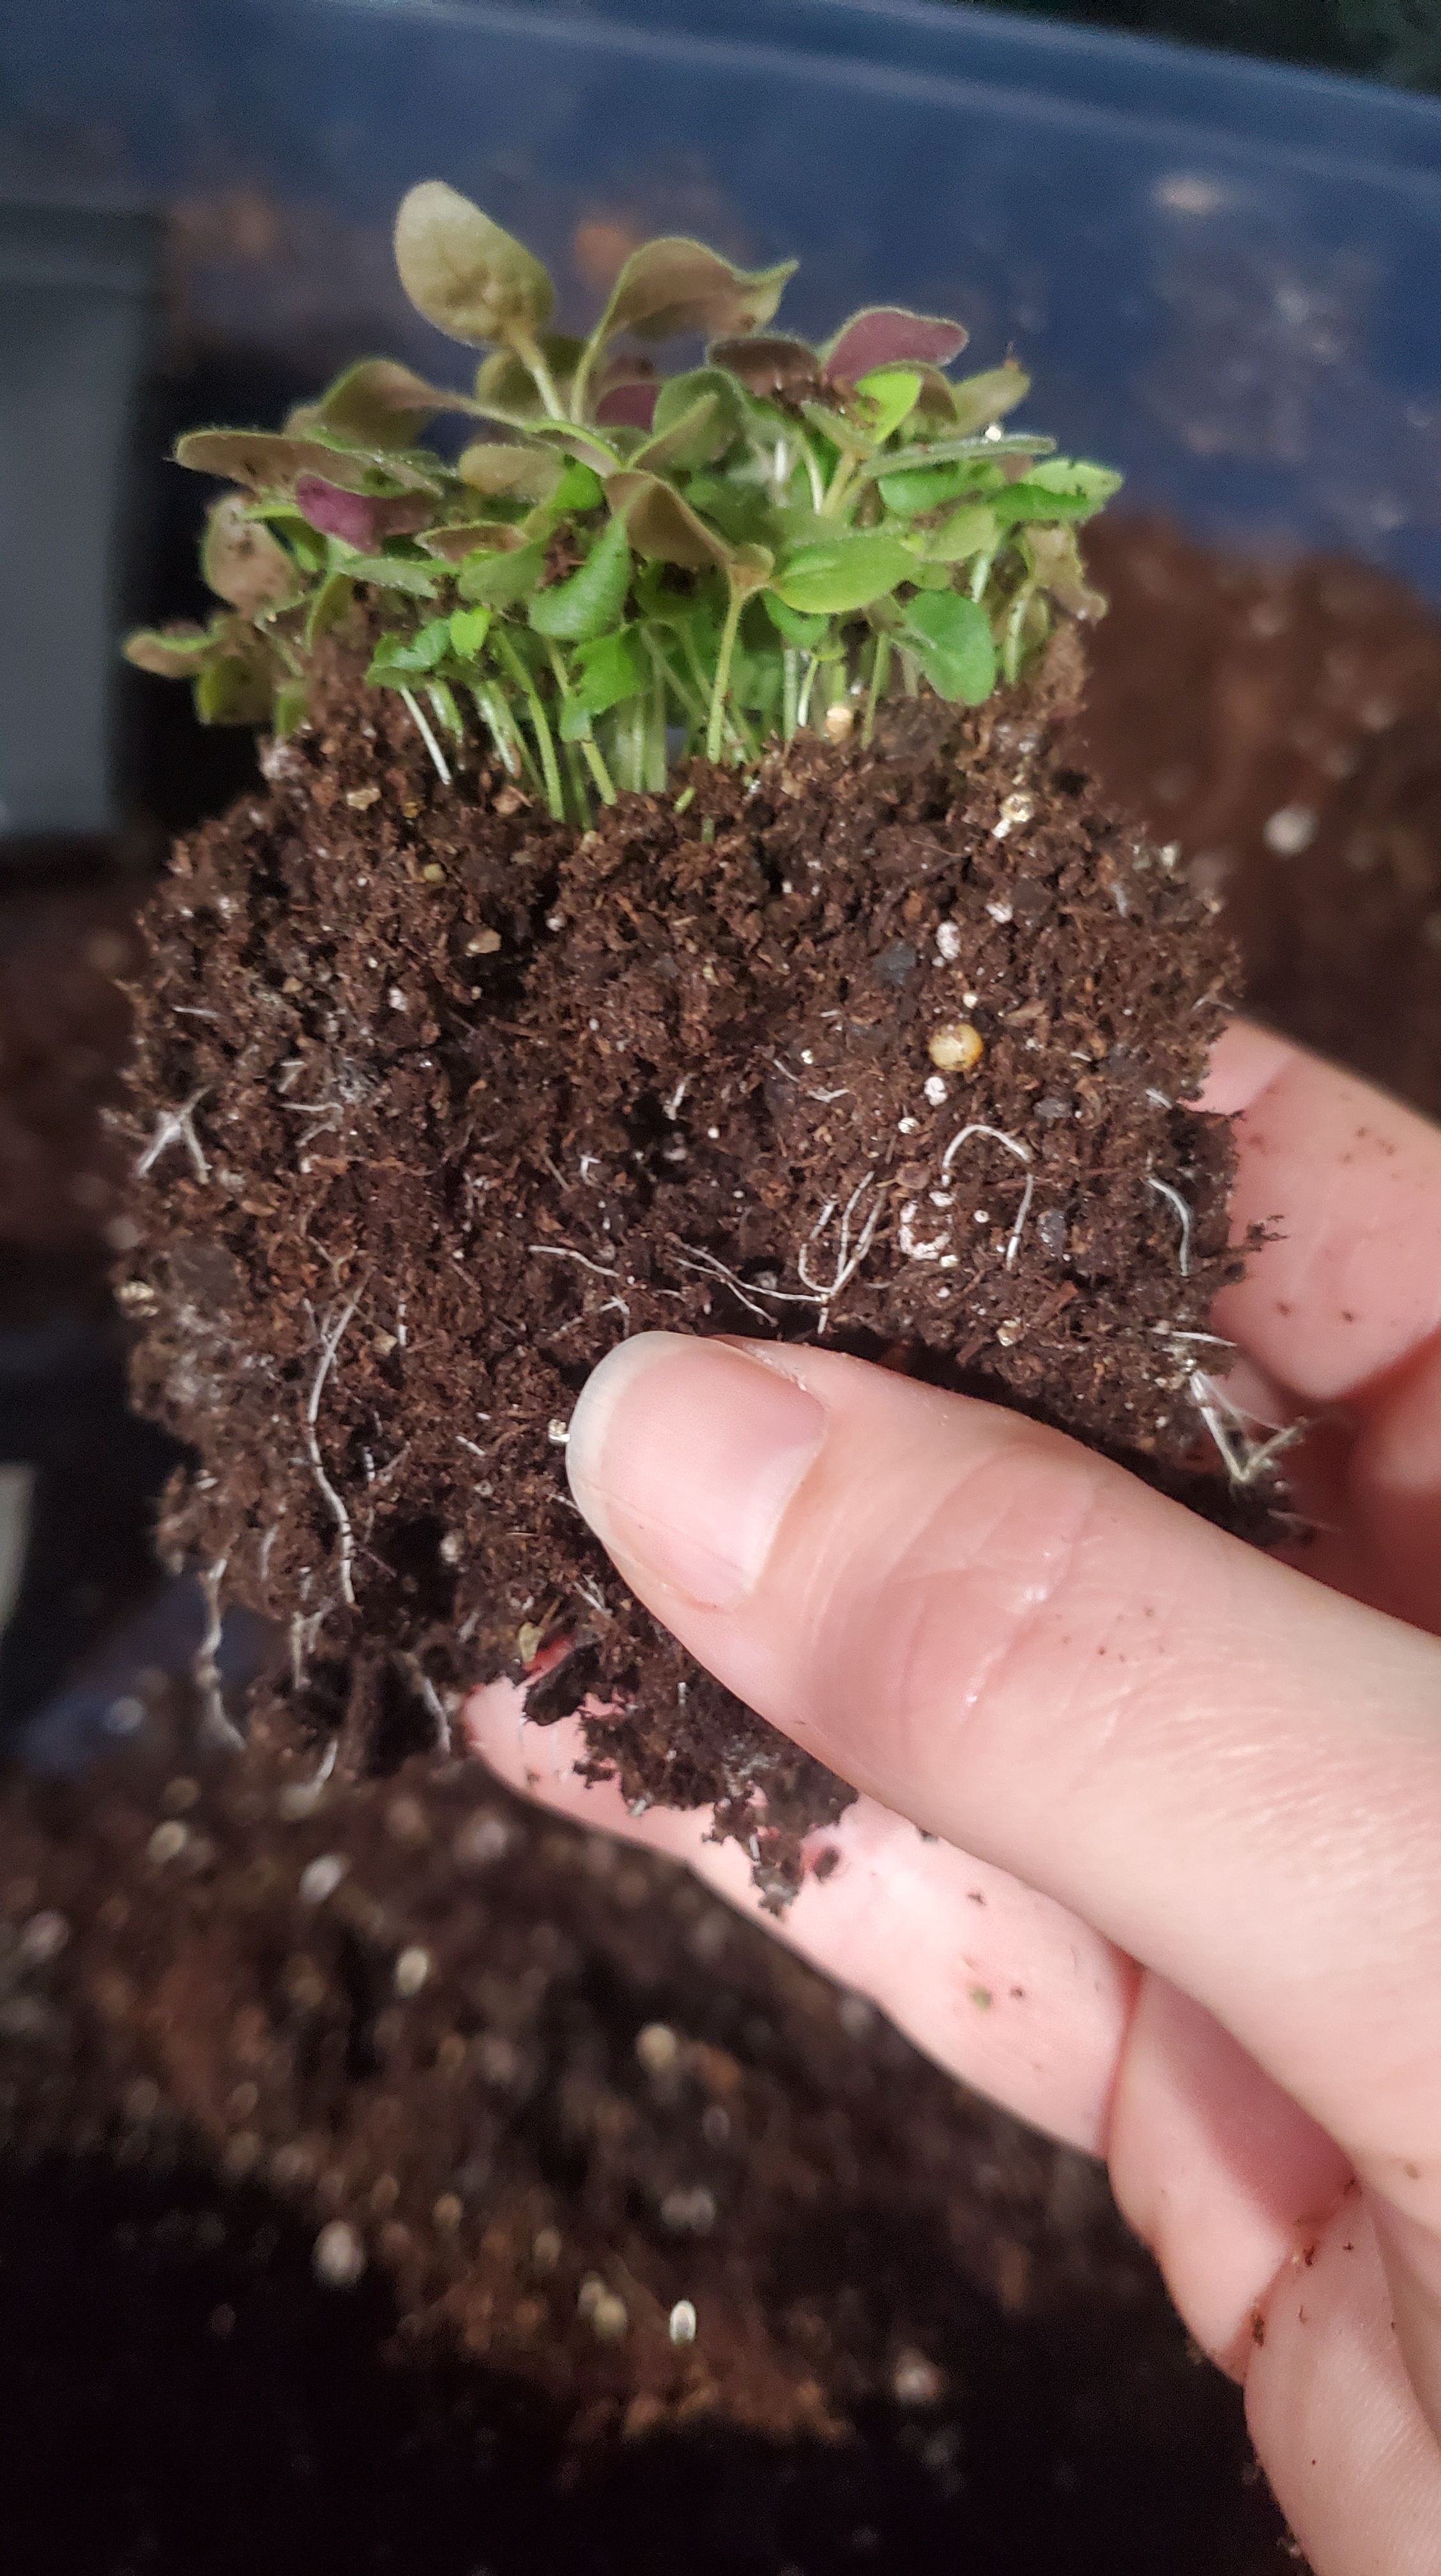
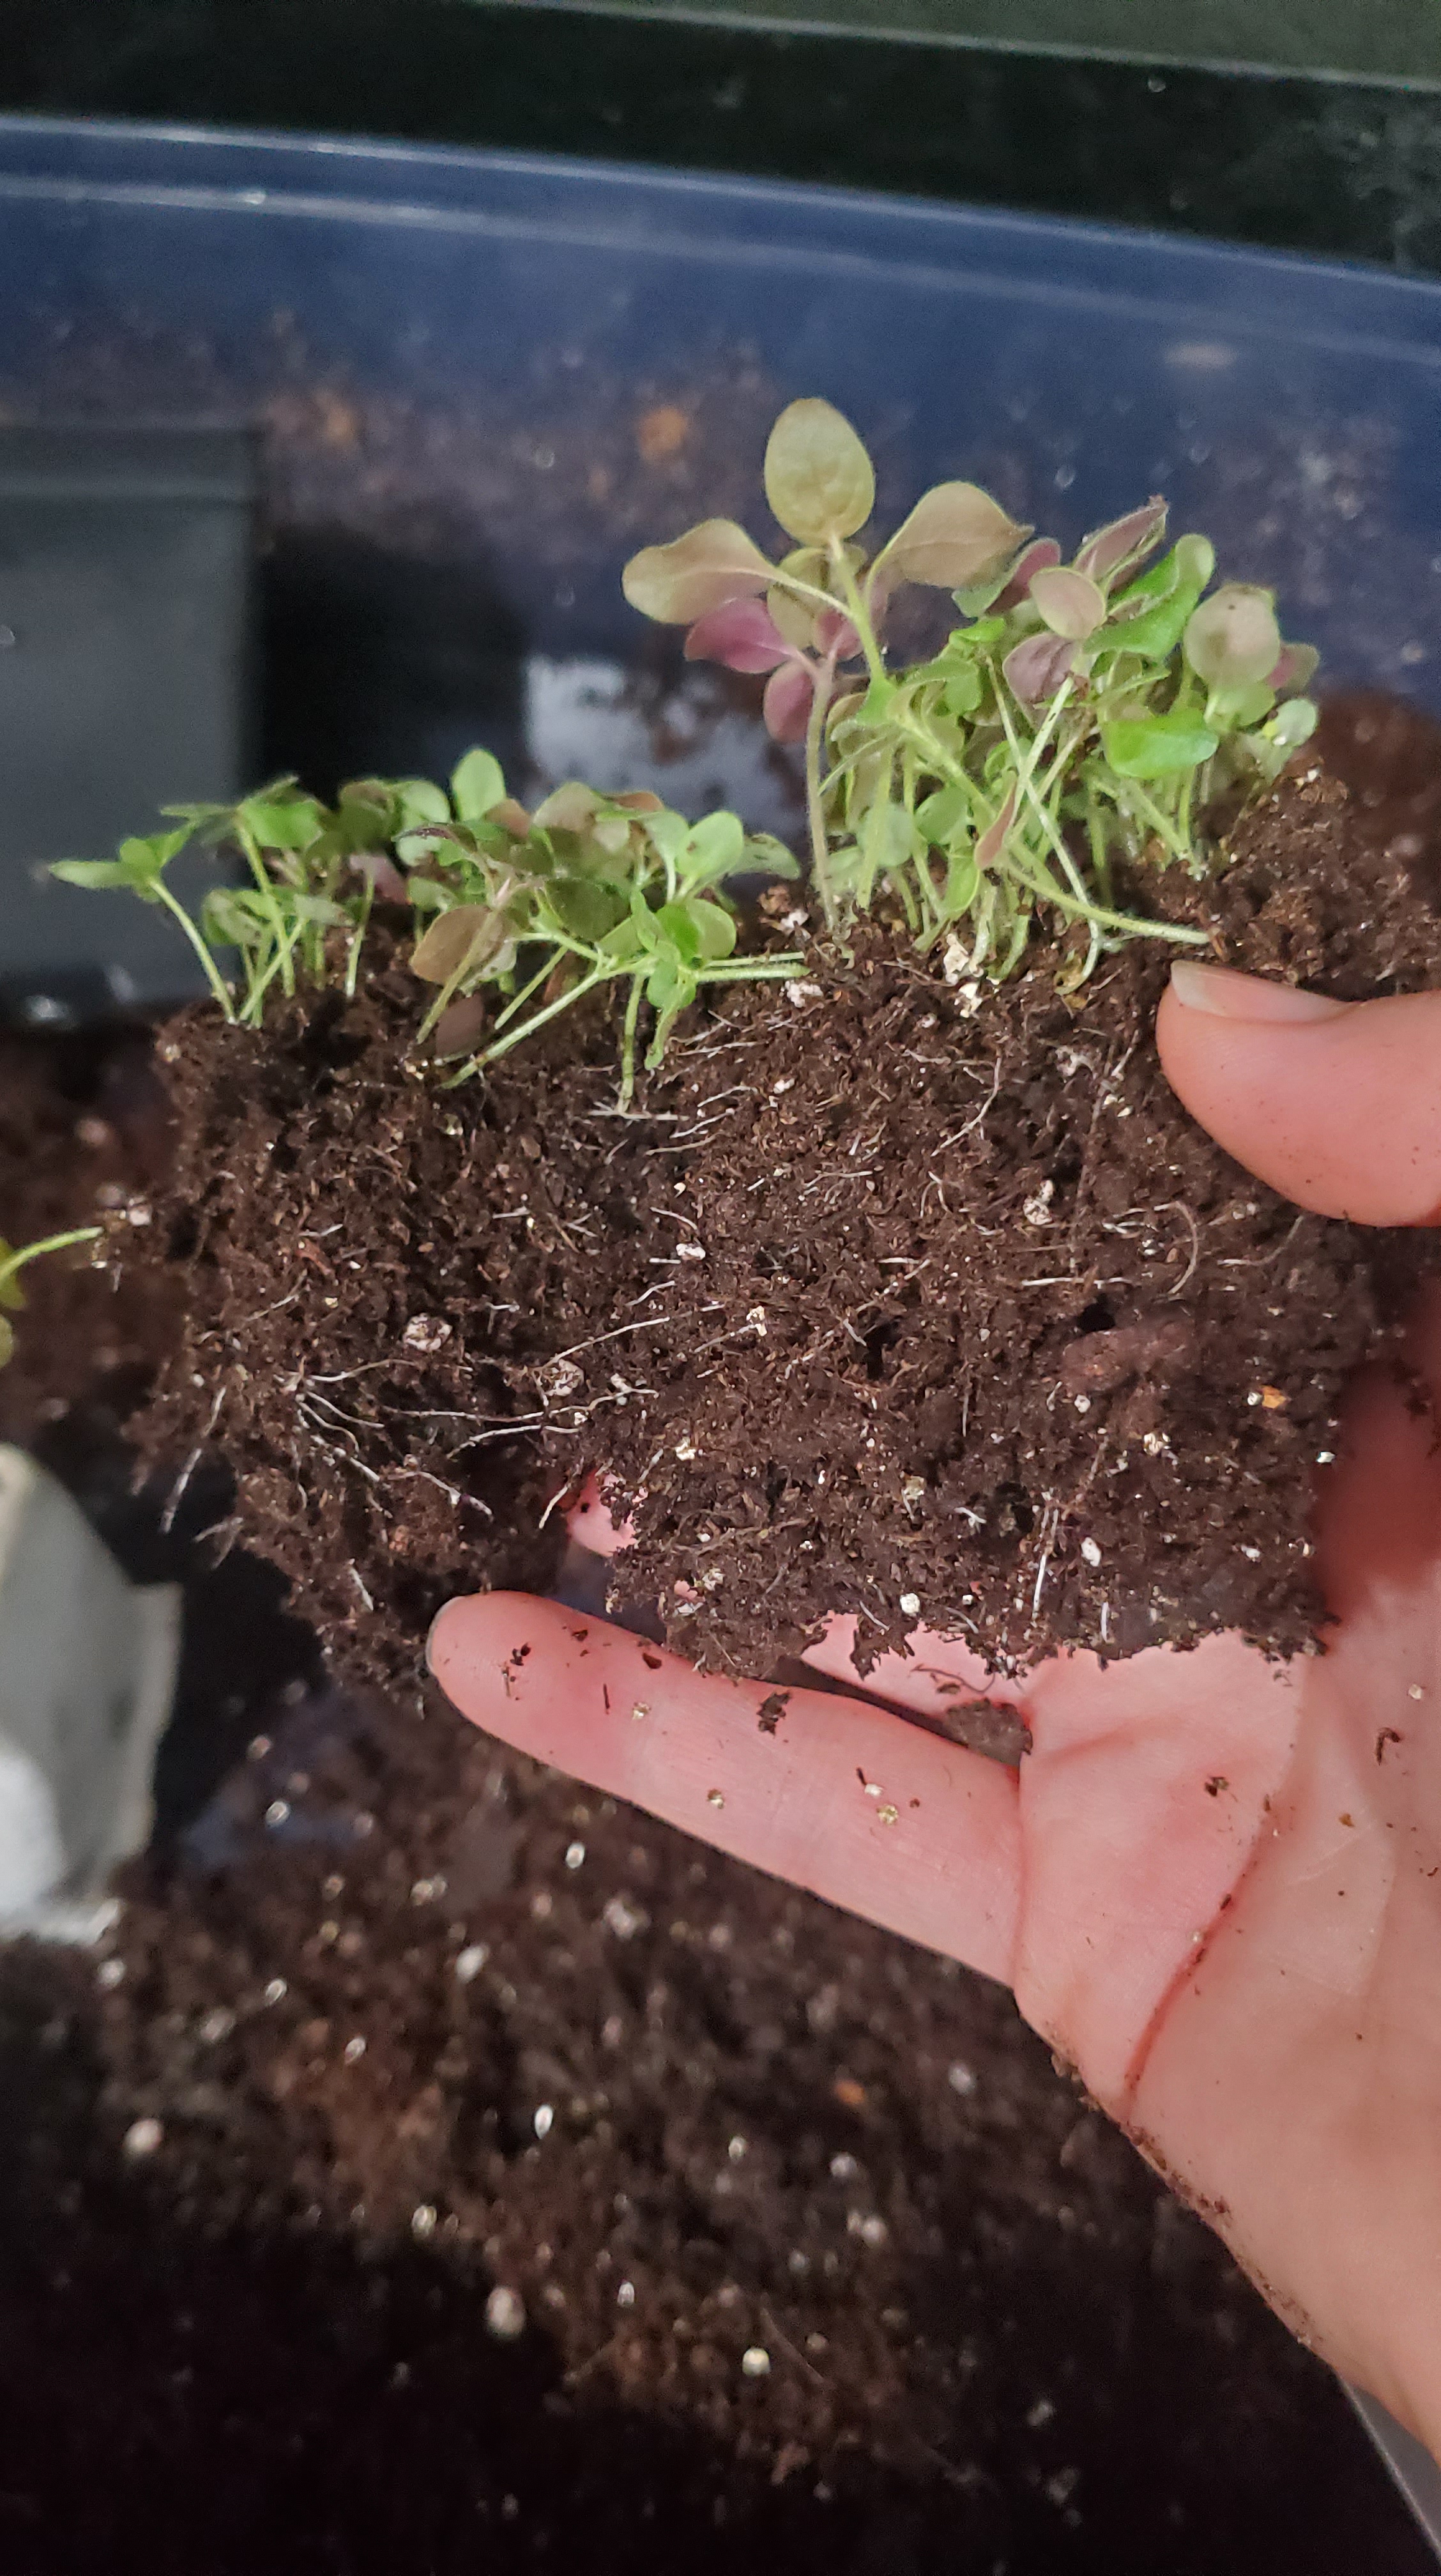
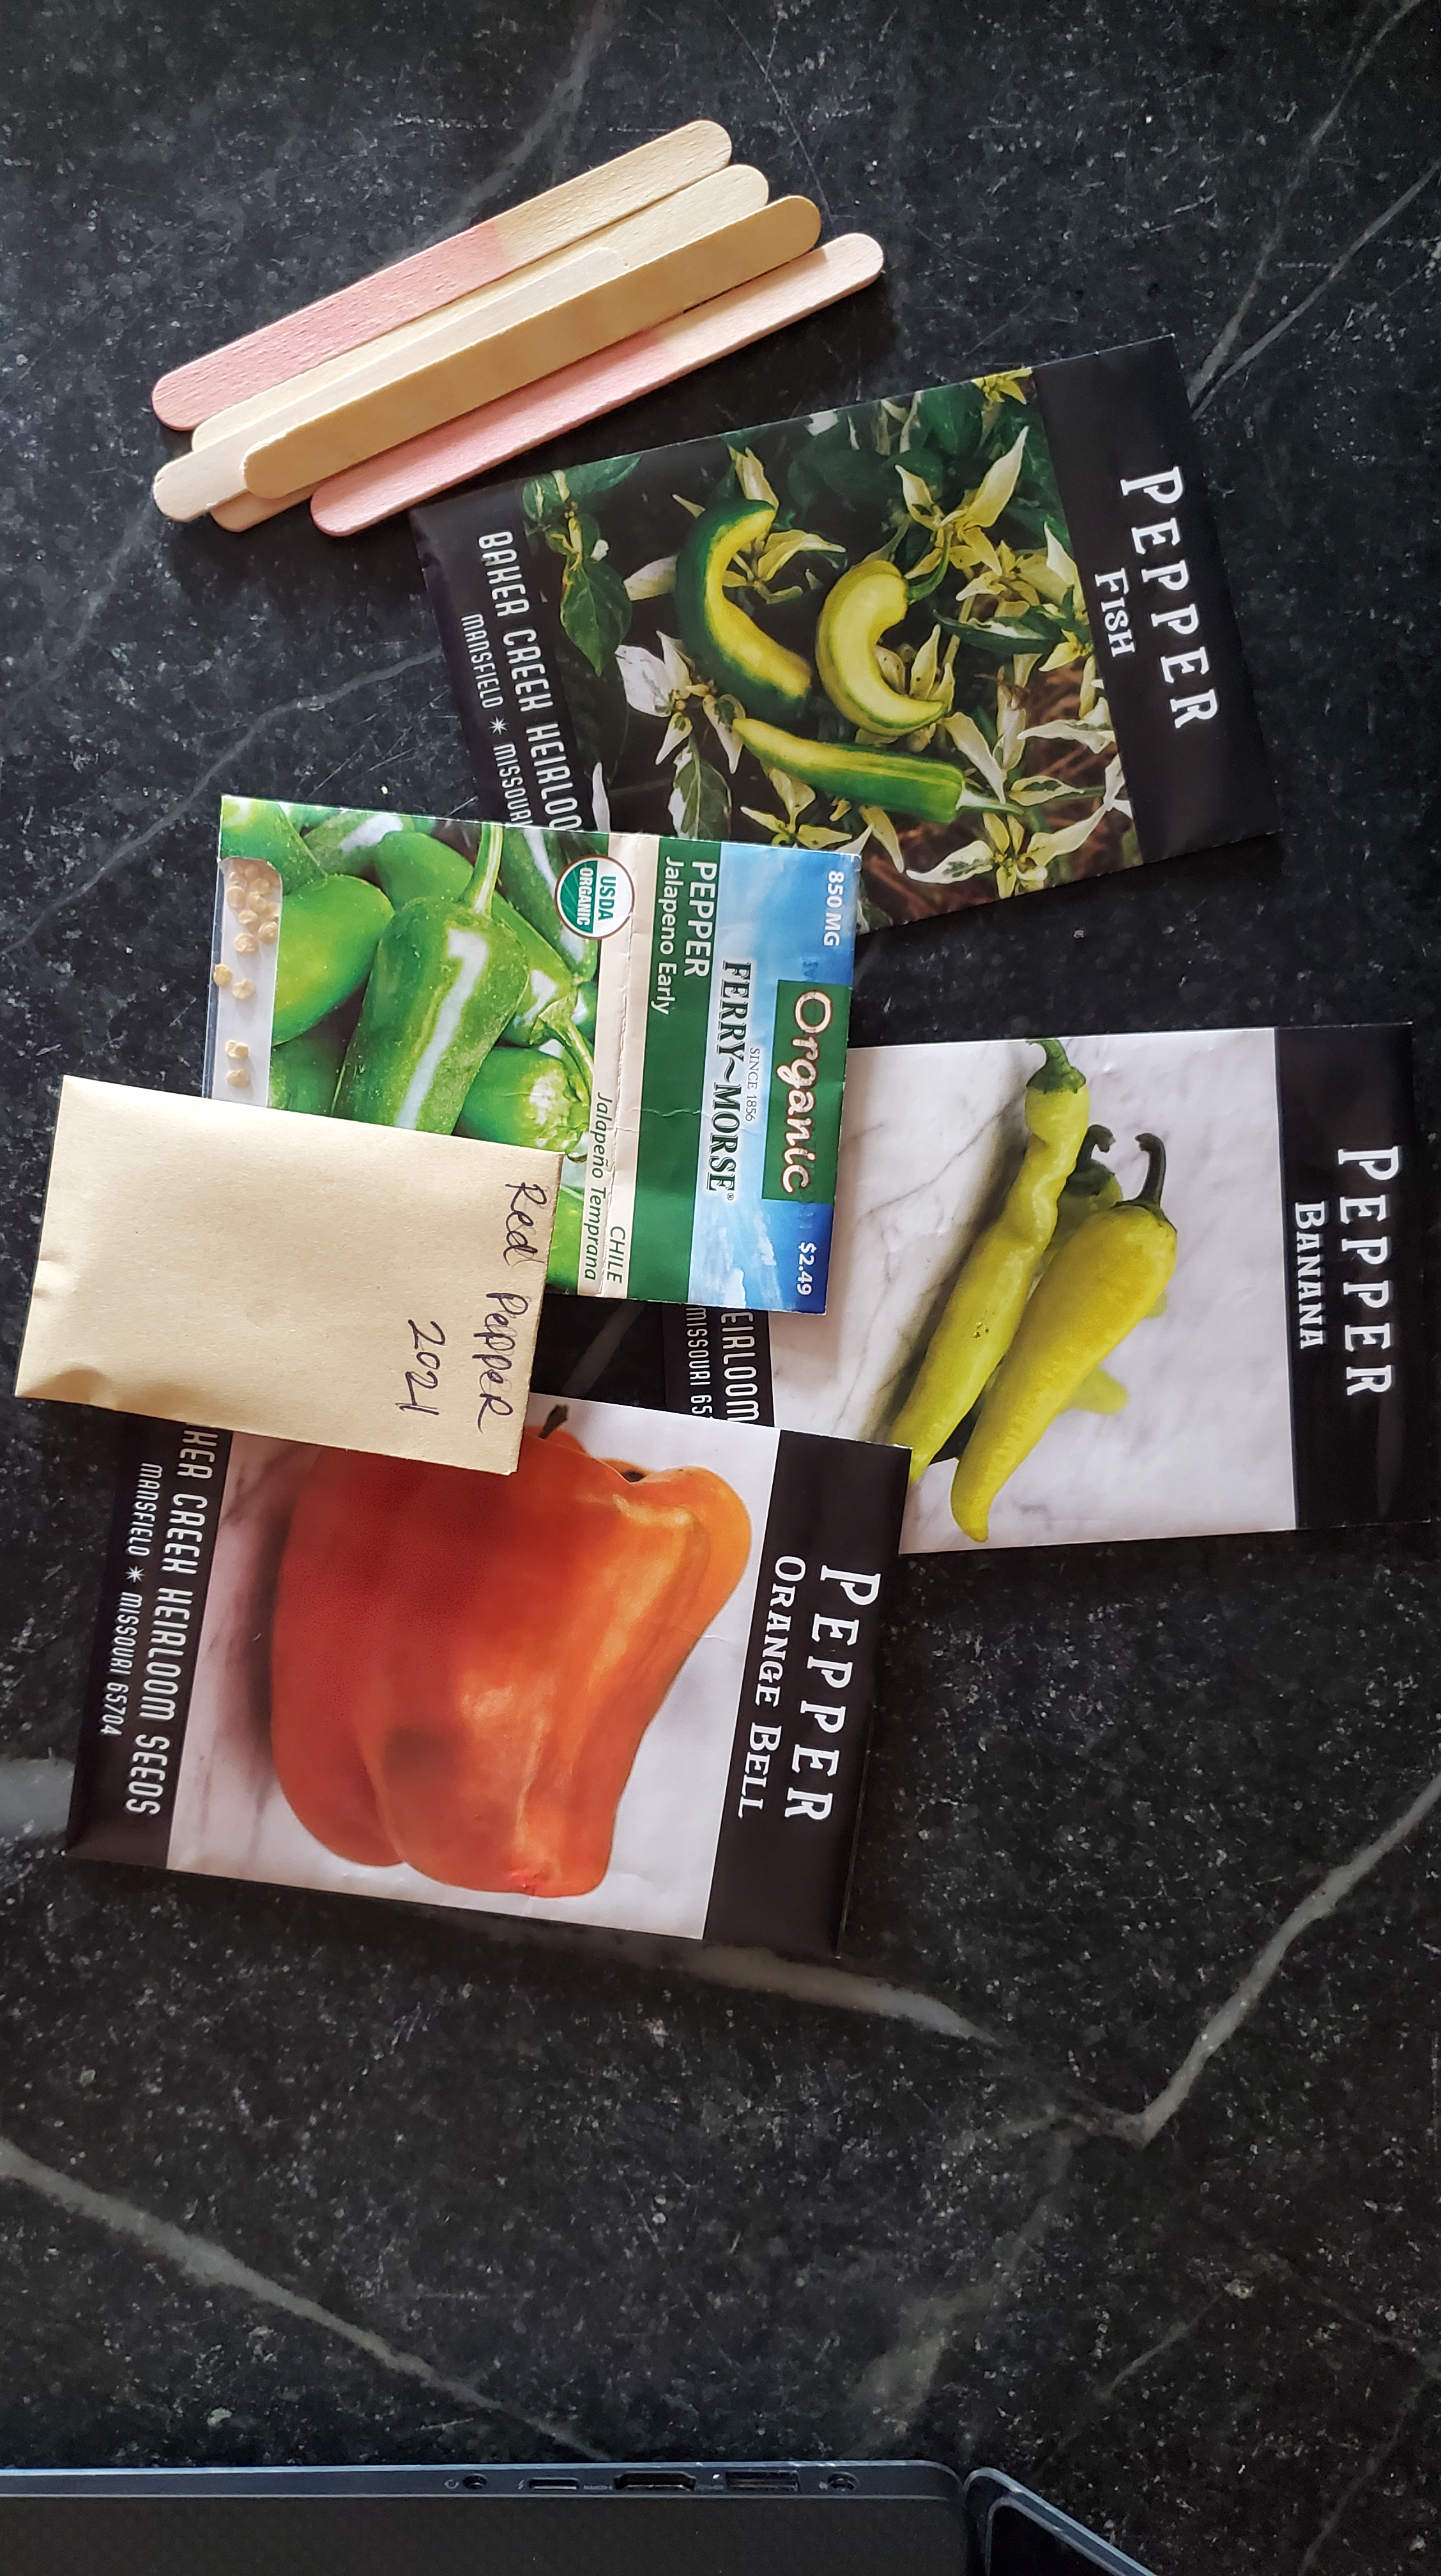
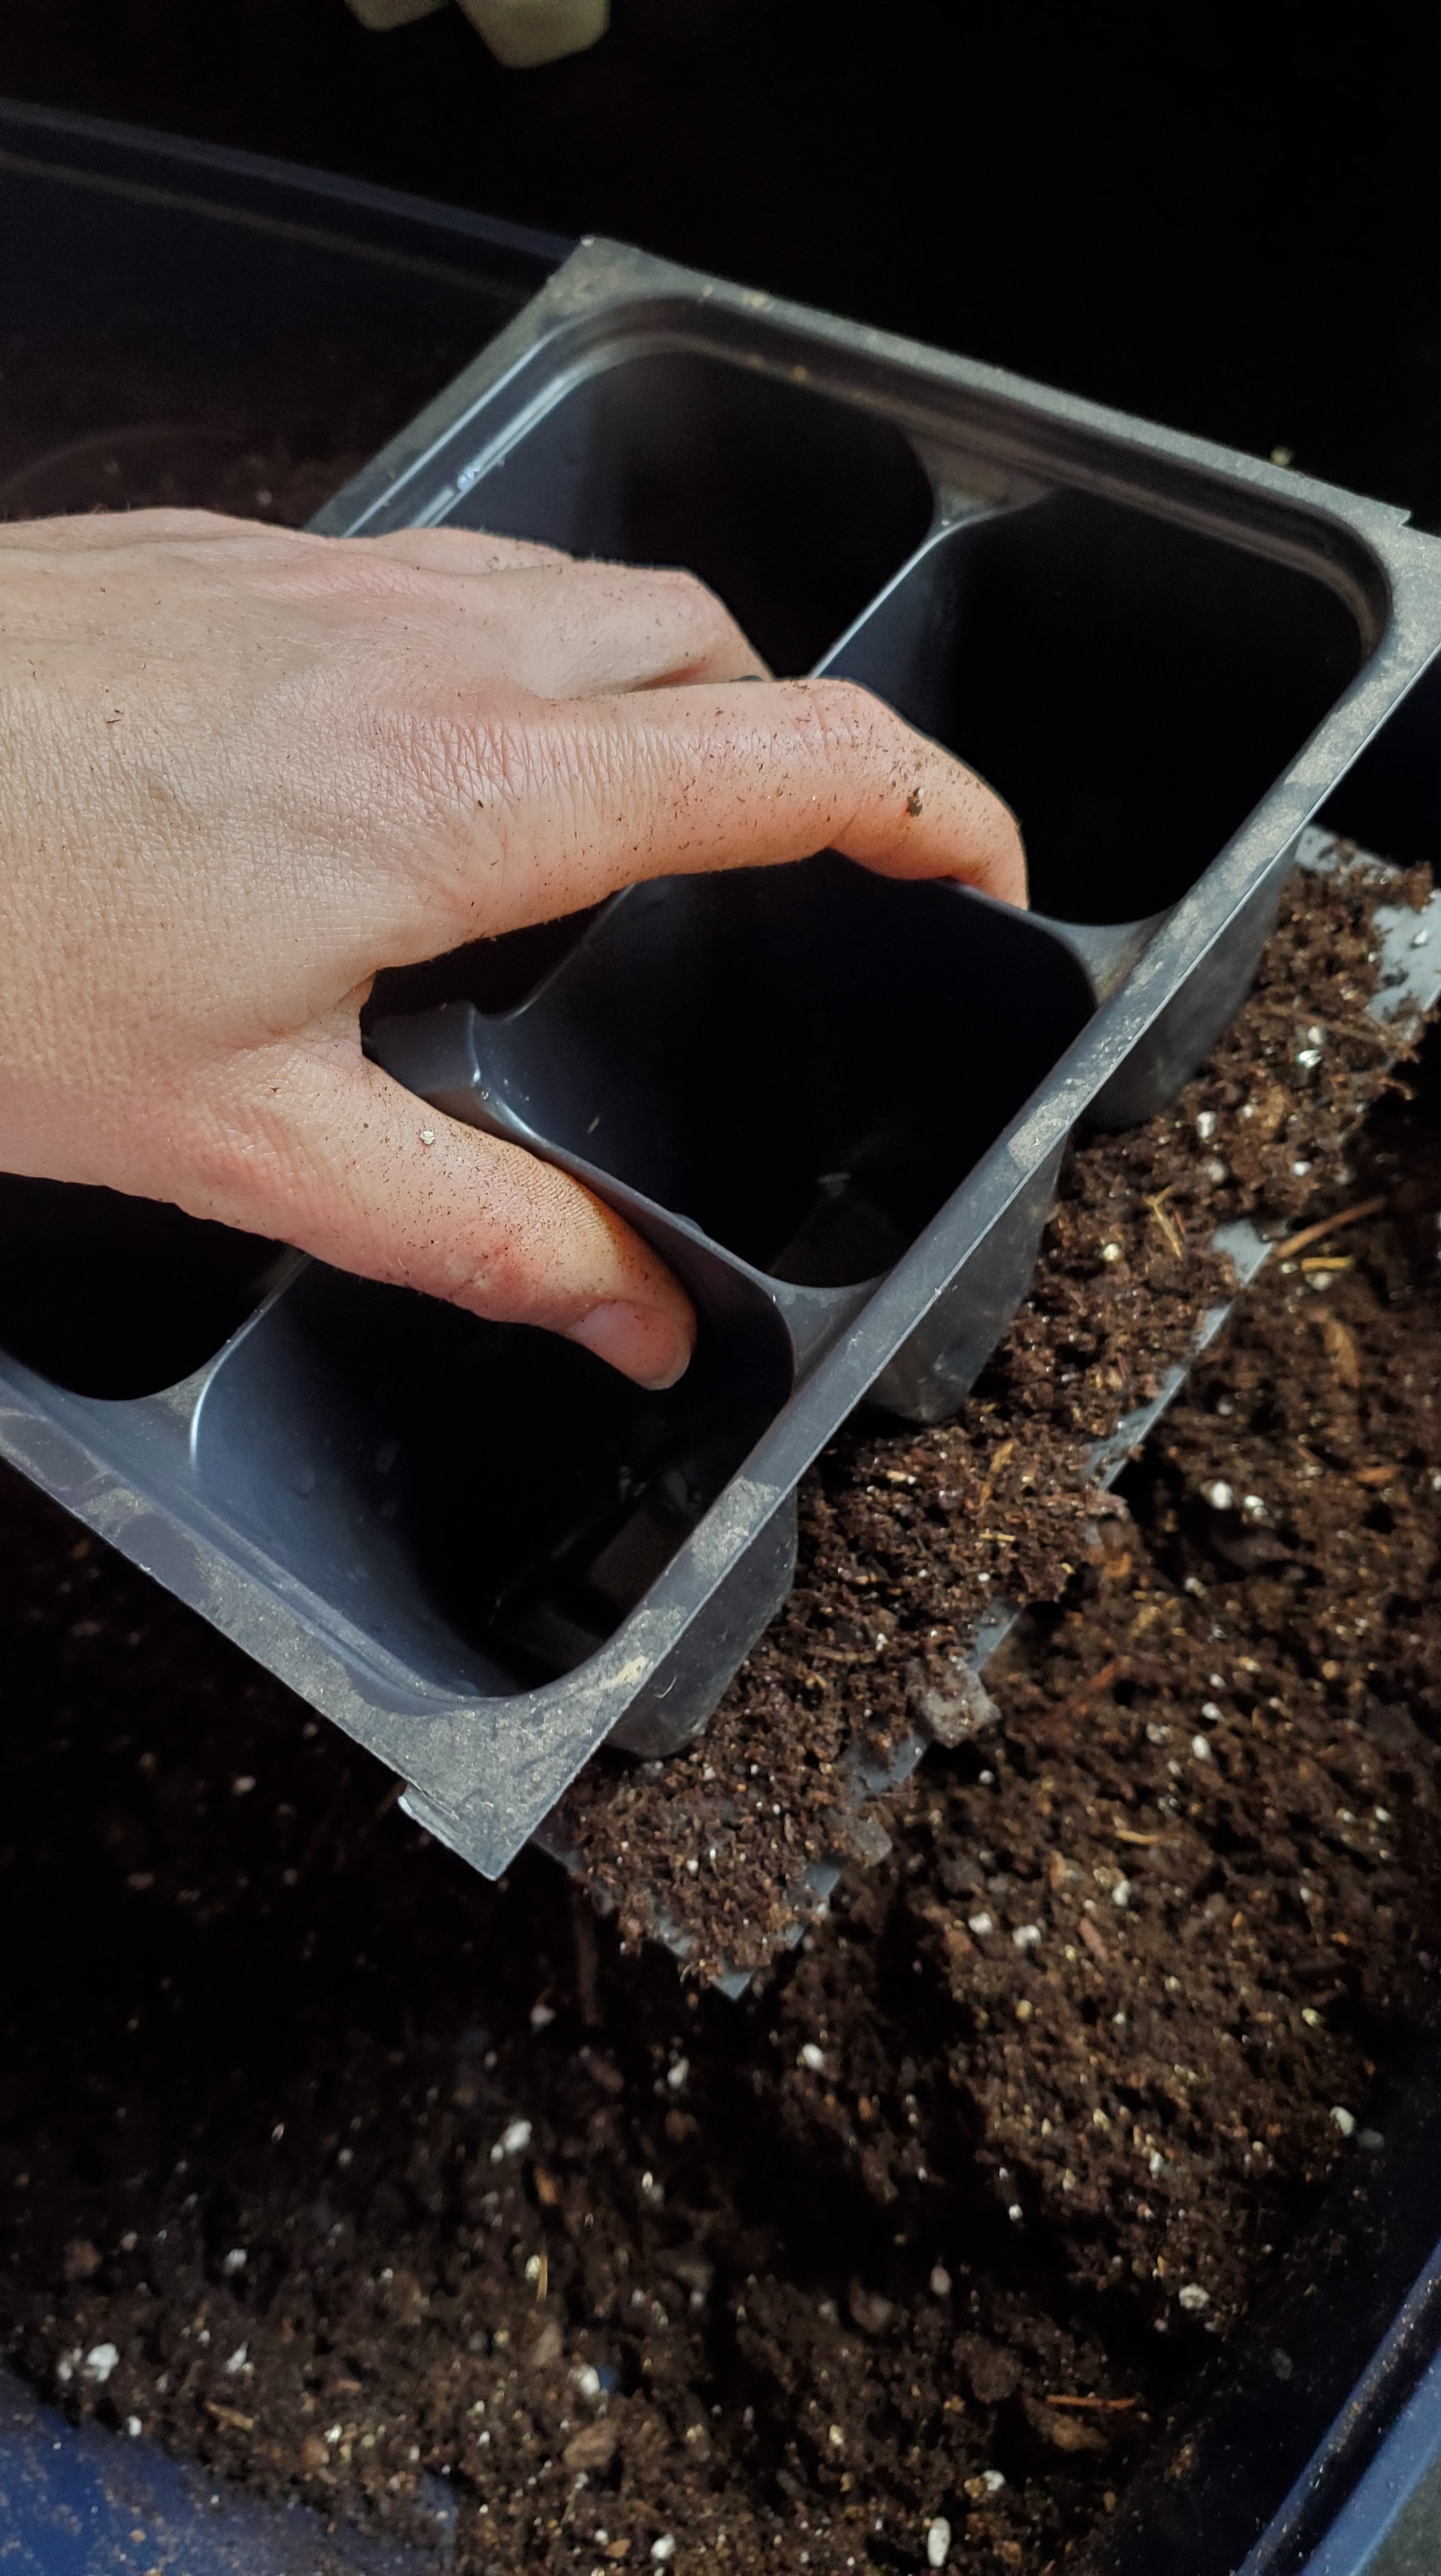
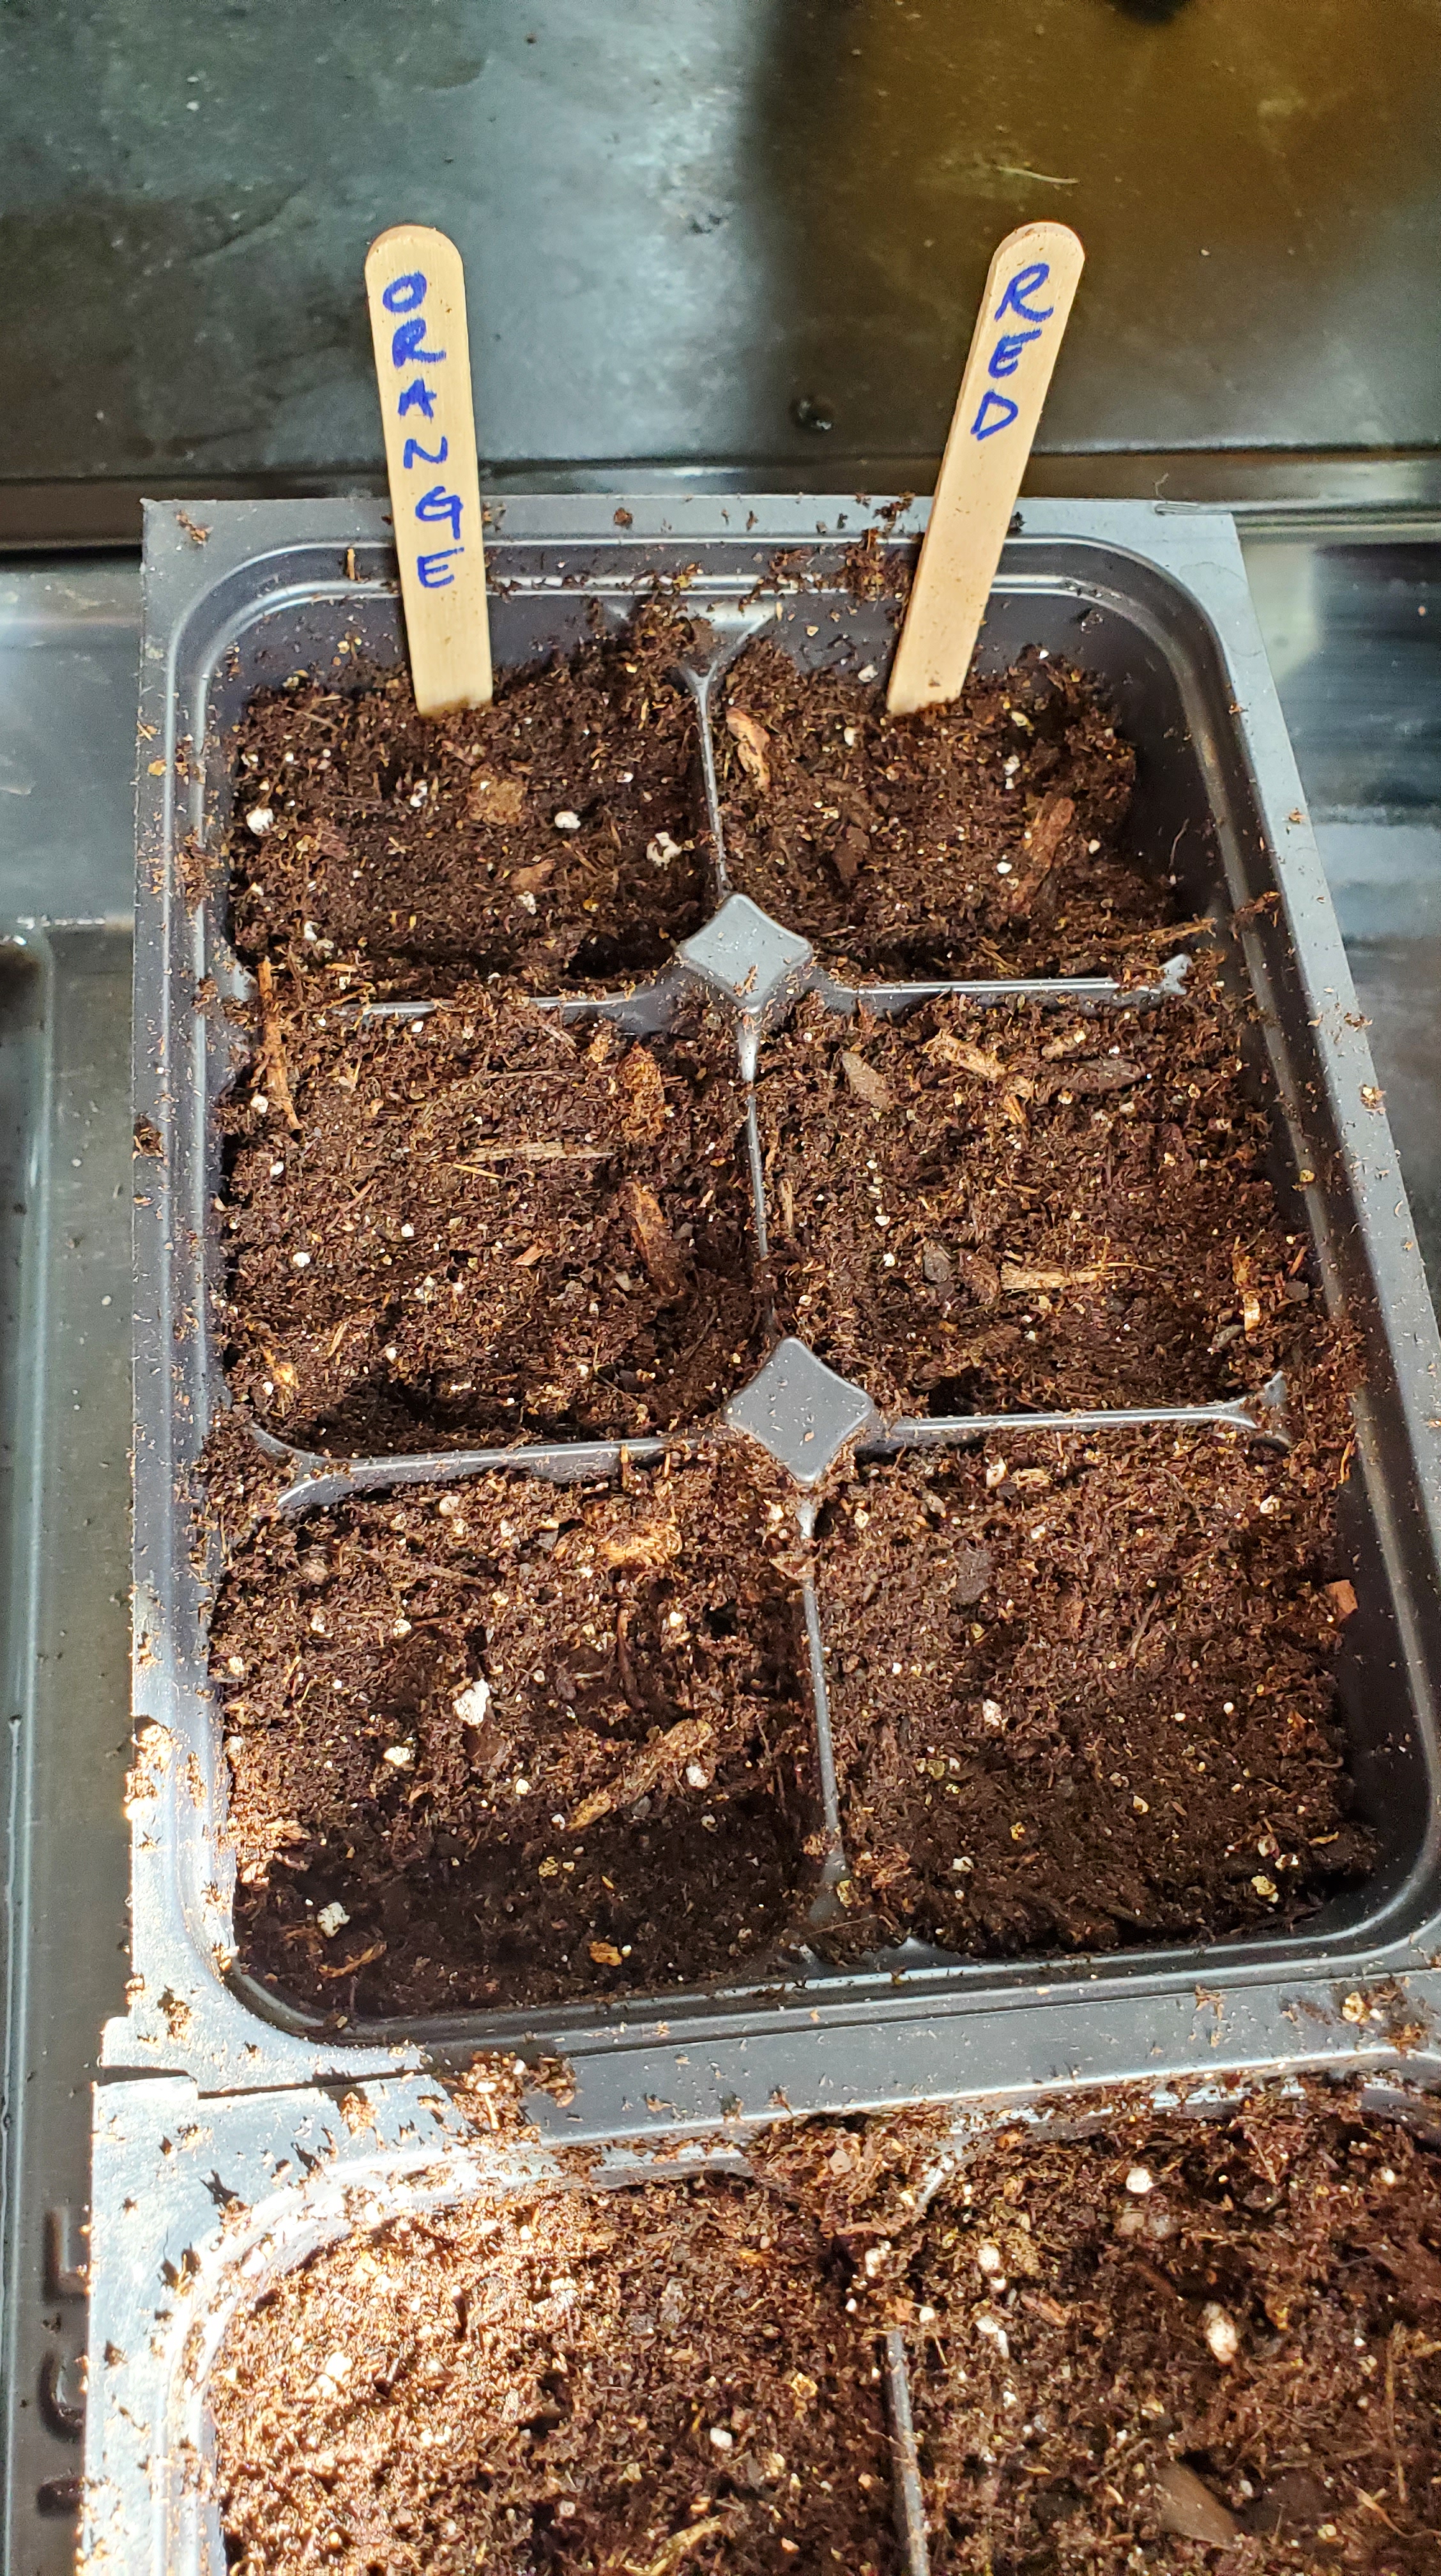
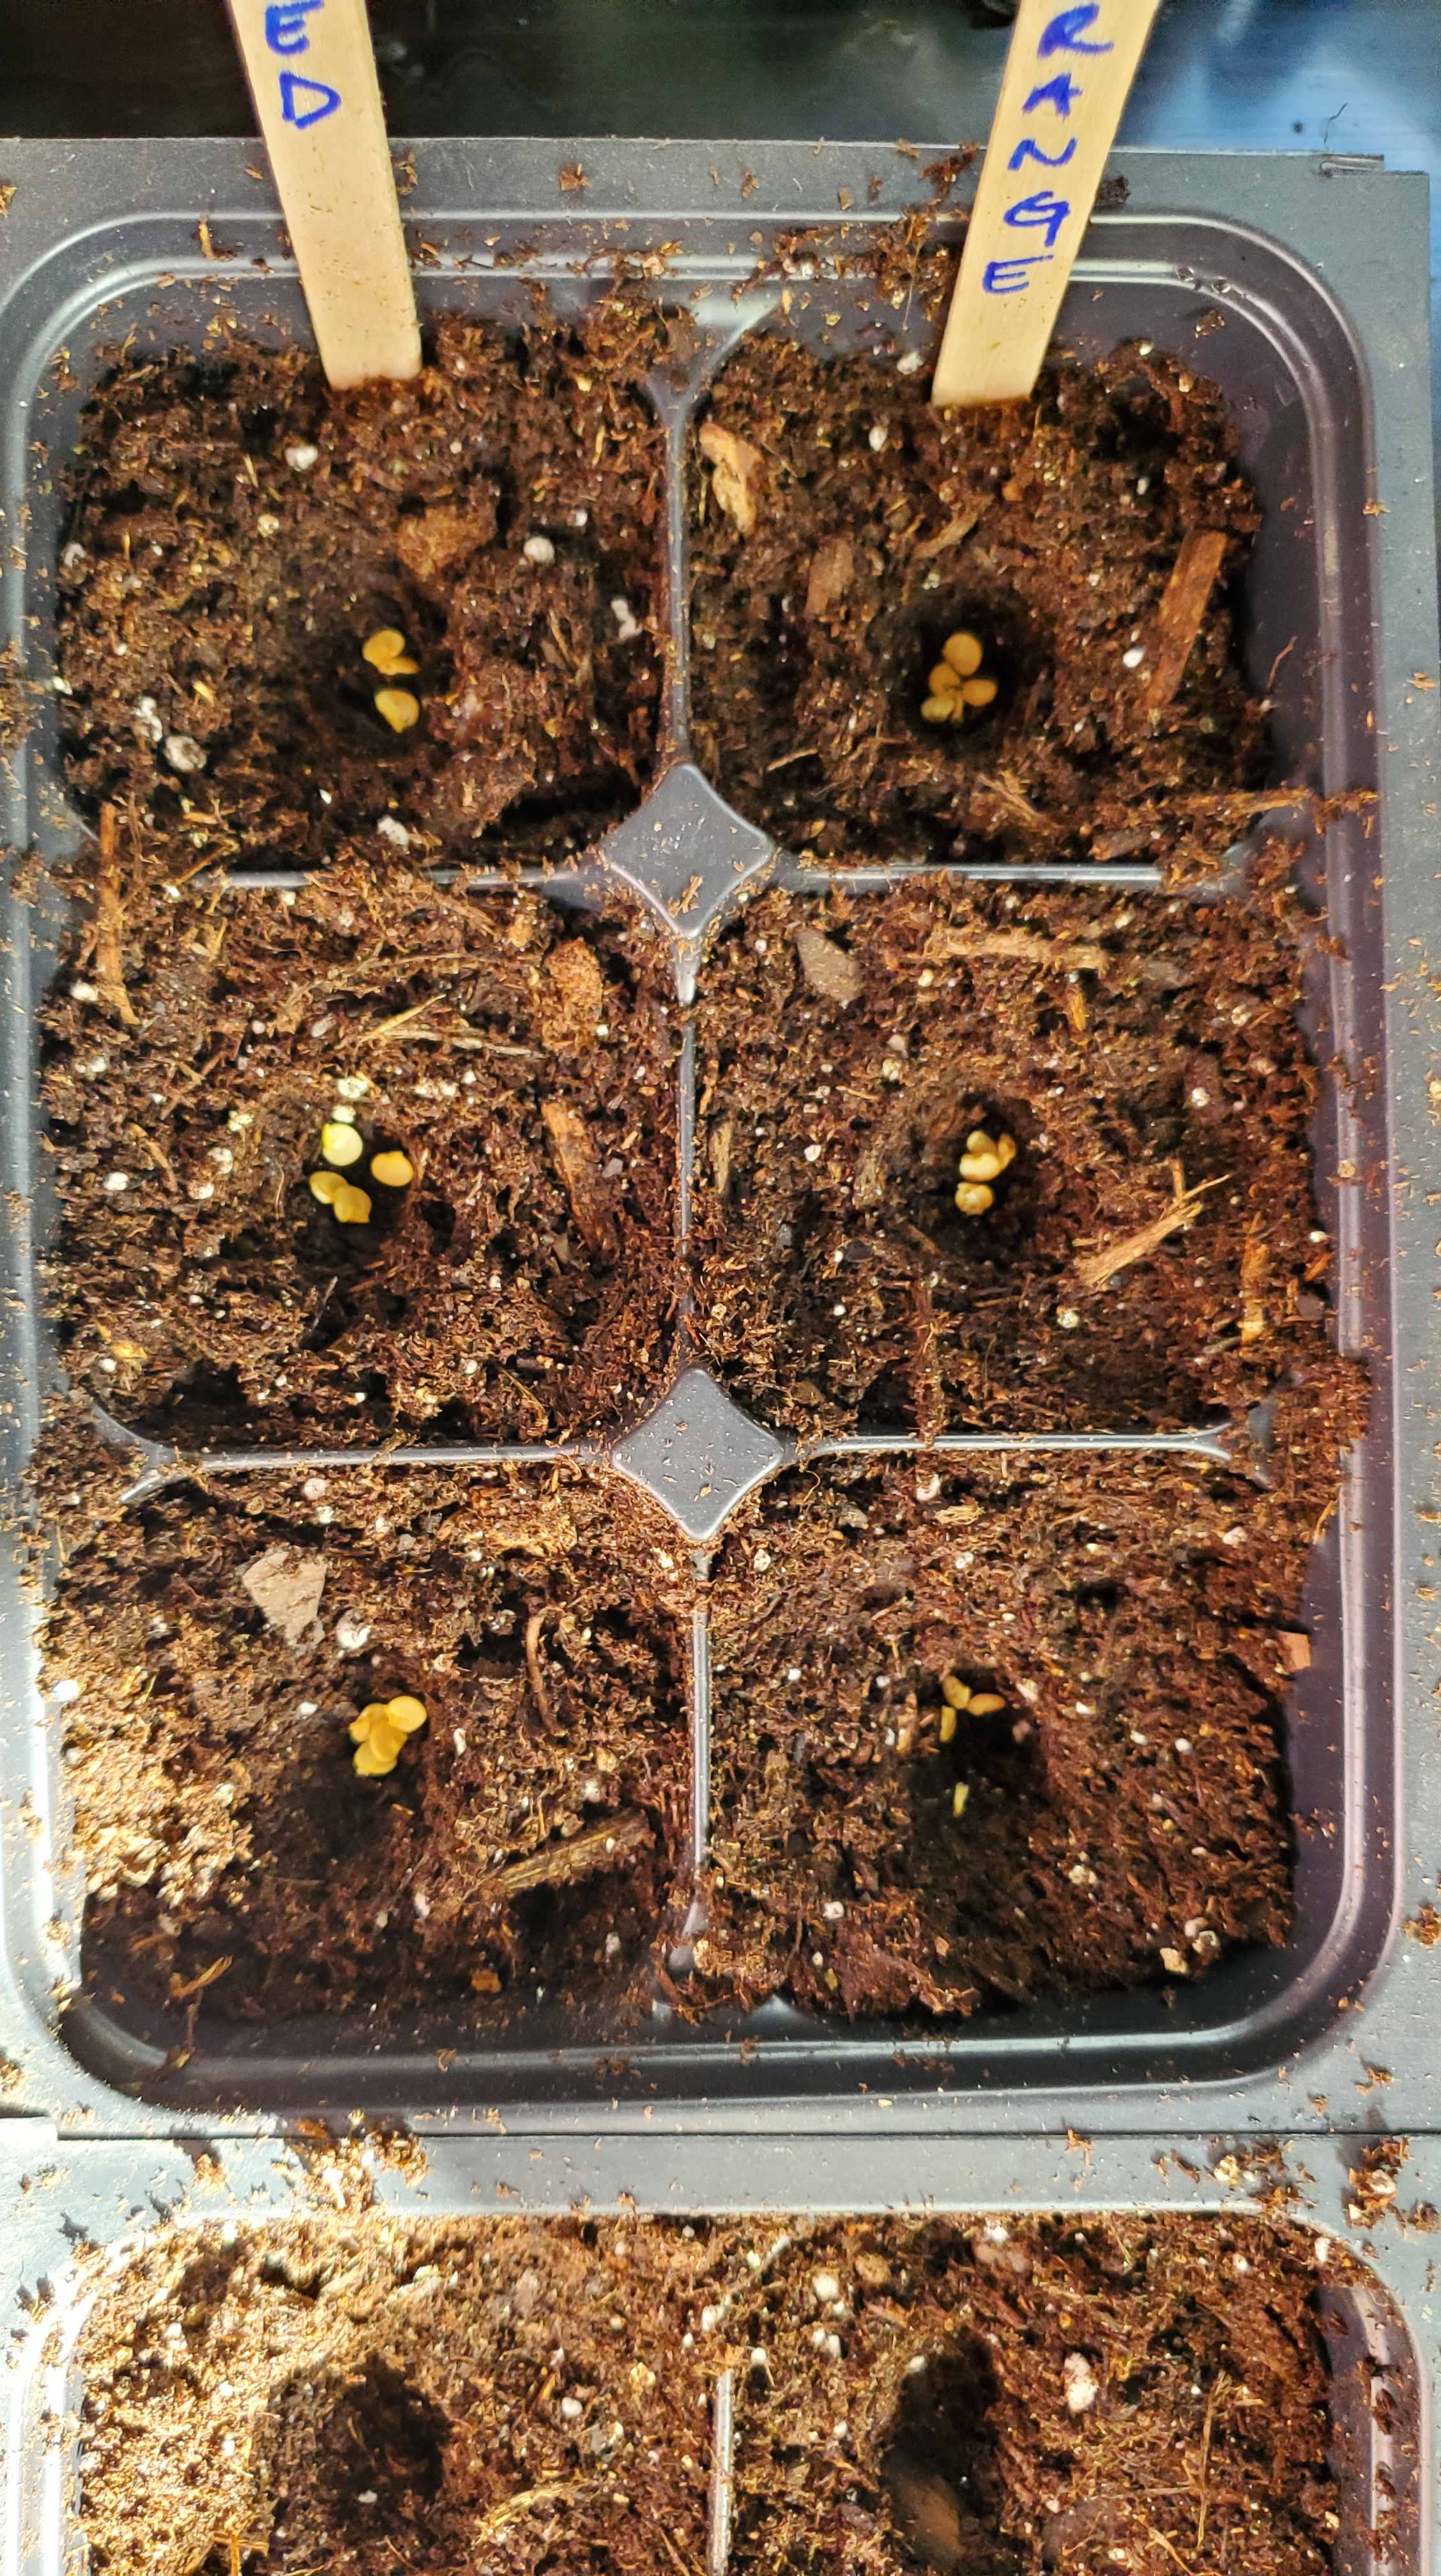
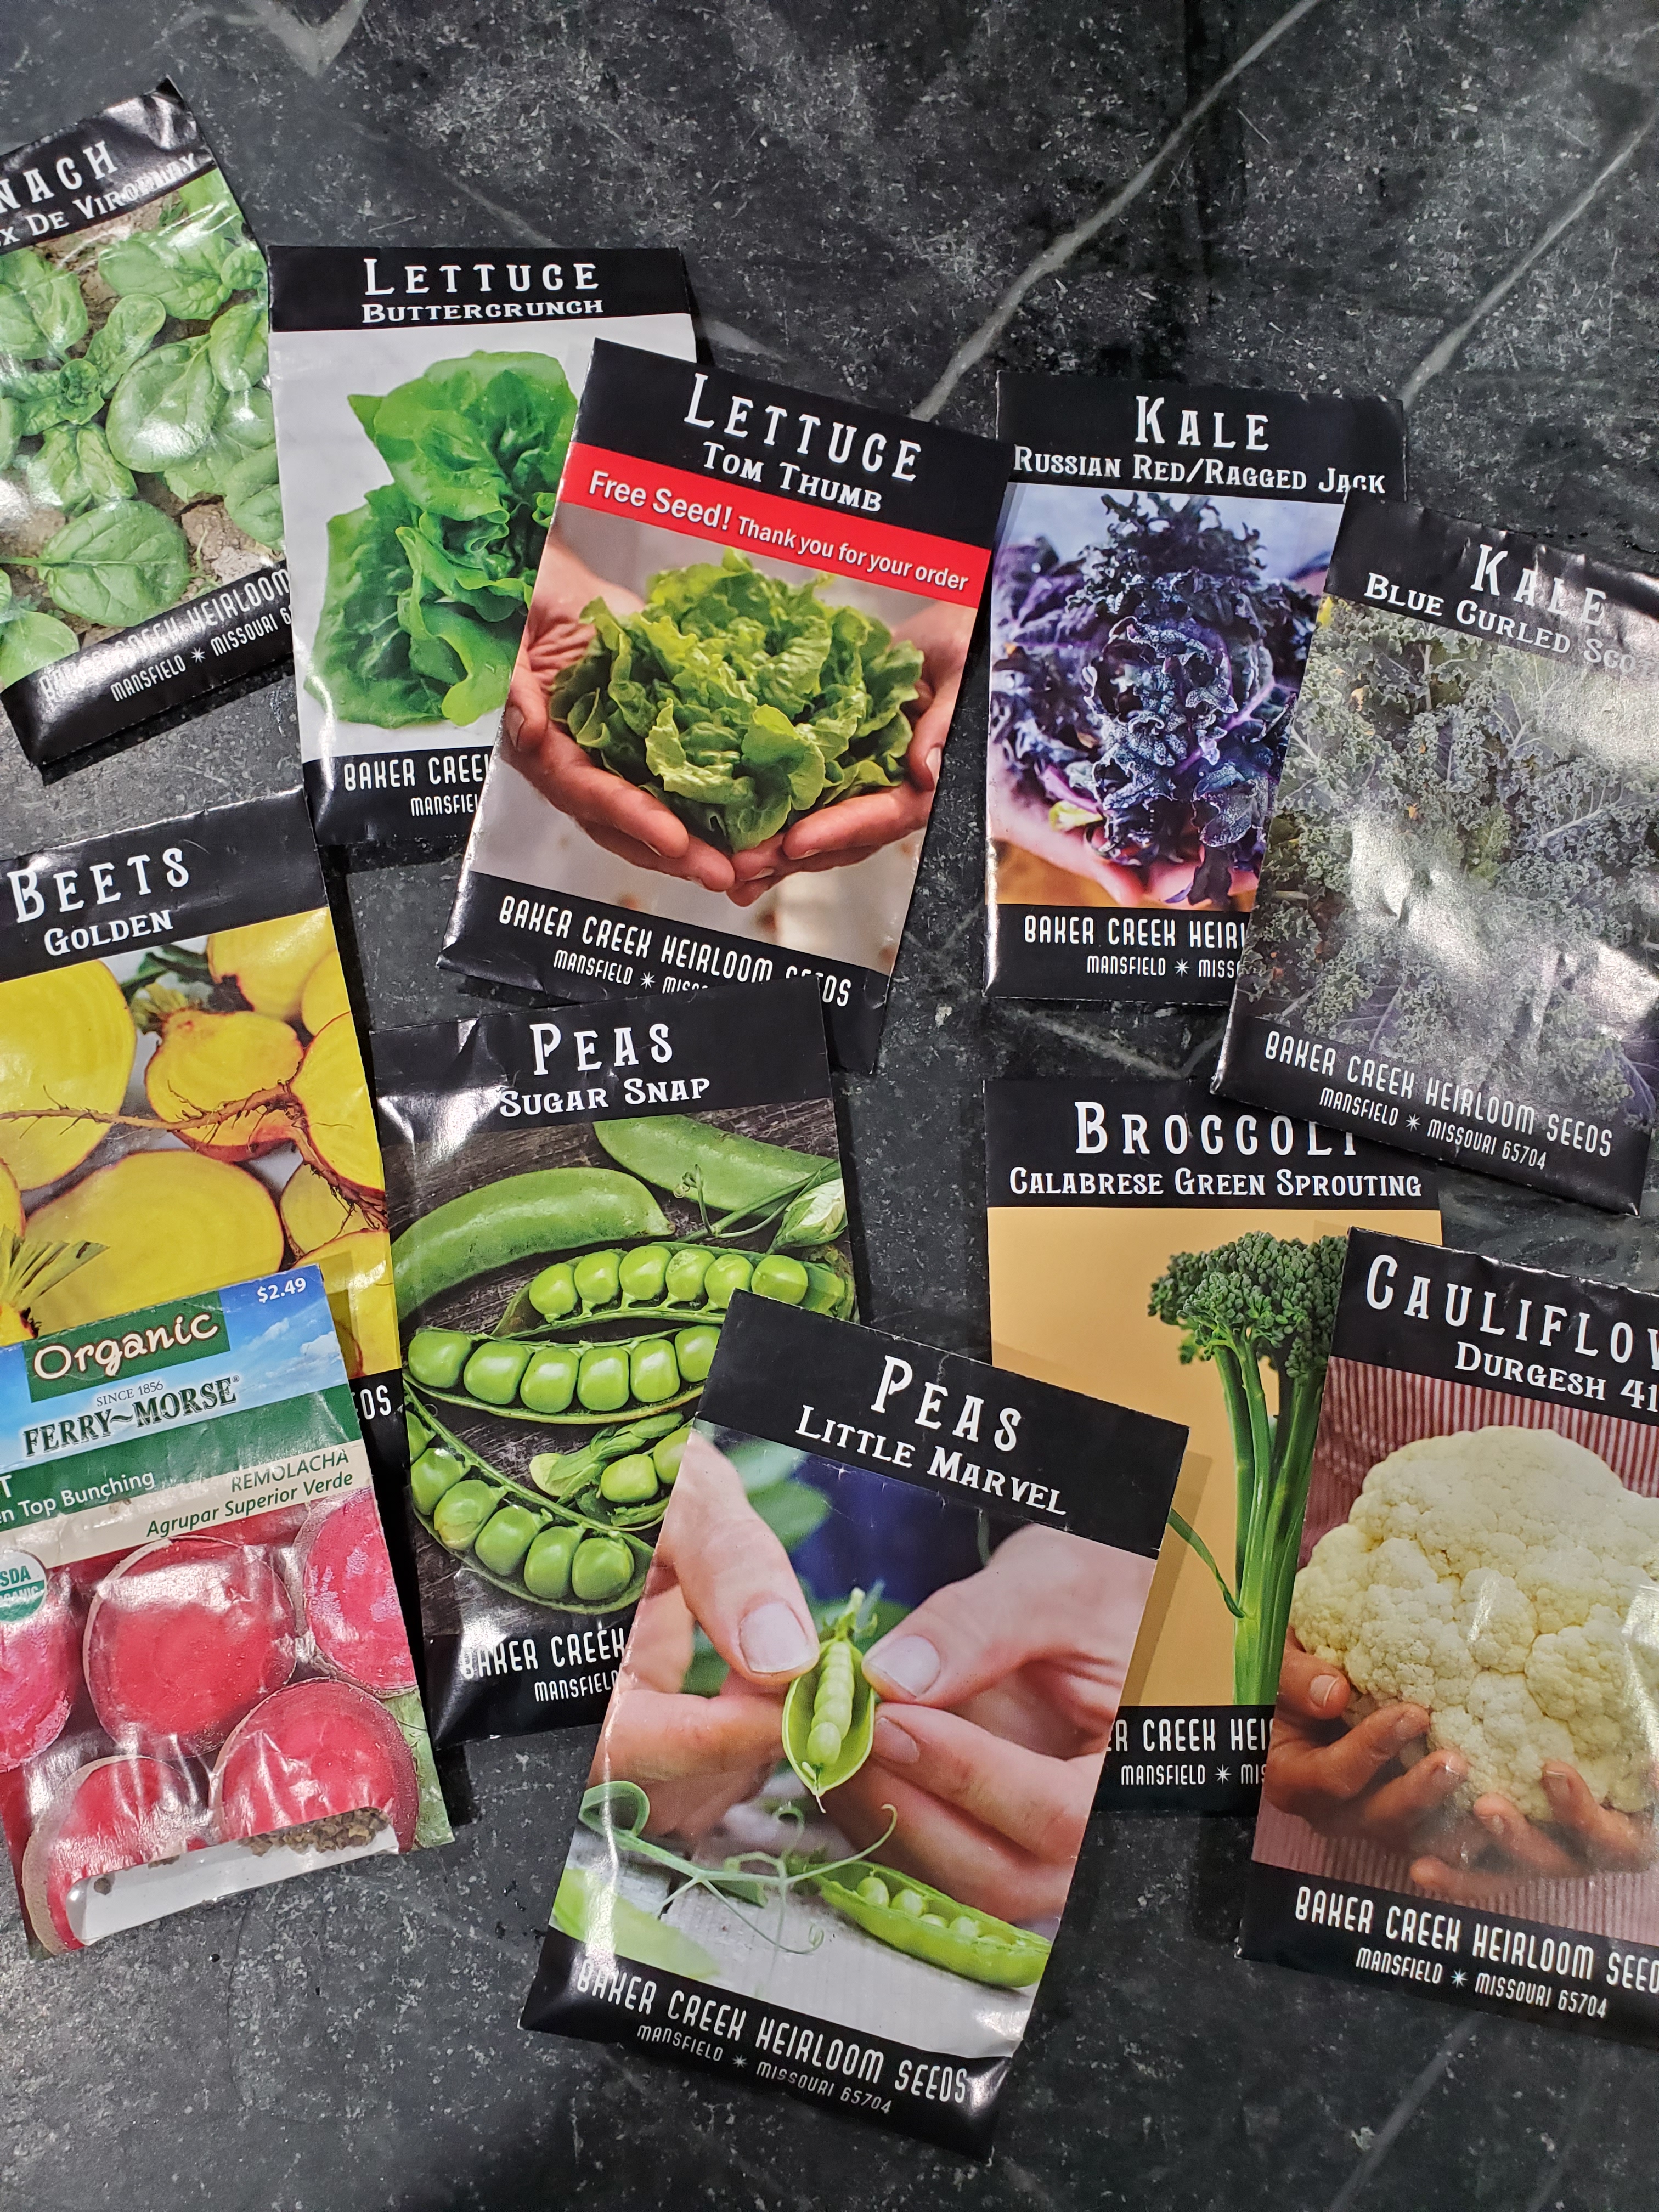
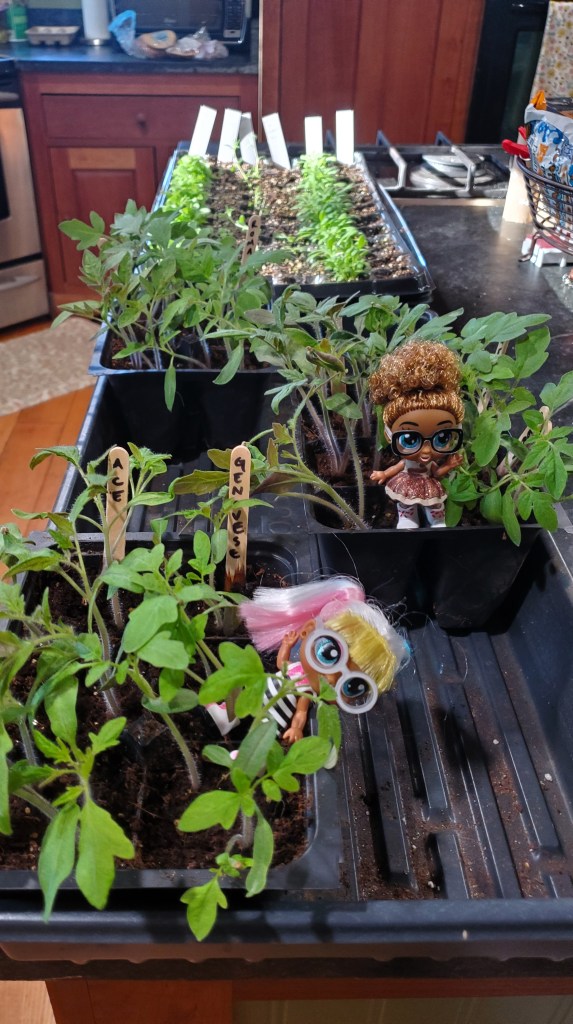
  • Harden off your seedlings by gradually exposing them to the great outdoors over a week. Just do a few hours the first day and add 1-2 hours each day so they can acclimate to the sun, wind, and other elements. If you buy seedlings from a nursery, then you can skip this.
  • Buy any seedlings that you didn’t start yourself or that weren’t successful. It’s okay, it’s all learning and there is always next year. Two-thirds of my tomato seedlings died from gnats this year.  Grrr!
  • Plant your seedlings later in the day on a cloudy day if possible and water them in well. It’s a big shock for these little babies so make it as easy as you can.
tomato seedlings that are damaged by gnats

Equipment

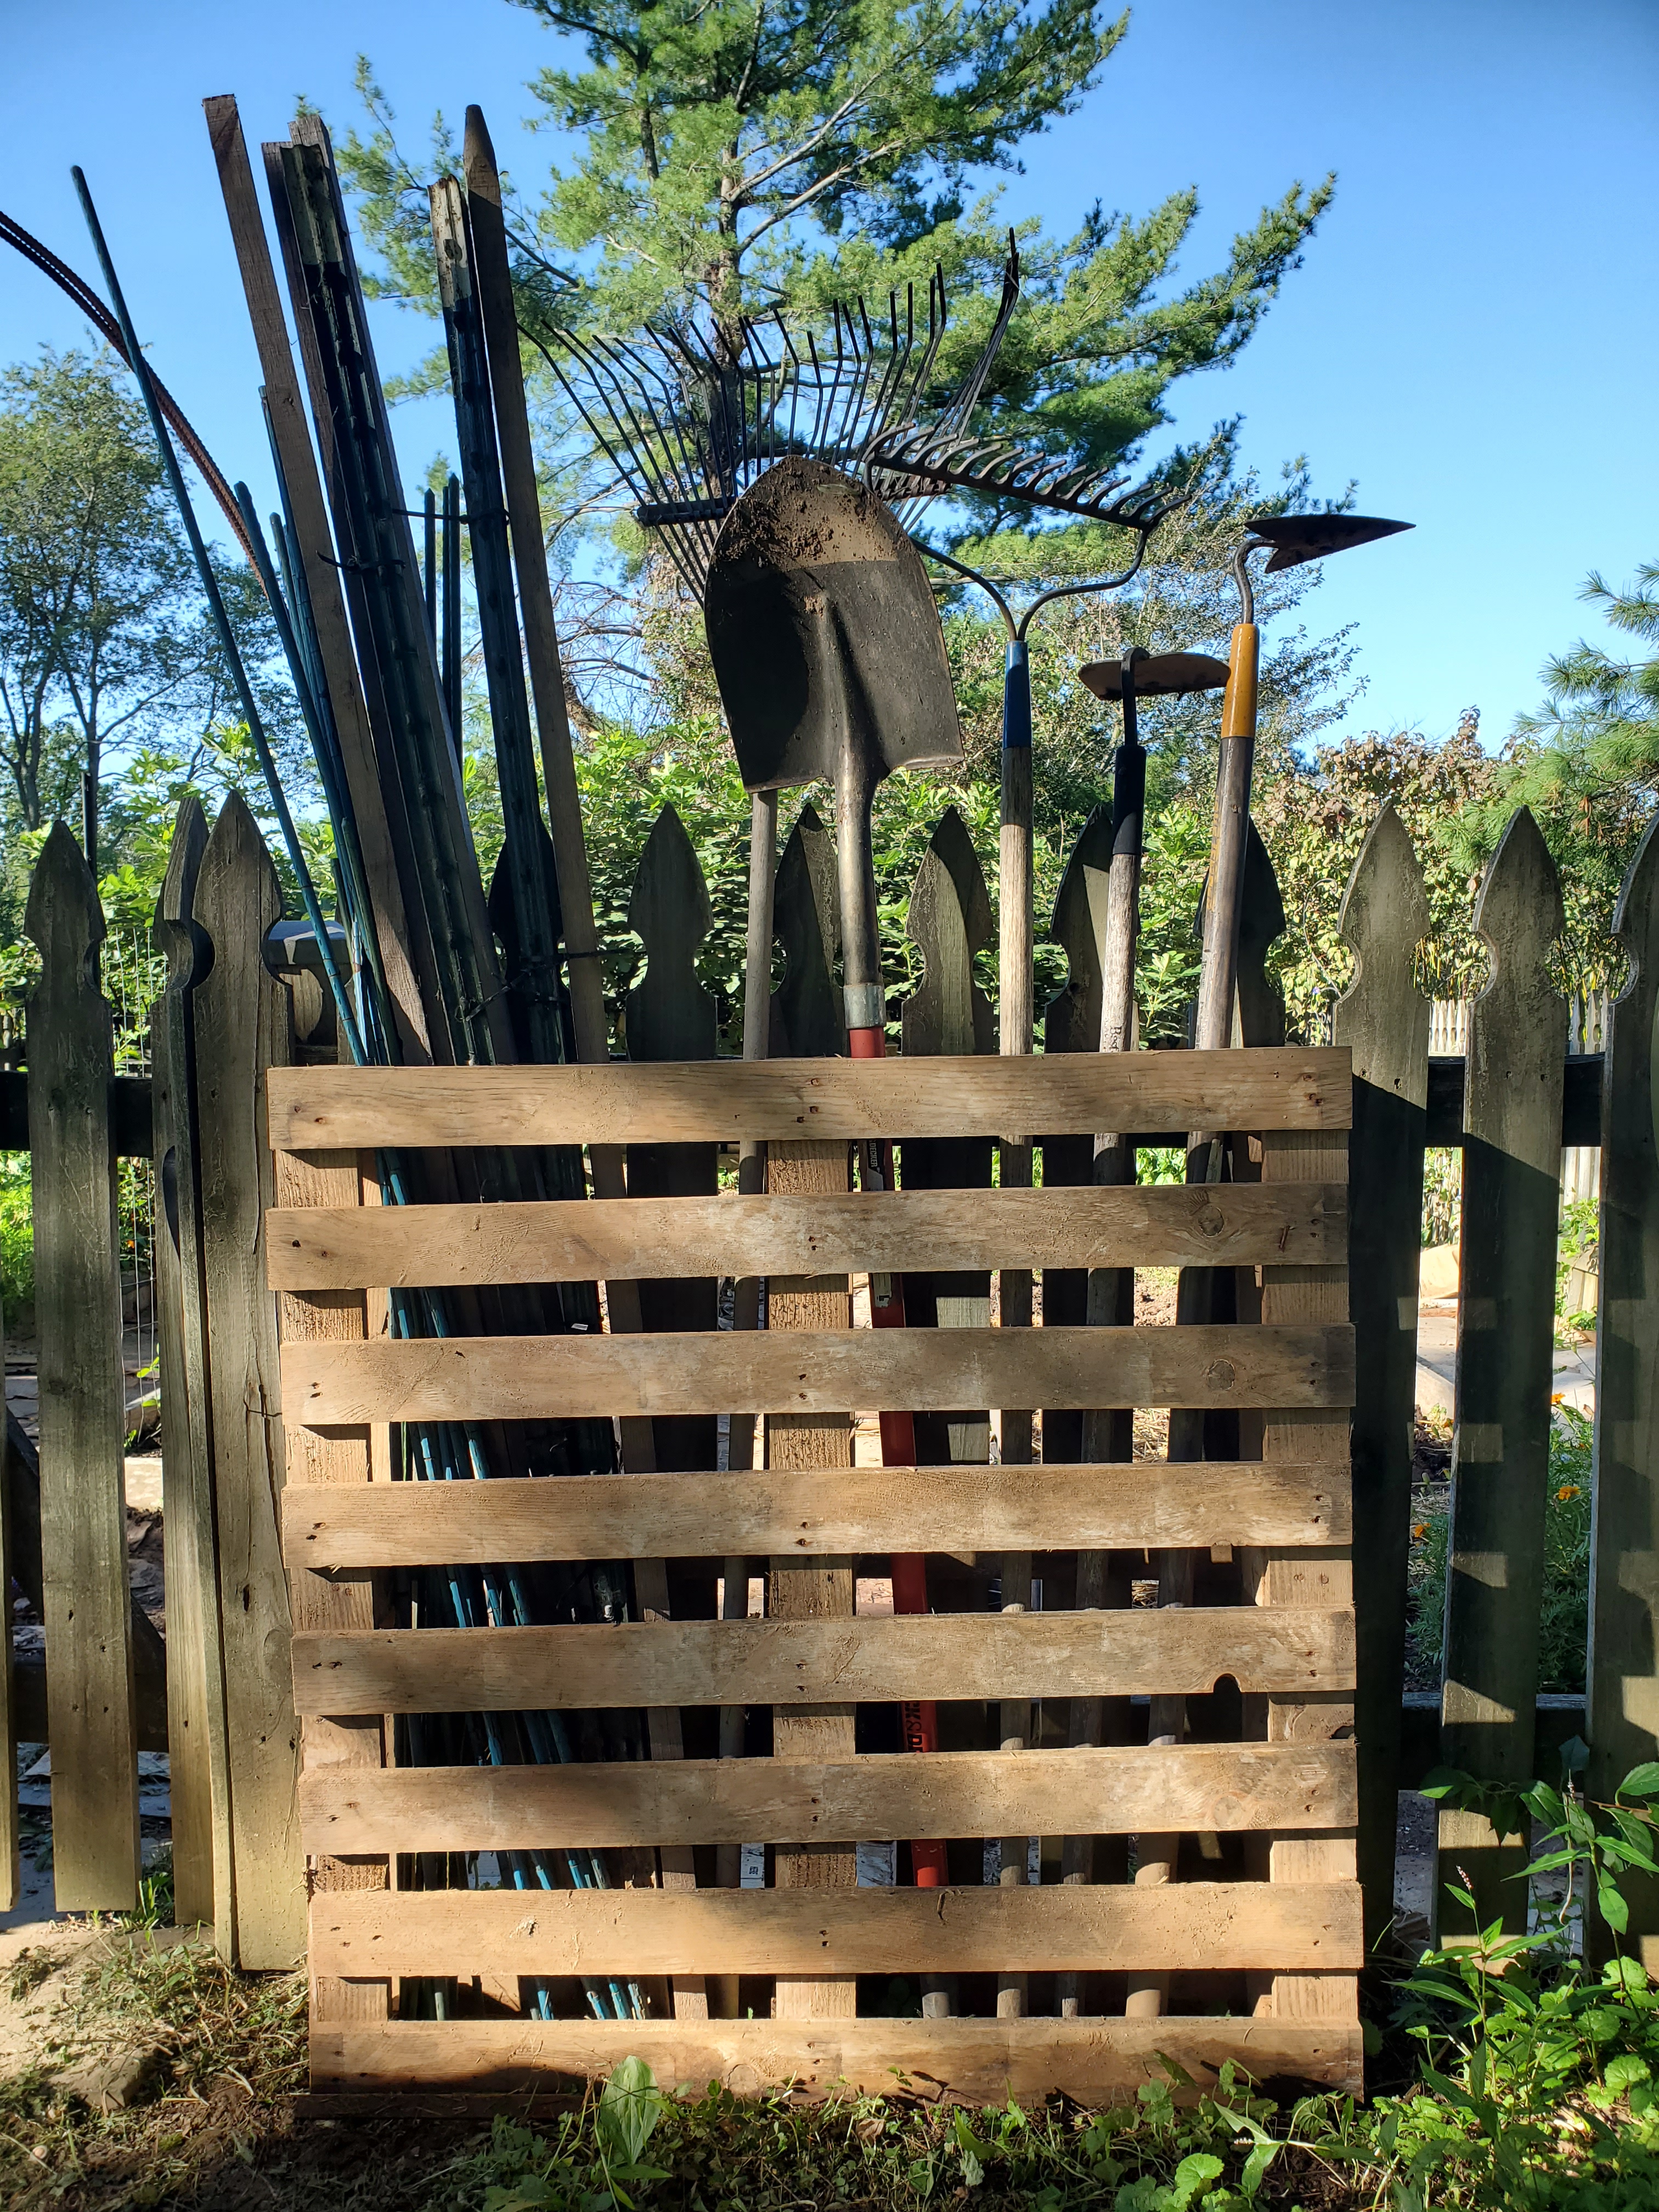
  • Get all your equipment and tools out of storage and located conveniently to where you will use them.  On a weekly basis I use a hoe, rake, hori hori knife, a bucket, watering can, and a wheelbarrow. I keep everything right at the entrance to my garden, organized in a pallet #pallet projects
  • Put up fencing and trellises as needed for your crops that will need support for climbing – pole beans, tomatoes, berries, etc.
  • Buy clips and stakes to help support.
  • Get a gardening belt for your gloves and snips. I also keep a tape measure in mine too. You can use an old apron or a fanny pack. No judgement here – I bet you look fly😊

Maintenance

  • Buy the fertilizer you will need for the season. I like the AgroThrive brand.
  • Decide on your pest management strategy.  Will you use BT (Bacillus thuringiensis) for X? Or DE (Diatomaceous earth) for Y?  Do you plan to use a spray?  If so, can you make an organic one yourself with natural ingredients? Or are you going to hand pick off slugs and remove eggs at 5am every morning? You won’t be able to prevent everything, there will be some losses. But get to know the pests most prevalent in your zone and get ahead of them.

Beautify

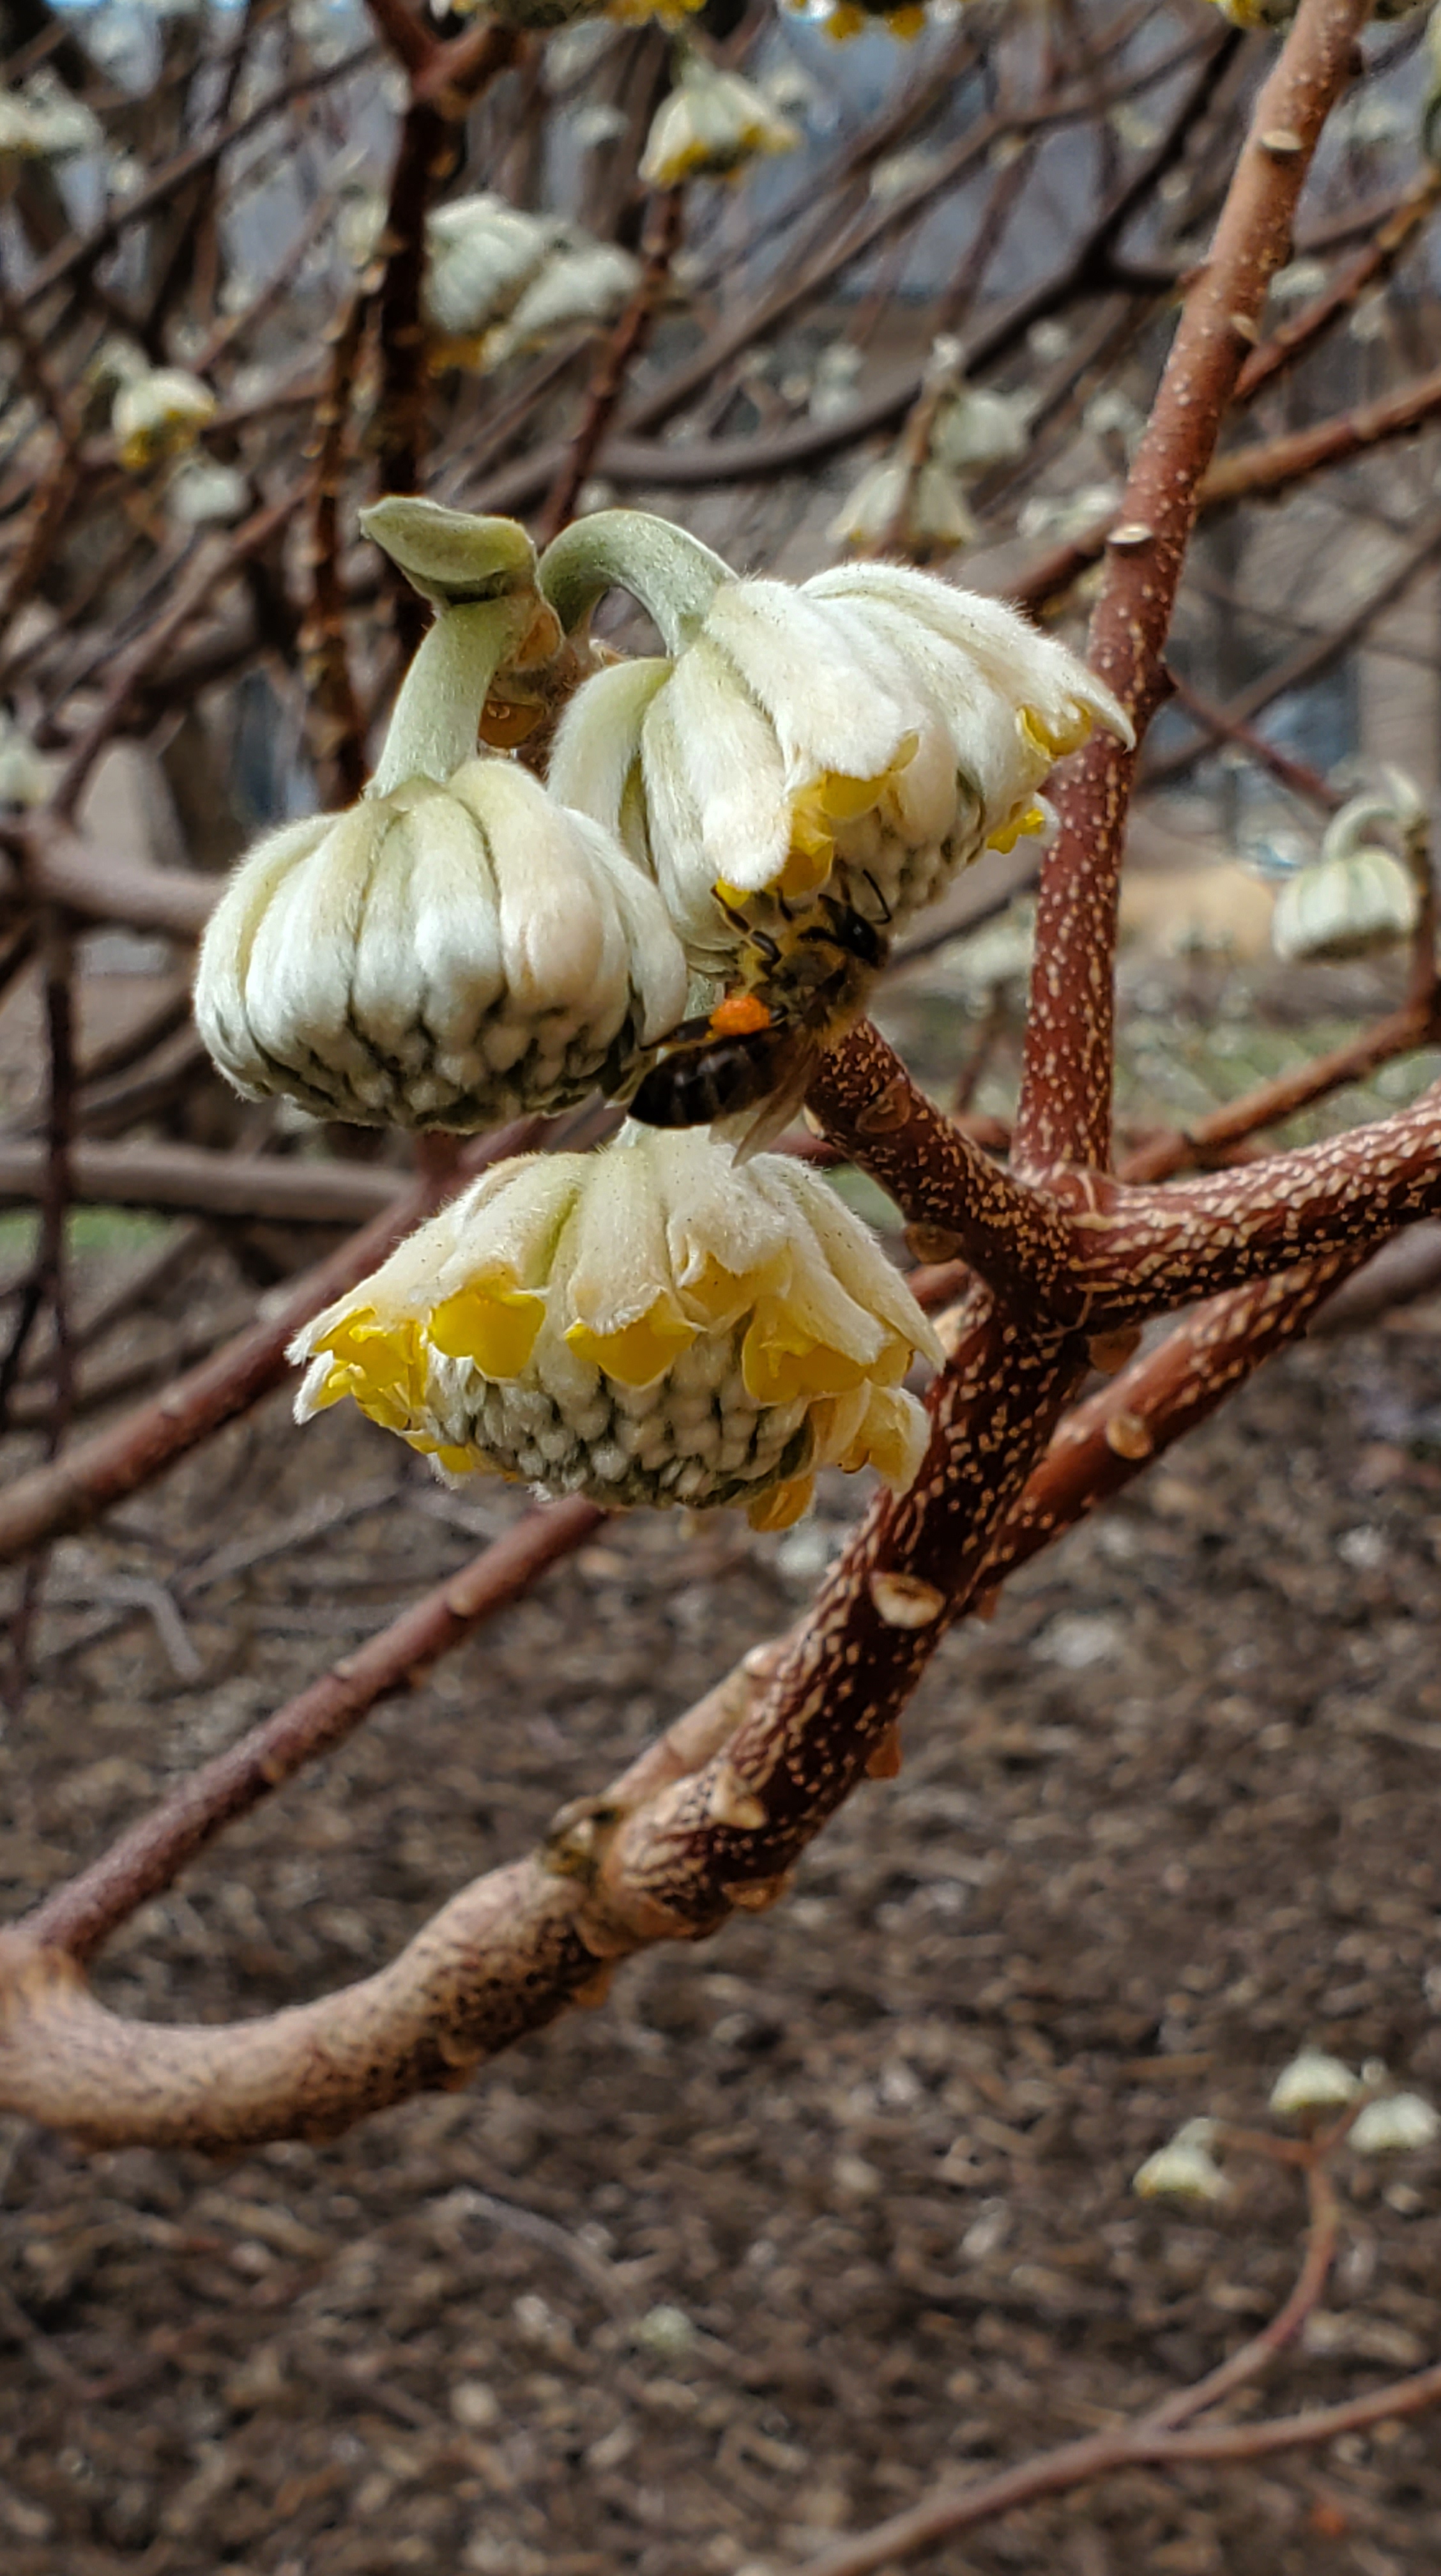
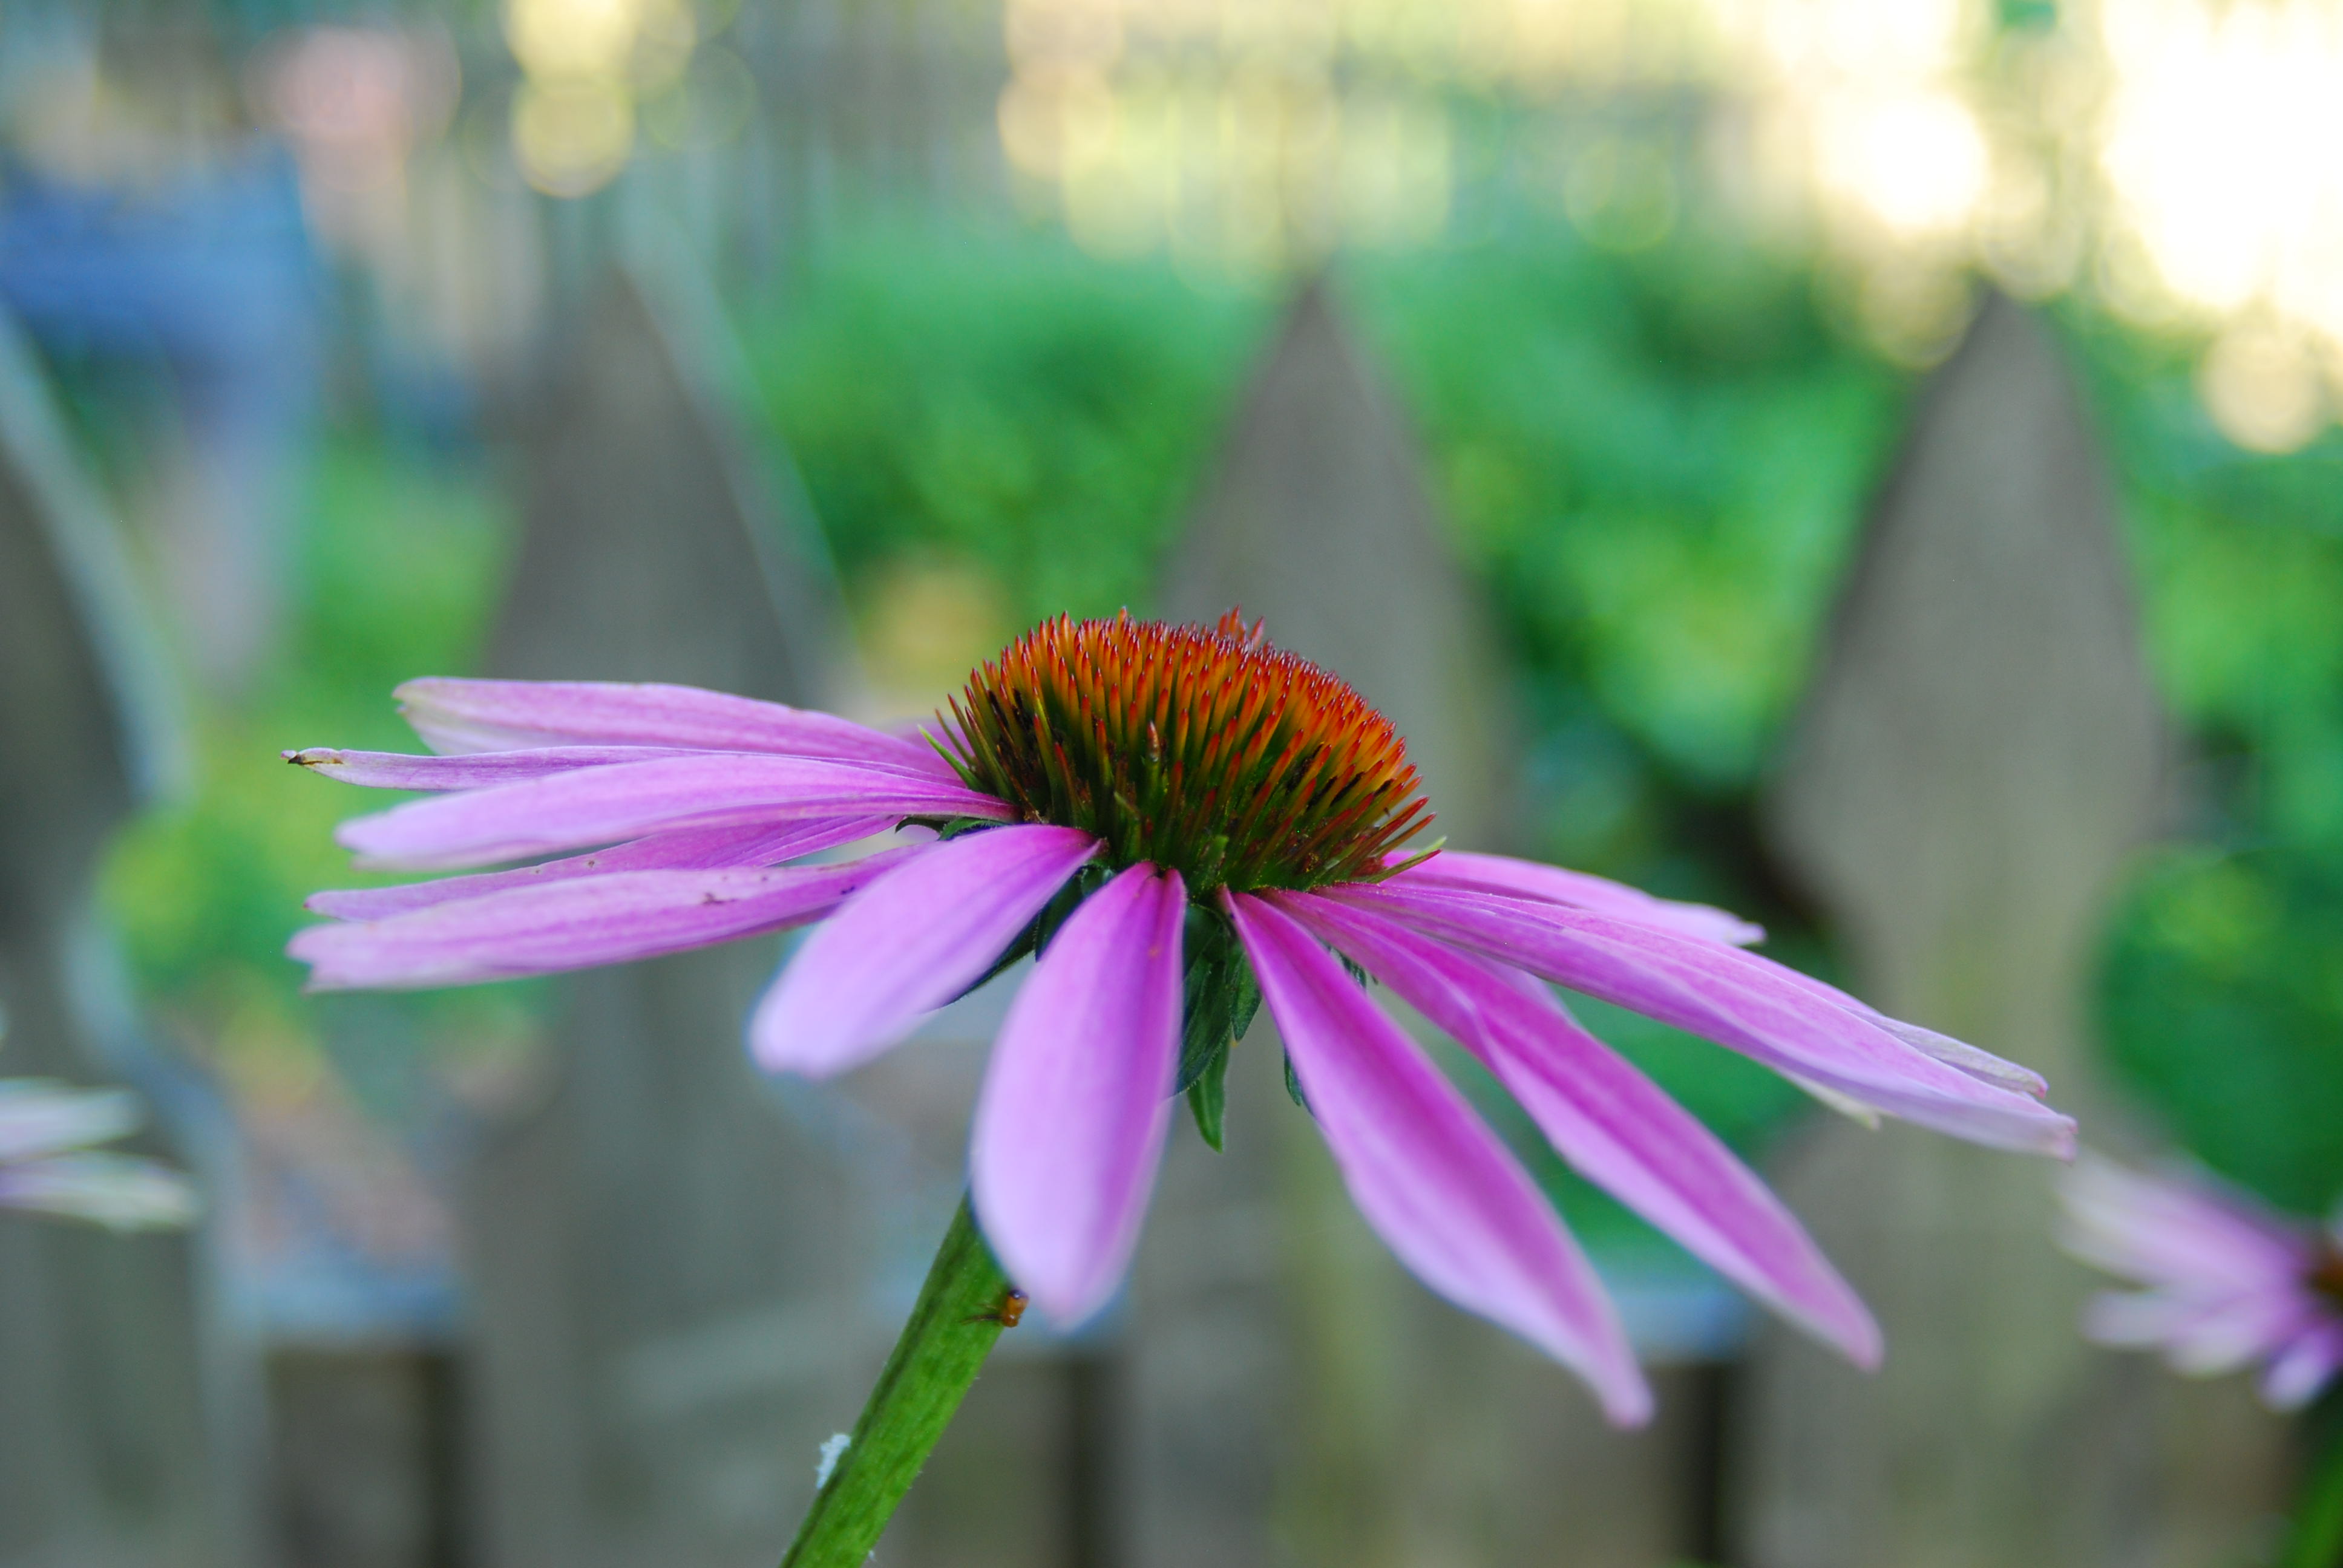
  • It can’t be all work and no play.  If the garden is your retreat, add some beauty and pleasure. Plant some flowers. Add a bird feeder or bird bath. Grow some flowery vining plants along a fence or trellis.

Make the Most of your Seed Starts

It seems winter is finally bidding us farewell. The flowers have all broken through and each morning is a lovely serenade of birds singing. And the daylight, oh the daylight. It feels like the winter cocoon of darkness is molting away.

My pepper and tomato seedlings are going strong. Also, many of my flowers starts are doing quite well. About this time, thinning becomes essential so that a stronger plant can emerge. If you have too many plants on top of each other, they are competing for space, nutrients, and light. But it’s always painful to just snip away what are perfectly fine growing plants. And if you are anything like me, you were perhaps a bit heavy handed in sprinkling seeds and have as many as 3-4 solid seedlings in a cell. Oh the gardener’s dilemma – to cut or not to cut?

Instead, this year I am taking a slightly different approach for two reasons.  1) I don’t always know exactly how many plants I’ll have room for out in the garden. I have a pretty close estimate but it’s not perfect. 2) There could always be an unfortunate event between now and transplanting them outside that means I lose a few plants.

I would be kicking myself if I “overly thinned” my plants and then needed a few extra later on. Best case scenario – I have a few extra seedlings that I don’t have room for and can give away to a friend or neighbor.  Who wouldn’t be pumped about that?

Here’s how I recommend getting the most out of your seedling starts.

  1. Examine your plants to determine how many seem strong and healthy.
  2. Look to see if any are noticeably set apart.  Pro Tip: when starting seedlings back in February and March, drop 3 to 4 seeds in each cell but not right on top of each other. Place them in the three points of a triangle or four points of a square.
  3. When you can see an obvious break or separation between plants, that’s your opportunity to gently wiggle them apart. Be patient with this and be willing to stop if the roots are too entwined which could jeopardize all your plants. It’s not worth it.
  4. Place your newly separated starts into different containers so they can keep growing.

Above I separated my snapdragon seedlings and will do the same for my tomatoes and peppers. How did this go for you?

Fruit Trees? Yes, Please!

Spring is officially here, at least according to the calendar.  The weather hasn’t really gotten the memo yet. The whole “March comes in like a lion and goes out like a lamb” has been more like “this morning feels like a lion, this afternoon is sort of lamb-like, and the evening might be a rooster.” Honestly, it’s been so back and forth I can’t even decide when to try to put out my beet and onion seedlings and attempt to sow some carrots and lettuce.

One sure fire sign that Spring is trying to shine through are the trees coming to life. It’s such a beautiful transition to see the buds show up on the trees that have been bare for many months. They seem to reawaken with puffs of fluffy white, yellow and pink. It’s like an artist walked by and began dabbing splashes of color on all the branches. So pretty!

To add to the beautiful landscape of trees and expand our food production, we knew we wanted to plant some fruit trees this year.  During the winter, I spent time researching different fruit tree suppliers, reading other homesteading blogs, and asking some of my landscaping and gardening friends what varieties they would recommend.

If you are thinking of starting an orchard or adding to what you have, here are some questions to help you decide what will work best for you.

  1. What grows well in your Zone? It used to be you bought only the plants, shrubs, and trees that were available at your local nursery and they were probably already known to grow well in your area. Now, there are so many options to choose from with everything being available to order on the interwebs. But just because you can buy something doesn’t mean you should. That’s how invasive species show up and/or you get frustrated that you’ve invested so much time and effort and the tree dies. If you’re not sure, go to a local “pick your own” farm and see what they are growing.
  2. What does your family like to eat? This may be tied with the first question in terms of importance because if you don’t like to eat it, who cares if it grows well.  And when I say you “like” to eat it, I mean you like to eat it in at least five different forms, e.g. apple sauce, apple pie, apple cake, canned apples, baked apples… you get my point.
  3. How much space do you have?  This needs to account for the size of the tree you plan to buy (regular, dwarf, semi-dwarf), how much space it will need once it is fully grown, and what other varieties you need to plant for cross-pollination to happen.
  4. What’s your budget and timeline? How much money do you have to invest this year and over the next three years before you’ll even see fruit production? How patient are you?

As I thought through these questions, I decided on Candy Crisp, Granny Smith and Pink Lady apples.  We eat A LOT of apples in our house and really only like them crisp. They store well and can well too. We also chose two semi-dwarf Sam and Stella sweet cherry trees. And lastly a Redhaven peach and Meyer lemon. These are the two wildcards in my mind because I’m not 100% convinced citrus will grow in the Mid-Atlantic or that we’ll have success with peaches because the plum trees already on our property have not succeeded and they are both stone fruit. I know cherries are too but they grow differently.

Once you’ve thought through all these considerations, here are some suppliers to look at.

Share with me what you’ve grown successfully and any tips and tricks we can learn from.

Save the Bees!

Here in the Mid-Atlantic, March is that special flip floppy month where we get some beautiful Spring-like days with temperatures in the low 60s and then with no notice what-so-ever, a random snowfall of 2-3 inches. Spring keeps teasing us with her warmth, color, and life.

I, like so many, am more than ready for something new. But as much as I’d like to have the brighter and longer days already, the slow unfolding and rebirth is just as important as reaching the end goal.

These last two years, literally to the day, have taught us so much and reoriented me to the things I truly care about. I’ve worked on so many things for my own personal development as well as had the time to research and experiment with projects here on our property I know I wouldn’t have gotten to yet. And I am excited and eager for the learning to continue.

Cactus is starting something new. He’s just finishing a beekeeping course and has bought three hives. As he’s shared things he’s learned from the course, I am just fascinated by bees. They are so incredible! The bees will arrive in just a few weeks – he’s getting two nuclei and one package of bee colonies.

We are all so excited for this new addition to our homestead!

Seed Starting Peppers

A six cell tray with two popsicle stick labels.

Now that you’ve made your own (#MIM) seed starting mix, it’s time to start some seeds. Yippee!

I’m in Zone 7 and last year I started my spicy peppers about 12 weeks before my LSF (last spring frost) and my sweet peppers just about 8 weeks before my LSF. It all went super well and I could do it exactly the same way again this year but as a gardener, there is always something to test. It took what felt like a really long time to actually get bell peppers that I could harvest, like late July timeframe.

That being said, I’ve decided to start both my spicy and sweet peppers at the same time – about 10 weeks before my LSF. I’m doing the same varieties as last year: jalapeno, fish, banana and bell. Maybe I’ll score some others with a well-timed trip to Home Depot and find loads of free plants in the parking lot like I did last year. And if not, I’m good with what I’ve got.

Here’s the steps to get your seedlings started:

Once you are ready to start some seedlings, I recommend keeping a notebook nearby and creating 6 columns on the page like so:

Crop/QuantityStart DateGerminationPhase 1Phase 2Phase 3
Jalapeno – 122/15 ??2/18-2/212/22-3/73/8-

You’ll want track when you started your seeds, how many, when they germinated, and the different phases of lighting

  • Phase 1 is days 4-7: 24 hours of light
  • Phase 2 is days 8-21: 16 hours of light
  • Phase 3 is day 22 and beyond: 12 hours of light

A couple other tips:

  • Your seedlings need to be in a warm place. I’ve not invested in a heat mat so as long as your seeds are indoors and your house stays around 67 degrees or warmer, you should be good.
  • Place seedlings in a location you will frequent daily. You’ll want to regularly check the soil moisture, lighting, and sing to them (ha!). If you put them in a closet or guest bedroom or hallway you never use, congrats on having a ginormous house but that likely means you are going to forget about them. They are babies. They need your constant care and attention.
  • The soil needs to stay moist until the seeds germinate. Not soaking wet but certainly damp. Then water regularly when the soil has turned entirely light brown.
  • Have trays under your seed cells. It’s best to water from the bottom so it’s a lot easier to just fill about an inch of water in the bottom of a tray (use a 9×13 casserole dish or a cookie sheets with a rim if you didn’t buy a whole fancy seed starting set) and let the seedling soak it up for about 20 minutes.
  • Your lights need to always be about 2-3 inches above your plants. If the light is too close, you can dry out your plants and even burn them. If the light is too far, the plants will get leggy from stretching toward it.

Don’t stress. It may feel like a lot of work and babysitting this first or second go around but you’ll get the hang of it. I mess with my seedlings about 5-10 minutes a day. Well worth it for not having to buy them at the store. But if you do kill them, hey, you can always buy them at the store 😊

MIM: Seed Starting Mix to Save $$$

It’s nearly seed starting time! Can you feel the excitement in the air? Oh Joy 😊 It’s so fun to be thinking about and planning this year’s garden. Each year it gets a little easier as some things become more habitual and I figure out little tricks to challenges I encountered before.

Something I wanted to do this year as a little test was make my own seed starting mix (#makeitmyself, #MIM). Last year I used the Miracle Gro® seed starting potting mix and it turned out really well. And that might lead one to say “Well, if it ain’t broke, don’t fix it.” But, I’m not entirely sure what is in the mix and I like to know what I’m growing my vegetables in.

Before I go further, there is one important point about seed starting to remember. You can’t just go outside and shovel a bunch of dirt into a bucket and bring that in your house. I know, this didn’t make much sense to me either when I learned it. Afterall, when I direct sow, I’m not creating a bunch of little holes of different ingredients before I sow the seed. But typical soil is going to be too dense, likely have a bunch of weed seeds, of course pests, and possibly disease. That’s just a much harder start than your little baby seedlings need.

Instead, it’s important to use a seed starting mix that is light and well aerated to allow you to control the moisture levels and drainage, sterile meaning there is no fungus, mold or viruses, and ensures strong root development for proper nutrient absorption.

Ingredients to Use:

You may find lists of 7-10 ingredients that go into seed starting mix. From the numerous articles I’ve read, there are really only three items common to all recipes so that’s what I’ve chosen to use. It’s the “no frills” version and it works just fine.

  1. Peat Moss OR Coco Coir – peat moss comes from peat bogs whereas cooc coir made from the husks of coconuts and is a much more sustainable alternative to peat moss. From a price standpoint, they are pretty comparable so I don’t see any reason to not use it. I had leftover peat moss from last year and will only be buying coco coir going forward.
  2. Perlite – a volcanic glass that helps your soil stay light, prevents compaction, and promotes moisture retention.
  3. Vermiculite – a mineral that is highly absorbent, improves aeration and moisture levels, and will help your little seedling absorb nutrients.

Steps to Follow:

  • Your ratios are 6 parts coco coir to 2 parts perlite and vermiculite (6:2:2). As an example, if you took 1 coffee mug from your cabinet and filled it 6 times with coco coir, you would then fill it 2 times with perlite and 2 times with vermiculite.
  • Mix it up well with your hands in a bucket or plastic storage bin.
  • Then add enough boiling water to thoroughly wet the whole mix, and then let it cool to room temperature. Caution: it will be hot when you add the boiling water so wear garden or kitchen gloves.
  • Then just fill your seed trays or pots that you plan to use with the mix.

The big win from starting your own seeds and making your mix is you have complete control over everything that goes into the process and don’t have to rely on whatever your garden store offers.

A Garden Calendar that Gives Room to Breathe

As another growing season approaches, I wanted to step back and think about the rhythm and timing of my plantings. For me, having a plan is essential so that I don’t get overwhelmed. But I don’t really want to live my gardening life according to a highly complex excel spreadsheet with tons of equations.

This year, I am not going to expand my vegetable garden and want to keep it pretty similar to what I did last year with a few tweaks. However, I am planning to really give a big push to flower growing thus I want the vegetables to be relatively simple.

I don’t know about you, but the whole “start this 8-10 weeks before your last frost” feels a little too abstract.  I’d rather work with the natural demarcations in the calendar year that signal, “Oh, it’s Spring solstice, time to… [insert task here].”  In the three short years I’ve been gardening, I’ve already grown to love these little tricks because Lord knows my memory is not superb.

Here are the broad strokes and signals that work for me in the Mid-Atlantic and maybe they’ll be helpful to you.

Valentine’s Day (or a weekend thereabout) is when I start peppers indoors.  Think spicy romance!

St Patty’s Day is the time to start tomatoes seedlings. 

Depending on when Easter falls, that’s usually the time to get my spring garden planted with the cold hardy crops – beets, carrots, kale, lettuces, onions and peas.

Then there’s Memorial Day to seed the summer garden and transplant the tomatoes and peppers that I started indoors.

4th of July is a good time to start your fall seedlings indoors, like broccoli, cauliflower and brussels sprouts.

Labor Day, in addition to being the end of my energy and enthusiasm, is when I start letting my beds rest a bit. Just some lettuces, radishes, beets and transplanting the brassicas I started indoors.

Halloween is usually the turning point from enjoyable Fall weather with sunny days to colder, gray days with rain and wind.  Halloween is my signal to go buy some manure from the horse rescue that’s nearby to amend my garden and start putting everything to rest.

Thanksgiving to Christmas is the time to be thumbing through seed catalogues and singing “my favorite things” as I pick out seeds for next year’s garden.

Seeds and Trees

If you’re anything like me, you’ve received about a handful of seed catalogues or at least a dozen emails reminding and prompting you to buy your seeds. This typically starts back in late November or early December and for most of us the warm weather is still too far off to seem real so it’s easy to just page through them and dream.  But don’t make the mistake of waiting too long to decide what you are going to plant, and thus the seeds you need to buy, so that you have a good selection to pick from.  I’m already getting “back ordered” and “out of stock” notices for some of my top picks.

I can’t and wouldn’t tell you what to buy or not buy – that’s a very personal choice. I did write a post about this two years ago that gives some questions to consider as you put your plans together. Your plans don’t have to be set in stone yet. They can be rough lists on a notecard (warm weather vs. cool weather crops) or drawings scribbled on a scrap paper of your garden space. You are just going for a general idea of what you want to plant and where. [Mom comment: that’s where doing your “lessons learned” and notetaking throughout the season really comes in handy because you have already identified what worked and didn’t and what you want to do differently this season.]

If you’re new to gardening (I’d say anyone who has been gardening 1-3 years is in this category), this all probably feels very overwhelming. I assure you, by years 4 and 5 it gets better. You’ll have a template, you’ll know what you like growing, what’s worth the effort and what isn’t, and the crops you are determined to figure out no matter how many times you’ve failed (Cucumbers – I’m talking to you!)

Once you’ve hit the “not so new to this” phase, I would encourage you to ponder two additional options: 1) flowers and 2) fruit trees.

Flowers, whether you think they’re beautiful or not, bring all the happy pollinators that will support your garden and bring it to a whole new level of abundance. I happen to think flowers are completely perfect. Their symmetry, colors, and textures take my breath away. And if there is anything I wish we would all appreciate a little more, it’s the magnificence of nature. Flowers and sunsets illustrate that for me time and again. You don’t have to go all out either. Pick some perennials – black eyed susans, coneflowers, cosmos, or alliums – and plant them in and around your garden space. For fun and color, maybe throw in some zinnias, sunflowers, and marigolds.

Beyond your garden, I’d encourage you to look around your space.  Do you have 10-15 square feet in your yard or a shared plot in your neighborhood? If yes, great! Plant a self-pollinating apple, cherry or pear tree. If no, what about a patio, front porch, or balcony? Then you could plant a dwarf option in a container like a Meyer lemon. I’ve chosen a few trees from Stark Brothers this year in the hopes that we’ll have a sweet little orchard going in the next 4-5 years.

2021 Garden Successes and Lessons

How’s everyone doing? Another year for the record books, right? In my life and my job, much of this year has felt like two steps forward and one step back. Progress overall but not smooth or linear. I will say that it’s hard to know if you’re making progress though without taking notes or keeping track. Every gardening book, article and podcast will tell you to take abundant notes. And yes, in principle, that is true and in a perfect world we would have a little notepad in our gardening belts. I’m also a believer in looking for trends or highlights without having to write down every detail. But do whatever works for you – your preferences, your priorities, your abilities. Either way, if you’re learning, you’re still living 😊

Without further ado, here are my 2021 gardening successes and lessons to save you, my dear friends, any extra work I can.

Seed Starting with Grow Lights

Rocked it!Gonna rethink it
All my tomatoes and peppers did excellent. I started a total of 30 tomatoes (five different kinds) and 24 peppers (6 different kinds) and they all grew into hardy seedlings that transplanted well.My tomato plants in 6-count seed cells did get quite tangled and jumbled. I will plant them in the separate 3” round cups next year.
My onion starts were incredibly strong and had really high germination.My broccoli and cauliflower starts all inexplicably dried up and died over the course of 5 days.  I was so sad.
All my herbs – basil, parsley, oregano – turned into fantastic plants that lasted until October.Nothing, nada, nyet happened with my lavender seeds. So disappointing but I’ve heard this is a tough plant.

Direct Sowing

Rocked it!Gonna rethink it
Spring: arugula, carrots, kale, peas, and spinach all did great.My beets had a really low success rate. I think I didn’t water them enough but we had a wet Spring so I am just confused and disappointed.   My garlic (that I had planted in Nov 2020) was a total fail. I did not start with large cloves though. I started with the baby seeds from a large bulb. I also believe I didn’t water these adequately.
Summer: okra and winter squashNo success at all with my cucumbers, cantaloupe, rhubarb, and watermelon.
Fall: arugula, kale, and radish are still cranking.This is my second year in a row of nothing to show for brussels sprouts and broccoli. I will try starting them indoors in mid-July next year and if that doesn’t work (along with a row cover) I may be ready to toss in the towel on these two crops. They just don’t grow. I tried collards also and those failed simply because I had them in a big planter near my porch that the deer could get to.  Lesson learned!
Okra blossom… Nothing prettier.
Five petal light yellow with maroon center okra blossom

Care and Maintenance

Rocked it!Gonna rethink it
My soaker hoses worked great for the beans, peppers, and tomatoes.As plentiful as my onion starts were in the beginning, they amounted to about 6 onions in the end. I definitely didn’t water them enough.
I barely had to weed anything this entire year. I put down enough mulch that everything stayed really tidy. That was amazing.I gave the squash bugs a good fight, but in the end they took out my two zucchini and two pumpkin plants. Pretty frustratring

Garden Planning and Design

Rocked it!Gonna rethink it
My tomato wall and pea fence were really successful and well supported.  Doing this again for sure!I’m going to do long vertical lines of beans next year and try for a few more pole beans so that I’m not squatting as much to do all the picking. I had the best harvest from my golden, jade and calima beans.
Look at that tomato fence!!!
Thirty feet of fencing with tomato plants growing vertically

Takeaways

  • Watering helps. Ha! Writing this summary has helped me see that the majority of plants that didn’t do well were located in beds that required me to water by hand and I didn’t do that consistently or enough.
  • Less is more. Instead of trying five different crops in a bed, next year I’m going to focus on 2-3 instead and really pay attention.

What were your biggest successes this year? What will you do differently? Cheers to all your hard work and effort. It’s worth it.

Ravishing Radishes

I have never been much into radishes. I’m guessing there is more than one way to skin a radish, but I only ever at them in salads years ago. They were always flavorful and added some crunch, but nothing I craved. Until… have you ever had Korean Fried Chicken #TheRealKFC?

In our neck of the woods, KFC has been a pretty hot trend for about five years. If you’re not sure what it is , I suggest you not ask too many questions and just trust me when I say it’s delicious. It’s double fried or twice fried chicken with a few different sauce options – usually sweet or spicy. I wouldn’t say KFC is a regular indulgence by any means but two to three times a year won’t kill you, or it will, I can’t say for sure.

The whole reason I’m bringing this up is because the accompaniment served with Korean Fried Chicken is pickled radish that is absolutely addictive. You can’t stop popping them in your mouth. I think they cleanse the palate and turn down the heat. You will ask for multiple refills, I assure you.

So back in September when I wanted something fast and easy to plant, I heard radishes fit that description. But per my opening paragraph, I didn’t think beyond what I would do with them after I grew them. I hope I’m not the only gardener who does this. I obviously didn’t want to waste them so I thought pickling would be a good approach.

Without further ado, here is an insanely fast and easy recipe for pickled radish KFC style that are great to put with cheese, crackers, and other snacks when you have guests over <hint hint for upcoming holiday gatherings>.

What you need:

  • 1 lb radish (daikon is recommended, I used a regular cherry radish)
  • ⅔ c white granulated sugar
  • ⅔ c white vinegar
  • ⅔ c filtered water
  • ¾ tsp salt
  • 2 pint-sized canning jars with lids

Steps:

  1. Clean, peel, and chop your radish into 1/4 to 1/2″ cubes. Place in canning jars.
  2. Combine your pickling liquid and stir to dissolve the sugar and salt.
  3. Pour the pickling liquid over the radish.
  4. Store in the refrigerator for minimum 8 hours; 24-48 hours is recommended.
  5. Try to stop eating them.