MIM: Deodorant
It’s getting hot in here, so take of all your clothes. I am getting’ so hot, I’m wanna take my clothes off. Thank you, Nelly, for those unforgettably classic lyrics.
Summer is officially here and depending on where you live things might be feeling pretty steamy. And I don’t know about you, but I’m a sweater. Not a warm, fuzzy, give-my-body-a-hug article of clothing. I sweat. I sweat a lot. And the smell of body odor is never pleasant or subtle. I’ve spent a lot of time in foreign countries that don’t do anti-perspirant the way Americans do so I am well acquainted with body aromas.
And I’ve heard other people talk about this so don’t think I’m a weirdo, but my sweat has totally changed over the last year with the COVID-19 pandemic. Maybe stress, maybe anxiety. Who knows the cause but being smelly is really not my jam. (But don’t ask Cactus. On a near daily basis, he asks me if I’ve showered, sometimes right after I get out of the shower, and then proceeds to tell me that I can’t call running through water taking a shower.)
About two years ago I started making my own deodorant. It largely spurred from me wanting to pay more attention to the ingredients I put in and on my body. I wanted to make things really simple. I found this 5-ingredient recipe that is beyond easy and takes about three minutes to make. I do two batches at a time and it lasts me an entire year, sitting in my bathroom cabinet with no issues.
Homemade Deodorant Recipe
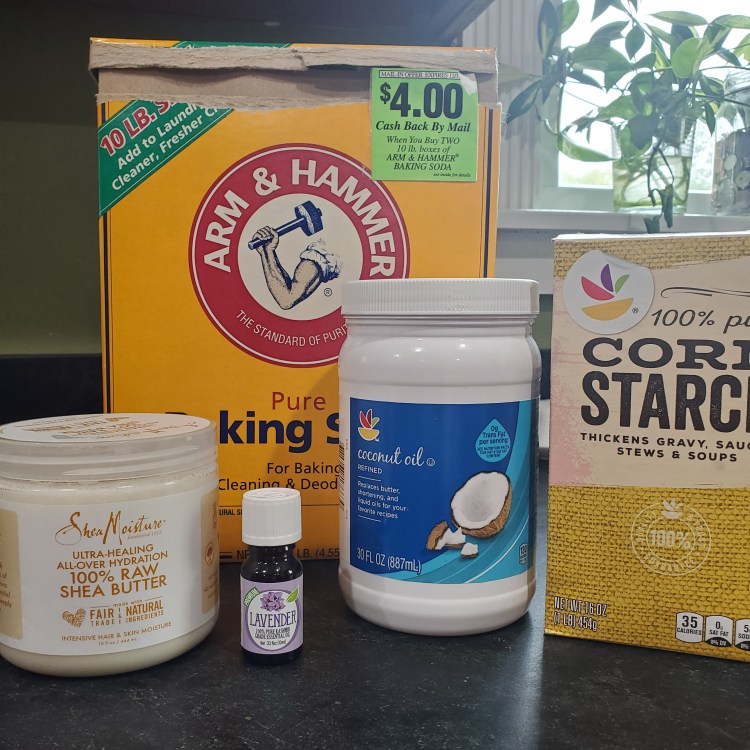
Ingredients:
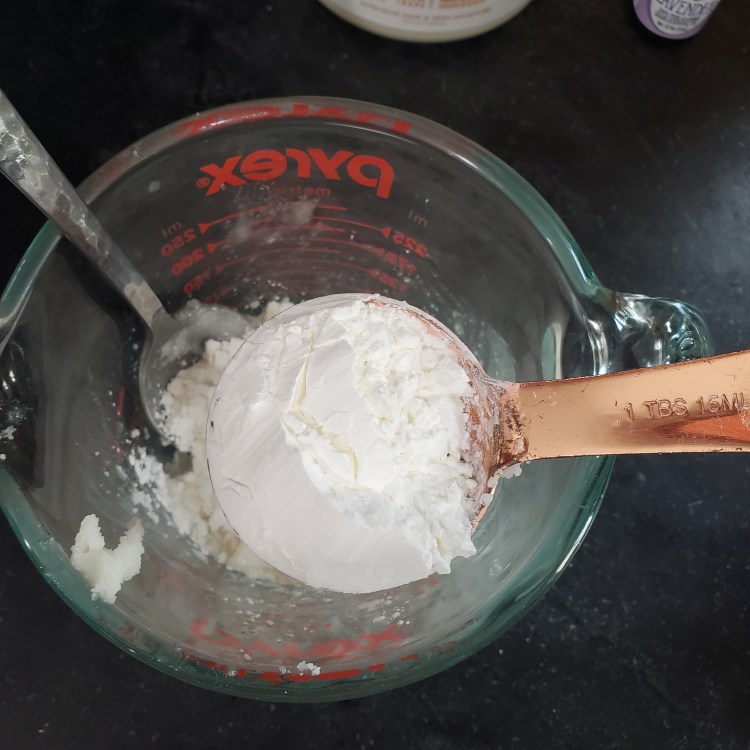
- 2 T shea butter
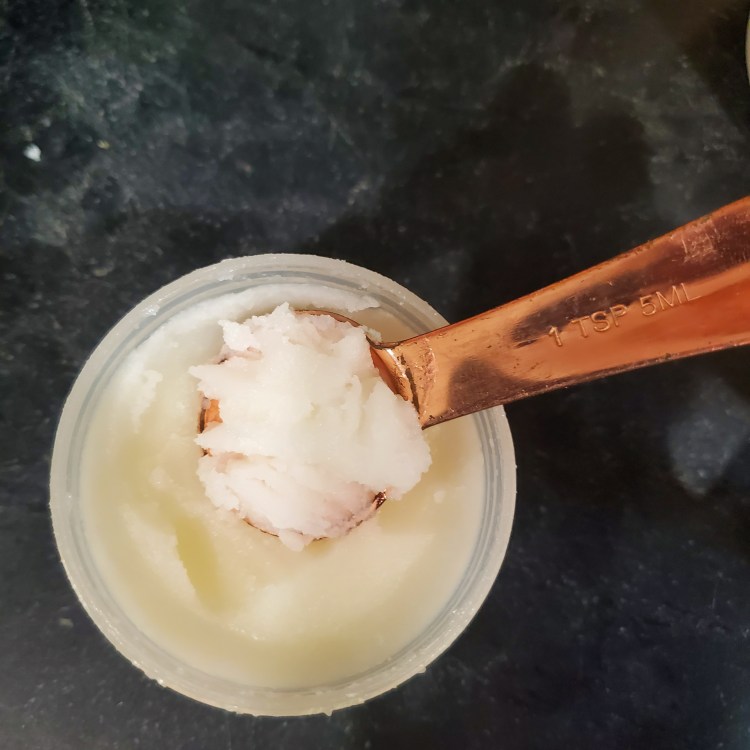
- 1 tsp coconut oil
- 3 T of arrowroot powder or corn starch. I use corn starch simply because that’s always in my kitchen. I do want to get some arrowroot powder and make a comparison batch.
- 2 tsp baking soda
- 10-15 drops of your preferred essential oil
Steps:
- Mix the shea butter and coconut oil together. I put these first two ingredients in a dish in the microwave for 15 seconds so they are slightly softened and easy to stir.
- Add the powder or starch, whichever you are using, and the baking soda and stir until smooth.
- Add the essential oil of your choice.
- Pour into a small pyrex dish, old eye cream pot, or a 4 oz mason jar (whatever you have handy, as long as its relatively shallow because you’ll need to dip your fingers in it) and then put it in the refrigerator for about an hour for it to set.
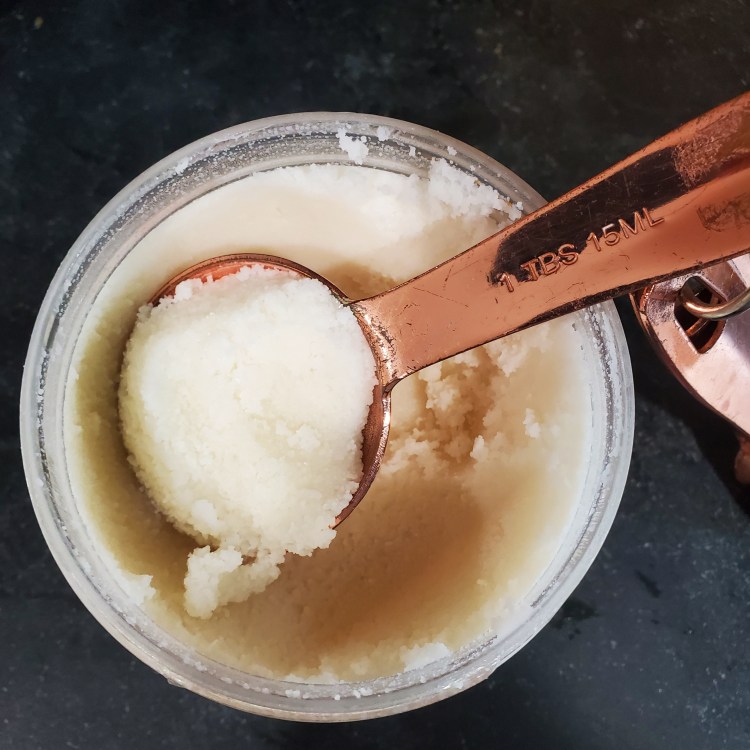
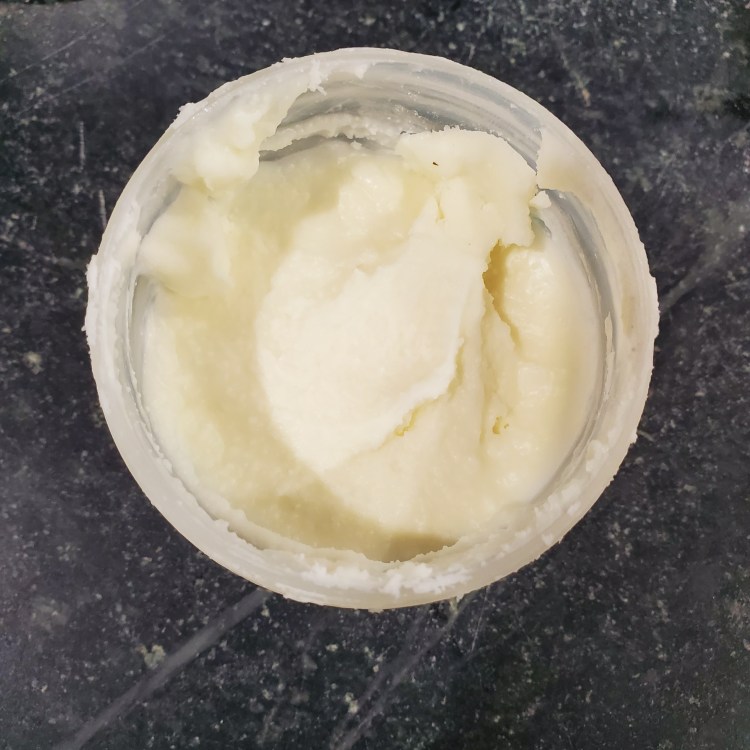
This makes 3.5 ounces, a whole ounce more than your standard stick of deodorant. Voila – happy armpits!
And if you want a chuckle, have you seen this ad for Lume body deodorant? Oh man I couldn’t stop laughing. I was like “Is this for real?!?”