The Berry Jungle gets a face lift

Looking through the berry tunnel at the 3 bridges that connect both sides

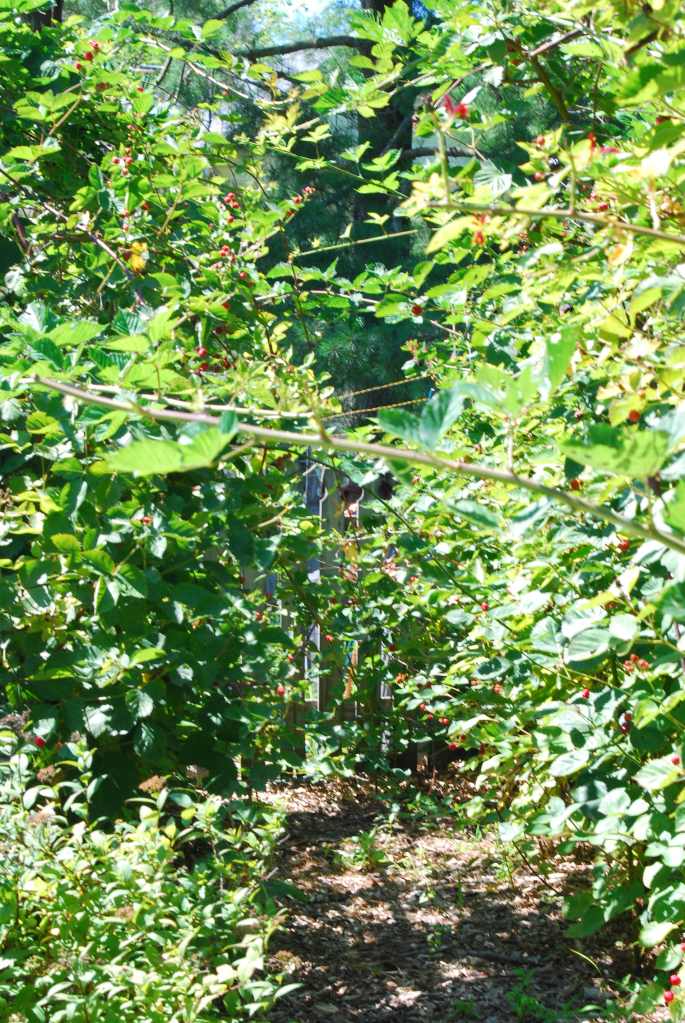
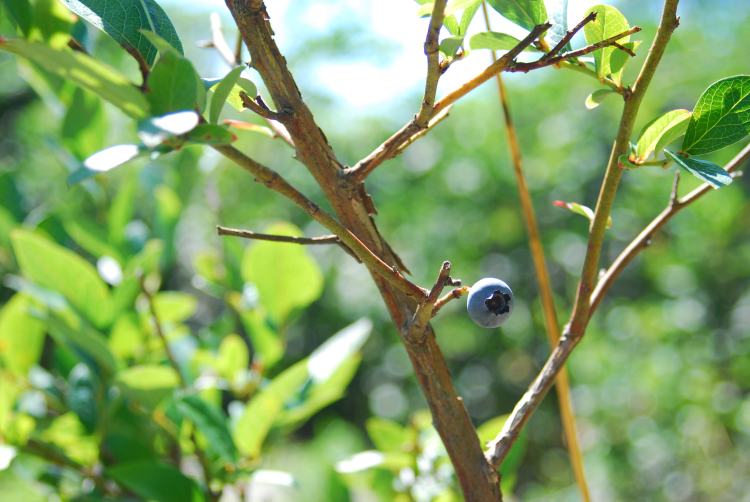
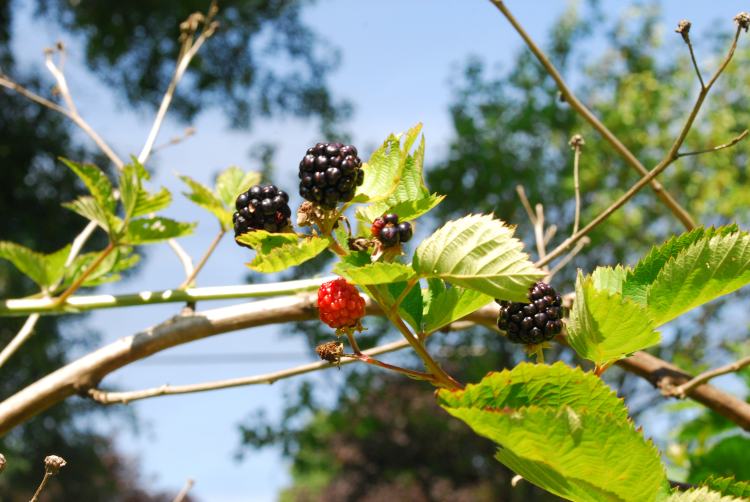
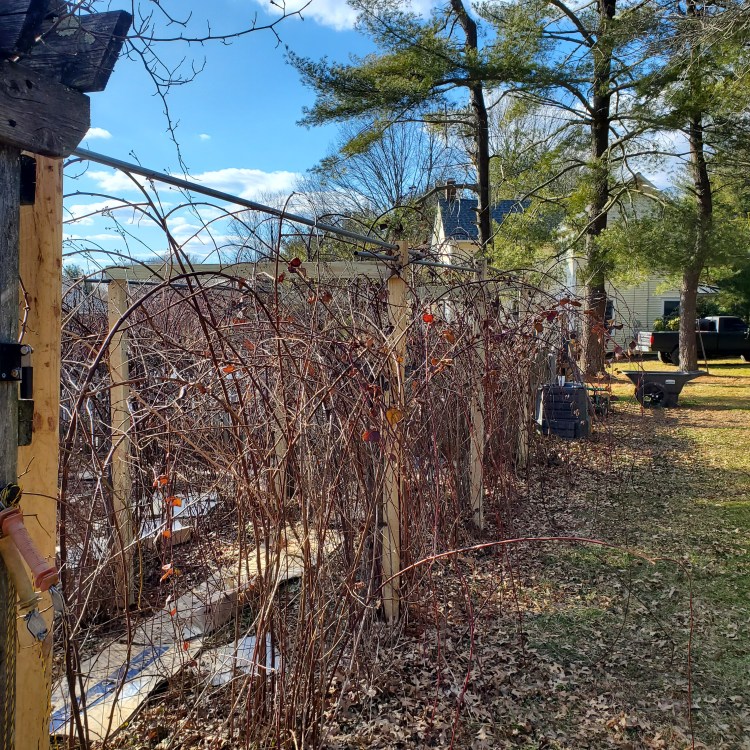
You’ve heard me talk before about our berry tunnel, berry bramble, berry jungle, etc.  It was getting quite overgrown which meant two things in my mind – A) I haven’t pruned as I should have and B) we need better supporting structures.

I was picturing some beautiful trellis, archway that you might see in a movie scene where there is some unrealistically romantic moonlit kiss so I sent this idea to Cactus via my mental powers and he came up with exactly what I wanted…  Oh wait, who am I kidding?  That’s not true at all.  I showed Cactus a few pictures and he said, “No, I have an idea. Here’s what we’ll do.”

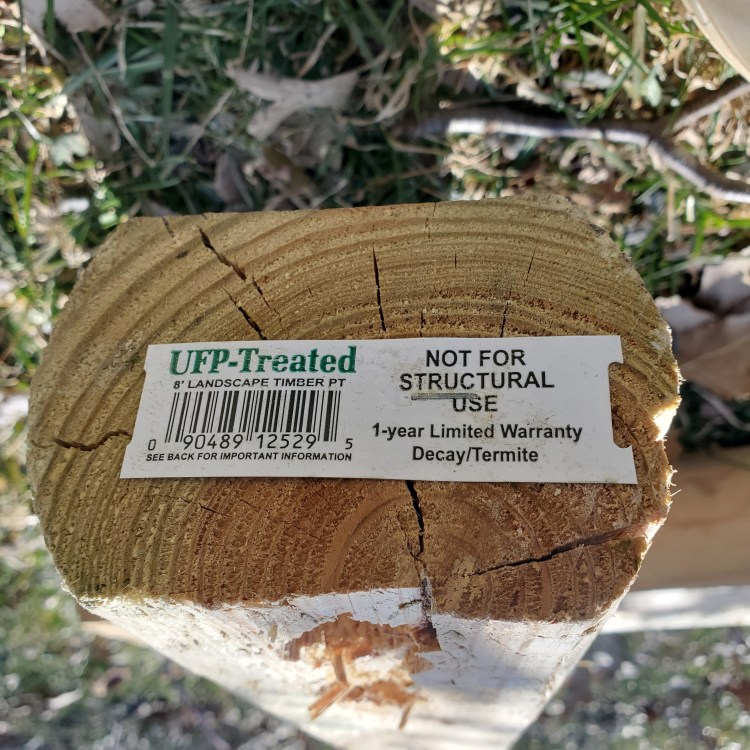
Supplies purchased (approximately $70 in value)

  • Eight 4x4x8 posts (purchased an extra just in case)
  • Four 2x4s (purchased an extra just in case)

Supplies being reused:

  • 5 pieces of galvanized tubing

So here’s what we did (nothing fancy, but I quite like it):

  1. We measured the current set up.  Assessed that we needed to improve both sides of the tunnel – one side is about 30 feet long, the other about 20 feet long.  This was actually super important and a step we usually skip.  How do you know how much of anything you need without measuring?  Sidenote: I’d like mention the value of staring at a project site and walking around a bit.  I’m being 100% serious. It’s really valuable to just walk around your garden/yard/etc. to daydream and let inspiration flow.
  2. From this two-minute assessment, we determined the spacing between the current posts was too far and they weren’t tall enough. That little bit of planning guided our marching orders.
  3. We decided to increase the number of supports by adding one post on each side, and to also make them taller and have the horizontal support between each post much more sturdily attached.  To explain a bit more clearly, the 30-foot distance originally had just 3 posts so we increased that to 4 posts, each just about 7.5 feet apart. Similarly, the 20-foot distance originally had just 2 posts so we increased that to 3 posts. 
  4. We laid the posts on the ground and spaced them out evenly across the 30-foot side. This helped us determine where we would need to dig the holes and that 3 of the 4 would easily align with where the posts would go on the shorter length of the berry tunnel.
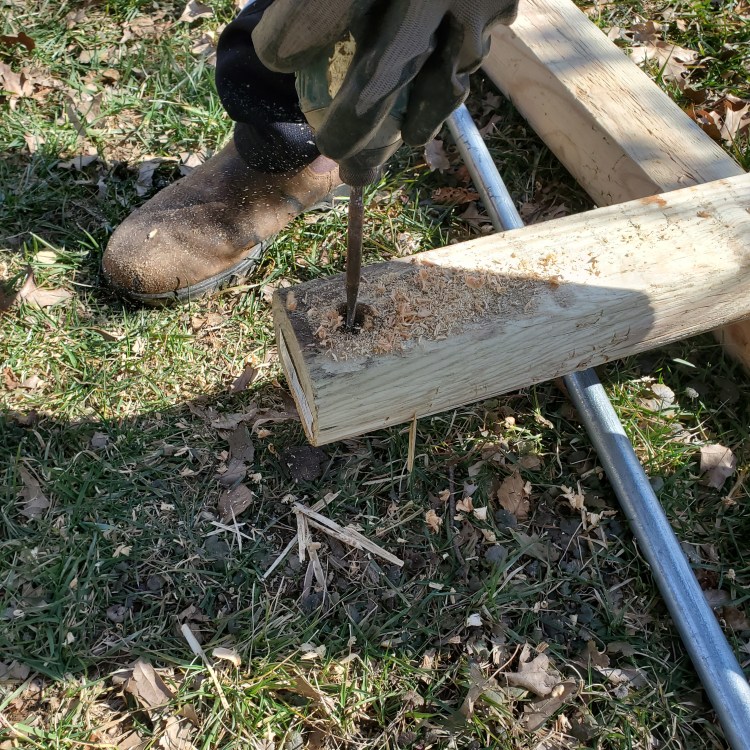
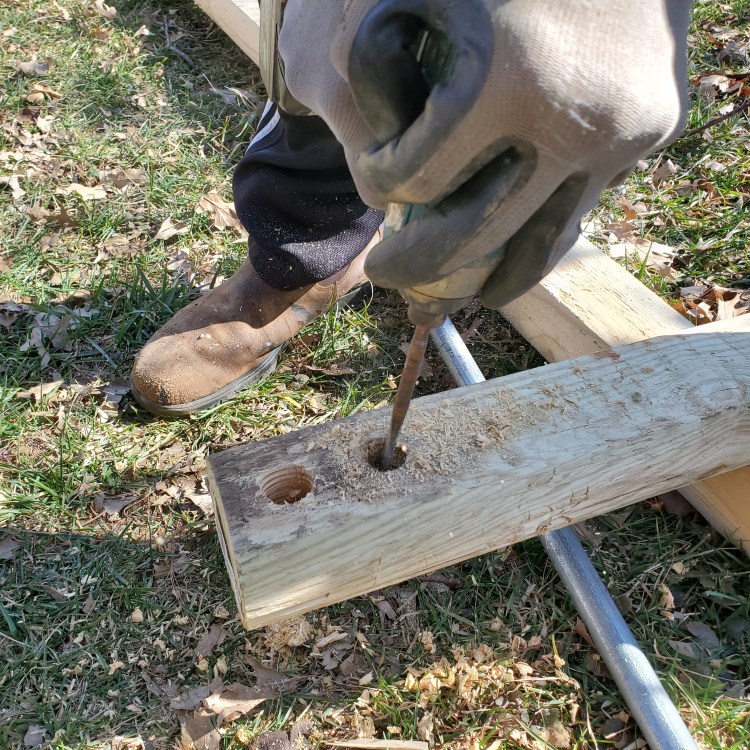
  5. Cactus then used a 1-inch wood bit to drill two holes in the top of each post.  These holes are where we inserted the galvanized tubing. The tubing serves as the top ‘shelf’ for the berry vines to go up and over as they grow.
  6. While the posts were laying on the ground, Cactus did the drilling and inserted the tubing so that it was one long structure that just had to be stood up and put in place.  But before we stood up the posts, we had to dig the holes.
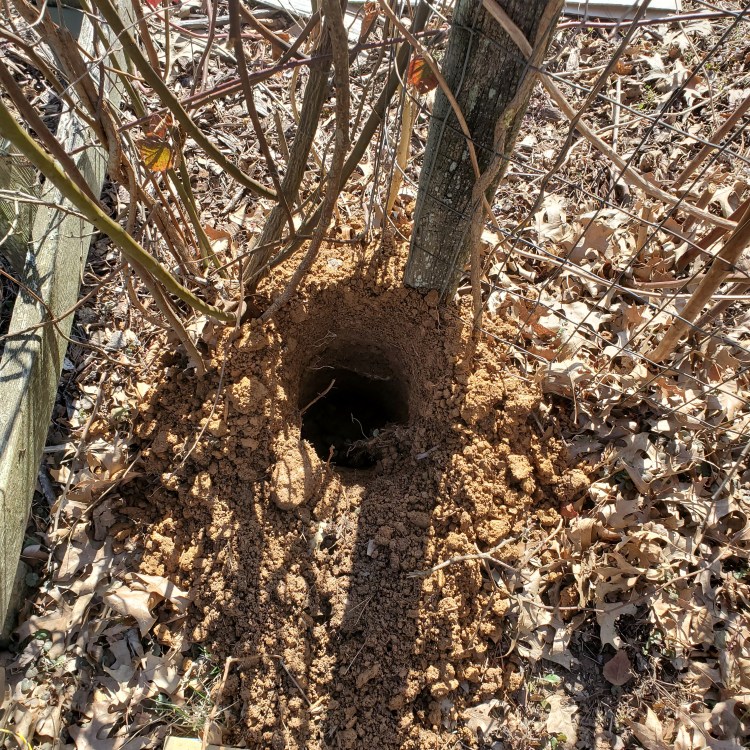
  7. We have an auger for another fence project currently underway so we used that to dig the seven holes. I’m usually a fan of doing everything by hand but it made sense to use this so that we could complete the project that afternoon (instead of having to come back to it the following day). 
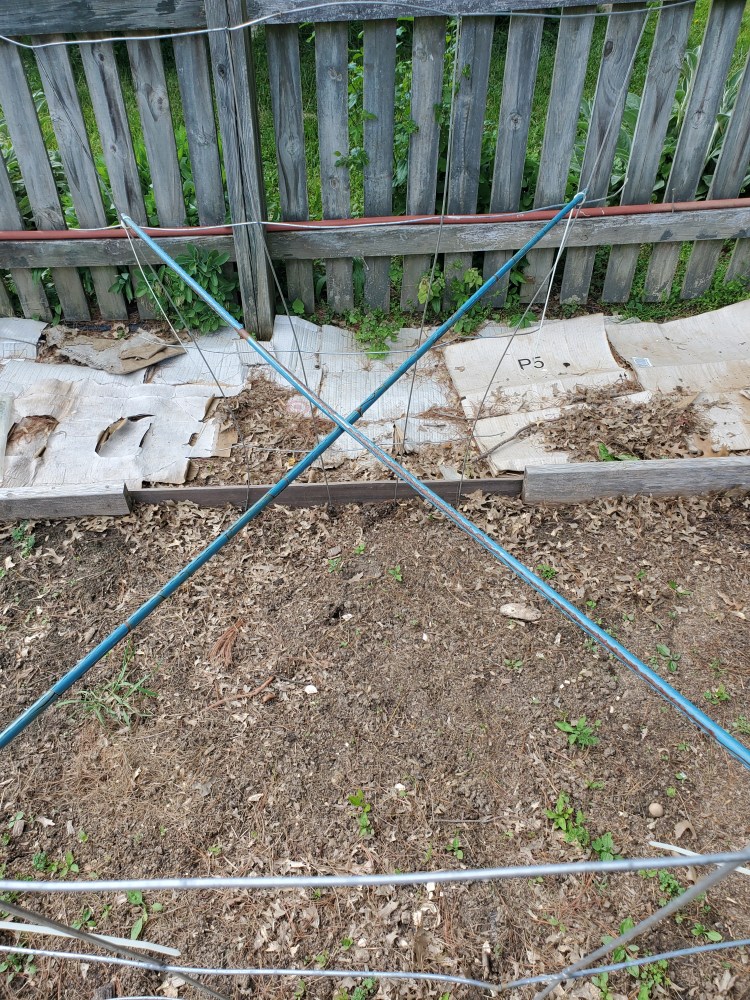
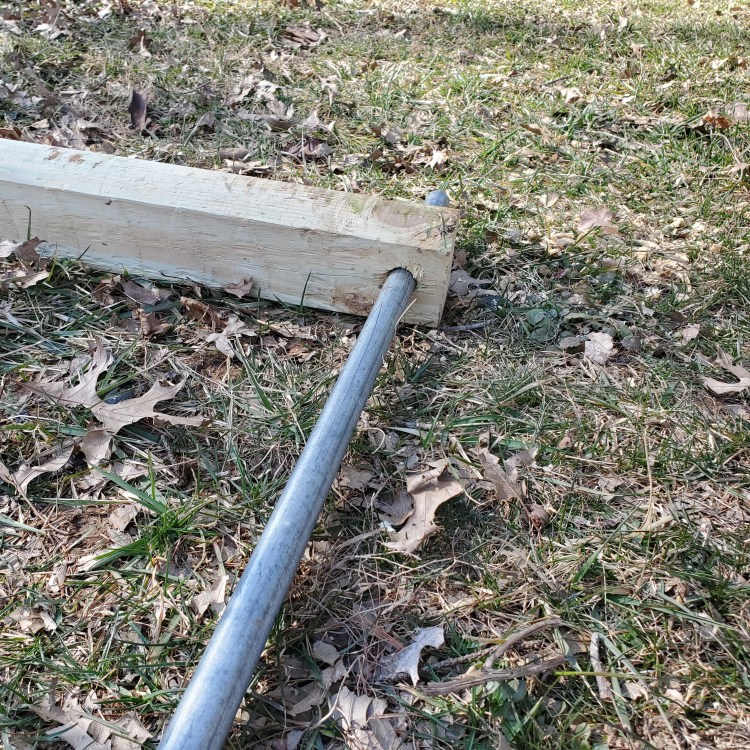
  8. Once the holes were dug, we lifted up two posts at a time and placed them in the holes just dug. Then we just had to insert one final piece of the galvanized tubing.
  9. The final step was bridging the 30-foot side of the tunnel to the 20-foot side of the tunnel to make my romantic berry trellis. Honestly, no idea where I’m going with this romantic notion.  That at is not my life at all. So we used 2x4s to connect both of the sides.  Since each side is not the same length, we had just ensured that three of the four posts were lined up to each other and connected at those three points.  The 4th post on the 30-foot side is not attached to anything, but it’s right next to our trailing rose archway so I’m sure it won’t be lonely.

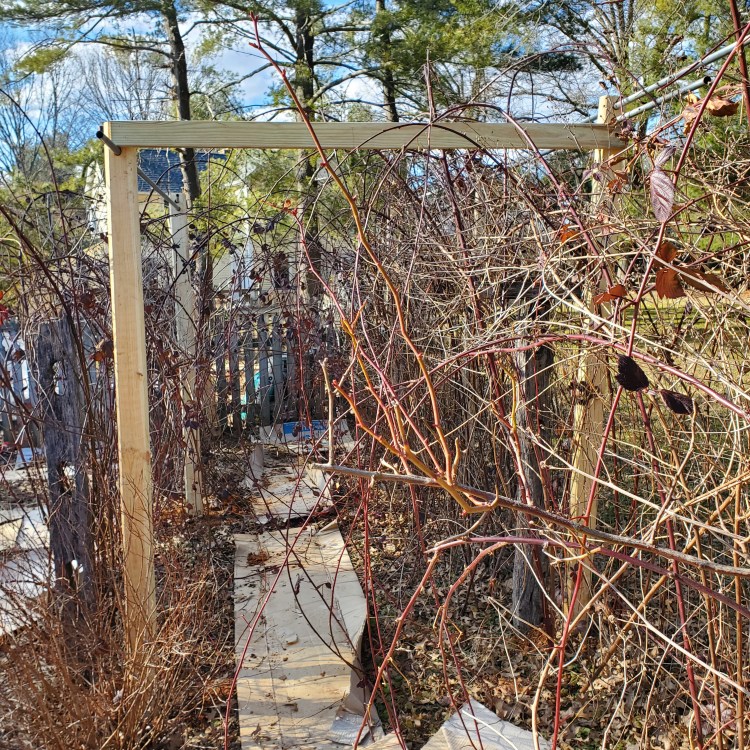
This took us about a little over an hour to do (excluding the trip to Home Depot that Cactus did on his own) and it all went super smoothly. Now, the more dedicated work will be spent re-directing all the berry vines up and over the trellis to make my beautiful archway. And then the jelly, jam and pie fillings!!

Getting the Garden in the Ground

It feels like a lot has happened in the last two weeks. COVID-19 appears to be slightly loosening its grip on our daily lives and that’s hopeful. I know that isn’t the case everywhere and I’m certainly not supporting any premature relaxing of restrictions – the digital signage on the highway where I live still says “safer at home.” I personally think this virus will play a starring role on the global stage for at least another year. But I’ve been trying to focus on the things within my control and what I can influence to stay healthy. Ups and downs though, like everything. Rarely is anything in my life a linear and even paced arrow toward a target.

I got all my plants in the ground between May 14 and May 19. This gave a very generous three-week window after the last average frost date of April 21. I have read that giving a little extra time can be the difference between success and a lot of disappointment. With the weather here in the mid-Atlantic so wet and much cooler than normal I was in no rush.  I think it was the right call.

Here’s what I got done –

  • Peppers – my seedlings were not as strong as I would have hoped but I just had to plant them and see if they hang on.  If not, I’ll have to buy a few starts from the nursery.
  • Tomatoes – my seedlings never really advanced beyond the spindly, thin stage. After the second set of leaves came in, that was sort of it.  In hindsight, I don’t think I had enough nutrition in my growing medium. I opted to go by six heirloom plants from the nursery. I’m disappointed about this but it was a good learning for next year.
  • Beans – I’ve got three varieties of bush beans and one pole bean.  I learned last year to sprout them first, which only means wrapping them in a moist cloth (you can use a wash cloth, paper towel, cut up t-shirt, etc.) and leave them in a produce bag on the windowsill for a 2-3 days. Then gently remove them and plant them right away.
  • Cucumbers and Peas – built a trellis with old tomato cages by cutting the wire to essentially break the cage, bent them flat, and then zip tied a few old garden stakes across (see below).

You may recall the sadness and tragedy I experienced last year when deer ate all my luscious blueberries in one weekend.  Well, fool me once but not fool me twice. To ensure this doesn’t happen again, Cactus and I spent about four hours installing an electric fence around the berry patch. This is an area about 20×30 feet and we already had the poly wire and enough step in posts so hoped it would be a relatively easy project.  Cactus bought a solar powered fence charger from TSC and we figured it out pretty quickly watching this series of videos from McGregor Electric. The thing we had the most trouble with was determining what was grounding out the charge. I also wanted to expand our blueberry bounty so bought two additional bushes – Blue Gold and Duke. 

There’s a separate garden bed in the berry patch that I didn’t use last year, largely because it was free reign for the deer.  Since we got the fence installed, I decided to try corn, butternut squash and watermelon.

The black raspberry bushes are blooming beautifully and look way more full than last year. And fingers crossed that we’ll actually enjoy some figs this year. We put lots of leaves around the roots to keep them insulated during the winter and it was a very mild winter so it seems promising.

Close up of small fig growing on bush

How to Make a Trellis with Two Tomato Cages:

Berry Fest

Three big juicy blackberries on Farm Charm

We have begun to reap quite a bounty of berries.  The previous owners of our property had a sizable berry establishment going.  There are a couple of massive blackberry bushes growing in one spot and then a tunnel of blackberry bushes; an entire forest of black raspberry bushes; and maybe three or four blueberry bushes. I also planted four strawberry plants but you may recall I had an issue with bunnies eating them.

The blackberry bush tunnel on Farm Charm
The blackberry bush tunnel

As someone who is brand new to growing food, I am still learning how much effort and time is needed.  With regard to the berry bushes (and they are pretty hands off), should I be checking on them every day, every other day or is twice a week sufficient?  I am a schedule person and like knowing what I need to do each day. I’m sure it is my life’s lesson to realize that it’s not about checking things off, it’s about enjoying the process, but we can save that philosophizing for another day.

The outside of the blackberry bush tunnel on Farm Charm
The blackberry bush tunnel from the outside

I’m also asking because I had a disappointing experience with the blueberries just a few days ago and wondering whether it could have been prevented had I been more vigilant.   I was watching them for about two weeks. The berries started small and green, then turned to grayish purple, then a light blue, and then a nice rich dark blue. On Friday evening, I could see that they were all getting very close to perfection and I wanted to wait one more day so they could be as juicy and plump as possible.  And then, for whatever reason, I didn’t do the picking on Saturday like I should have and when I went out Sunday morning, they were ALL GONE!  

The single blueberry that the deer left behind on Farm Charm
The lone blueberry that the deer left

I know the deer ate them, those punks!  We have an electric fence around the garden but I haven’t turned it on.  Up to this point it didn’t appear that the deer had been noshing on our fruit bushes.  But they must have been watching me watch the blueberries and picked the most opportune time to make their move.  Grrrrrr! 

So to my question about frequency.  Could I have prevented this by checking the berries on Saturday?  Maybe. To be on top of things, I should probably be checking on the things that are getting close to ripe every day during harvest season but I just know that isn’t going to be entirely realistic.  But the berries are worth it.

Three big juicy blackberries on Farm Charm

One morning I went out and collected about 6 cups of blackberries in about 10 minutes. 

Swallowtail butterfly enjoying the Farm Charm blackberries

I have been reading up on canning from various other bloggers (Preparedness Mama and The Organic Prepper), and on this National Center for Home Food Preservation.  I’ll share how I made two cans of blackberry jam in about 45 minutes soon.

Berries upon berries at Farm Charm