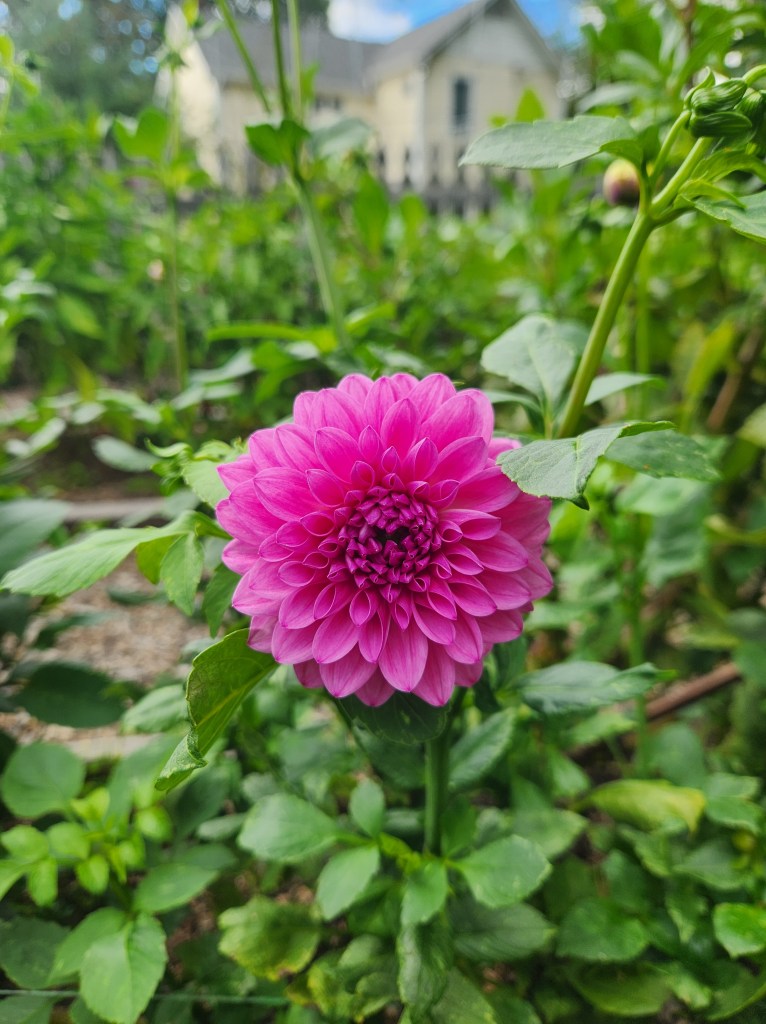
Well, after my posts about starting and planting dahlias, you were probably like, “And….. did you ever grow any?!?” I have to say after a long awaited arrival (largely due to my lack of any care or watering whatsoever) they have arrived!!!
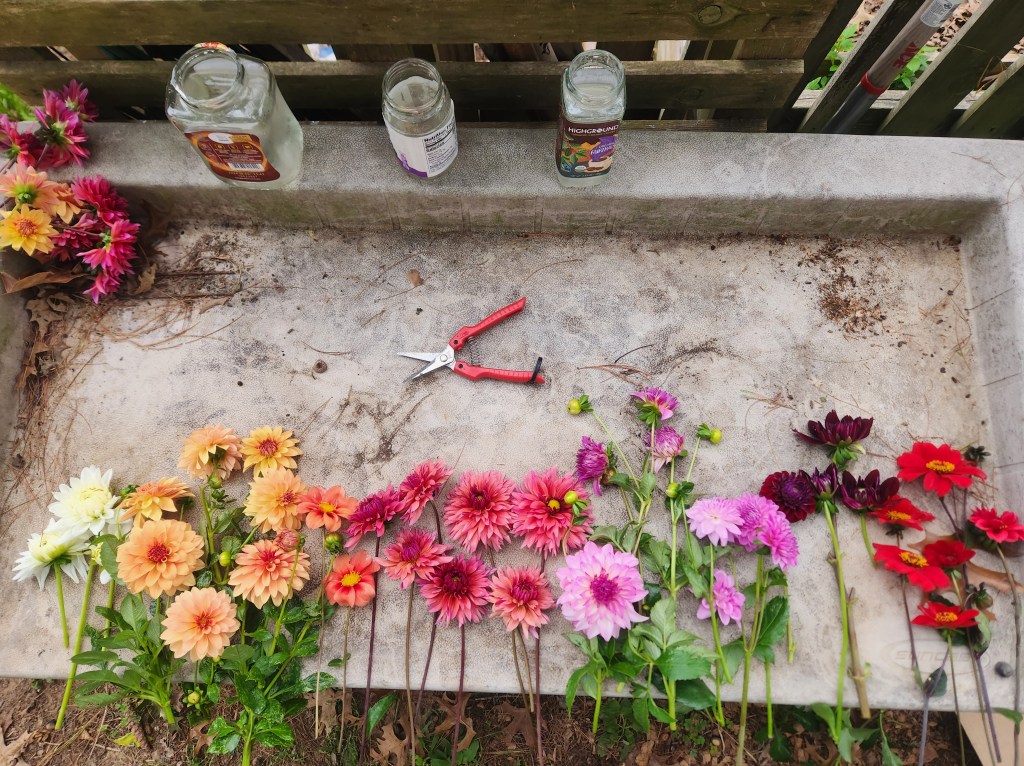
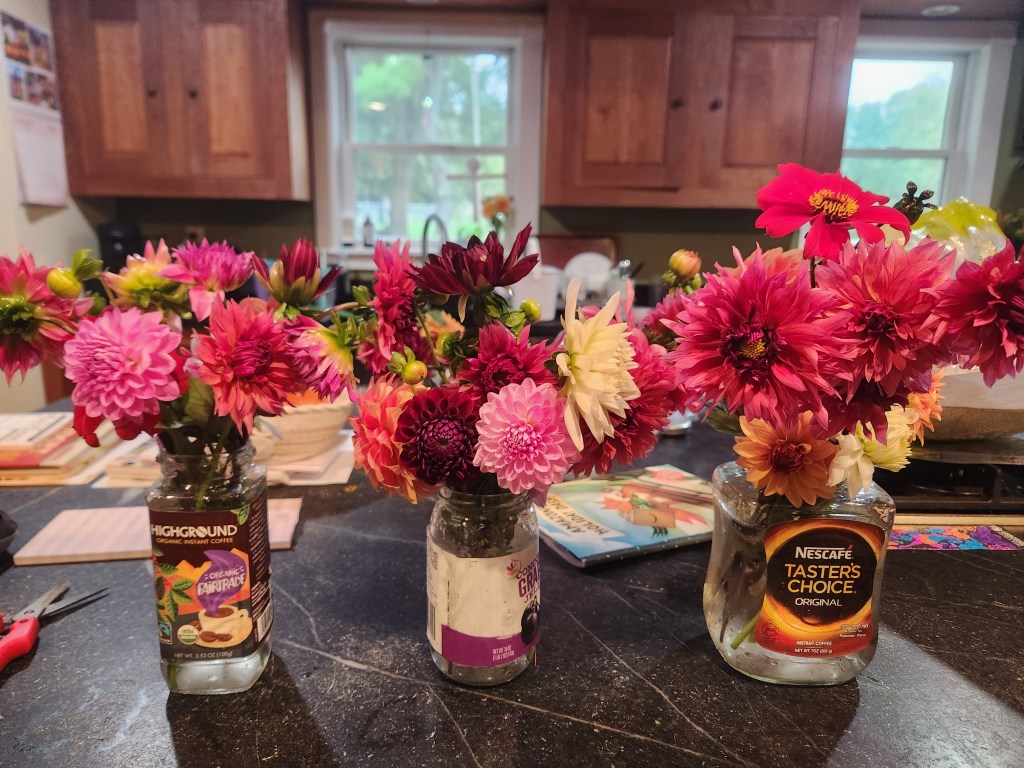
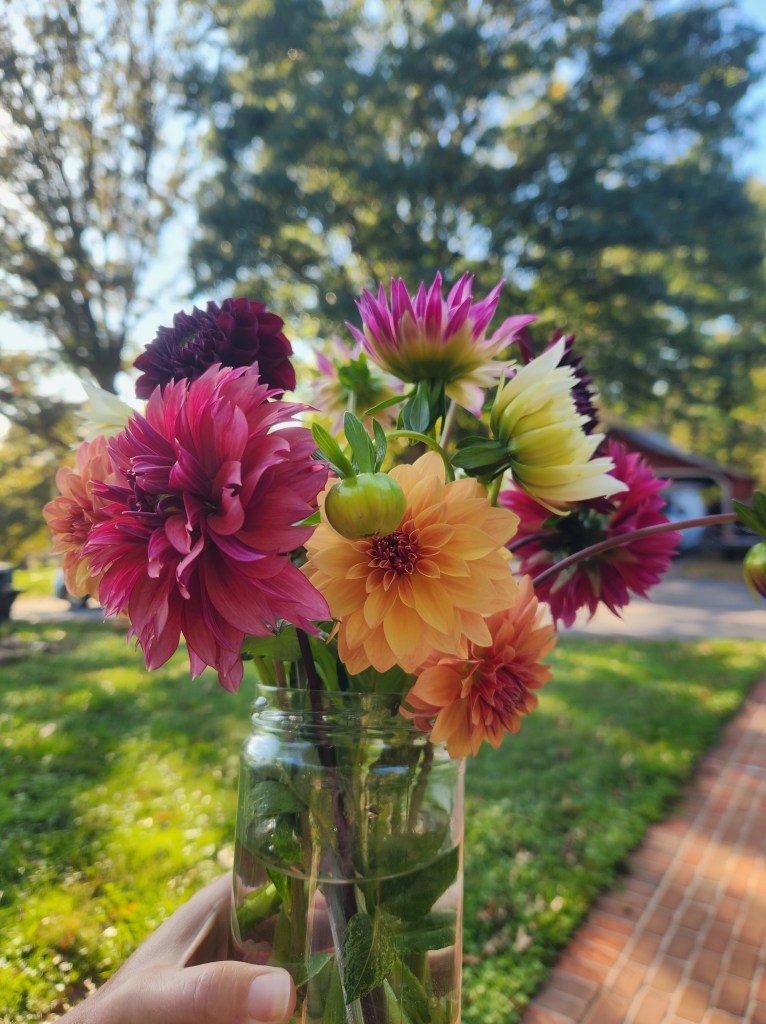
I have been harvesting 20-25 stems three times a week for the last three weeks and they do not disappoint. I’ve been delivering little bouquets to my neighbors and it brings so much joy.
Now, of course, I see a lot of room for improvement in stem length. BUT, I’m not worrying about that. I just like going out to the garden every day to check on them. I’m happy I got any.
This summer was quite a bummer for me in the garden (and life!) so I’ll take these stems of happiness and beauty.
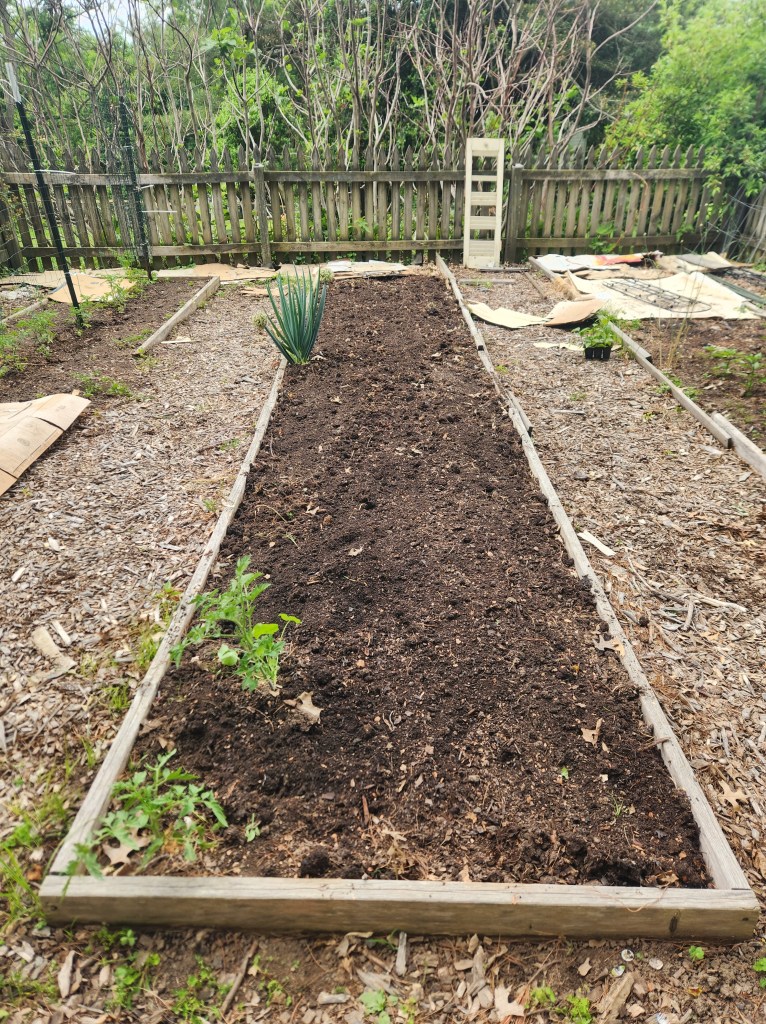
Planting my dahlia tubers was an exciting moment. I delayed it about a week longer simply because I wanted to do some more reading and be sure I wasn’t going to make any preventable mistakes.
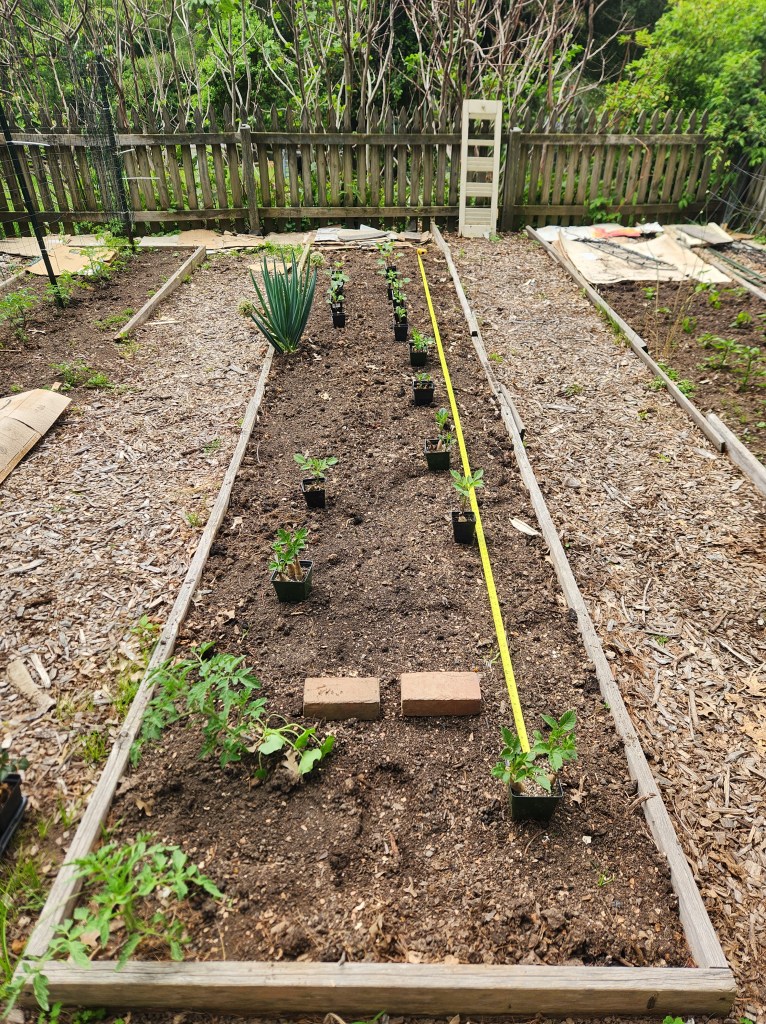
The two biggest considerations with planting are spacing and depth. Spacing matters for all plants so that they aren’t competing for sun, moisture, and nutrients if planted too close together or the flip side that they are so far apart you didn’t maximize your space. Spacing is also important in terms of being able to install the right supports and staking to keep the plants upright. Dahlias should be 12” apart with 18” between rows. Because I planted them too close together last year, I literally laid out my tape measure and got to work.
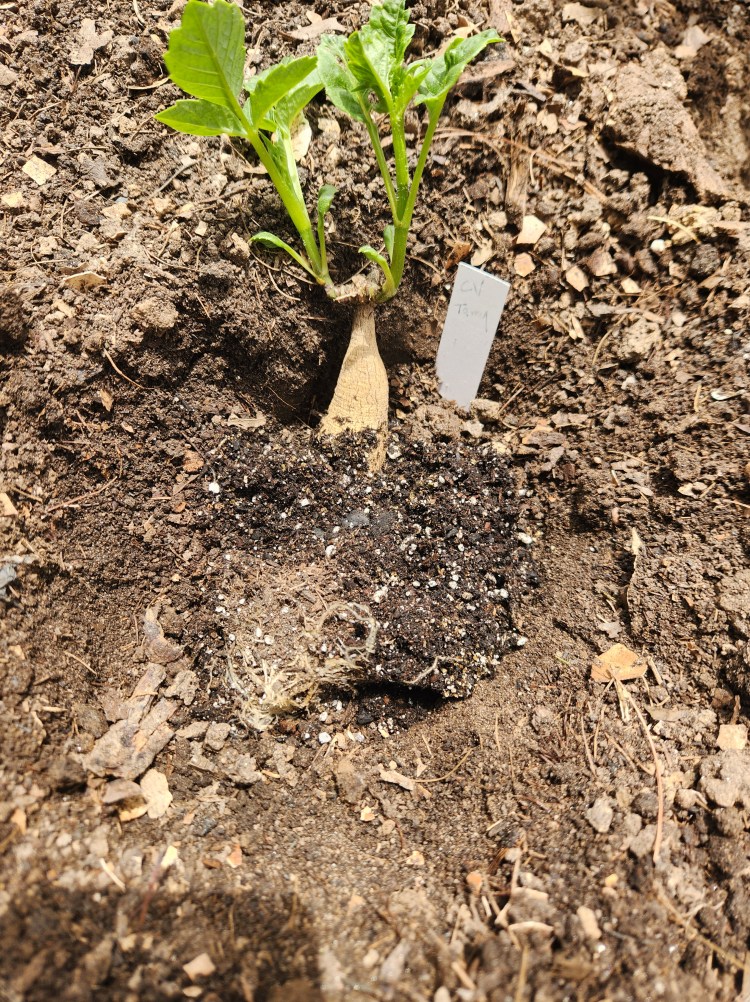
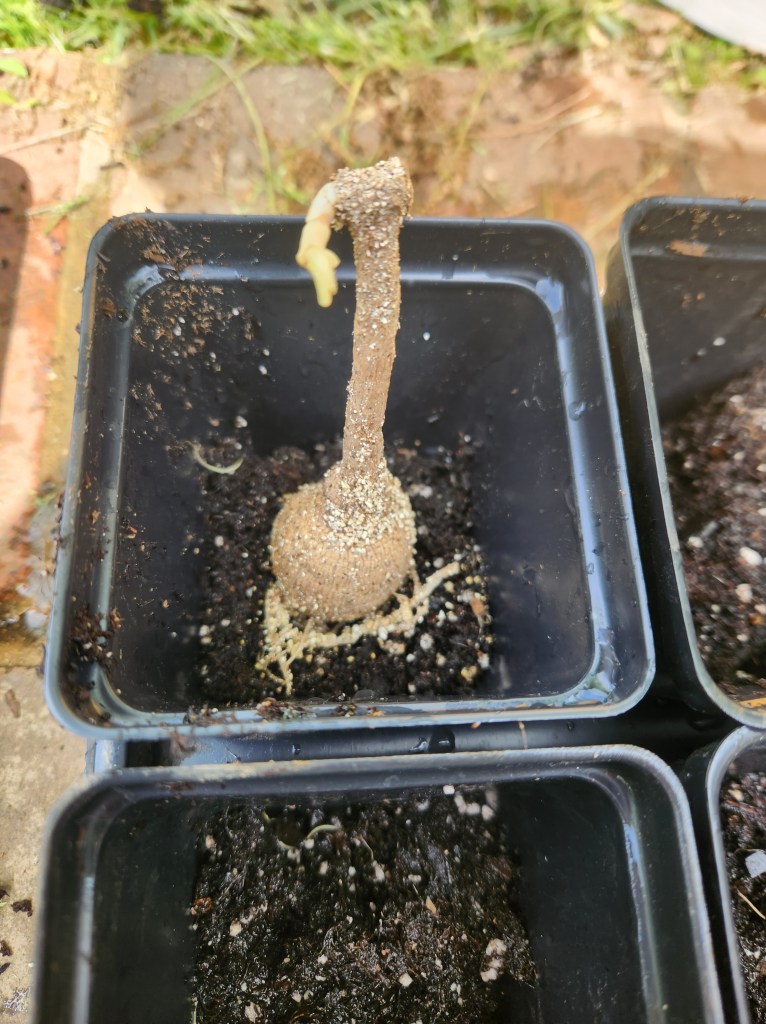
For depth, they should be planted 4-6” down. I would say this varies based on the size of the tuber, where the eye is, how long the neck is, and whether it’s already sprouted. I lay mine flat or at about a 45° angle in the hole so they can sort of rest in a cradle. The main idea is just for them to NOT be vertical and for the eye to be facing upward because that is the direction it will grow.
I dug my 34 holes in a zig zag pattern so that each plant isn’t directly across from another. Because I had labeled my tubers to the best of my ability (thought still managed to have four I could not identify), I attempted to plant them in an ombre fade from white to deep scarlet (listed below) but we’ll see if that actually pans out. That was the suggestion of my lovely Master Gardener friend.
CV Tamy (6)
Coral (2)
Colorado Classic (3)
Sonic Bloom (3)
Ivanetti (3)
HH Black (4)
Deep Red (3)
Wildcard??? (4)
Bishops Children (5)
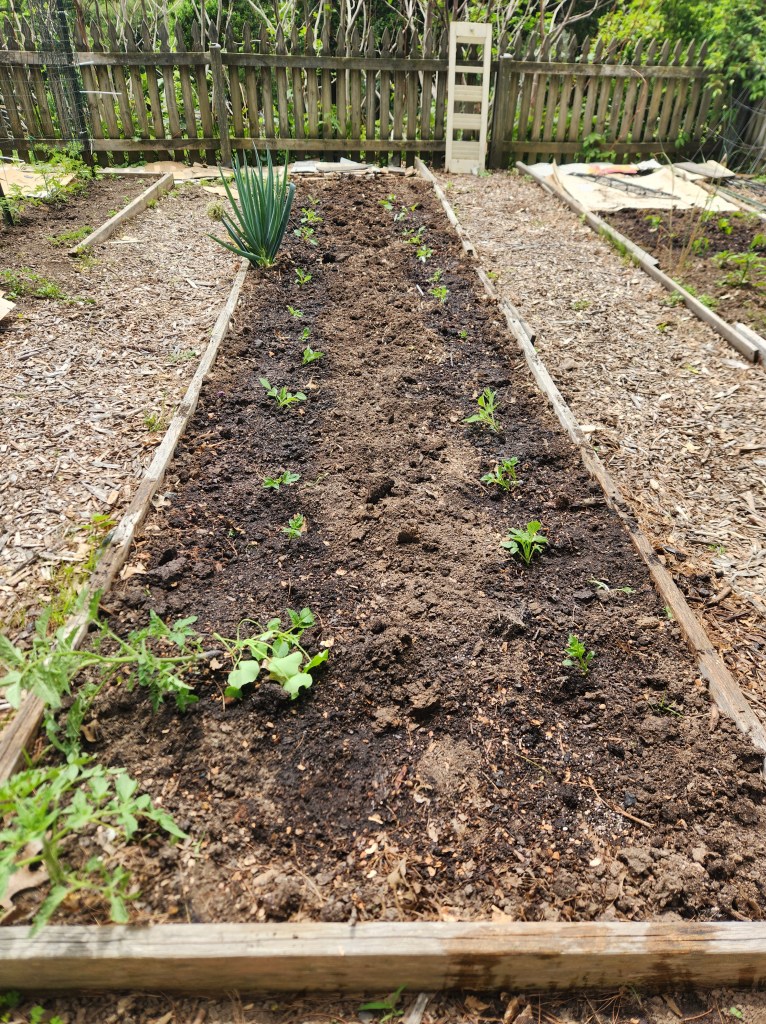
Once I got them all in the ground, I watered them in well. Like any plant, the first few days are really important for strong watering so the plant isn’t stressed and consistent watering thereafter. Next, I’ll be installing my drip irrigation in all three beds.
Remember how I added a cutting garden last year? I experimented with a wild flower direct sow section (AKA hands off), a perennial section, and then two designated 3×10 foot bed of intentionally planted, started indoors, known for growing easily cut flowers – largely zinnias, celosia, snapdragons, sunflowers, and dahlias. I had gomphrena and yarrow for fillers too.
I think I spent about $40 on dahlia tubers. Everything else was started from seed that I spent about $30 on. My goal was to sell ten bouquets for $15 each and make all my money back as well as cover the costs for my seeds this year. That didn’t happen. Hence why most businesses go under in the first 3-5 years. This year, having not met my goal last year, I’m committed to an even bigger goal. I’m going to sell $250 worth of flowers this summer June-August. Ha – I hope you are reading the irony here. If at first you don’t succeed, make it even harder 😊
I’d like to think I’m a bit more experienced and have solved for some of the challenges that slowed me down last year.
I’ve got soil blocking down (post coming soon!). Way more starts in way less space!
I’ve got a good handle on a two-week succession planting schedule.
I’ve got a plan for drip irrigation. Key word – PLAN.
I’ve realized the error of my ways in loving how pretty the flowers are and not wanting to cut them. They are getting harvested two days a week.
I’ve got buckets for storing flowers in cool water the moment I cut them, and I’ve got flower feed packets.
While I don’t want to play favorites with flowers – I LOVE THEM ALL – I am very excited about my dahlias this year. I knew they were a good investment because they multiply on their own. I borrowed Discovering Dahliasfrom the library over the winter and was fascinated with all the different types. I fell in love with the pom pom, water lily, and cactus styles. So I bought a six dahlia sampler kit from Hudson Valley Seed Company {perfect time to buy as they are on sale}. And then I bought four more from Connel’s Dahlias.
Last year, I really knew nothing other than watching some short videos on the Floret website. I pretty much only got them started correctly. I didn’t space them or support them adequately, and I certainly didn’t harvest them frequently enough. When there was beautiful blossom, I was so enamored by it I couldn’t cut it. Oh Dear! This year will be different.
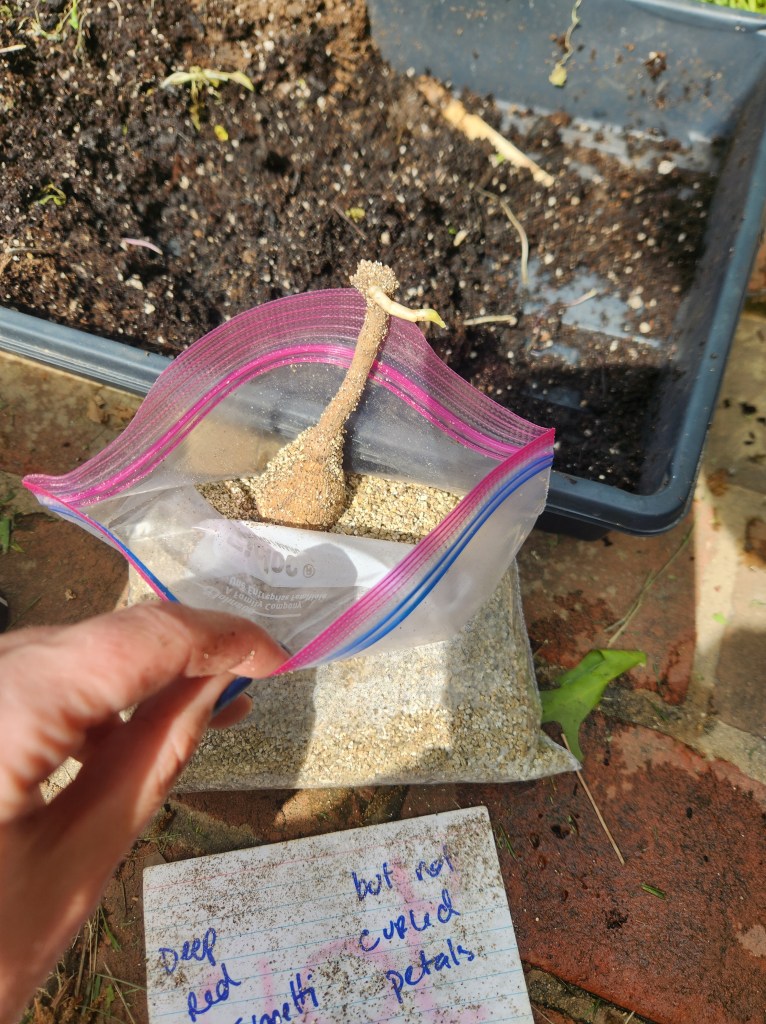
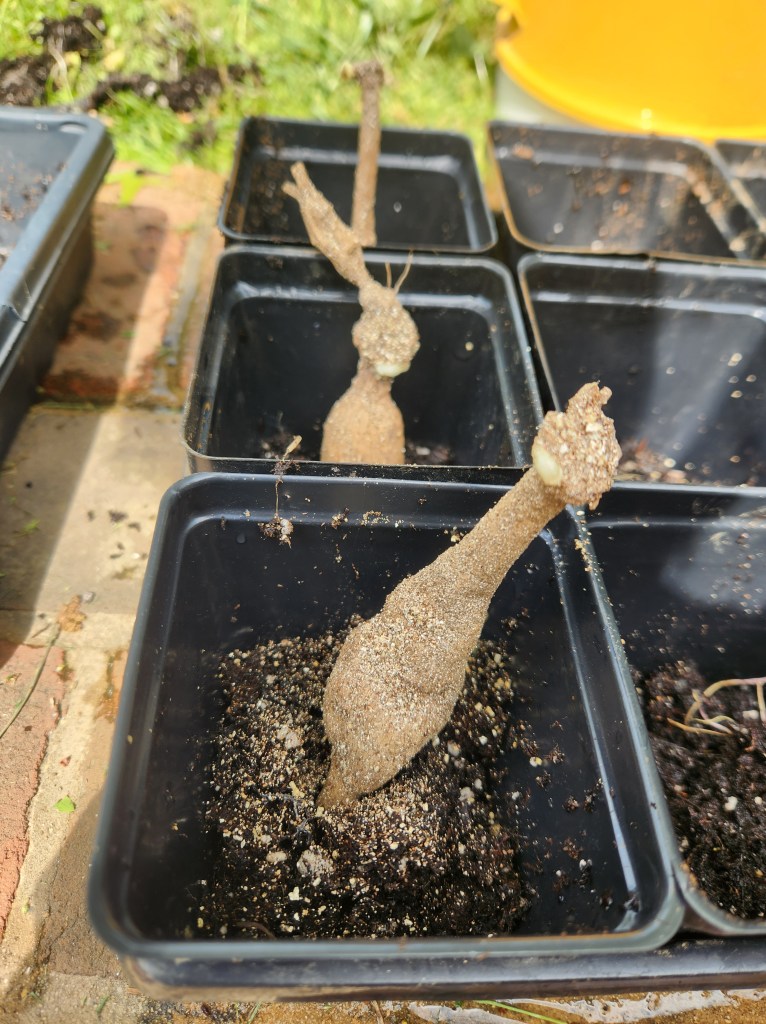
So I’m off to a strong start with more than 30 tubers. That’s what the ten I bought last year turned into. Yippee! The first stage is to get your tubers pre-sprouted as follows:
Fill a container with growing medium. I do a mix of 1/3 potting soil, 1/3 peat moss, and 1/3 vermiculite.
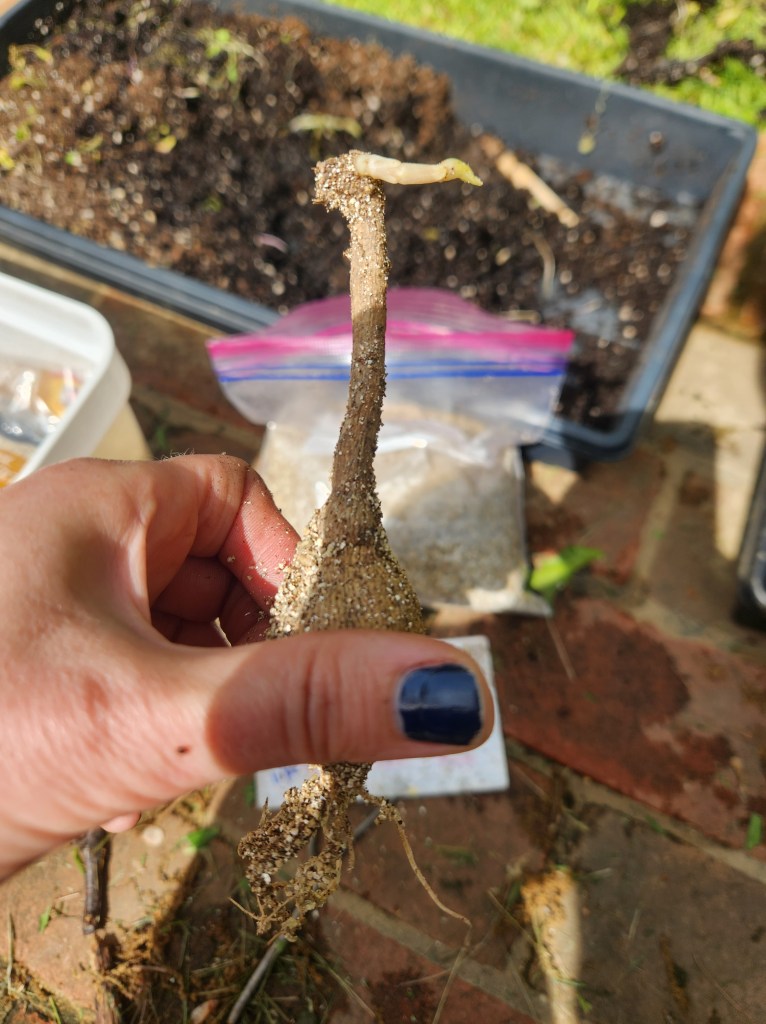
Nestle your tuber in so the neck and eye are exposed.
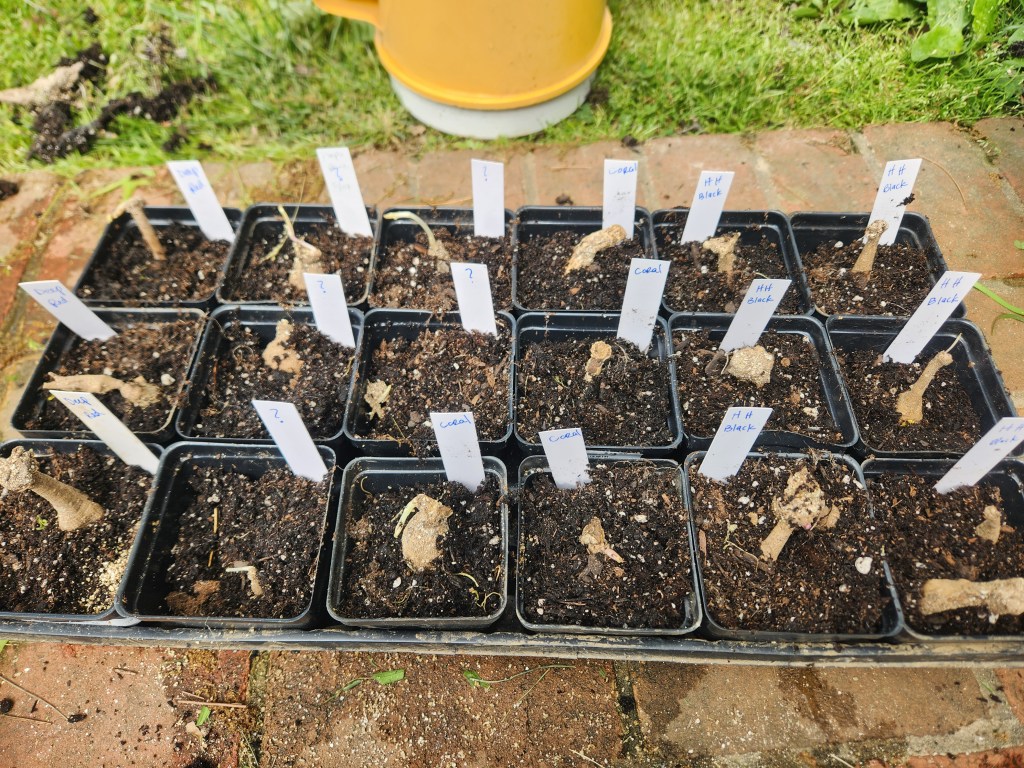
Label them as you go.
Keep them in a warm sunny place and keep the soil moist. Not wet, not dry, just moist. I have left mine outside from day one because I didn’t have room on my growing shelves.
Watch and wait…
Stay tuned, a post will be coming very soon on planting the tubers, setting up drip irrigation, and staking them correctly.