It’s that time in the season where your fall garden is likely winding down depending on where you are. I really enjoy the clean up phase. It helps me take note of the areas and crops that went well, and those that need more attention or a different approach next year.
As I’m putting stuff away like stakes, cages, and netting, I’m noting if the spacing was adequate, how many plants I want to fit next year, which ones should be near different partners. That’s the beauty of gardening, it’s constant learning and attention. I love that my brain clears in the garden with the effort of the physical work.
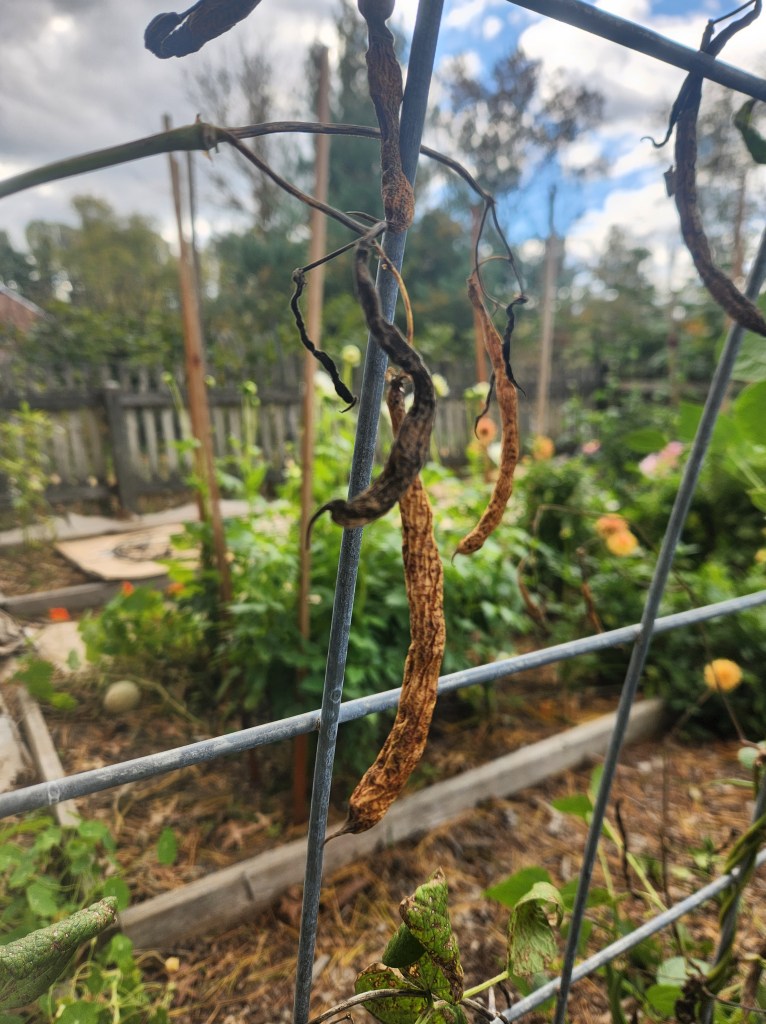
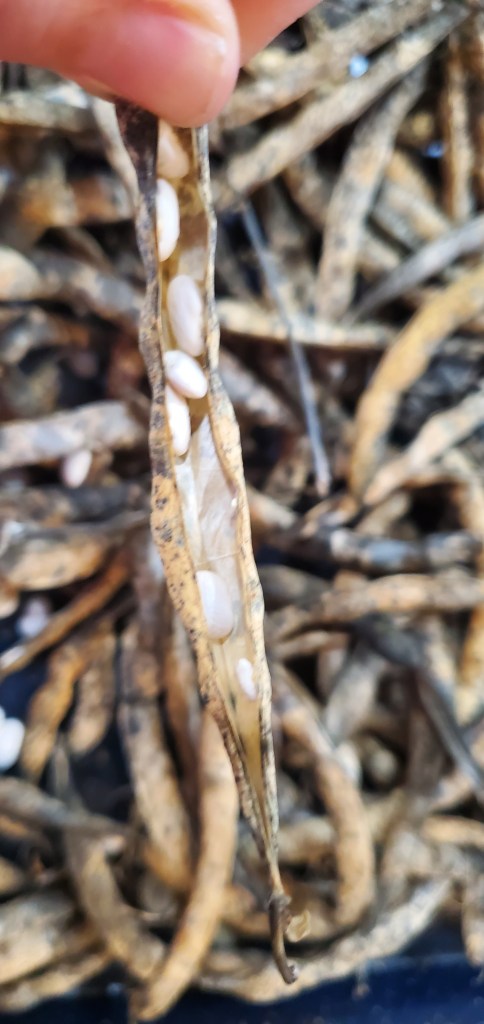
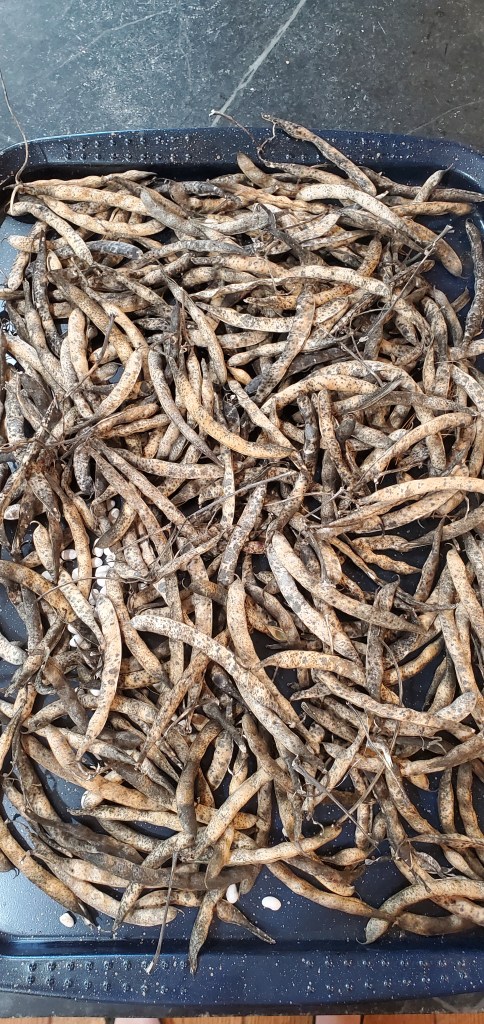
As I was trying to take down my cattle panel that I used as a trellis for my pole beans, I needed to unweave the plants that I had left to dry for seed saving. Green beans have to be the easiest plant to seed save. Literally two steps: 1) leave them to dry, and 2) crack them open.
And the best part is you never have to buy these seeds again. Yippee!
I feel like I’m on a roll with my fall clean up. I better be – frost is on the way. As part of my clean up, I had pulled all my beans off the trellis. I did this a few weeks back after four or five really sunny days when I knew they’d be dry. That’s pretty much the only challenge in saving dry beans – making sure they are completely dry. Any moisture at all could lead to mold and rotting.
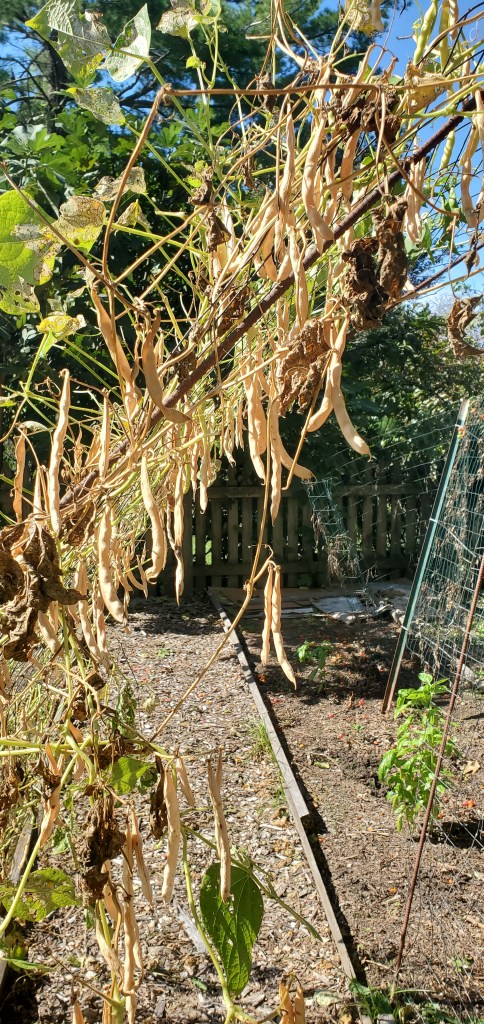
This pile of bean pods is from 8-10 silver cloud cannellini bean plants. I put them in the ground in August as I was taking out some of my lower producing pole beans. I let them pretty much do their thing until the weekend of Halloween. Then my 7.5 year old and I spent about 20 minutes taking them down off the trellis.
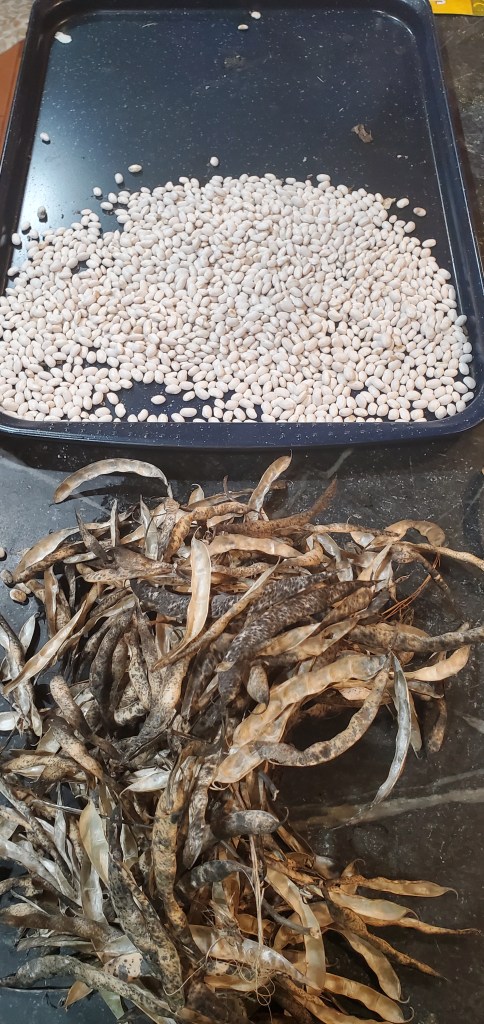
I laid them out to dry for another few days on this cookie sheet as a bit more insurance against any mold issues. Then I spent just a few moments each day popping the beans out of the shells. It was relaxing oddly enough.
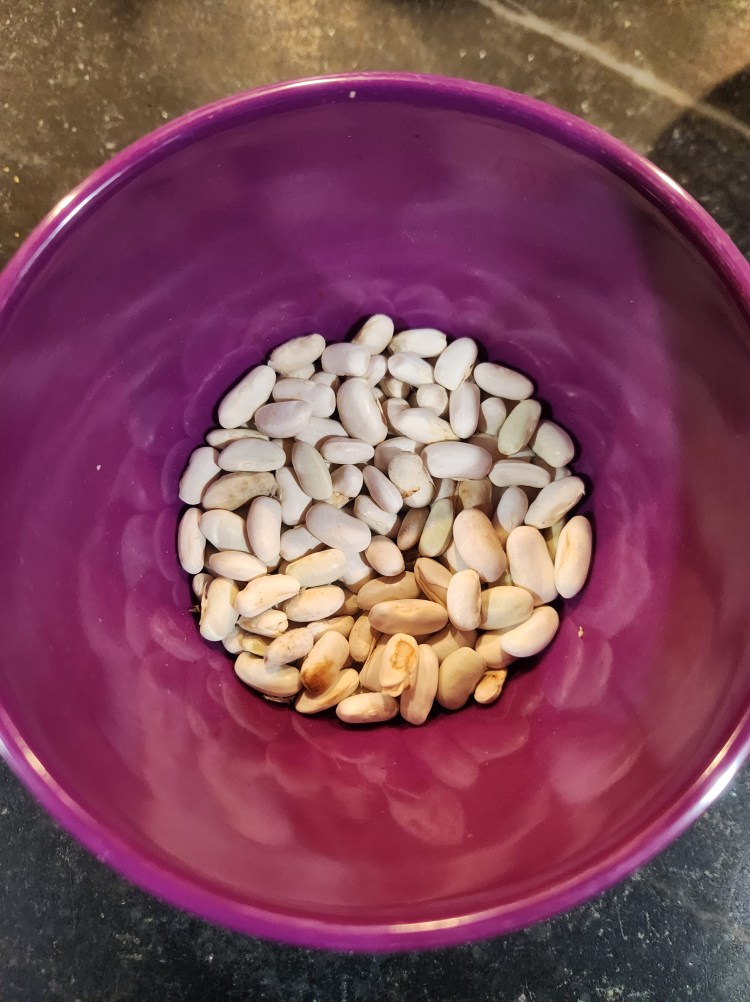
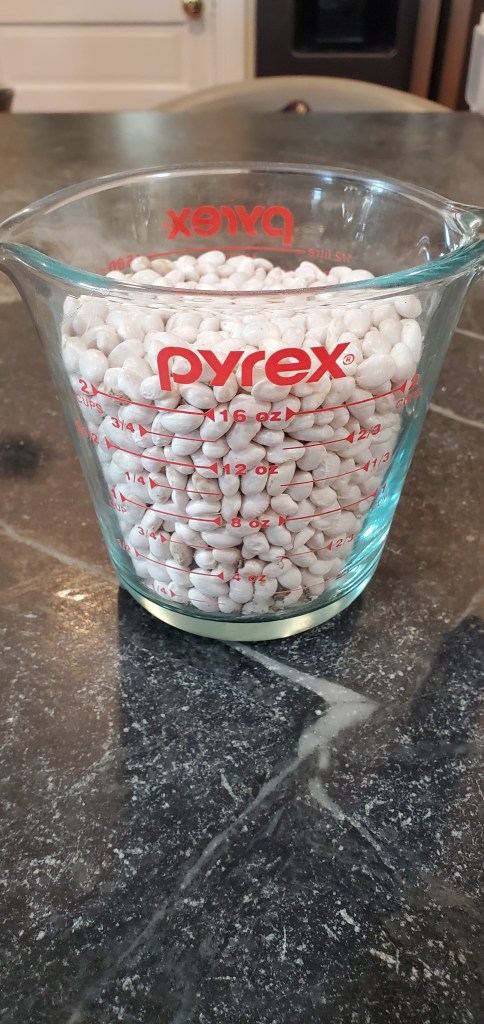
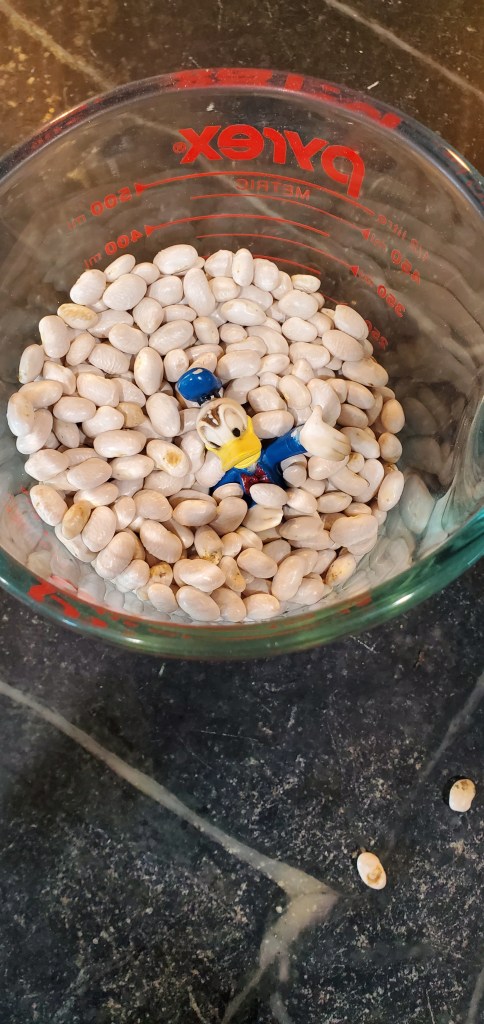
And easy as that, 2 cups of dryer beans (plus a mysterious visitor – my kids make me laugh) for some winter soups. I’ll definitely be planting more of these again next year!
Ya know, if I was going to tell someone to start with planting one crop, it wouldn’t be the typical tomatoes or green beans that you frequently hear people suggest for beginner gardeners.
Do you want to grow something that essentially needs no care except for watering?
Do you not want to worry about staking, pruning, or spacing?
Do you want to grow something that is virtually untouched by pests?
Do you want a crop that you can store and use year round?
If this were a gardening commercial on QVC, my hand would shoot up in the air and I’d blurt out “I want that! That’s the crop for me!!” Then I’d run down the aisle Price is Right style and jump up and down.
Well my friends, then garlic is your girl. Who doesn’t use garlic? I have not met that person (aka vampire) yet.
Garlic is so gloriously simple. You essentially have to make two decisions –
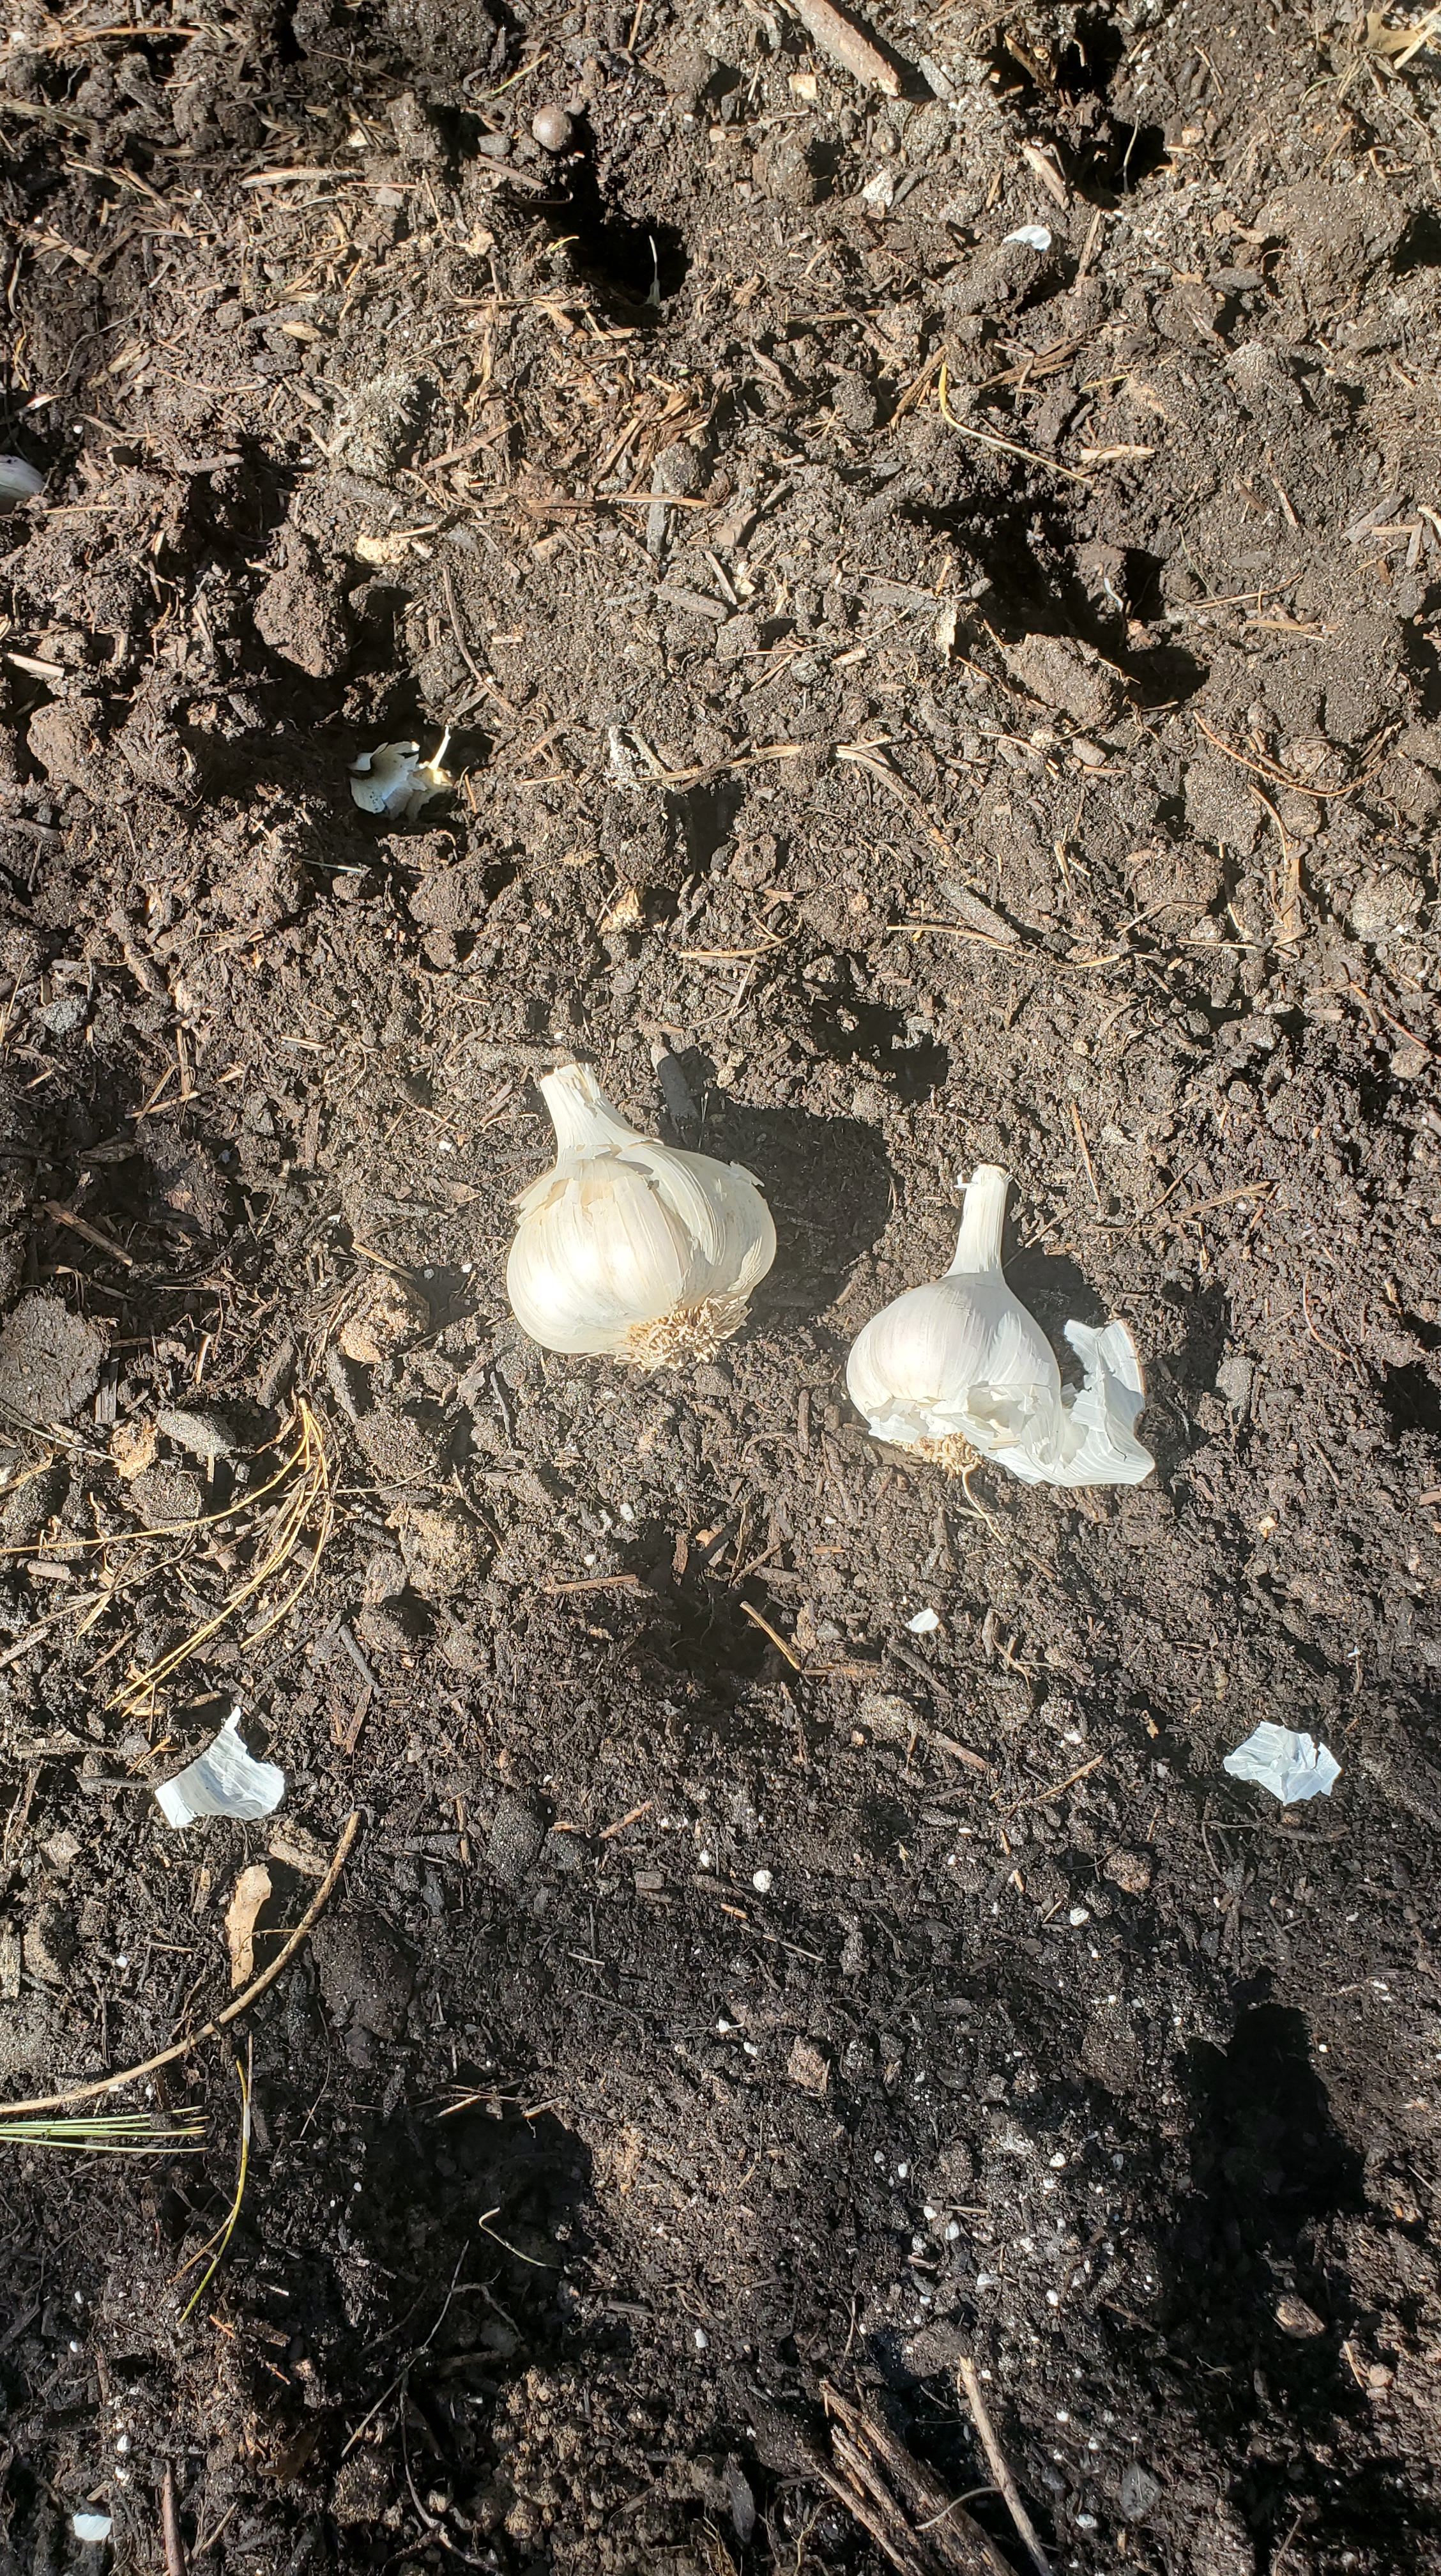
How much garlic do I need? We use probably 3-4 cloves in at least two meals per week. I estimate that to be a single bulb. Hence, I need to plant 52 cloves. When you want to get real savvy and sustainable, make sure you account for planting extra which will serve as your starter cloves for the next season.
And what kind? There are two types to choose from: soft neck and hard neck. See my not at all comprehensive descriptions of the two types below to help you decide.
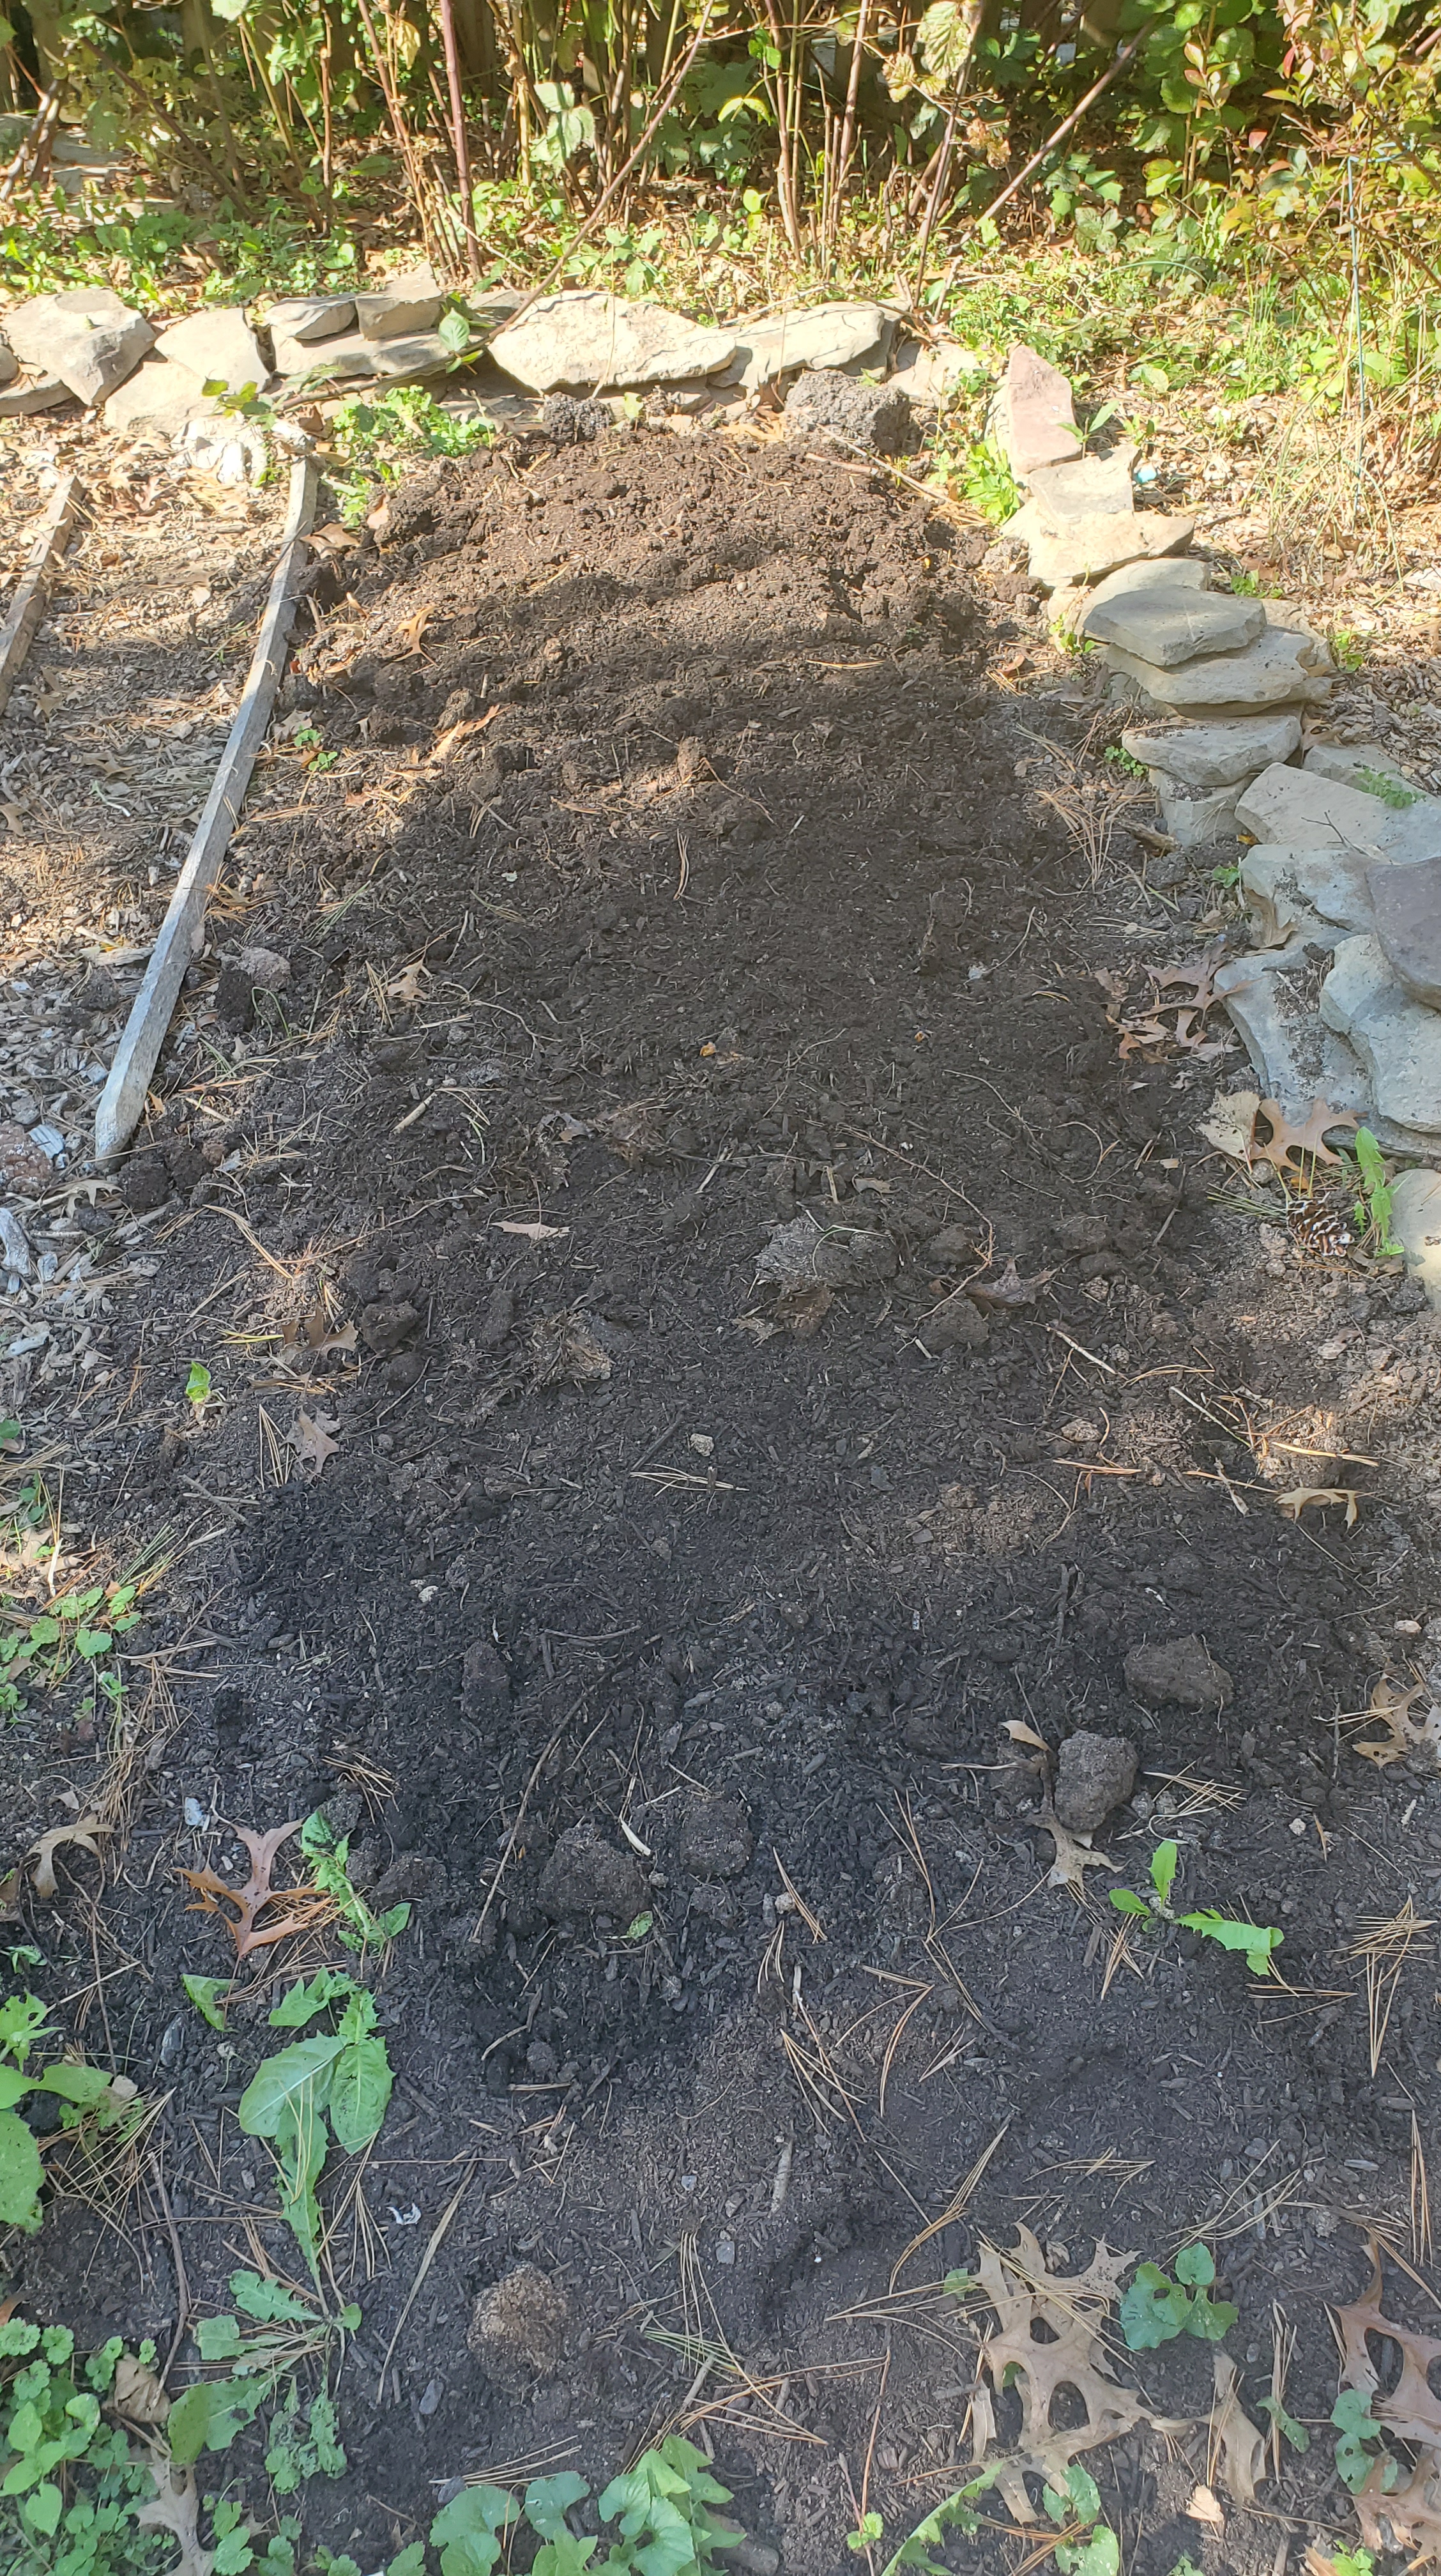
Beyond knowing how much and what kind, you’ll want to get your garlic planted in late fall – Halloween is usually my reminder. The soil is pretty easy going, just add a layer of compost, mix in some fertilizer, and cover with a 4” layer of leaves until spring. Last year I covered my bed with cardboard boxes as well so that I wouldn’t lose any soil with winter snow and early spring rains. I removed the cardboard in April and bada bing – garlic galore by July!
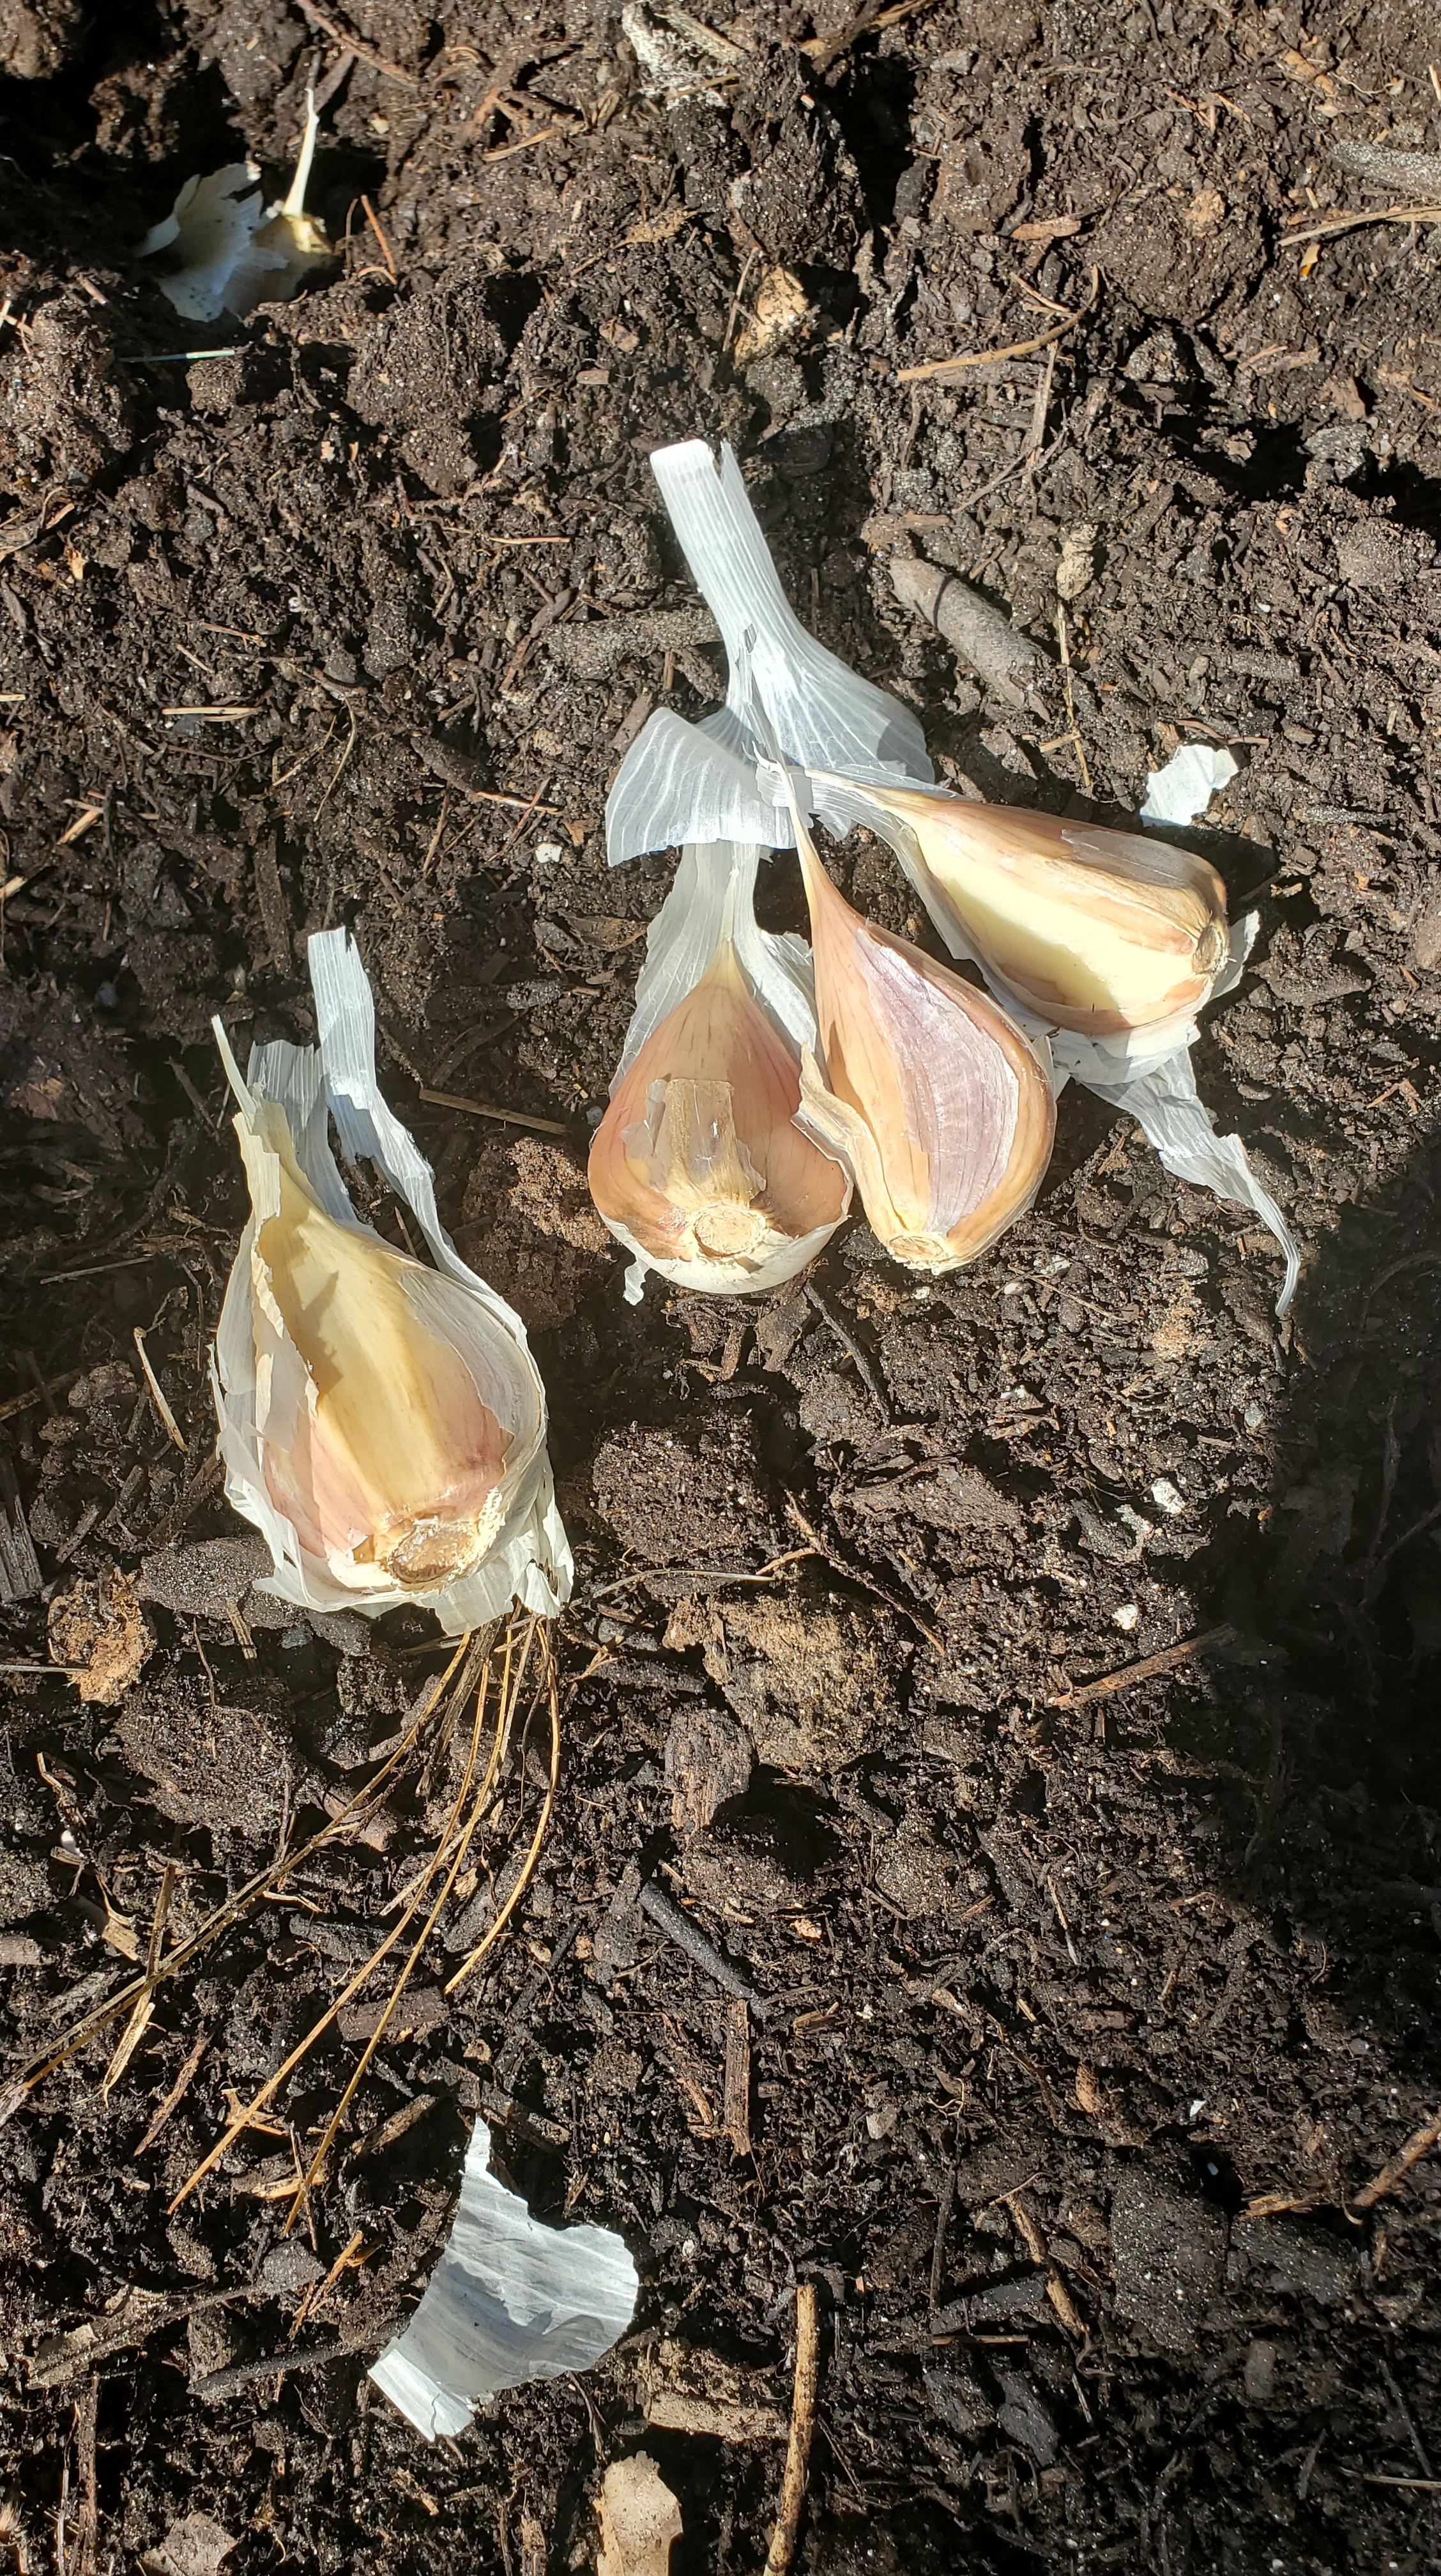
Hard neck – a long, flowering stem grows through the center of the bulb and becomes rigid after drying (which is where the name comes from). Hardneck garlic produces bulbs with fewer cloves, in the range of 4-12. They tend to do better in areas with colder winters.
Soft neck – does not have the flowering stalk and therefore a softer neck that can be braided. Softnecks typically produce a larger bulb with more cloves, usually between 8-20, in concentric layers. They tend to grow well in places with milder winters.
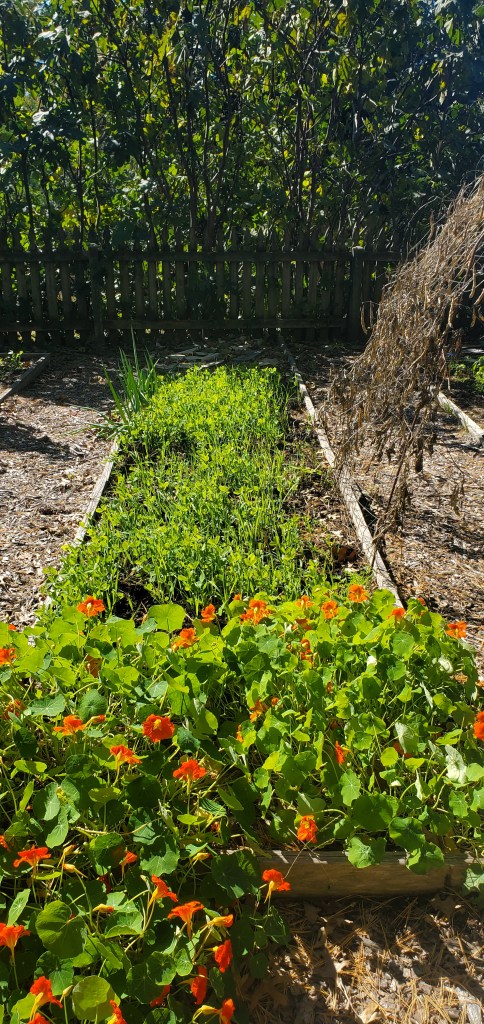
I’ve never planted cover crops successfully. The last two years I’ve thrown down rye seeds at some point in the fall and just hoped for the best. Well, as they say, hope is not a plan so that approach didn’t really get too far.
This year I bought two different ½ pound bags to spread across my three garden beds that are about 3’ x 20’ each. I bought oats and field peas mix and hairy vetch from Hudson Valley Seed Co. I have three other smaller beds that are further from my water source and I had sprinkled seeds on these beds back in August but didn’t pay attention to watering them so guess what happened? Nothing. Absolutely nothing.
So what’s the deal with cover crops anyway? What are they good for and why should you plant them? I’ve been hearing about cover crops for the last five years or so but I didn’t really think of the concept pertaining to my small-scale garden. But I was wrong. There are many benefits and advantages to be gained from planting cover crops in nearly any size space.
Here are some of the points that sold me:
Improve soil health – cover crops support all types of soil organisms that make a beautiful web of interdependence. Cover crops feed bacteria and fungi in the soil and worms and other insects eat the fungi and bacteria.
Prevent erosion – cover crops help stabilize soil to better absorb intense rain and cover crop root channels help soil hold water in drier environments.
Fix nutrients – cover crops hold on to nutrients such as nitrogen that can be released the next season to help the next year’s crops.
Capture carbon – Cover crops remove carbon dioxide from the atmosphere and build it into the soil.
So no matter what size garden you are working with, give cover crops a chance. It’s truly a privilege to be a steward of a piece of the Earth, so help it be as healthy as possible.
As another growing season approaches, I wanted to step back and think about the rhythm and timing of my plantings. For me, having a plan is essential so that I don’t get overwhelmed. But I don’t really want to live my gardening life according to a highly complex excel spreadsheet with tons of equations.
This year, I am not going to expand my vegetable garden and want to keep it pretty similar to what I did last year with a few tweaks. However, I am planning to really give a big push to flower growing thus I want the vegetables to be relatively simple.
I don’t know about you, but the whole “start this 8-10 weeks before your last frost” feels a little too abstract. I’d rather work with the natural demarcations in the calendar year that signal, “Oh, it’s Spring solstice, time to… [insert task here].” In the three short years I’ve been gardening, I’ve already grown to love these little tricks because Lord knows my memory is not superb.
Here are the broad strokes and signals that work for me in the Mid-Atlantic and maybe they’ll be helpful to you.
Valentine’s Day (or a weekend thereabout) is when I start peppers indoors. Think spicy romance!
St Patty’s Day is the time to start tomatoes seedlings.
Depending on when Easter falls, that’s usually the time to get my spring garden planted with the cold hardy crops – beets, carrots, kale, lettuces, onions and peas.
Then there’s Memorial Day to seed the summer garden and transplant the tomatoes and peppers that I started indoors.
4th of July is a good time to start your fall seedlings indoors, like broccoli, cauliflower and brussels sprouts.
Labor Day, in addition to being the end of my energy and enthusiasm, is when I start letting my beds rest a bit. Just some lettuces, radishes, beets and transplanting the brassicas I started indoors.
Halloween is usually the turning point from enjoyable Fall weather with sunny days to colder, gray days with rain and wind. Halloween is my signal to go buy some manure from the horse rescue that’s nearby to amend my garden and start putting everything to rest.
Thanksgiving to Christmas is the time to be thumbing through seed catalogues and singing “my favorite things” as I pick out seeds for next year’s garden.
I have never been much into radishes. I’m guessing there is more than one way to skin a radish, but I only ever at them in salads years ago. They were always flavorful and added some crunch, but nothing I craved. Until… have you ever had Korean Fried Chicken #TheRealKFC?
In our neck of the woods, KFC has been a pretty hot trend for about five years. If you’re not sure what it is , I suggest you not ask too many questions and just trust me when I say it’s delicious. It’s double fried or twice fried chicken with a few different sauce options – usually sweet or spicy. I wouldn’t say KFC is a regular indulgence by any means but two to three times a year won’t kill you, or it will, I can’t say for sure.
The whole reason I’m bringing this up is because the accompaniment served with Korean Fried Chicken is pickled radish that is absolutely addictive. You can’t stop popping them in your mouth. I think they cleanse the palate and turn down the heat. You will ask for multiple refills, I assure you.
So back in September when I wanted something fast and easy to plant, I heard radishes fit that description. But per my opening paragraph, I didn’t think beyond what I would do with them after I grew them. I hope I’m not the only gardener who does this. I obviously didn’t want to waste them so I thought pickling would be a good approach.
Without further ado, here is an insanely fast and easy recipe for pickled radish KFC style that are great to put with cheese, crackers, and other snacks when you have guests over <hint hint for upcoming holiday gatherings>.
What you need:
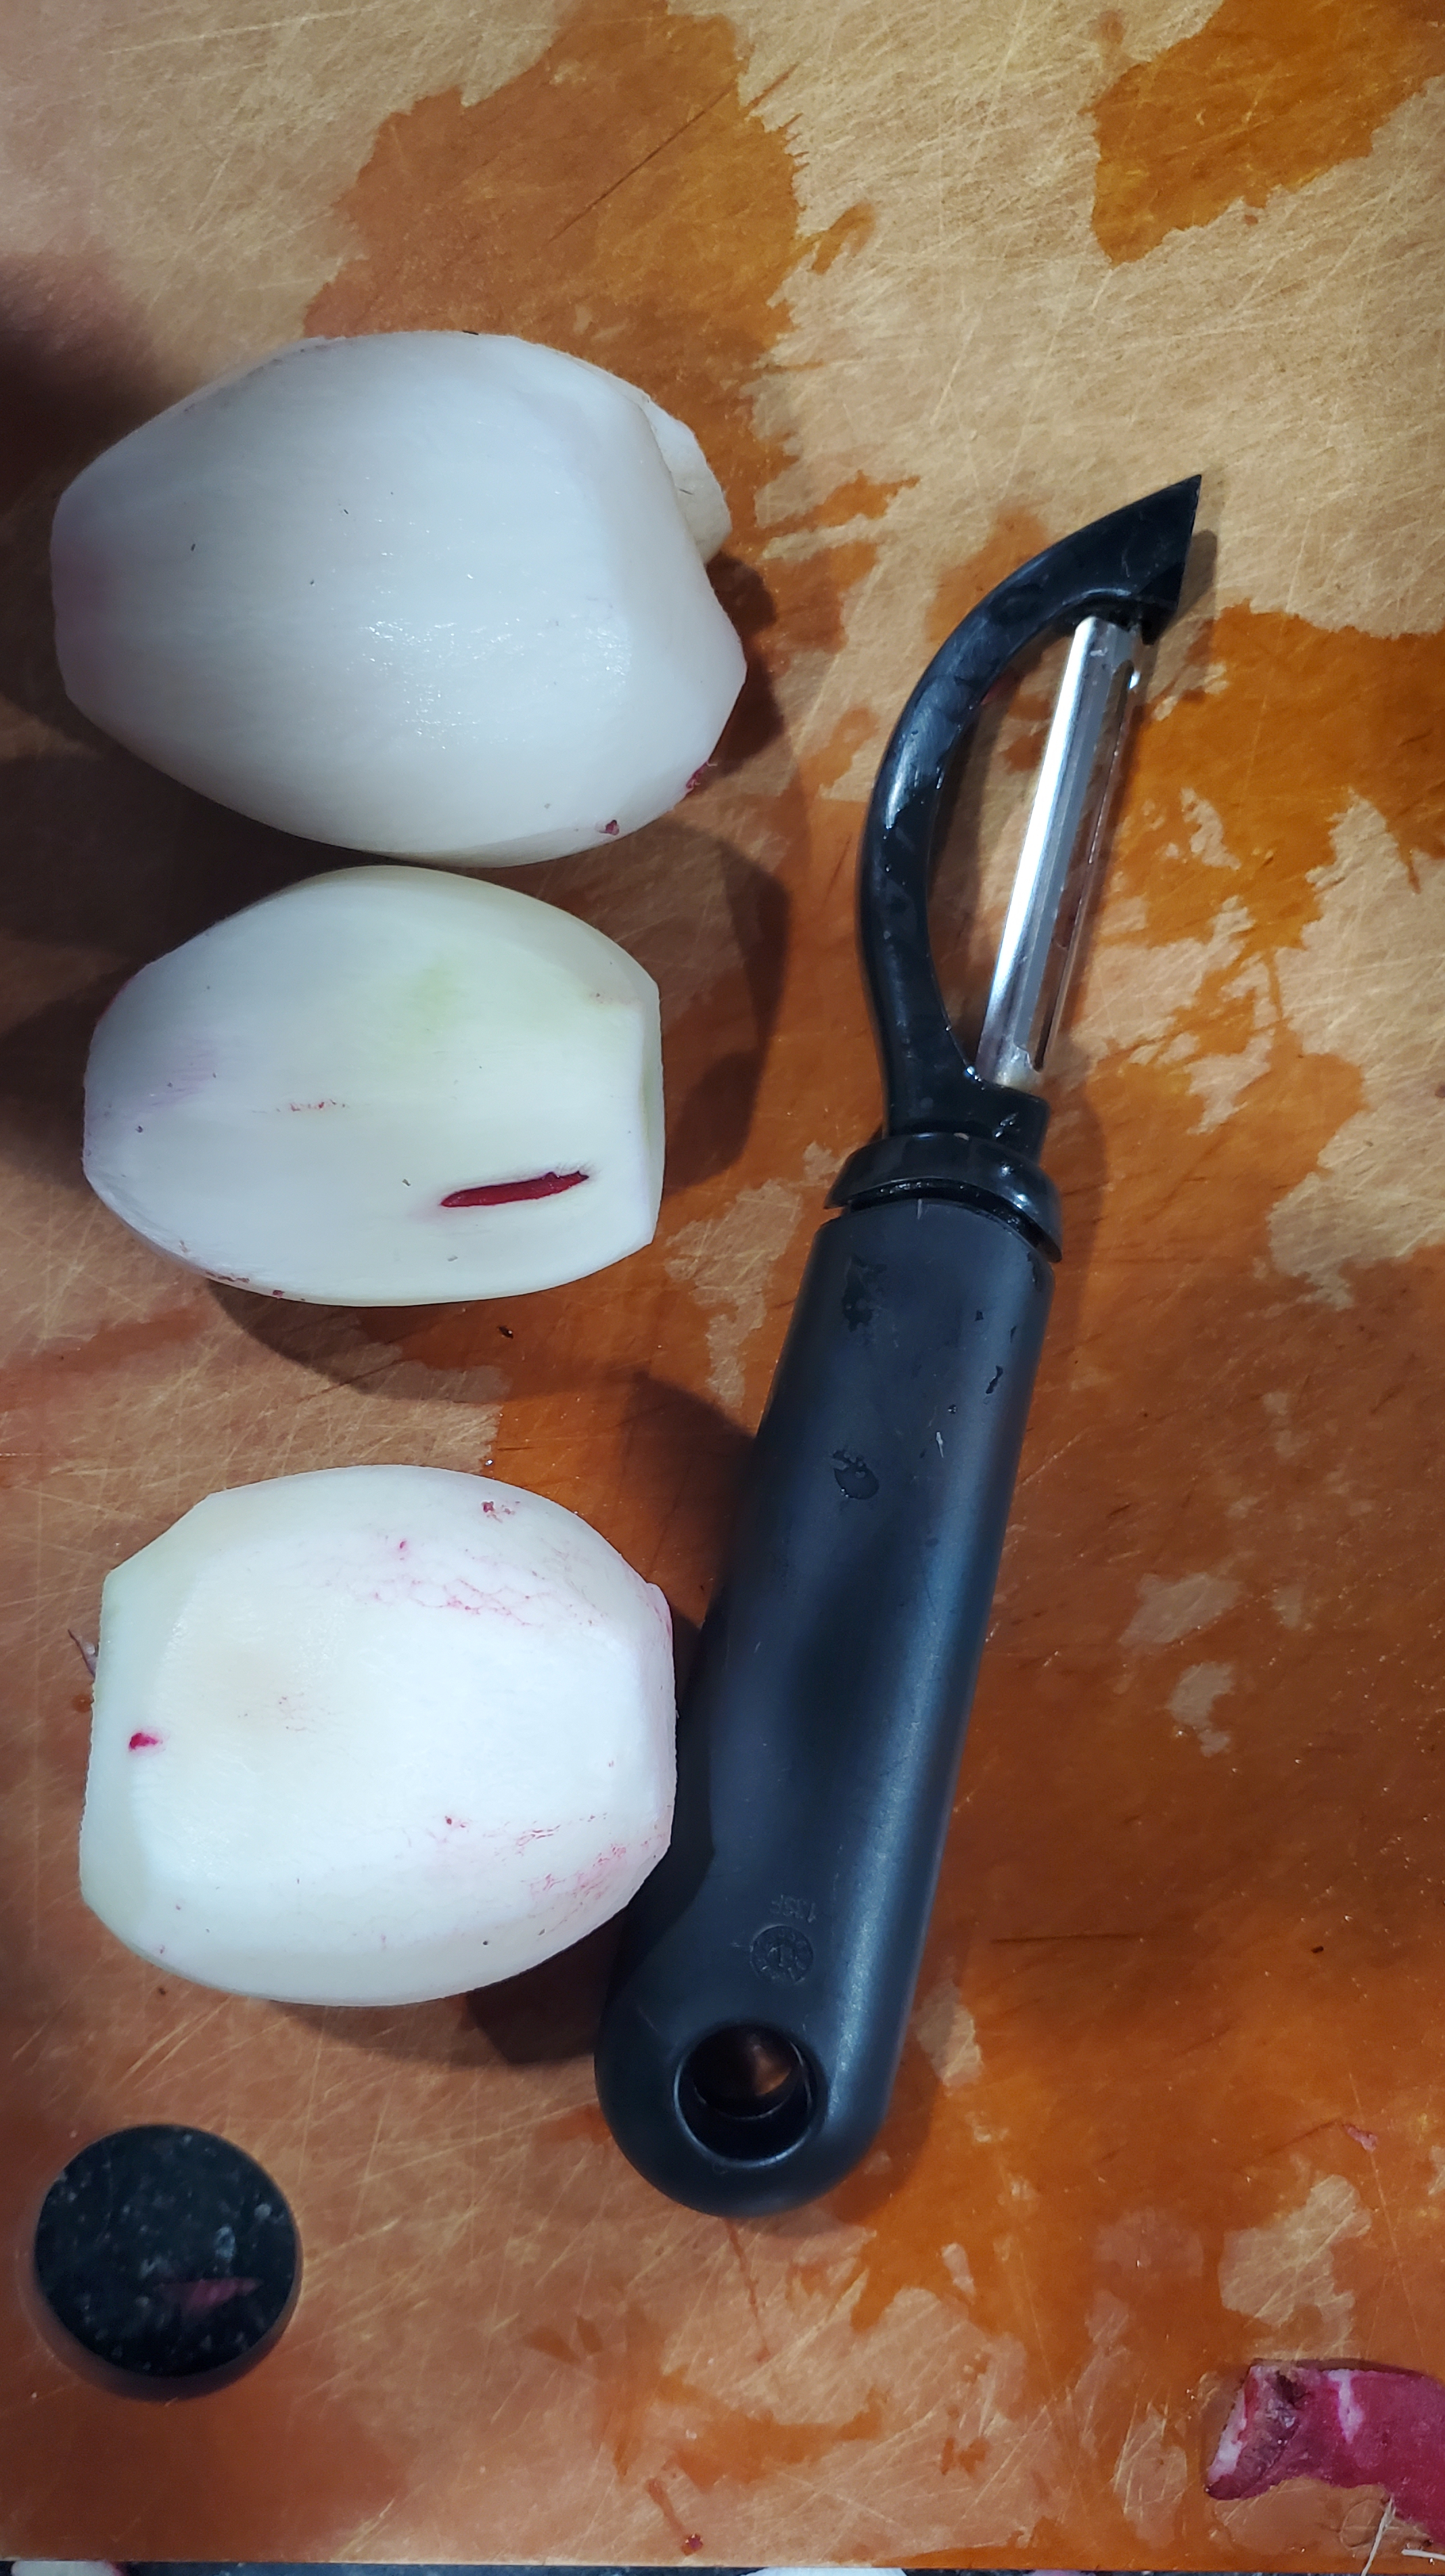
1 lb radish (daikon is recommended, I used a regular cherry radish)
⅔ c white granulated sugar
⅔ c white vinegar
⅔ c filtered water
¾ tsp salt
2 pint-sized canning jars with lids
Steps:
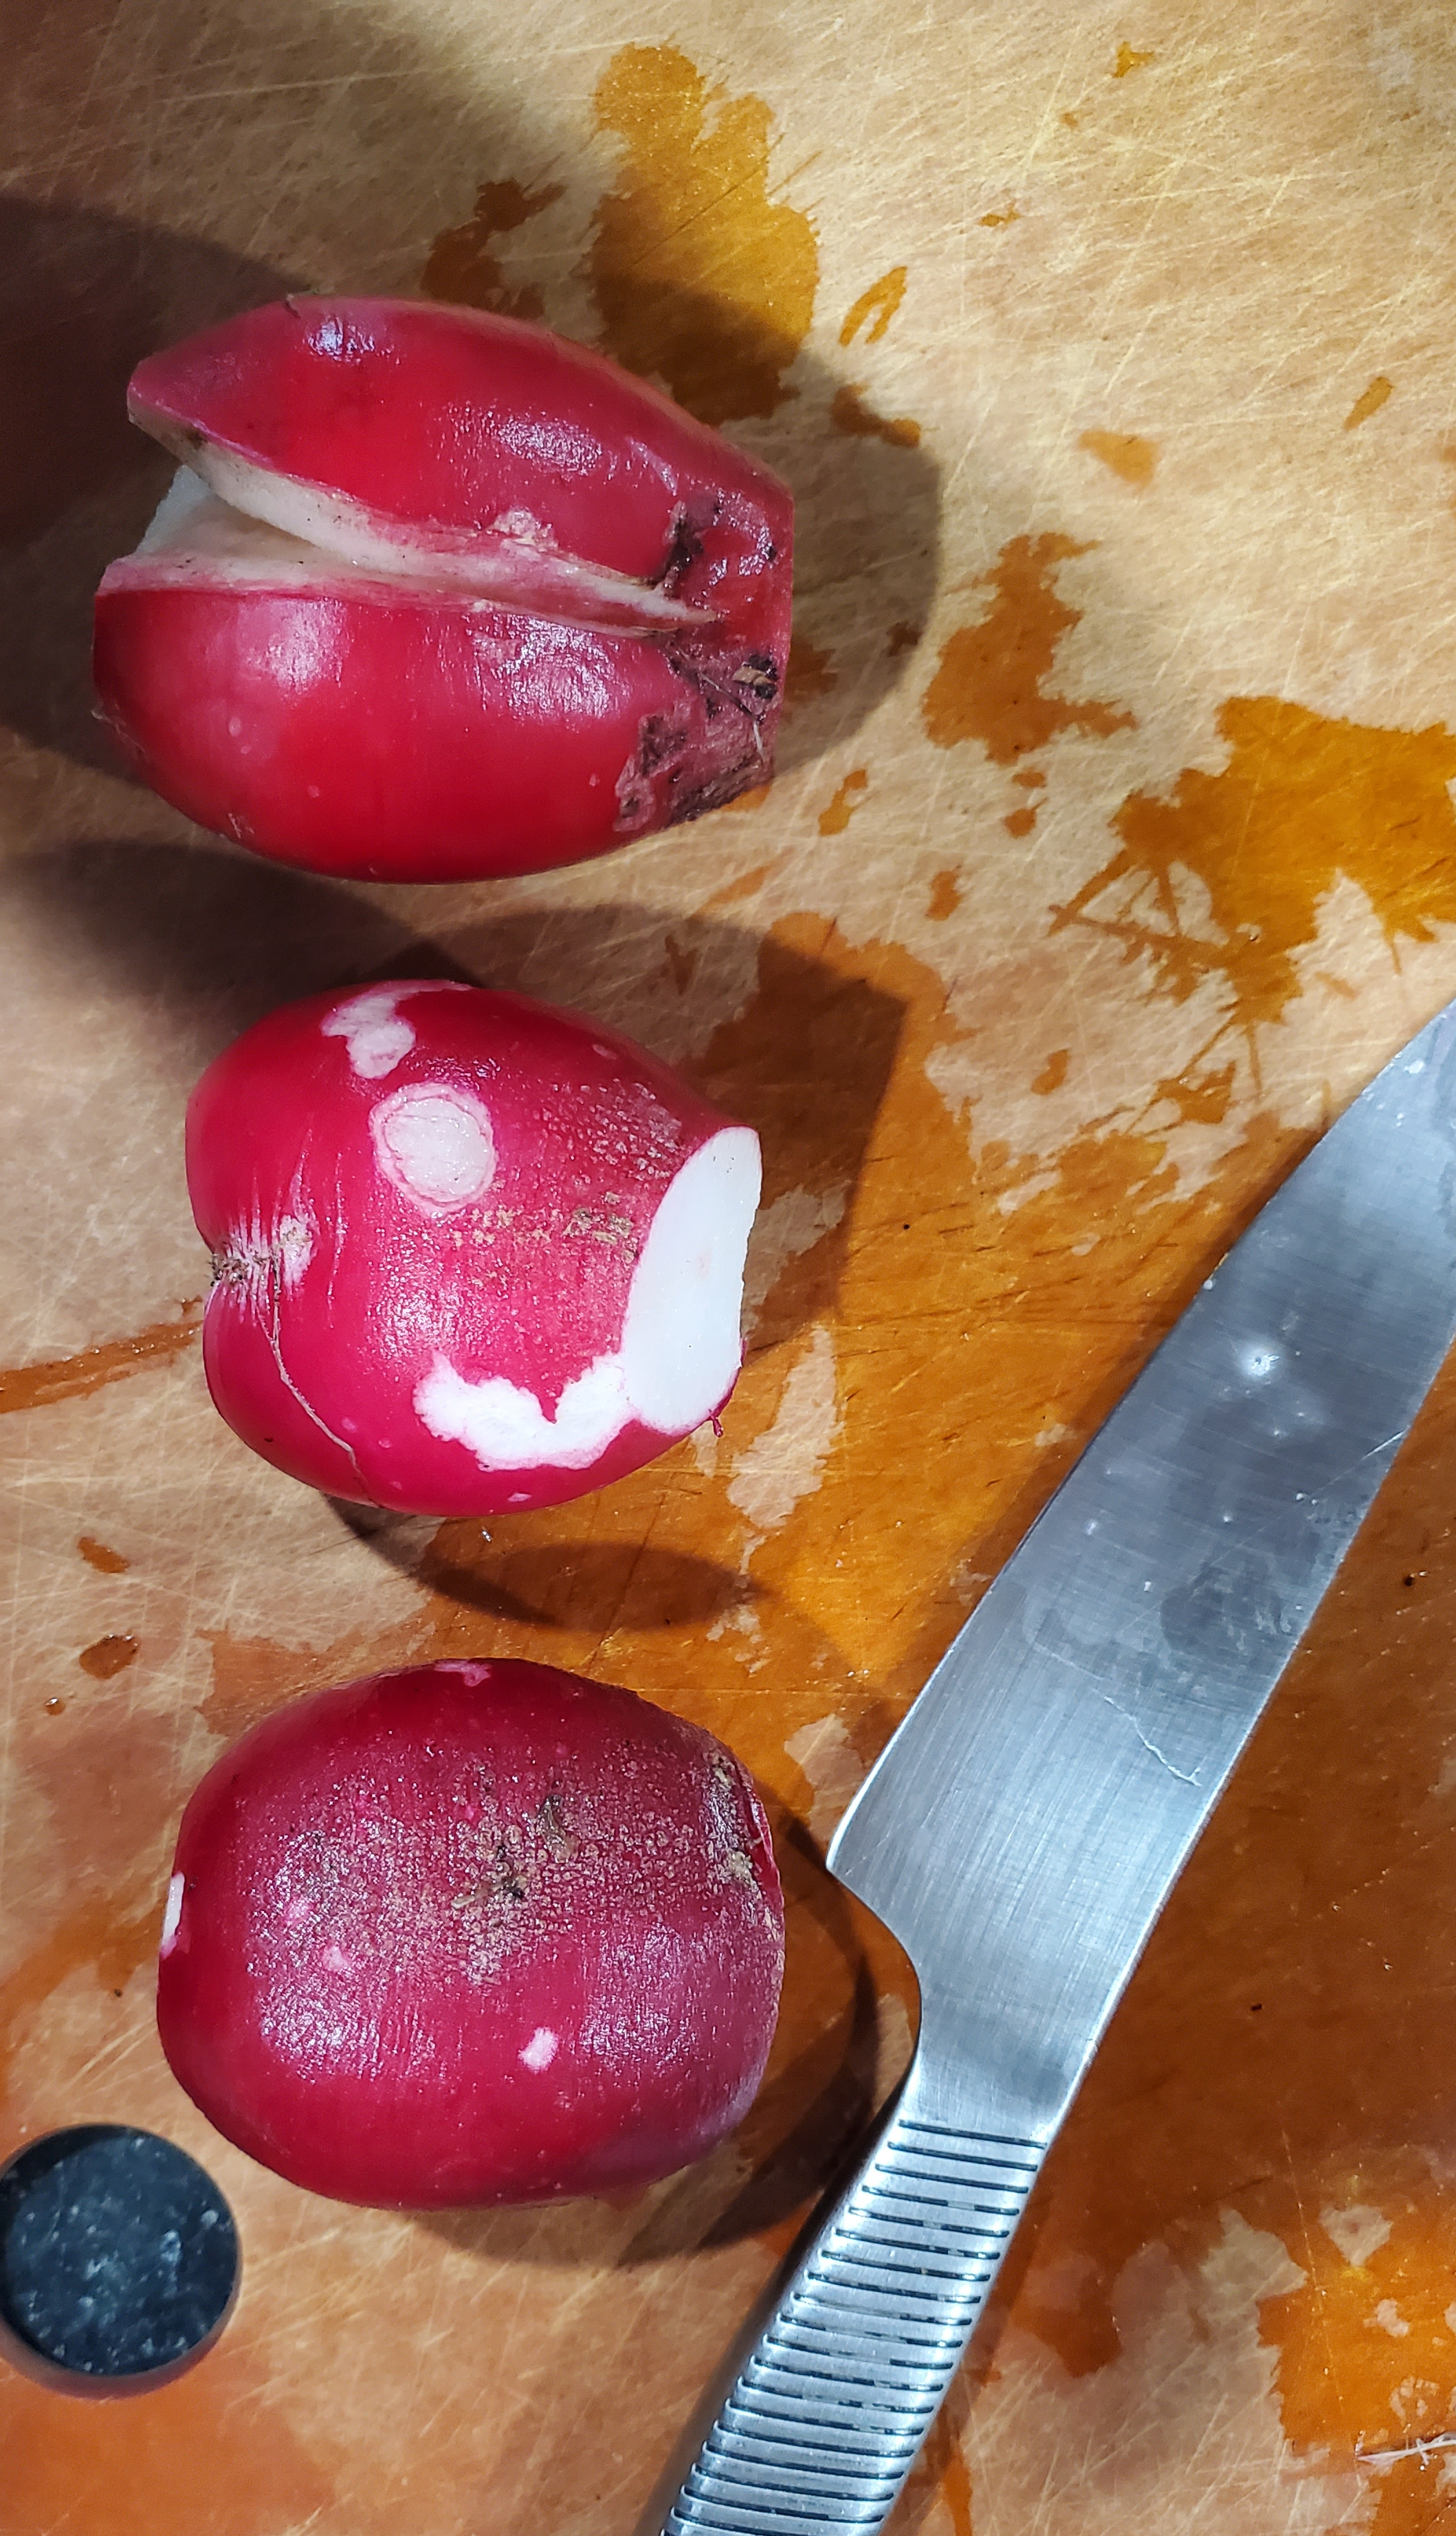
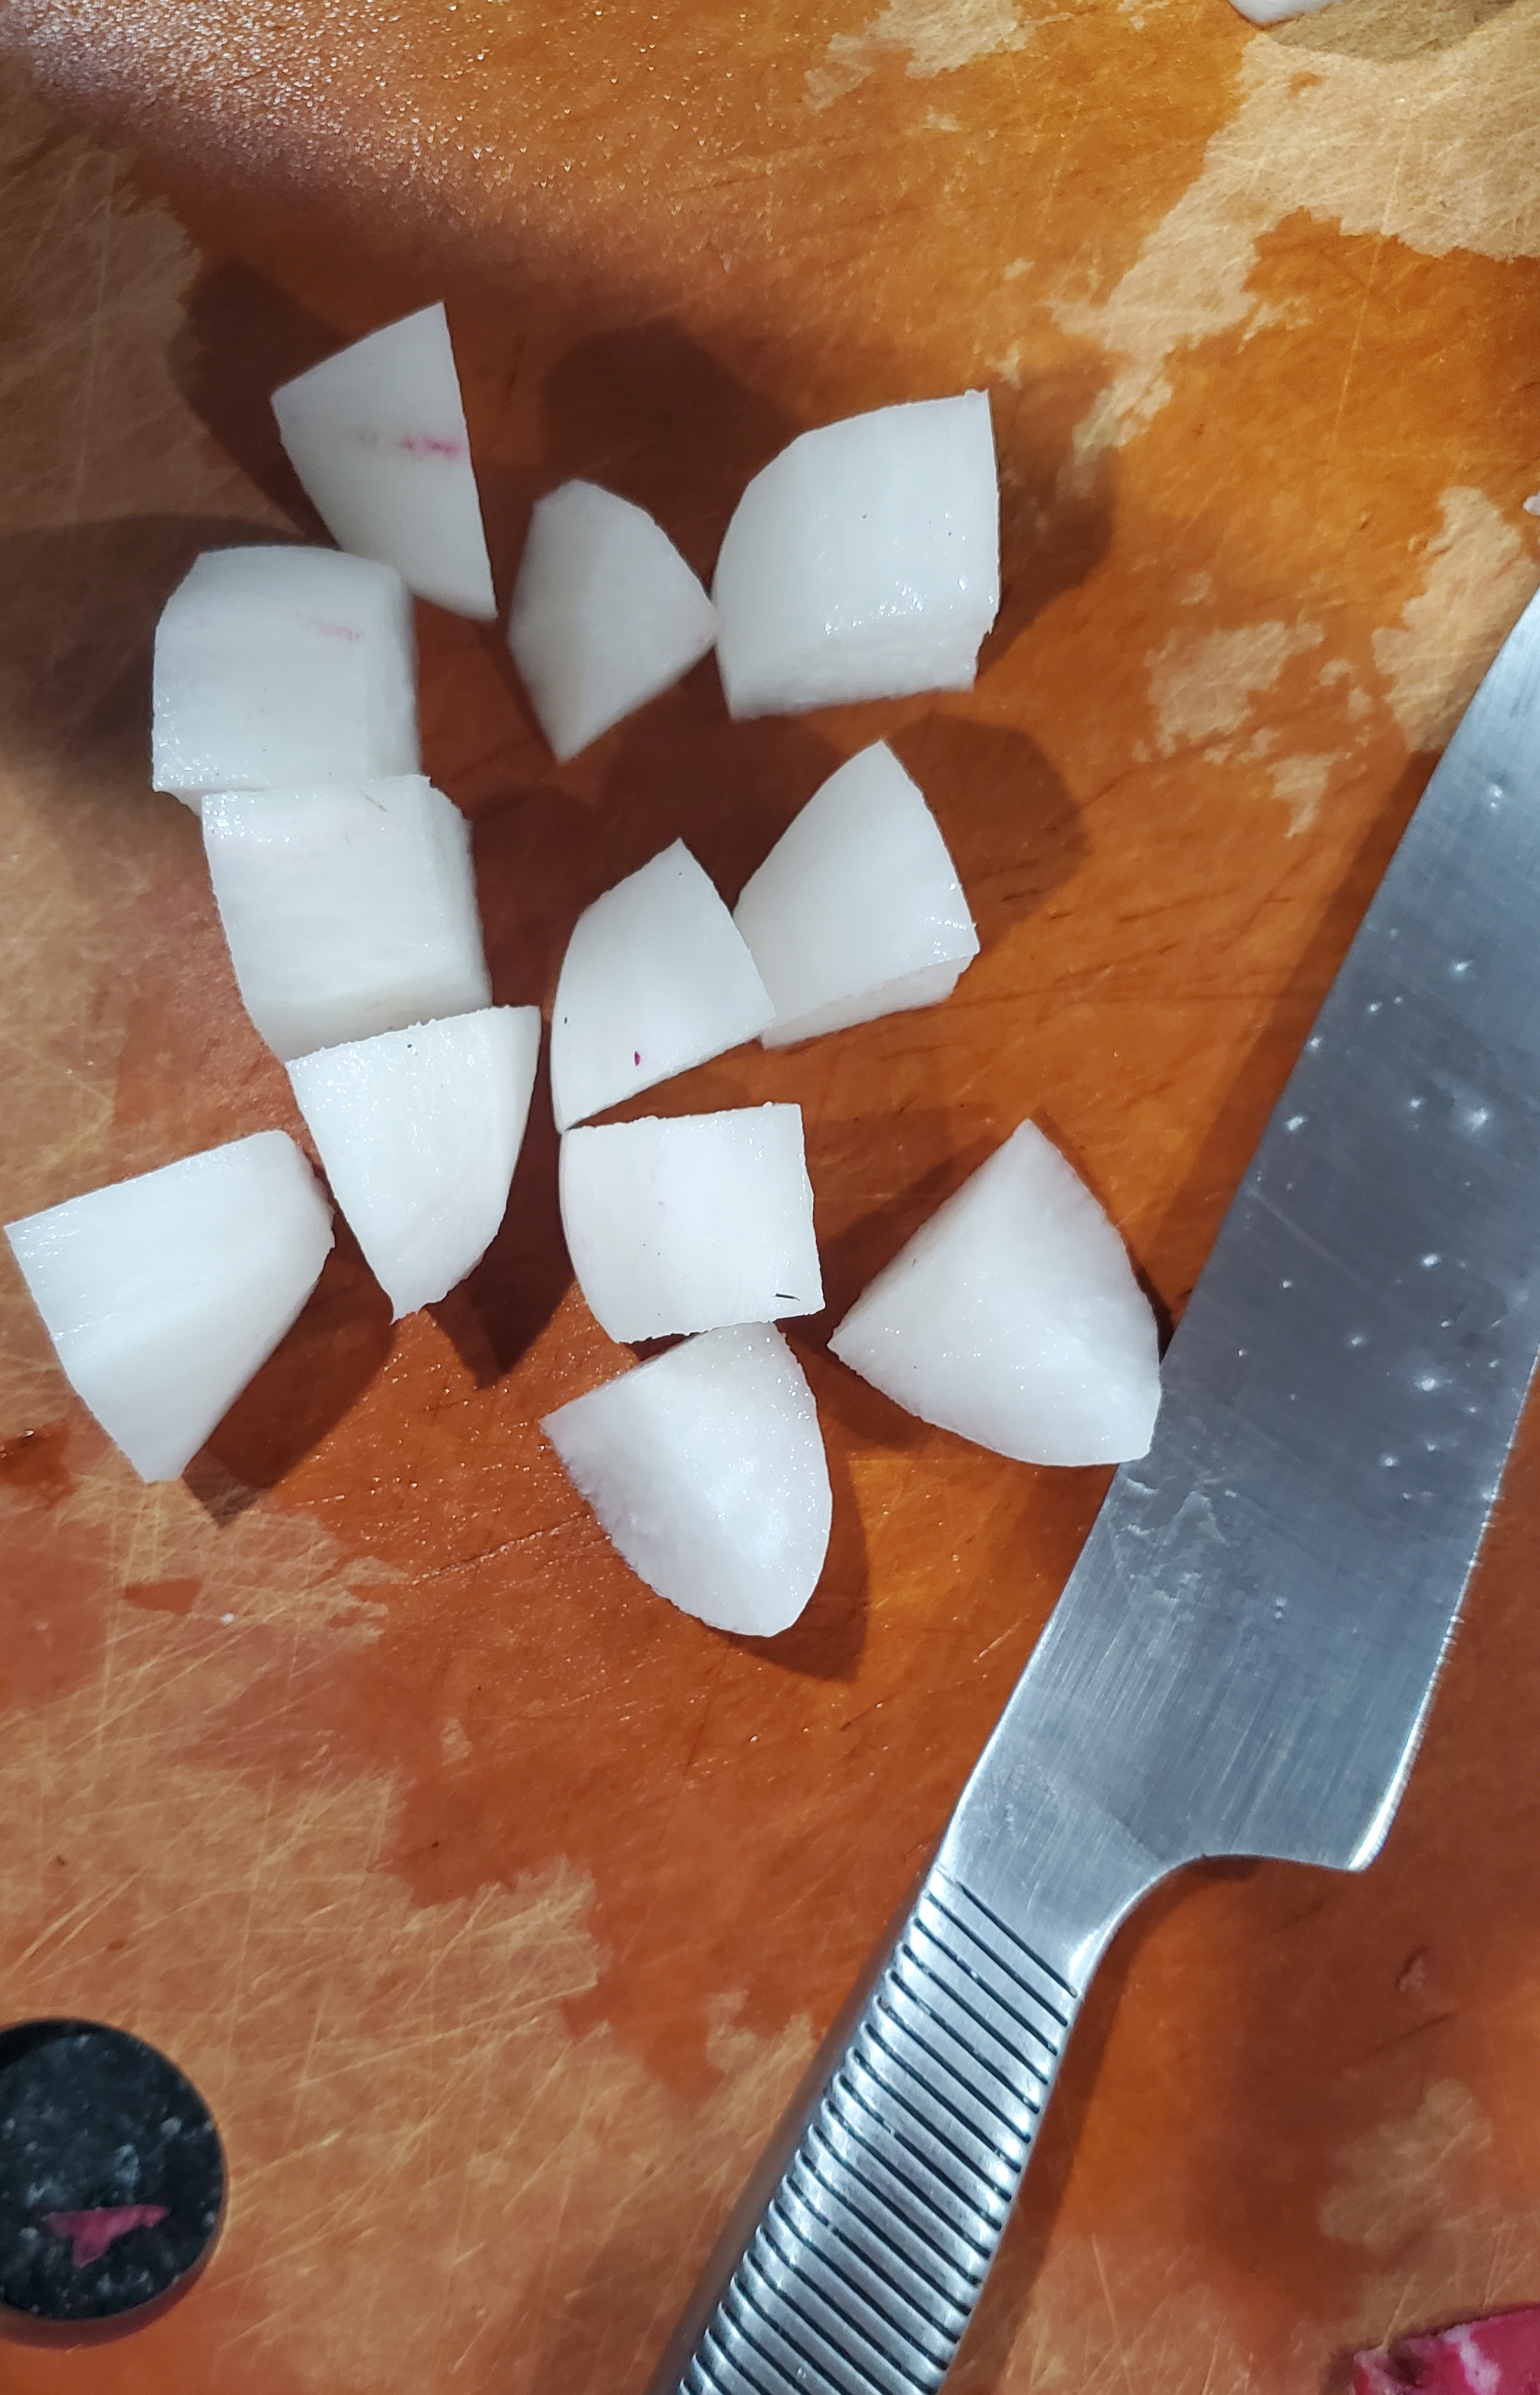
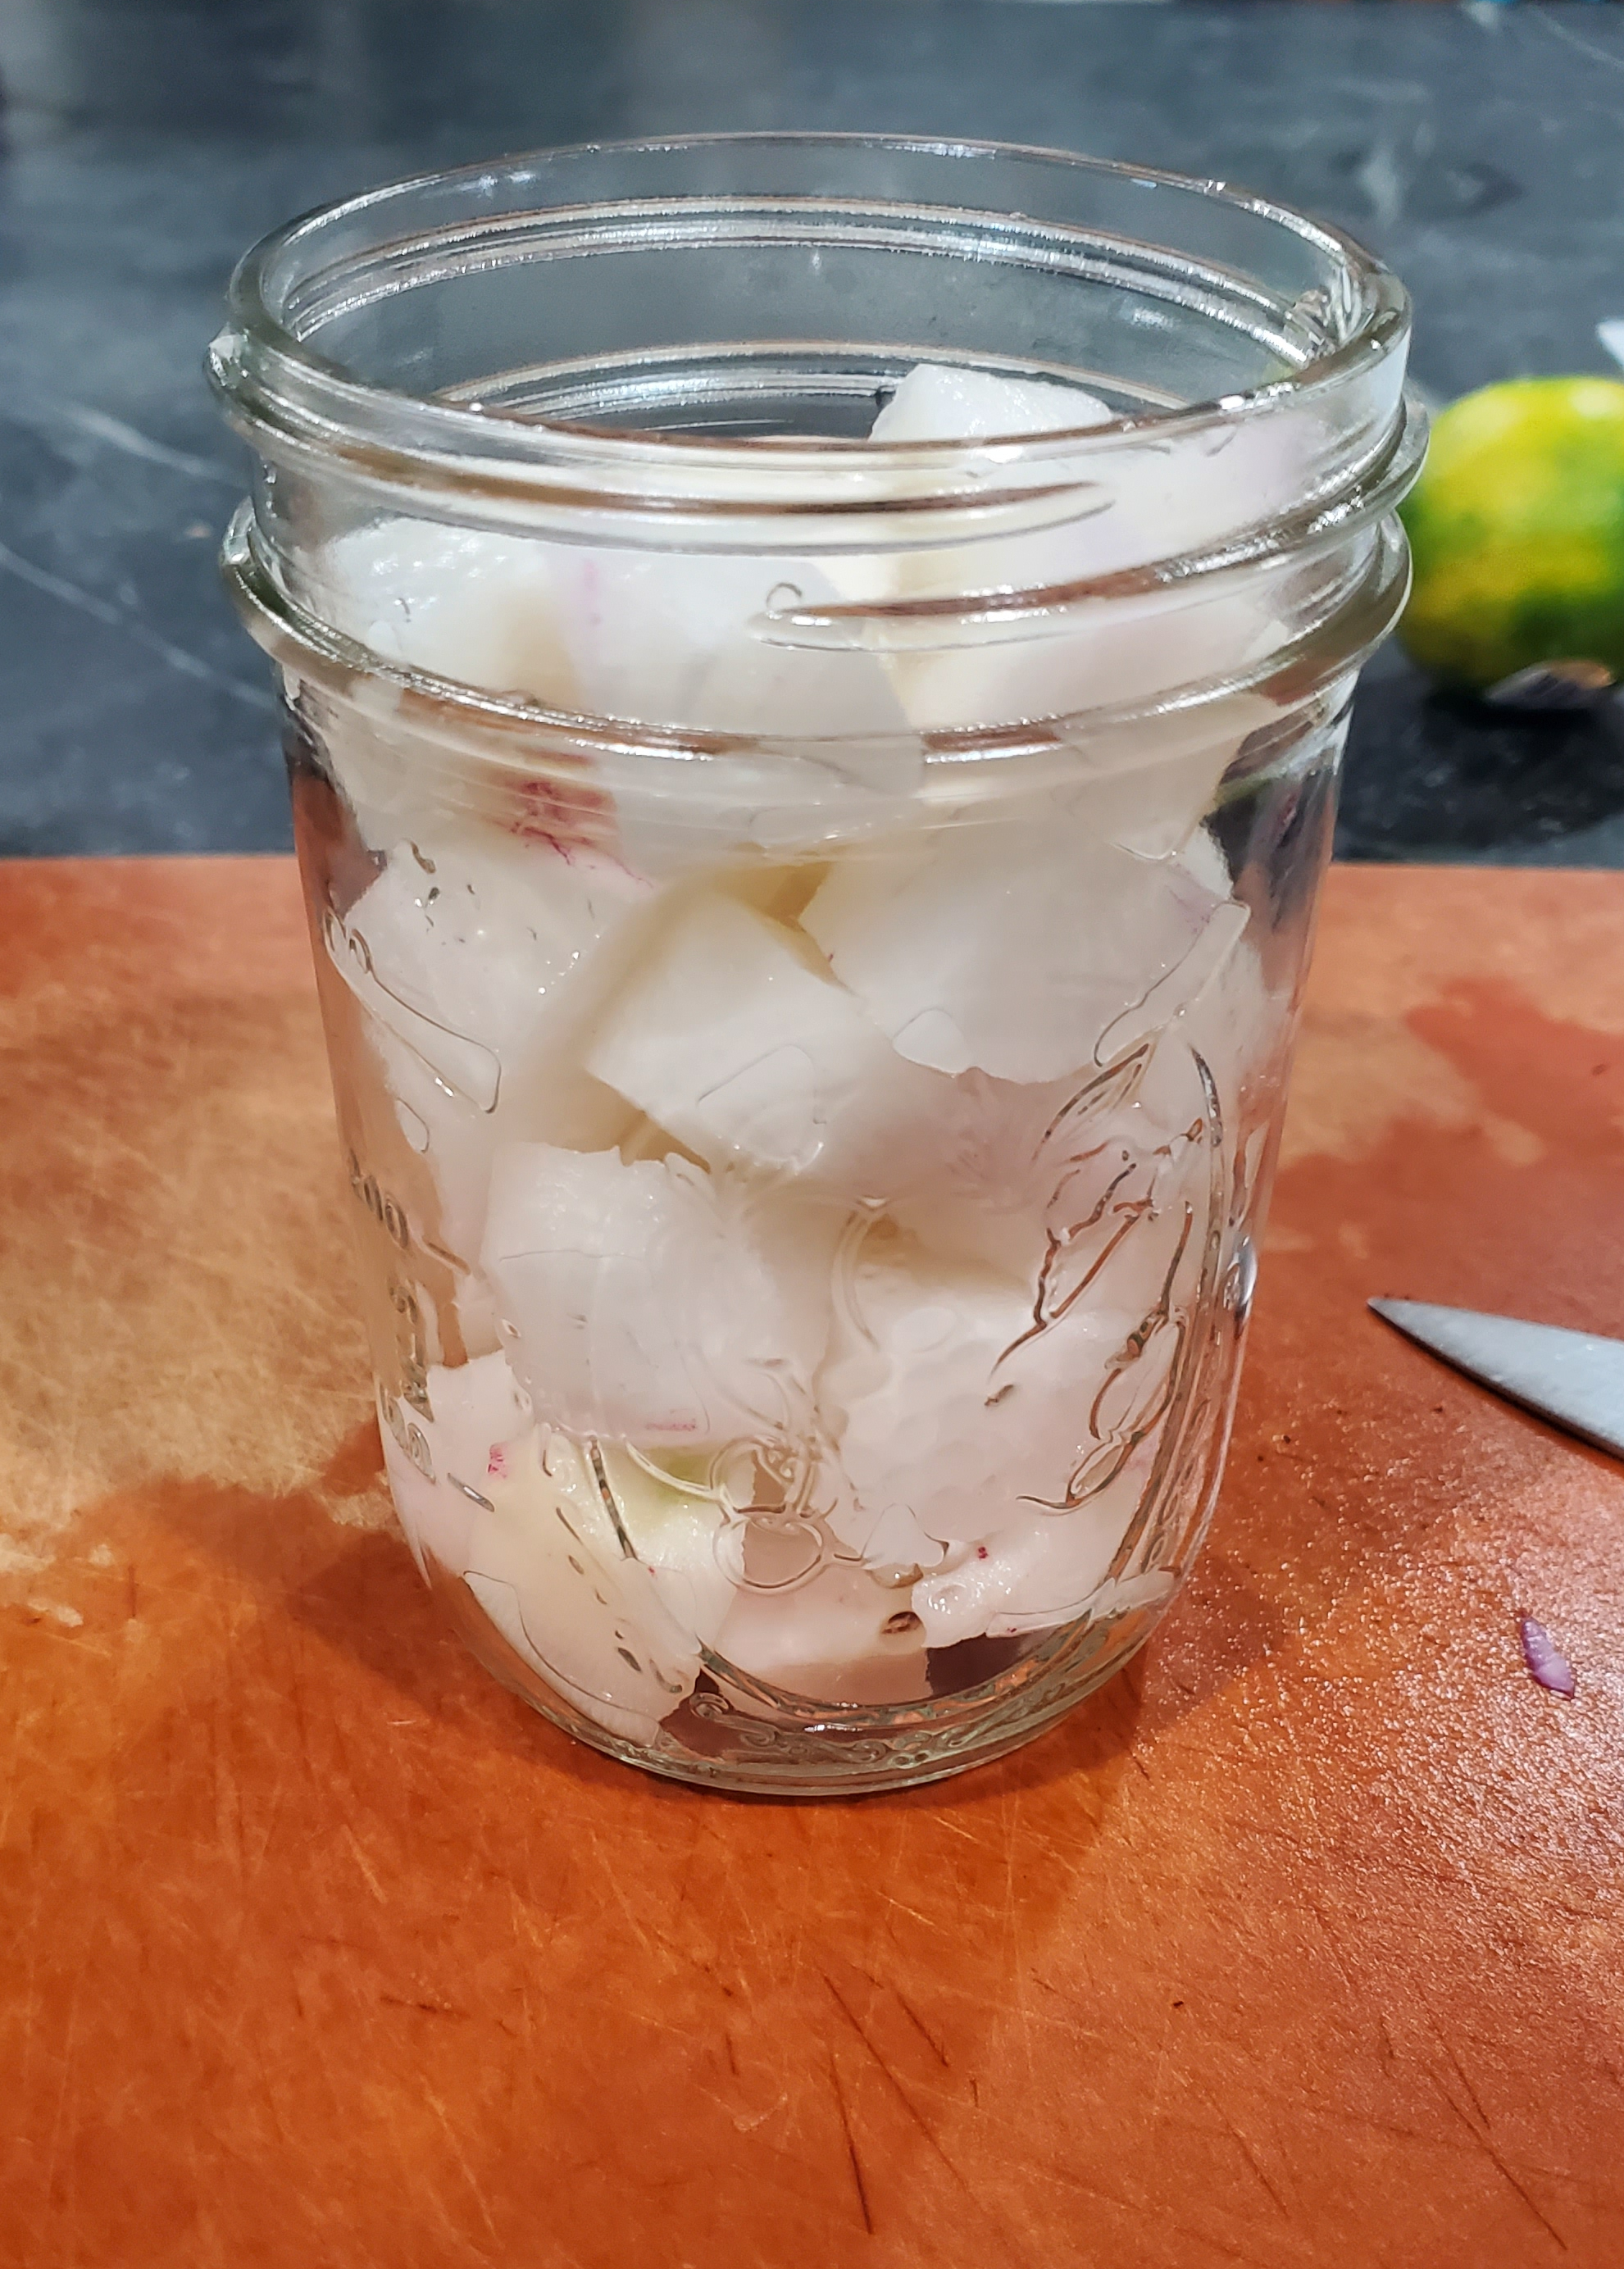
Clean, peel, and chop your radish into 1/4 to 1/2″ cubes. Place in canning jars.
Combine your pickling liquid and stir to dissolve the sugar and salt.
Pour the pickling liquid over the radish.
Store in the refrigerator for minimum 8 hours; 24-48 hours is recommended.
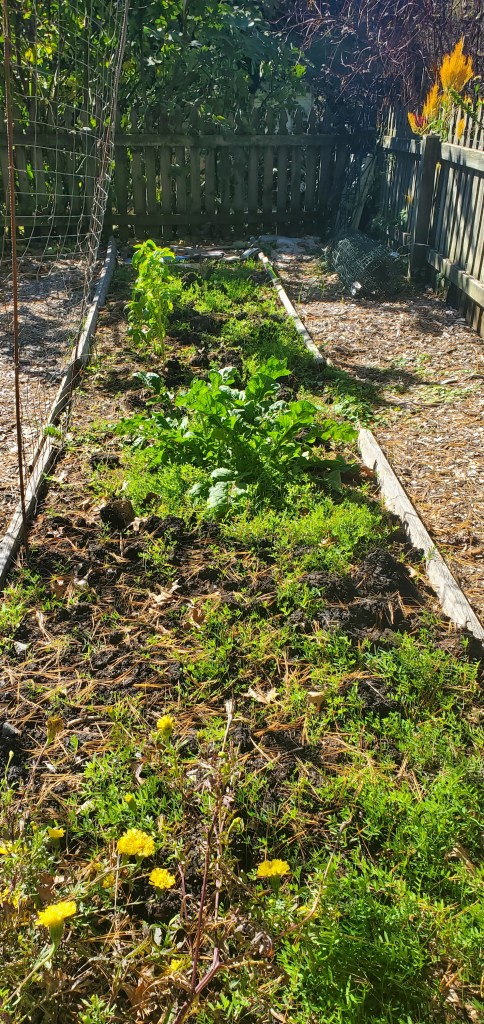
Anybody else ready to hibernate? I’m slowly putting things away and tidying up. It makes me happy to see that being a bit lazy has actually been to my benefit. I know some people will pull out their plants as soon as the last piece of fruit ripens or the first frost threatens. I’m a little more of the ‘wait and see’ mindset and like to see what happens. There is always a lesson to learn or observe.
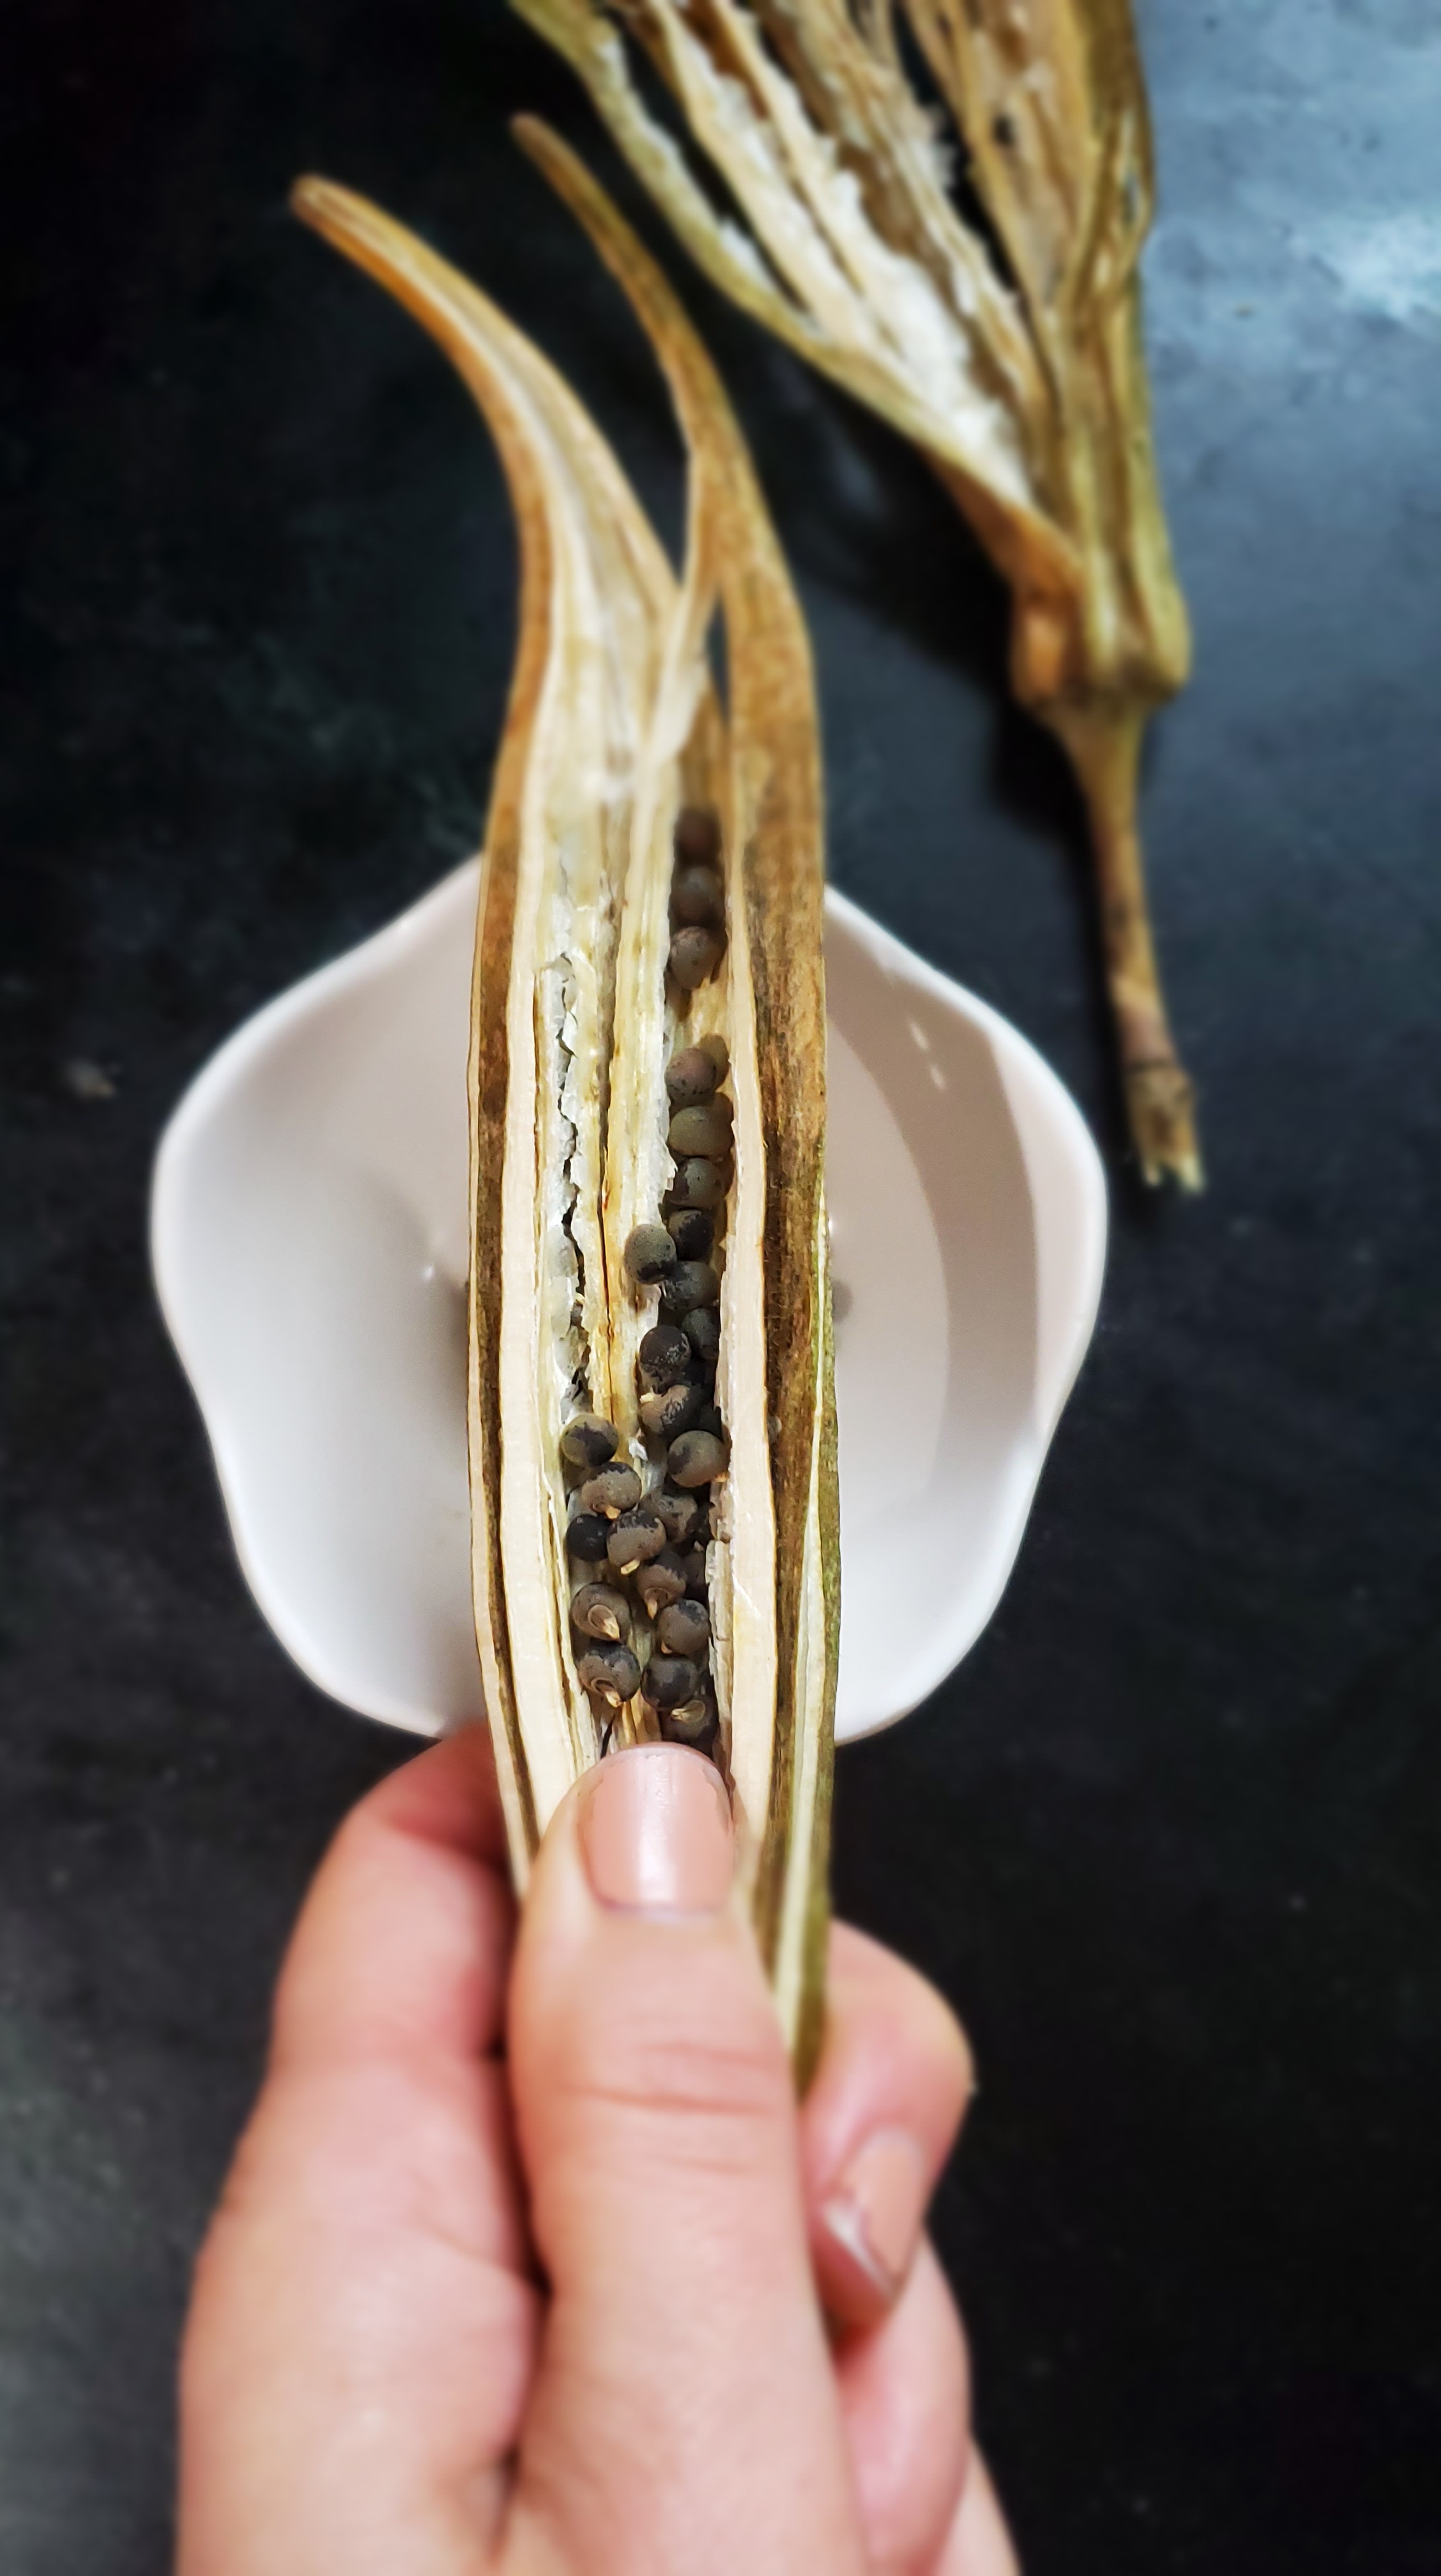
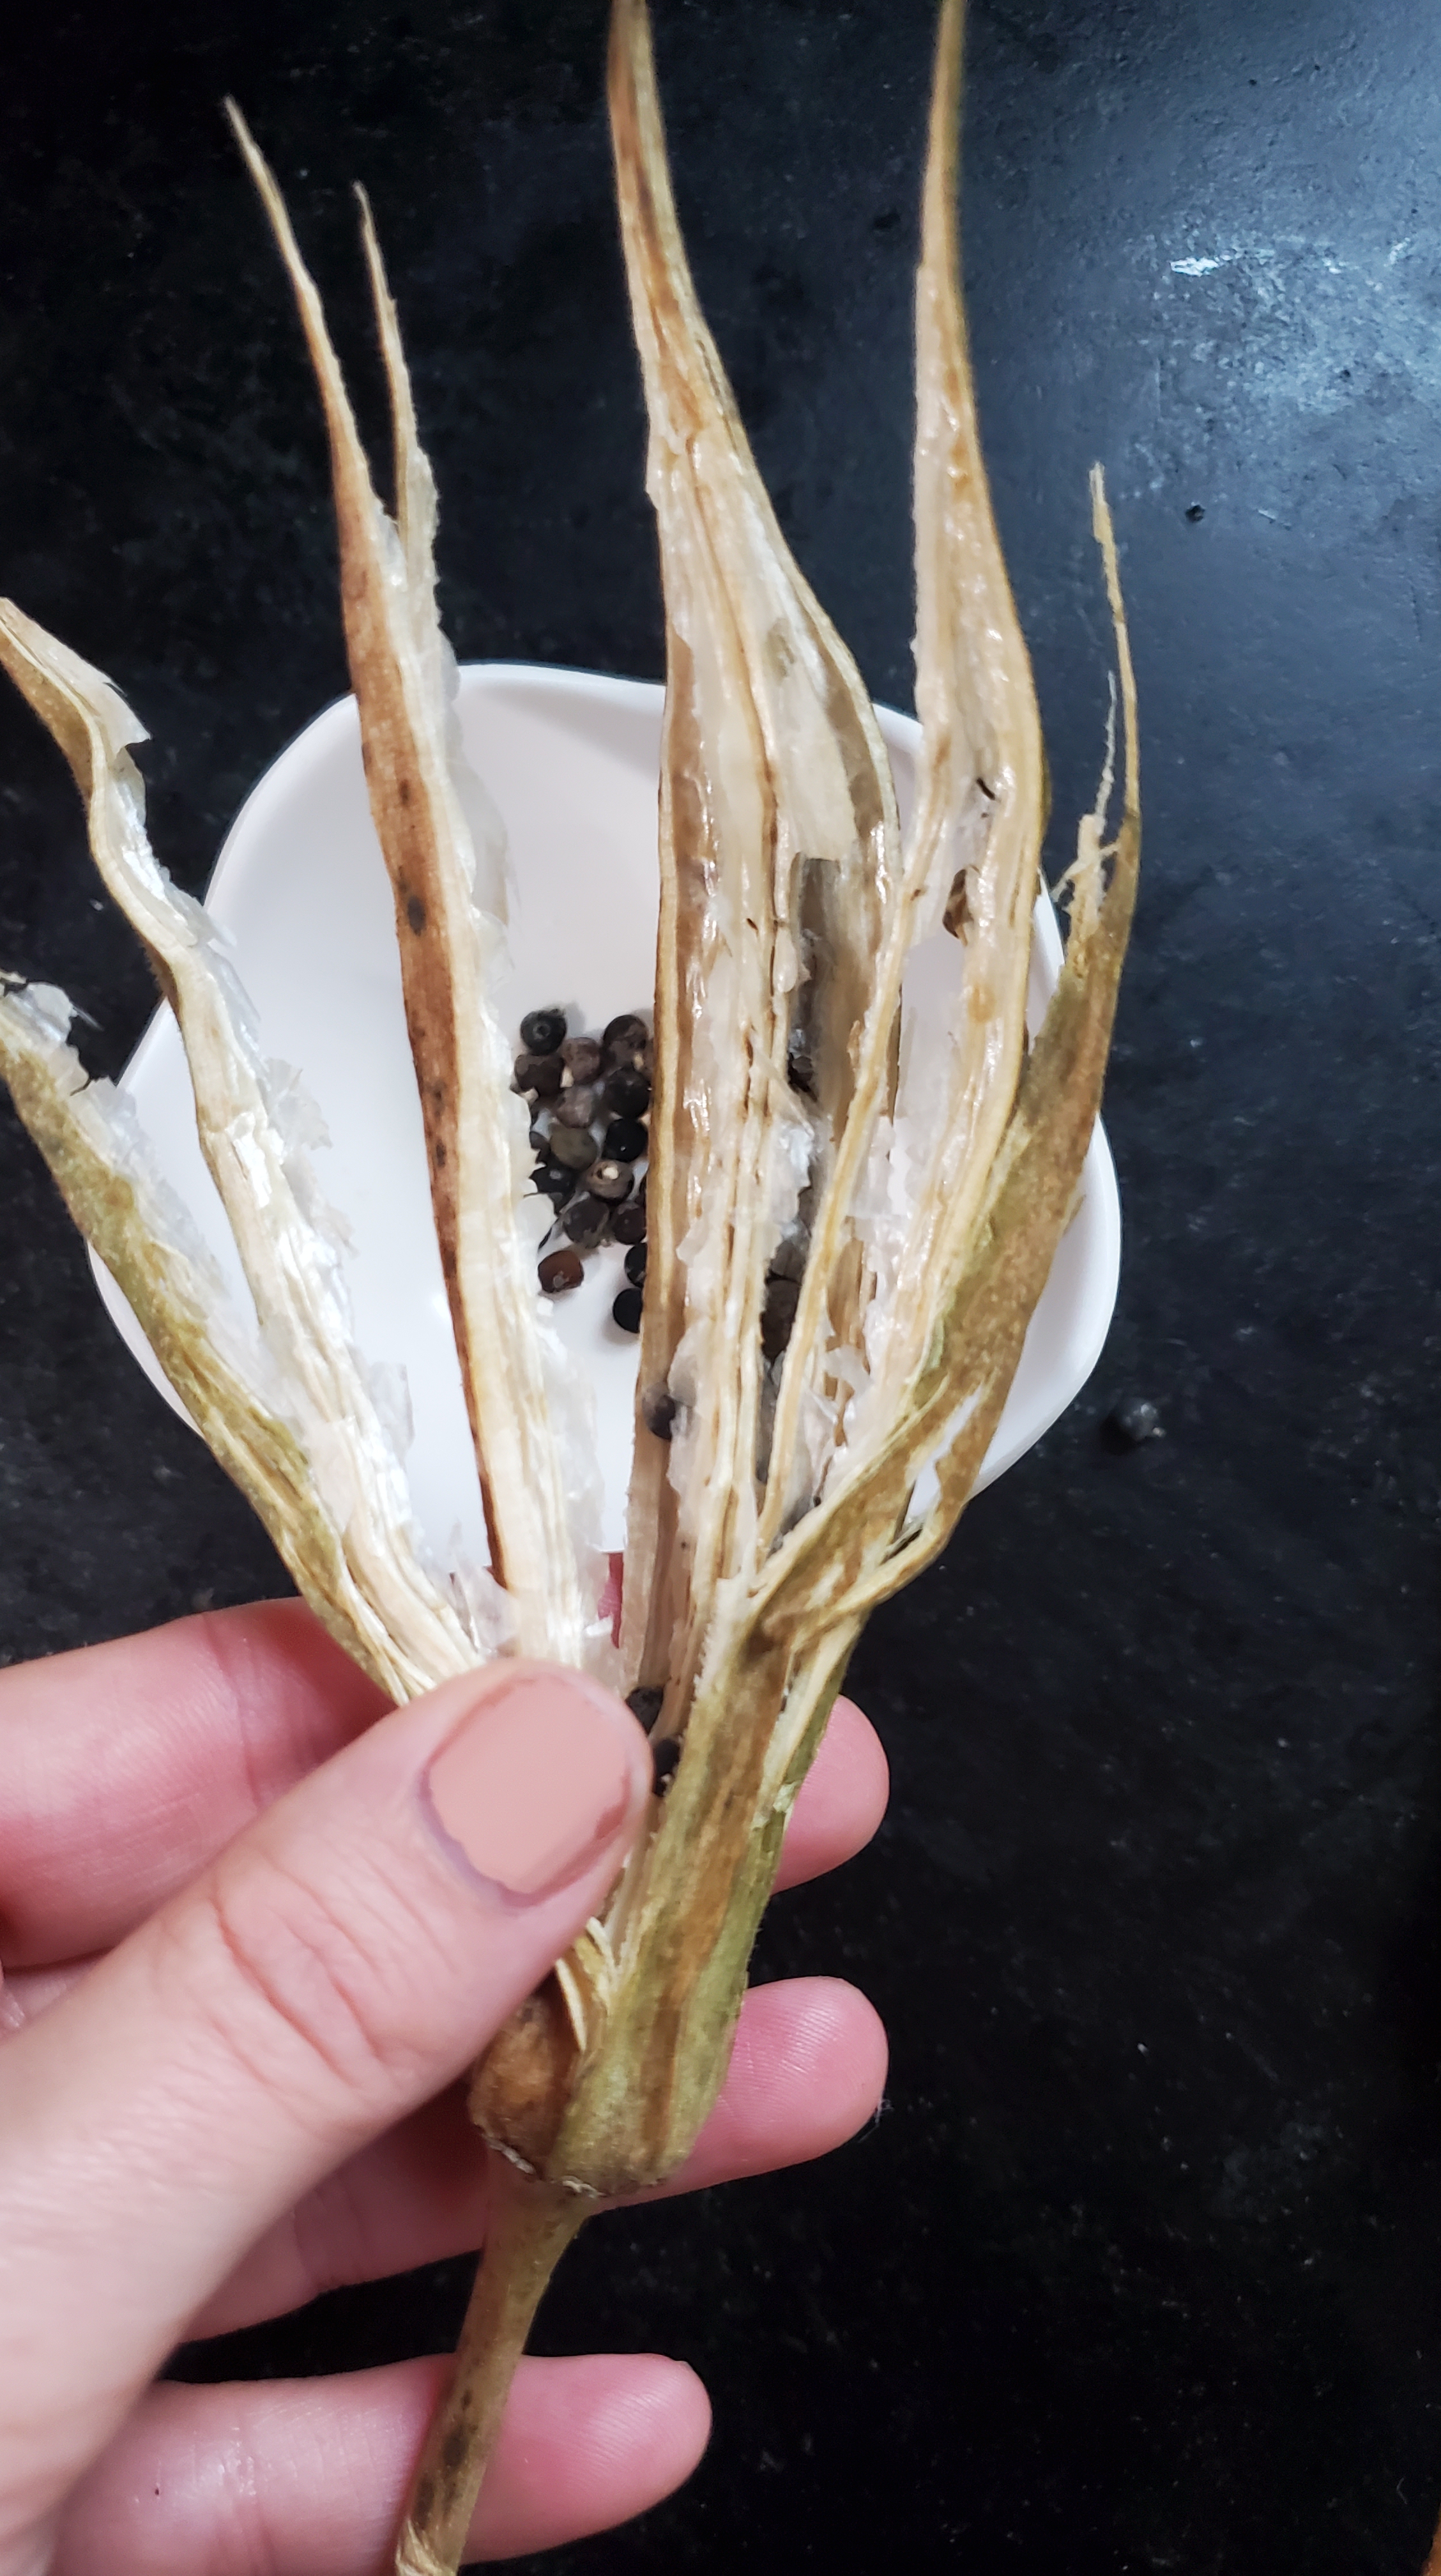
As I was meandering around this past weekend, I got another handful of jalapenos and saw my beautiful okra plants had gone to seed. A reminder that all seasons of life are beautiful and have purpose. It’s easy to focus on the flashy and exciting times, but the slow stillness is essential to a complete cycle. Yin and Yang. I guess the goal is to transition smoothly through these ups and downs.
As you’ll read in my 2021 lessons, okra is one of my unsuspecting MVPs. A beautiful plant, a surprising standout in the vegetable category, it creates the perfect canopy for shade loving lettuces and produces an immense harvest with very little effort.
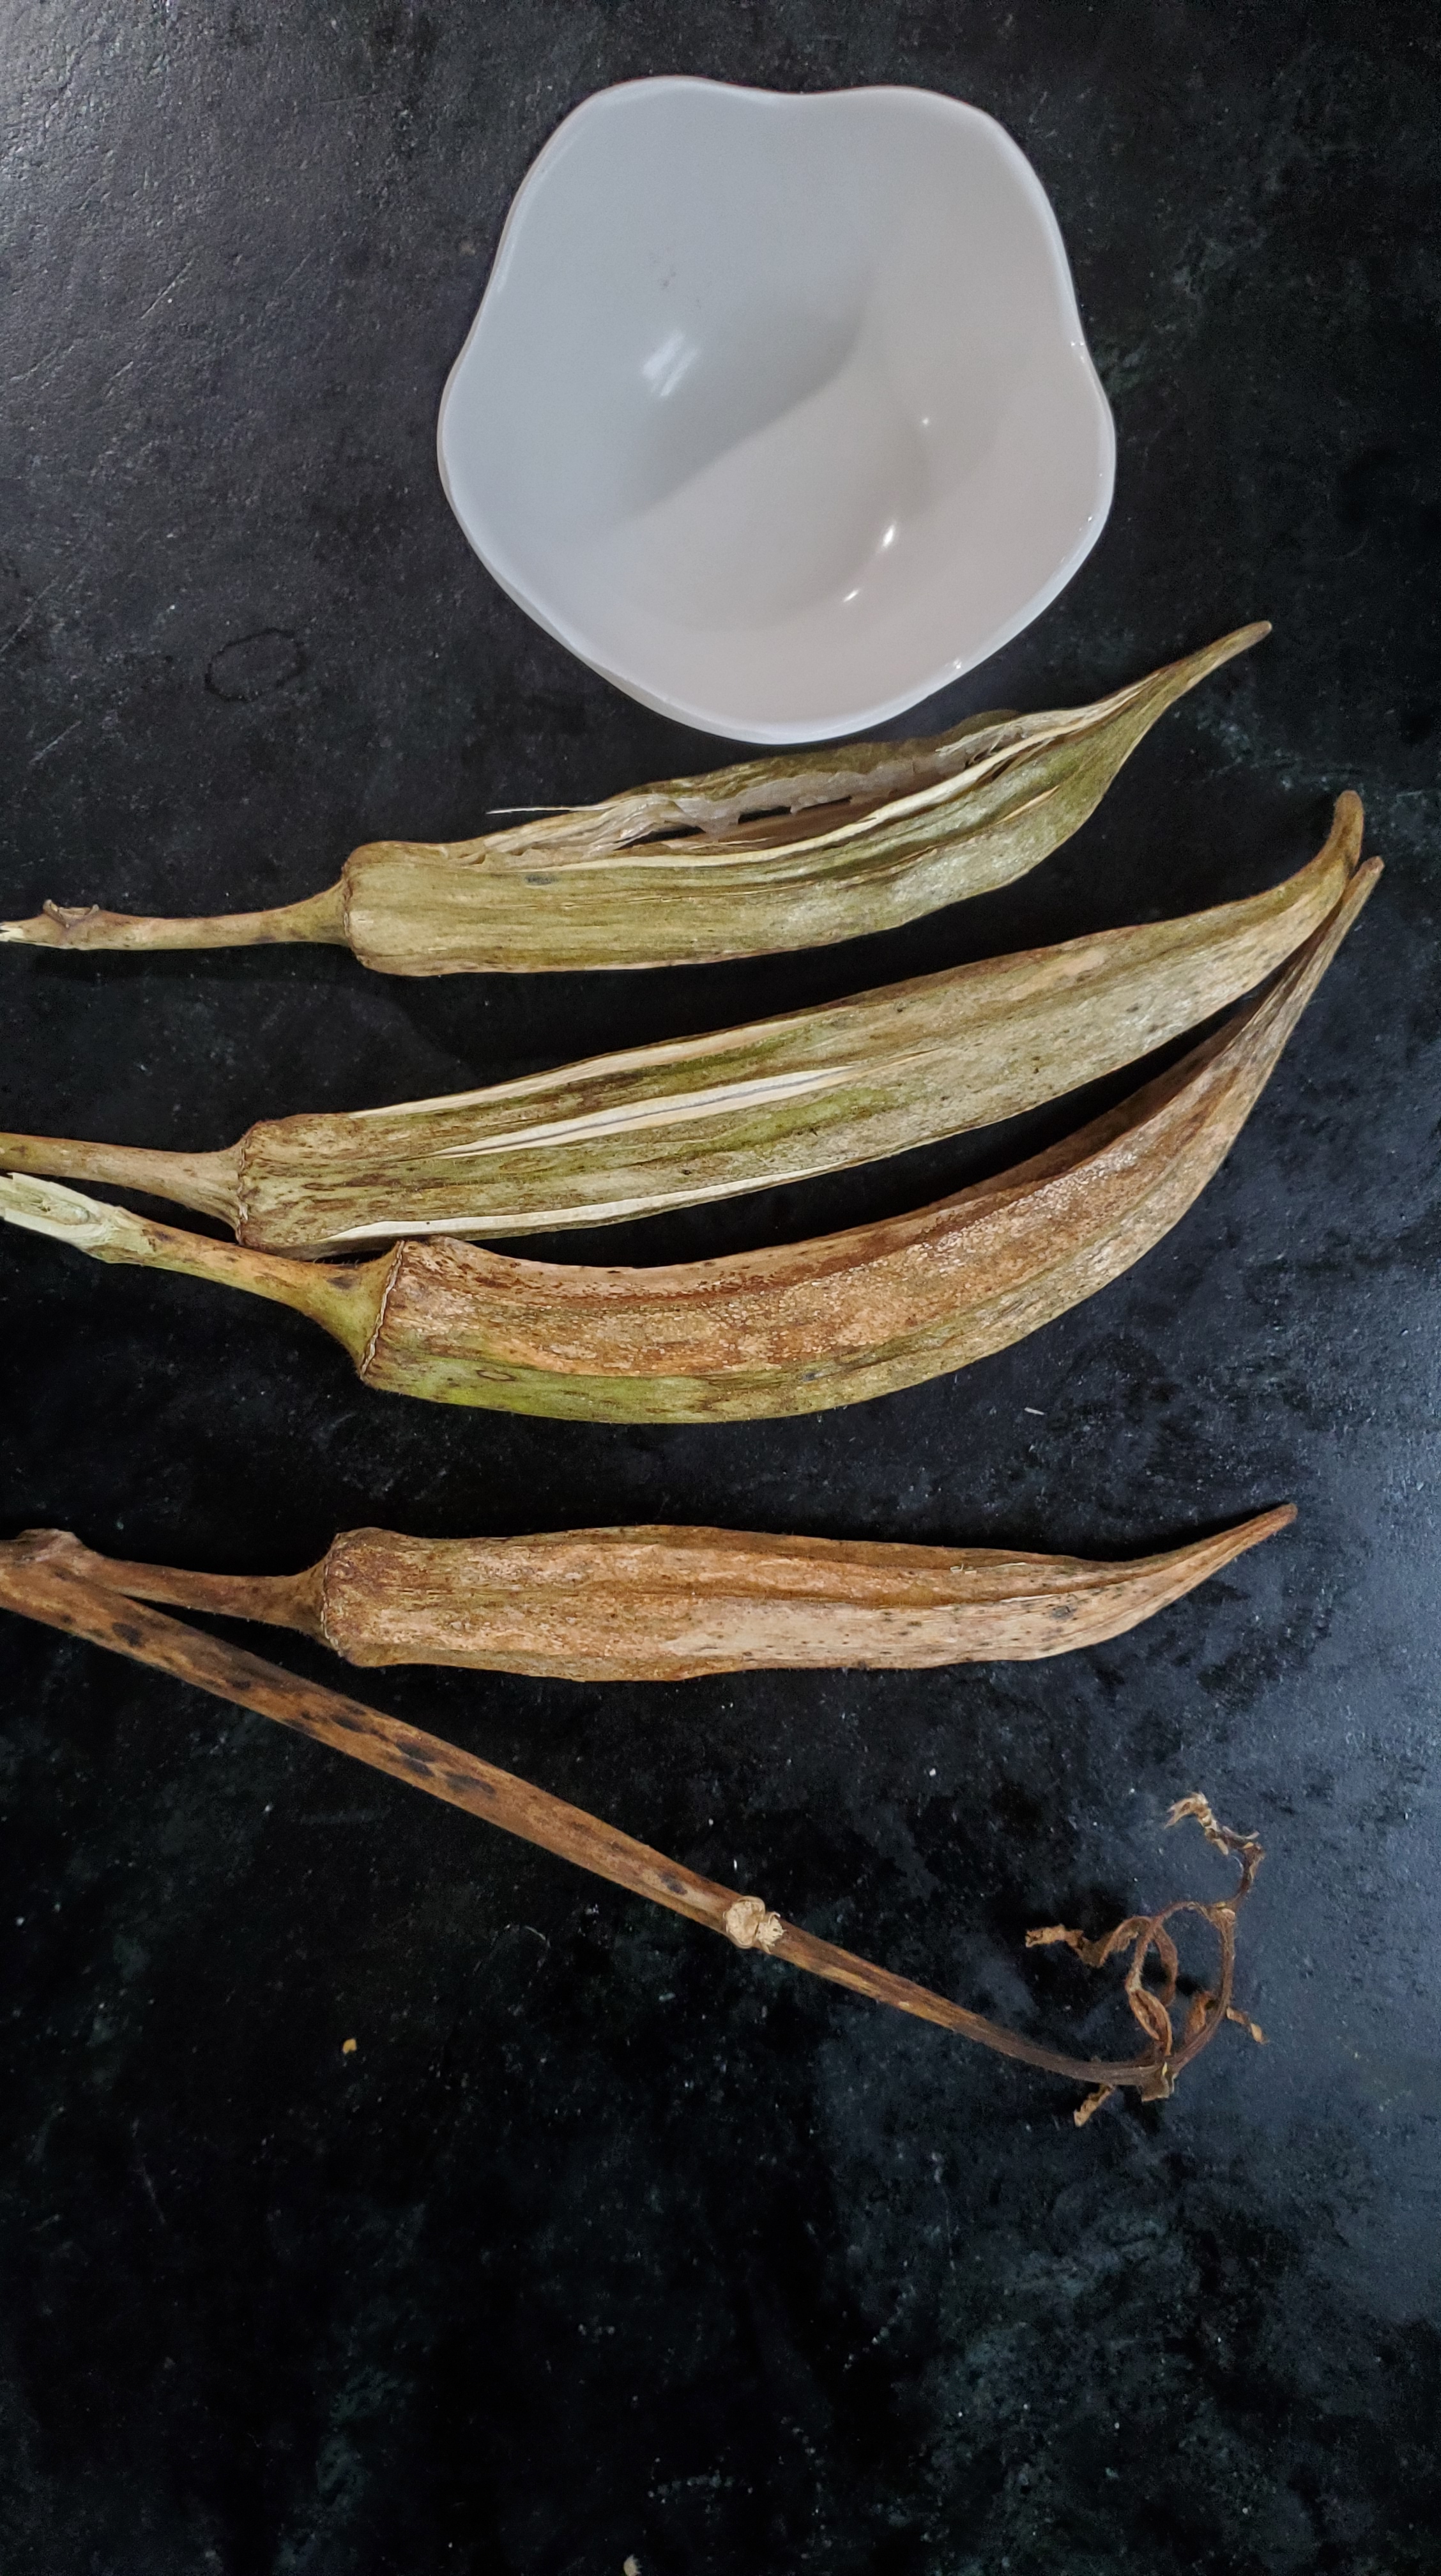
Okay, here’s a few quick tips for seed saving okra (spoiler: it couldn’t be easier).
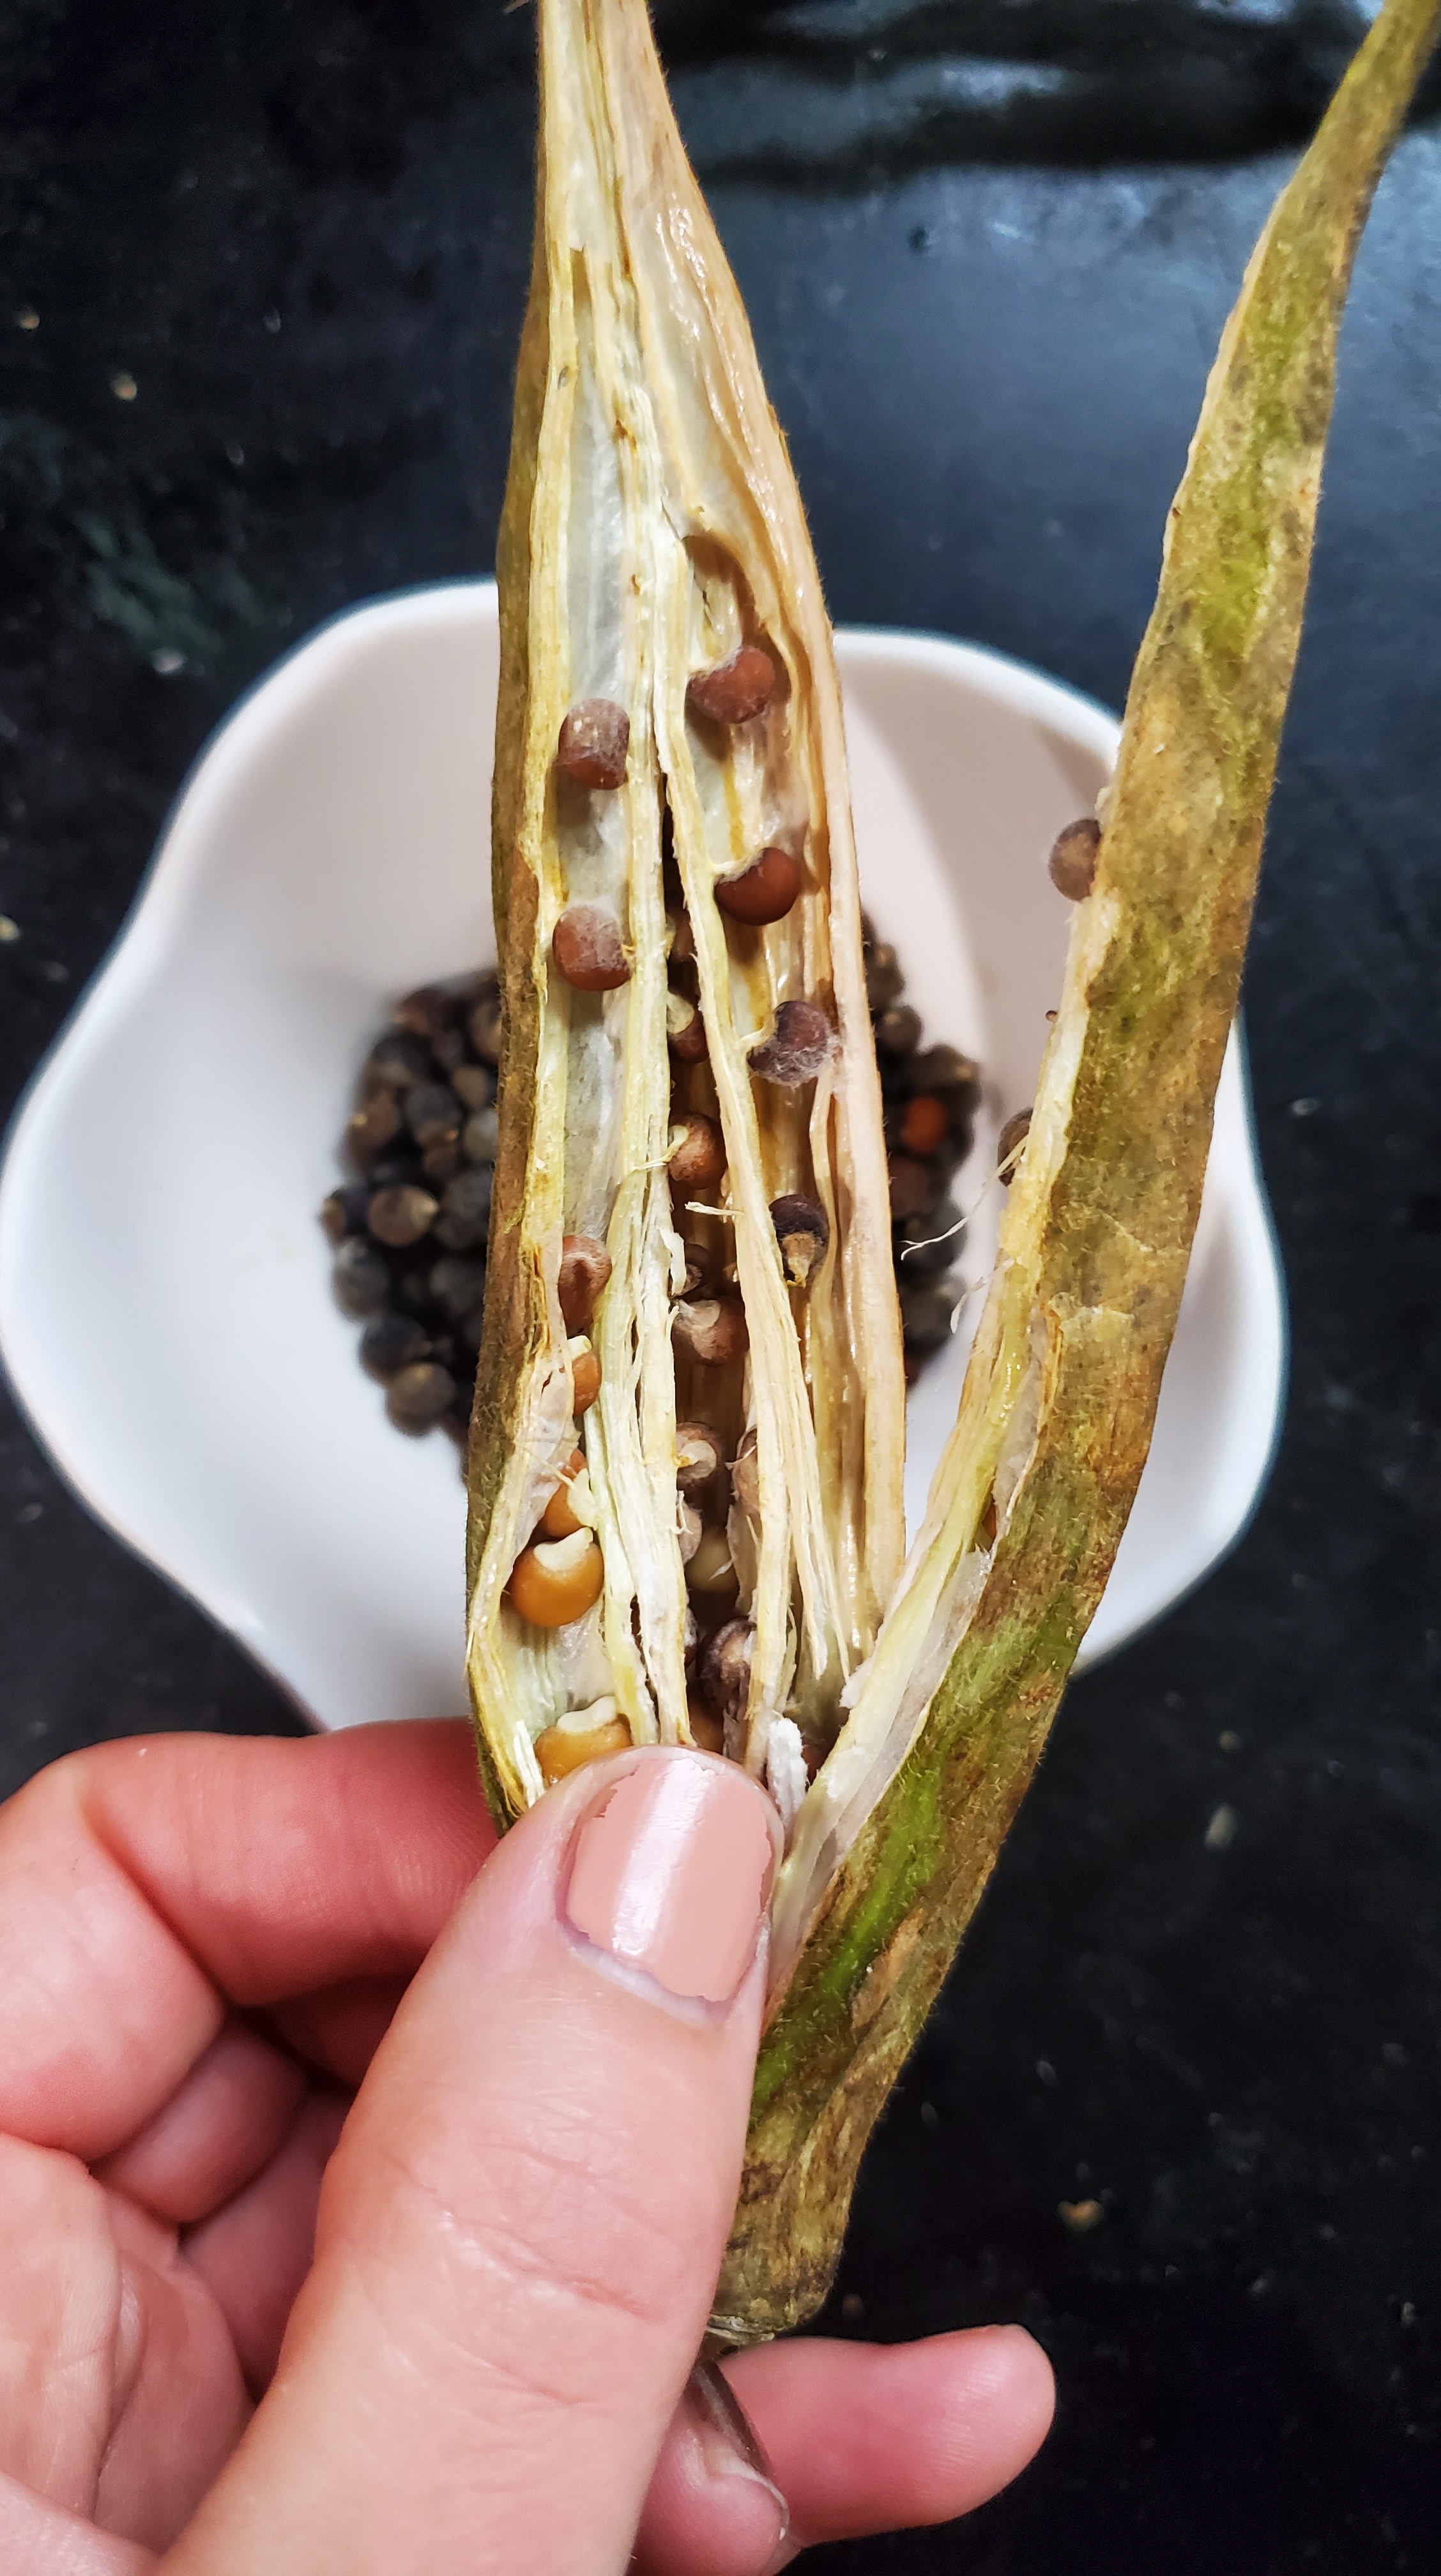
Let the husks get extremely dry. They should be starting to crack or split.
Select a few from the plants you deemed the best producers.
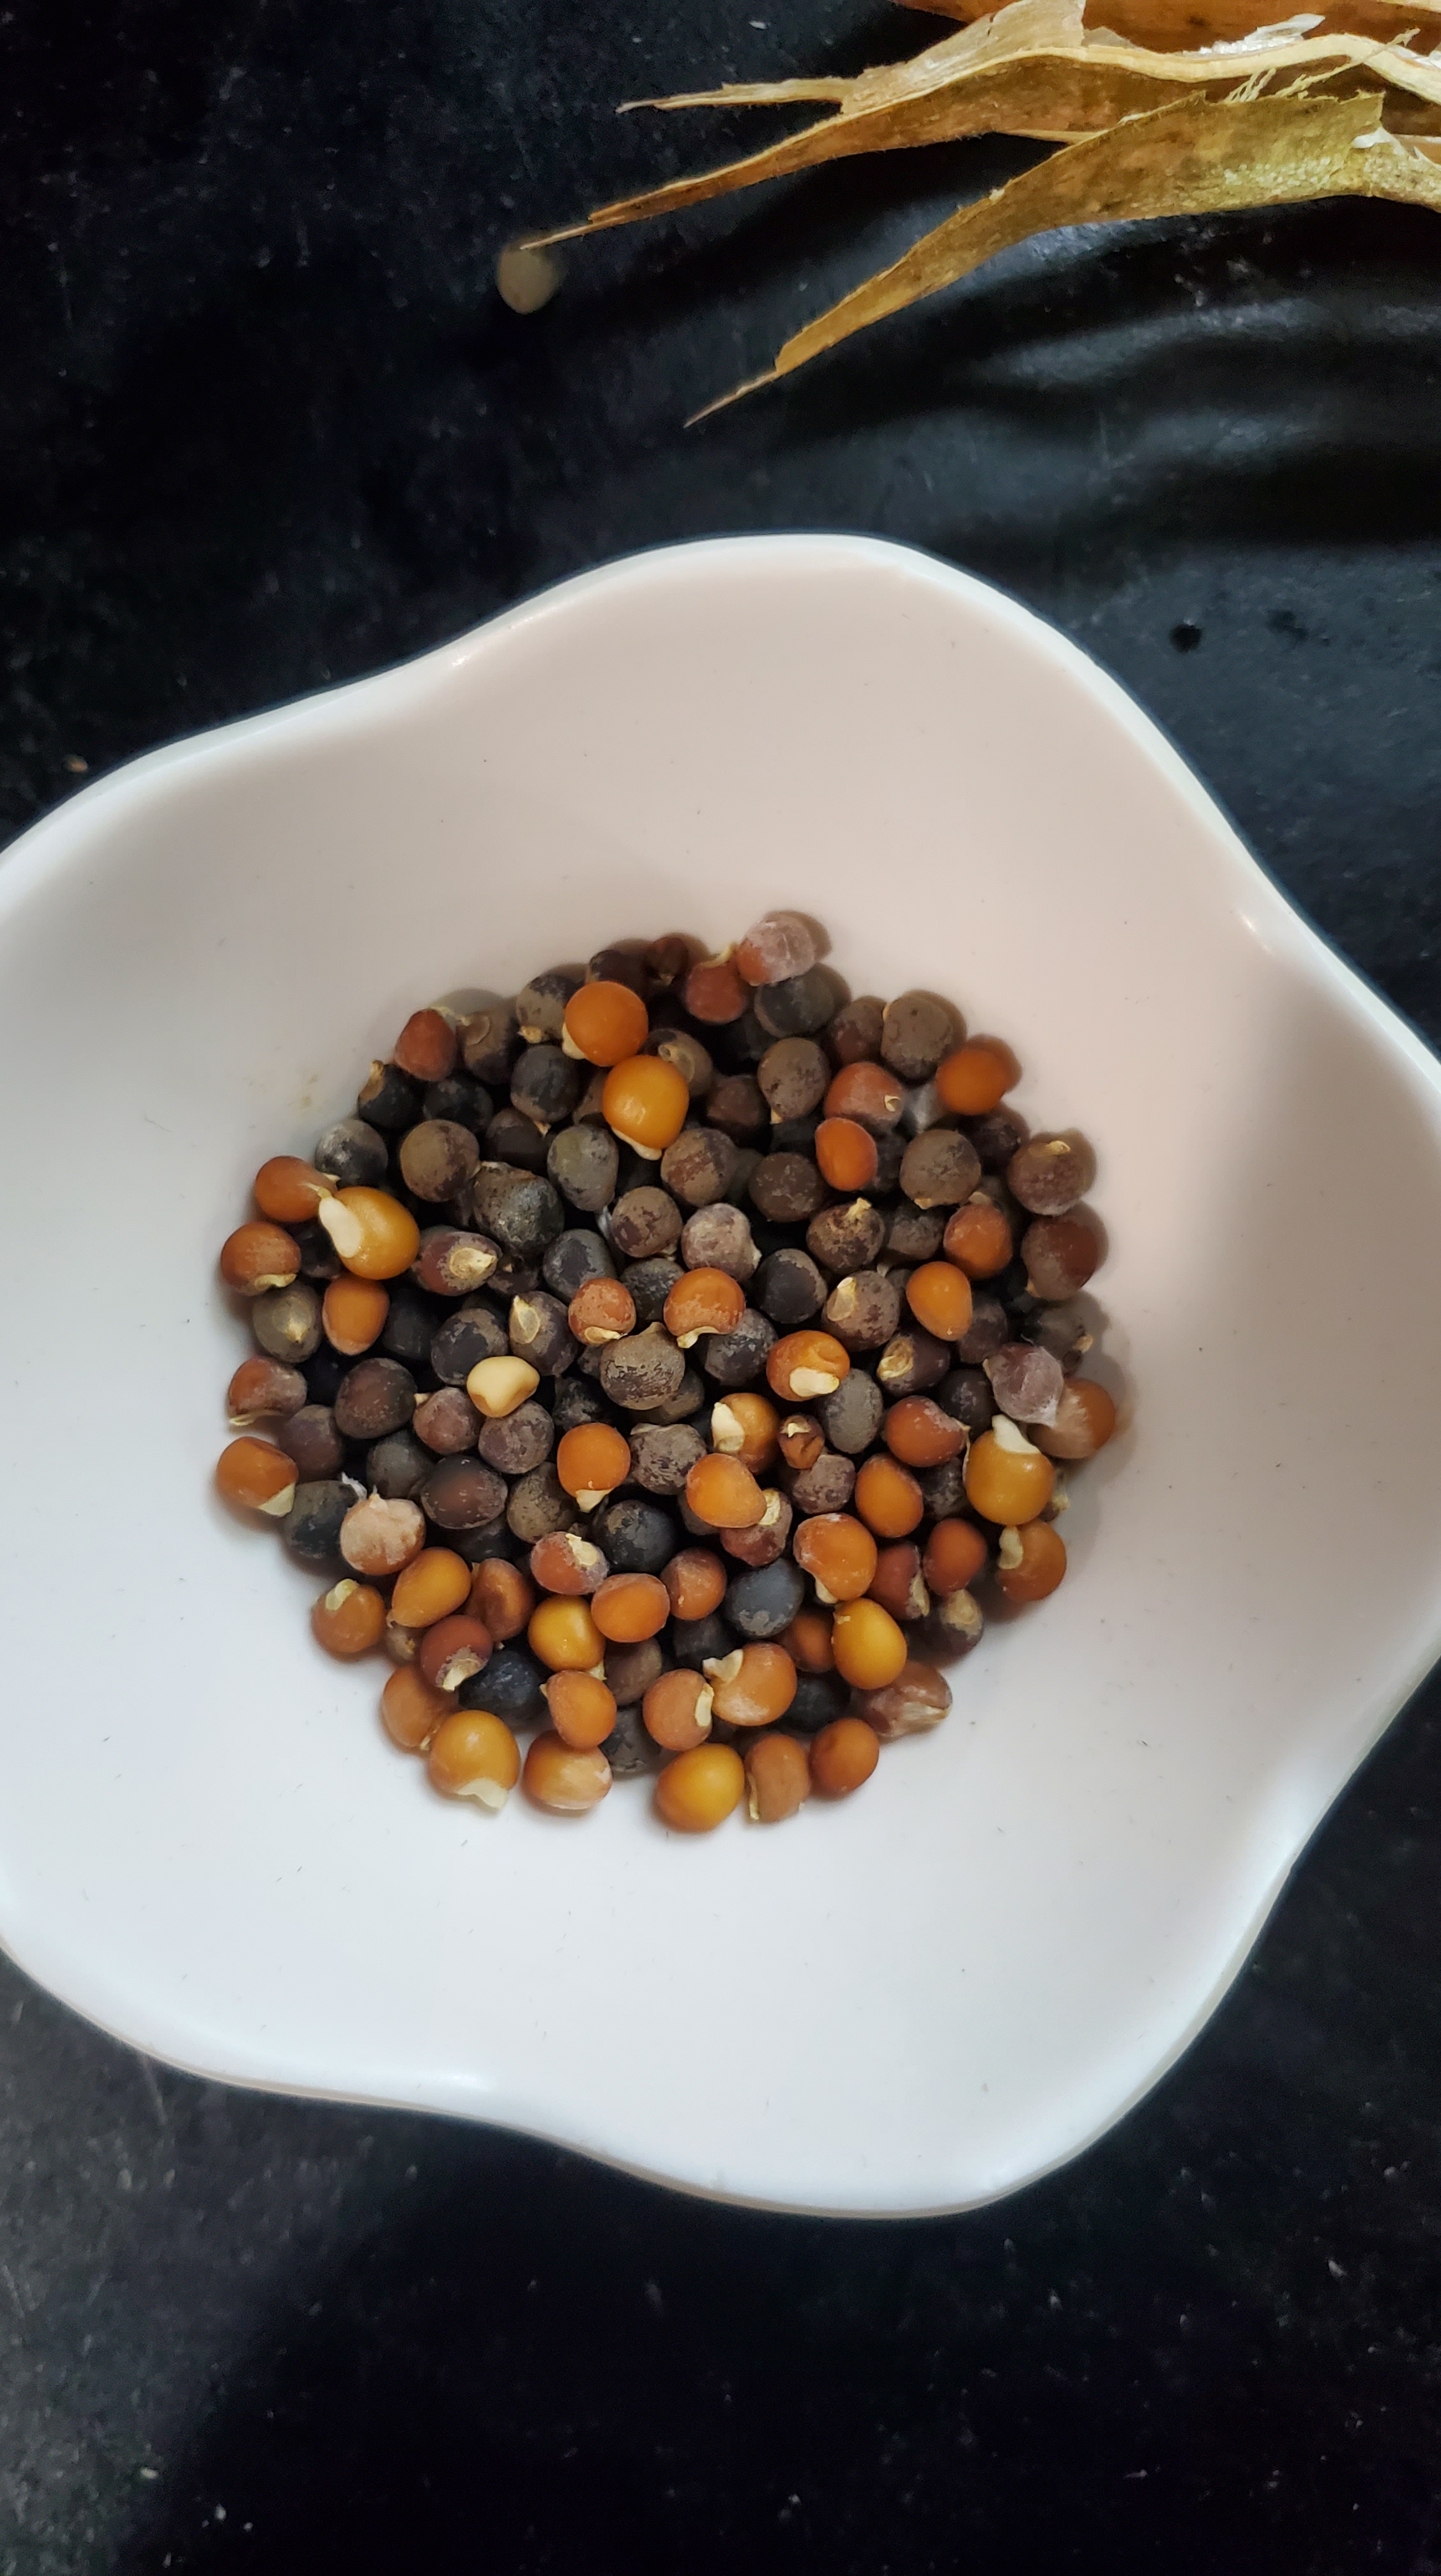
Gently break them open with a bowl nearby.
That’s it. Seriously. Perfect for a beginning attempt at seed saving.
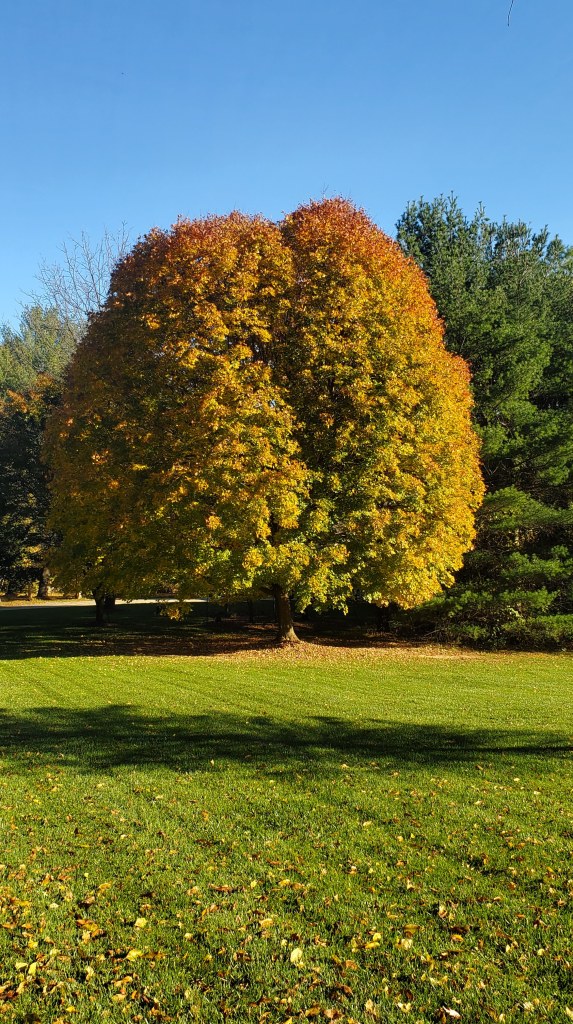
As I’ve gotten a little older, I have grown to love Fall more and more. Of course from a gardening perspective, it represents things slowing down a bit and being able to enjoy the hard work and bounty of the harvest. On a personal level, I also see it as a time to take stock of all the good things in my life. Things get going so fast a lot of the time that it’s easy to always be on to the next thing. I’d like to think that after my year of enough I’m better at appreciating where I am and what I have, but reminders are always helpful too.
Have you ever heard that the best way to have a good tomorrow is to get good night’s sleep tonight? The same principle applies to your garden. As colder weather sets in and the hours of daylight fade, time spent in the garden for me is more about wandering, noticing, and pondering. Where do I want to move that? What would grow better here? I’m sure you can see where this is going… my 2021 garden lessons and successes post will be coming soon.
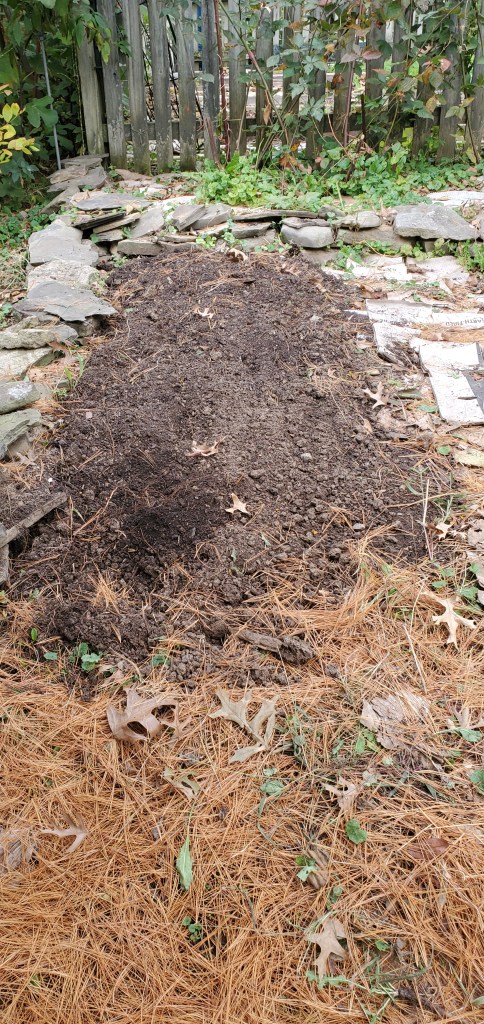
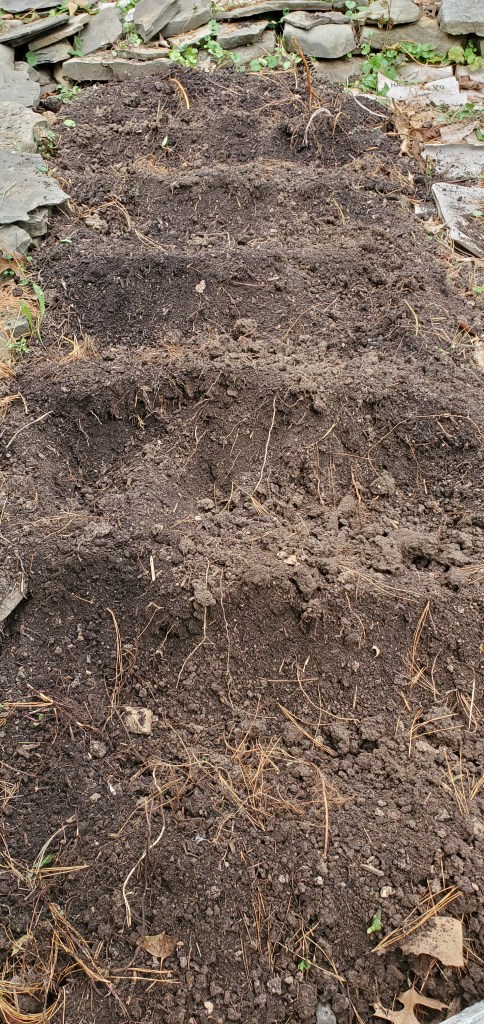
Getting back to the concept of rest and replenishing, this is the perfect time to tuck in your garden beds for their winter respite. This involves putting back a lot of what has been taken out throughout the Spring, Summer and Fall. When you think about how much nutrition and mass leaves the soil throughout the growing season, it only makes sense to refill the tank so to speak. Like a bank account, if you’re only making withdrawals you’ll soon be in the negative.
Here’s How to Layer your Beds for Winter
A layer of aged manure
A layer of compost
A layer of shredded leaves
Put something on top, like cardboard or a tarp, to keep everything in place so that it gets all warm and cozy for the winter.
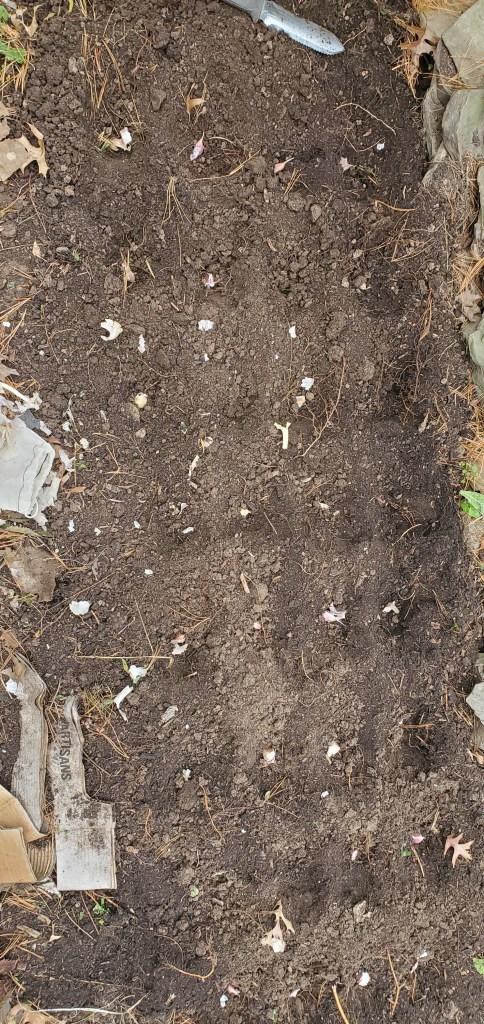
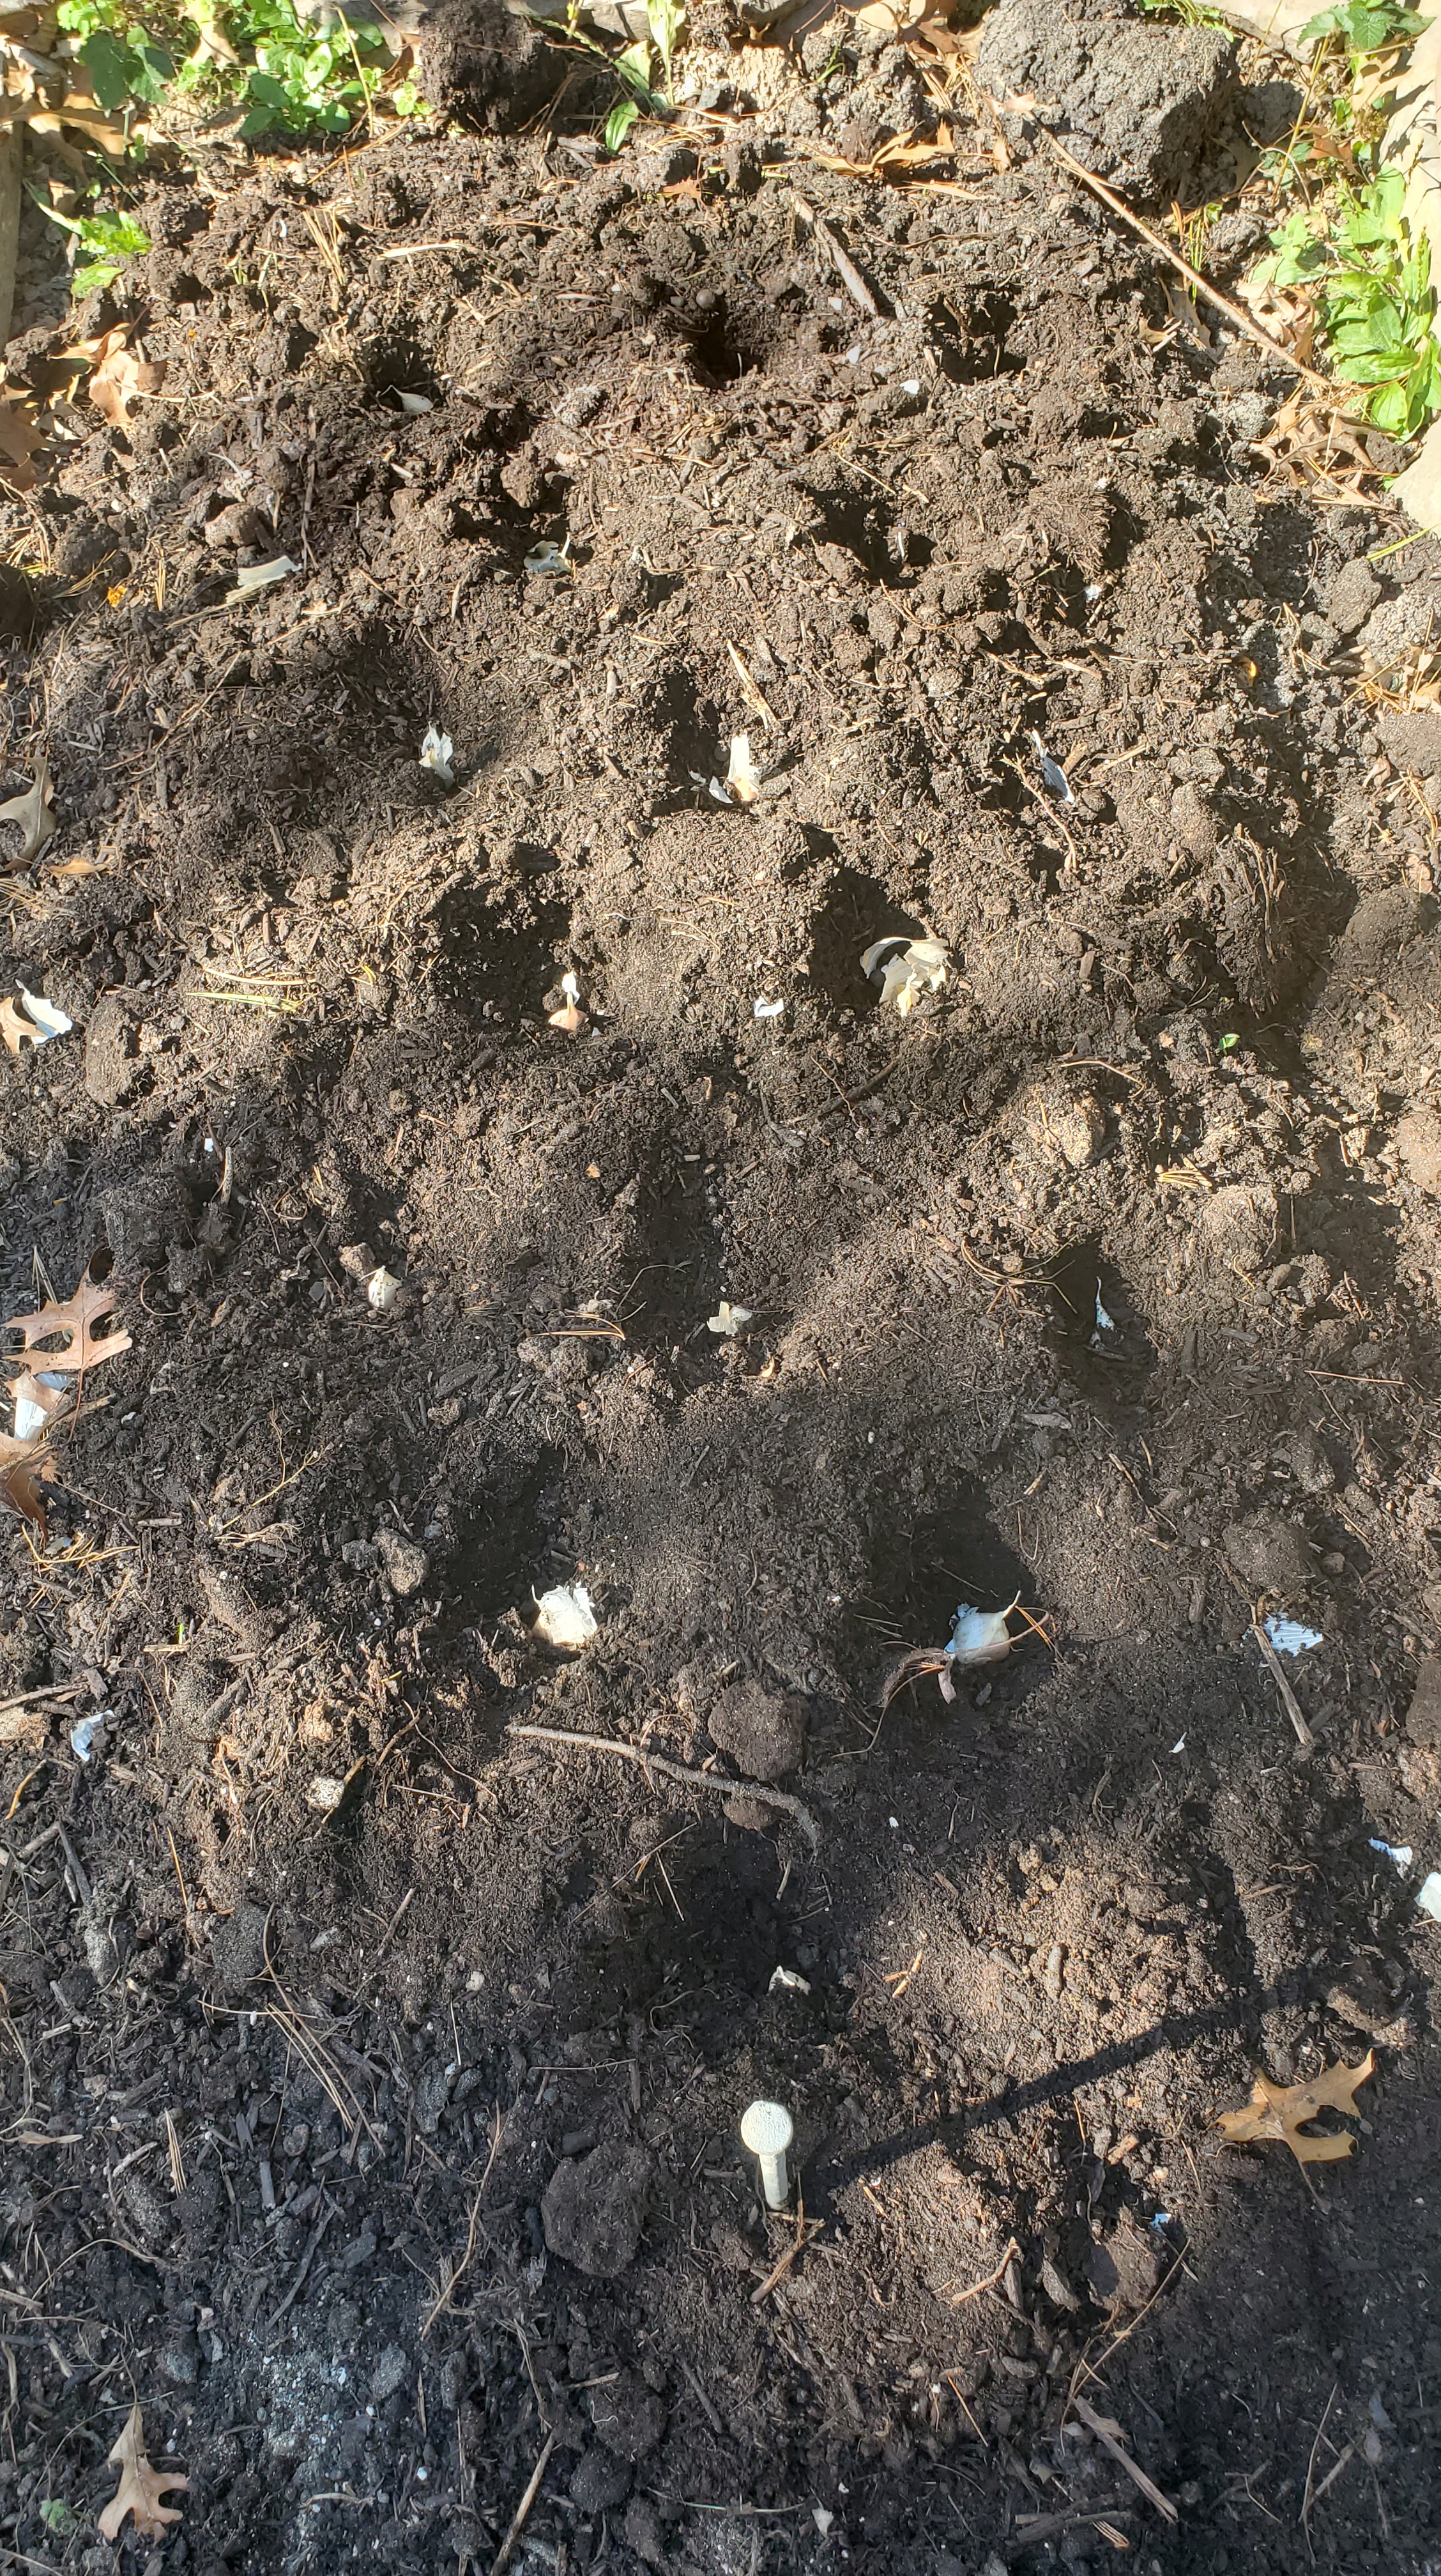
Note: End of October/early November is also the perfect time to plant your garlic for next year. Identify whichever bed or section you want to plant it in, remembering that you won’t harvest it until mid to late June so factor that in to your placement. Then depending on how much space you can dedicate, each clove needs to be planted 2-3” deep and 4-5” apart, buy as many organic heads of garlic as will fit in your space. I bought 3 heads of garlic and planted between 27-30 cloves (plant the biggest ones) into the compost and manure I had just put down, and then covered with shredded leaves and a few cardboard boxes.
I don’t know about you but the weather this summer is no joke. For me, it’s either blazing hot or pouring rain. My plants seem like they don’t know what to do and every day I’m just trying to decide whether it will rain that evening or not and if I need to water plants.
Depending on your growing zone, you may have already started your fall crops indoors. I’m in the Mid-Atlantic in 7a so end of July/early August is that time for me. Last year I bought starts from the nursery for brussels sprouts and broccoli so this year I am attempting to grow them from seed myself and will start them indoors along with my *wildcard* crop cabbage. It’s a wildcard because I’m just going to experiment with about four of them and see how my luck goes. My hope is to make sauerkraut for some good probiotics during the winter. Everything else – beets, collards, kale, radish and spinach – I’ll direct sow in early September.
As you may have surmised, here’s where timing and space get a bit tricky. All my main summer crops – beans, peppers, squash and tomatoes – are in full swing thus there isn’t much available space. I do have two small open beds where my onions and garlic failed and where I’ve already harvested all my carrots. However, I want to put down a cover crop in one of them to help build up the soil. Sort of feels like a game of Tetris sometimes. Anybody else feel that way? I’d love to know how you all inter-plant different crops as the seasons are changing.
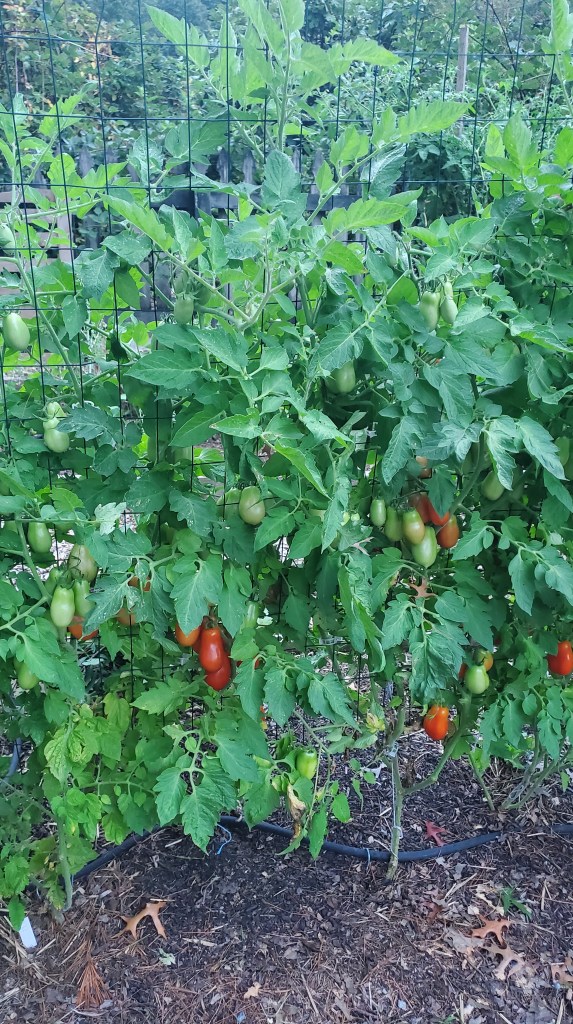
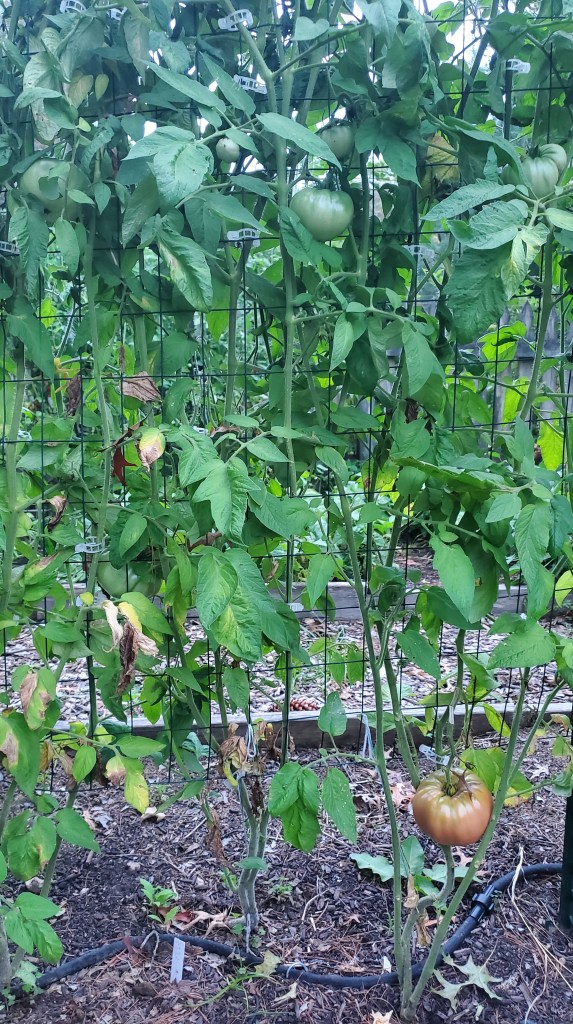
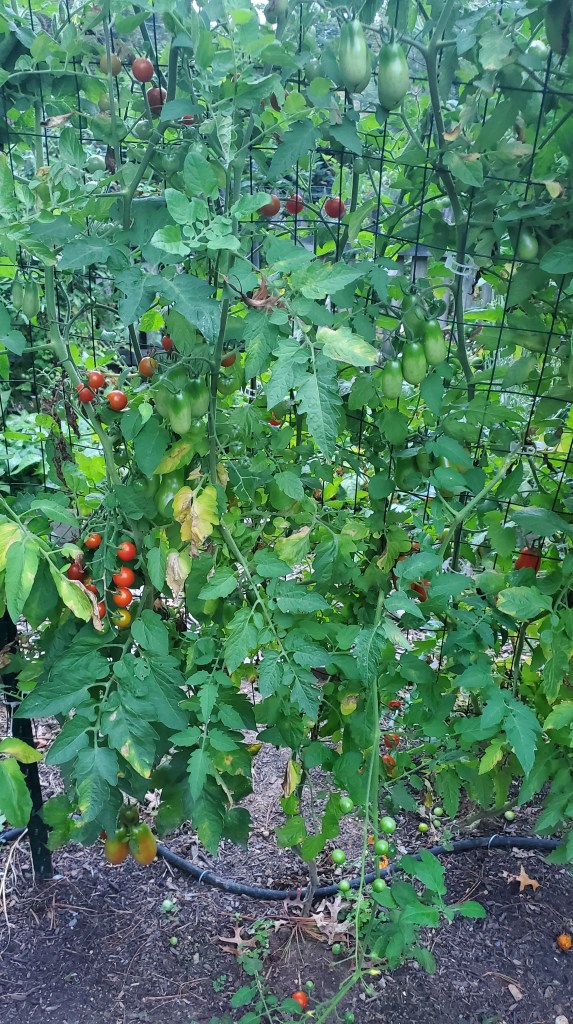
Update: I did want to re-visit the ‘tomato wall’ that I newly established this year to give you an update. The last two years all my tomato plants became an unmanageable jungle: year one was tomato cages and year two was an A-frame support structure. Neither of which worked well once there were big fruits that needed substantial support. I didn’t want another year of disappointing results which is why I tried fencing and T-posts and tomato clips. Sooooo <drum roll please> the tomato wall is going extremely well and I’m really happy with the results so far! I planted my paste tomatoes together, my German pinks for canning all together, and then my little cherry tomatoes for salads and snacking together. Check them out!
I don’t know about you, but the cold temps of January make me nostalgic for warmer weather. I love experiencing all the seasons and I think that’s the point – there are things I love about each season and things that make me say “I can’t wait for this to be over.” Like right now I am bundling up in four shirts, two pairs of socks, a two layer coat, hat and gloves and I’m still frozen in about three minutes outside.
Being the planner that I am, I get really excited brainstorming about what I’m going to grow and try in my garden. I’ve been reading books (loved this one) and blogs for ideas, watching youTube channels (check out this guy) and reviewing our local Extension Office resources for different tips.
There are some different strategies I’m going to use this year that I’ll share soon, but one of the first things I did differently as I was starting to look through seed catalogues was categorizing each item as cool or warmweather in terms of when I’ll be harvesting. I realize this doesn’t pertain to all growing zones, but it helped me in ensuring I’m not going to overwhelm myself each season. Thinking about it this way, also helps me see how I will succession plant.
Try this-
To start, make a list of all the veggies you/your family likes to eat. Why grow something you don’t like to eat?
Next, refer to your local extension office website for recommended sowing dates. I love this chart but it is specific to my zone 7a. From this chart, I then put each veggie in the appropriate column. Check this out –
Cool
Warm
Arugula
Beans (bush and pole)
Asparagus
Cucumbers
Beets
Okra
Broccoli
Pepper
Brussels (fall only)
Summer Squash
Carrots (spring only)
Tomatoes
Cauliflower
Winter Squash
Collards
Kale
Lettuce (plant in the shade during warmer months)
Onions
Peas
Spinach
Then I got out my calendar and started figuring out the seed start and direct sow dates. I’ve made about four spreadsheets and tables so I think I’ve gone too far but I am confident I’ll land upon one chart that works for me to just slightly tweak each year.
I know this sounds like a lot of work but START SMALL. Just two years ago I started with only about five crops – tomatoes, peppers, lettuce, kale and beets. Last year I added a few more, and this year a few more. Each season you’ll get better at a few things and feel confident dabbling in some other areas. The worst that can happen is you have to go to the store and buy it instead of eat it from your own garden.
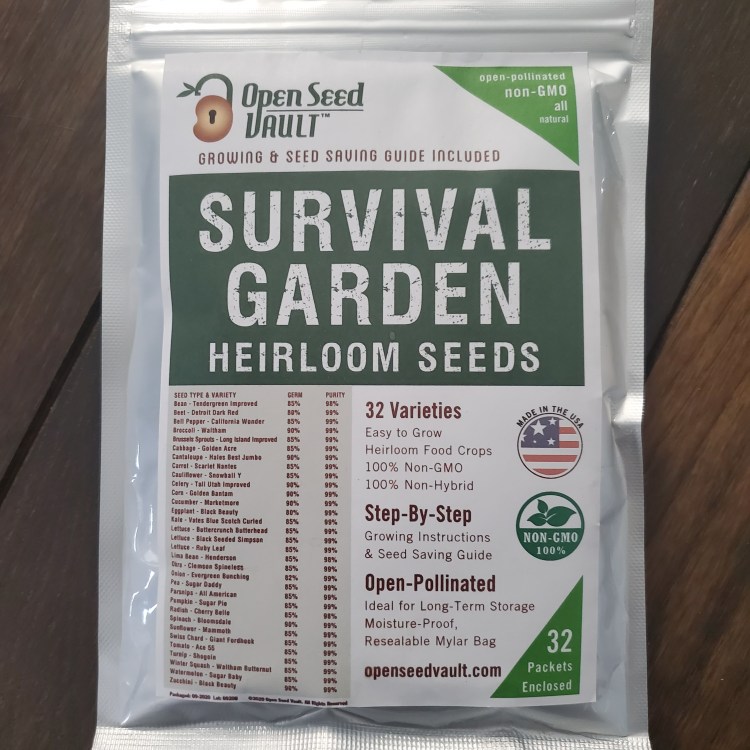
If you haven’t picked out and ordered seeds yet, I would do that ASAP (see my post about the companies I’ve ordered from and like). With COVID-19 continuing to impact our lives for an unforeseen amount of time, many more people are gardening which is great. But due to shortages, travel restrictions, and other impacts of coronavirus, not all seeds are being stocked as abundantly. Don’t freak out – that is not my point. And if you are looking for just a one size fits all option, check out the coolest gift my brother gave me for Christmas.