Who got the Booch? DIY Kombucha

Who drinks kombucha?  Have you even heard of it?  I will be the first to admit that I was not following this trend for quite some time.  I mean honestly, there is a new wonder food or miracle antioxidant that makes headlines nearly every month.  From apple cider vinegar to bone broth to chia seeds, I don’t know how to make sense of it all.

But you know what typically makes me give something a second glance?  A personal endorsement by someone I know who has similar views on health and wellness.  It was easy for me to ignore the $5 12-ounce bottles of kombucha at the grocery store because that pricing just seemed unsustainable.  And yes, I realize every cup of coffee bought costs somewhere in that range and that’s not my life either. I would much rather forgo a coffee at a coffee shop every day and make it at home myself (think of all the trash you’re saving from a landfill!) if that meant at the end of the year I had $1200 to put towards a vacation. 

When my friend Jenny said that since she had started drinking kombucha on a daily basis, she hadn’t gotten sick, my ears definitely perked up.  I used to think I had great immunity and never got sick, until I had two little ones. Nothing like toddlers who are constantly on the floor, putting things in their mouths, and touching each other to test your immunity.  They give you one hug or touch your face and Poof!  You’ll have a runny nose and cough the next day.  So I figured what’s the harm in giving kombucha a try?

What is kombucha?  Basically, tea that has had certain strains of bacteria added to it and is then allowed to ferment.

What are the benefits of drinking kombucha?  I’m not going to bore you with scientific studies, though I am a believer in science and evidence, you can read those references here.  For me, what makes sense is improving gut health with probiotics.  I am not claiming all of these benefits will come true for you. But they might (fingers crossed)!

So here is how I make kombucha (instructions courtesy of Jenny).  How often and how much you need to make truly depends on how much you consume.  And the only caveat to this recipe is you need someone to provide you with a yeast mat (scooby or jellyfish as I like to refer to it) to start.  

Kombucha brewing instructions:

  1. Boil 1 gallon (16 cups) of water
  2. Add 1 cup of sugar to water to dissolve**
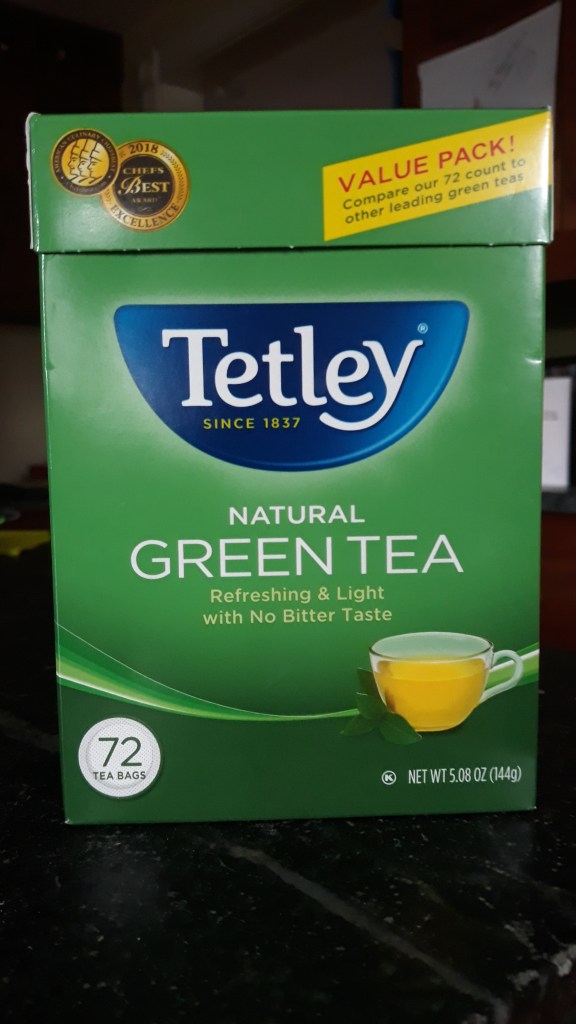
  3. Add 8 tea bags of green or black tea
green tea bags for making kombucha at home
#3 – I use Tetley Green Tea bags when I brew Kombucha

**This ratio is important (16 cups of liquid to 1 cup of sugar) for the bacteria to grow properly.  If you make more or less, keep the ratio, i.e. 8 cups: 0.5 cups of sugar.

  1. Let brew until cooled to room temperature
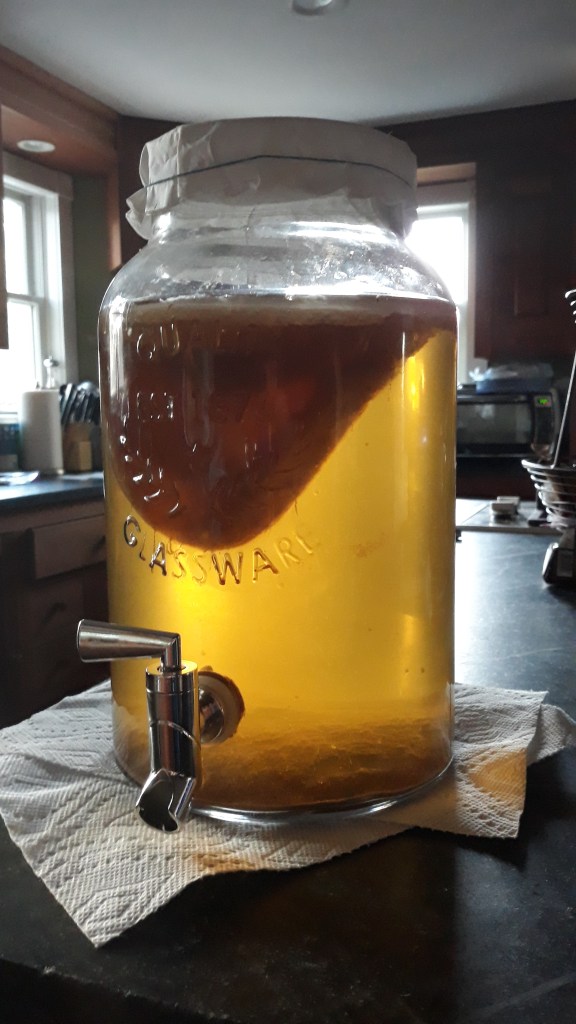
  2. Remove tea bags and pour into brewing container
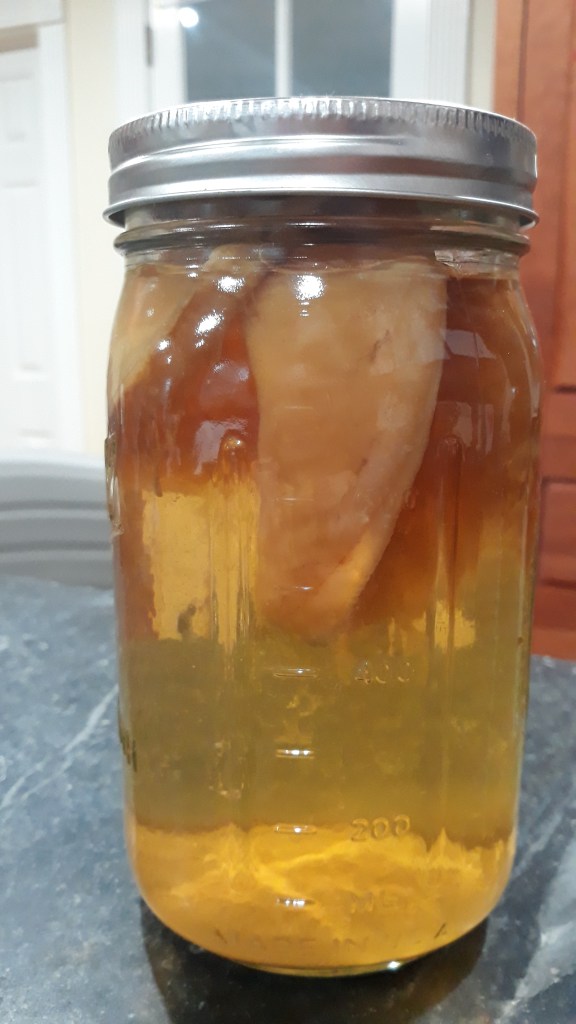
  3. Place yeast mat into container with reserved 2 cups of liquid and stir
  4. Cover with coffee filter and secure with rubber band
  5. Let sit for 20-30 days in a warm environment between 70-75 degrees (also important for the bacteria and yeast growth).  
Making kombucha at home - yeast mat
#6 – here is the yeast mat and 2 cup reserve to add to the brewed tea
Making kombucha at home, here is the container after 25 days with two fully formed yeast mats.
#7 – the yeast mat, the brewed tea and covered with a coffee filter

After 20-30 days:

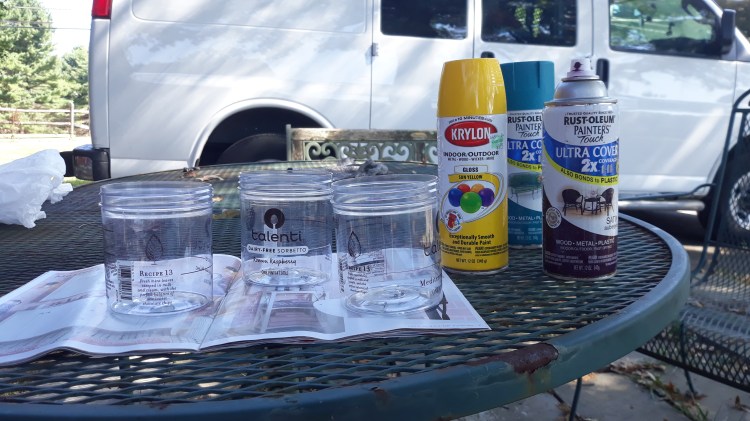
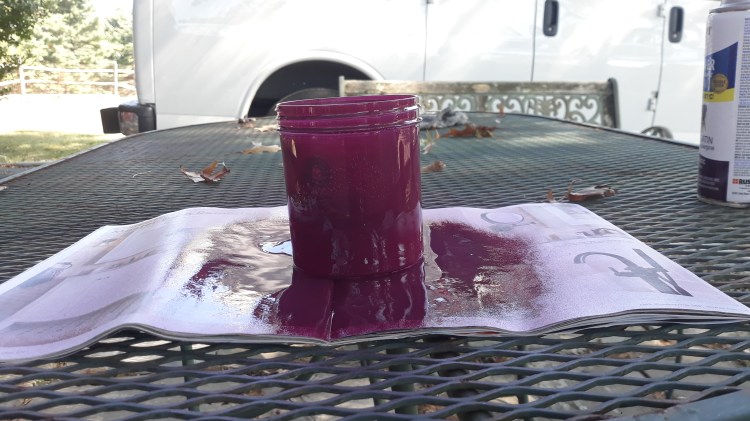
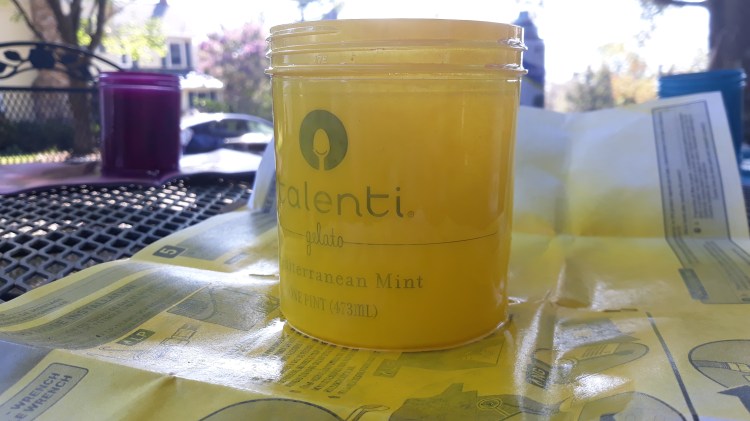
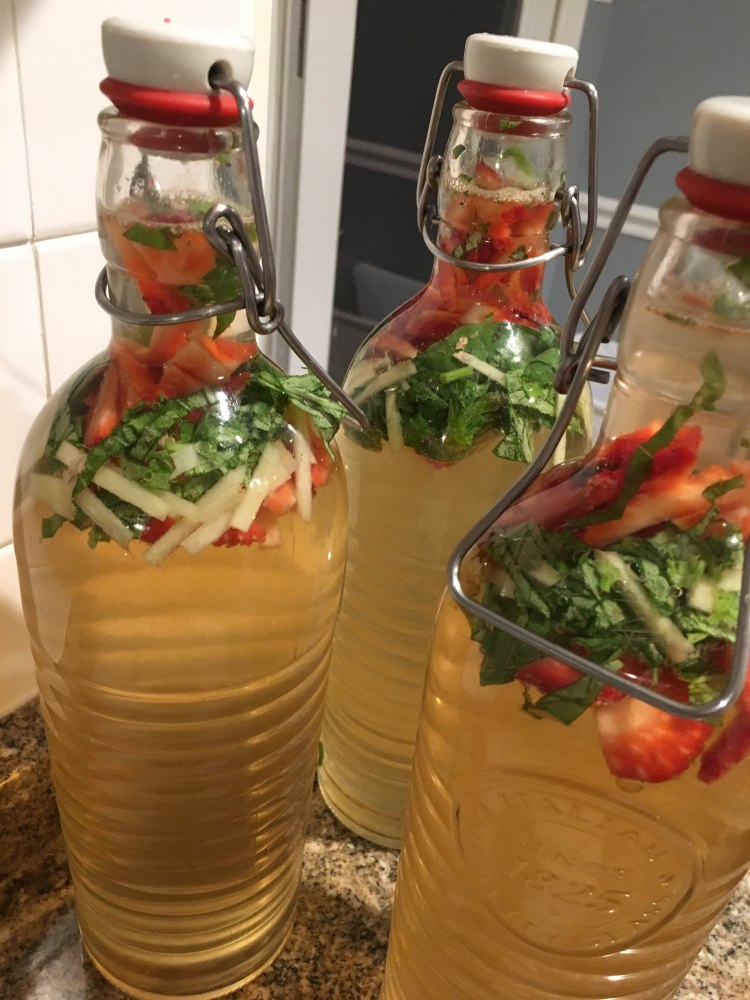
  1. Bottle all but 2 cups*.  I bought this pack of bottles but you can probably find a set of three or four at any local kitchen or home store.  Just think about how much total kombucha you want to brew and be sure the size of the bottles will hold all that liquid.

*The 2 cups and newly formed yeast mat will be the starter for the next batch.

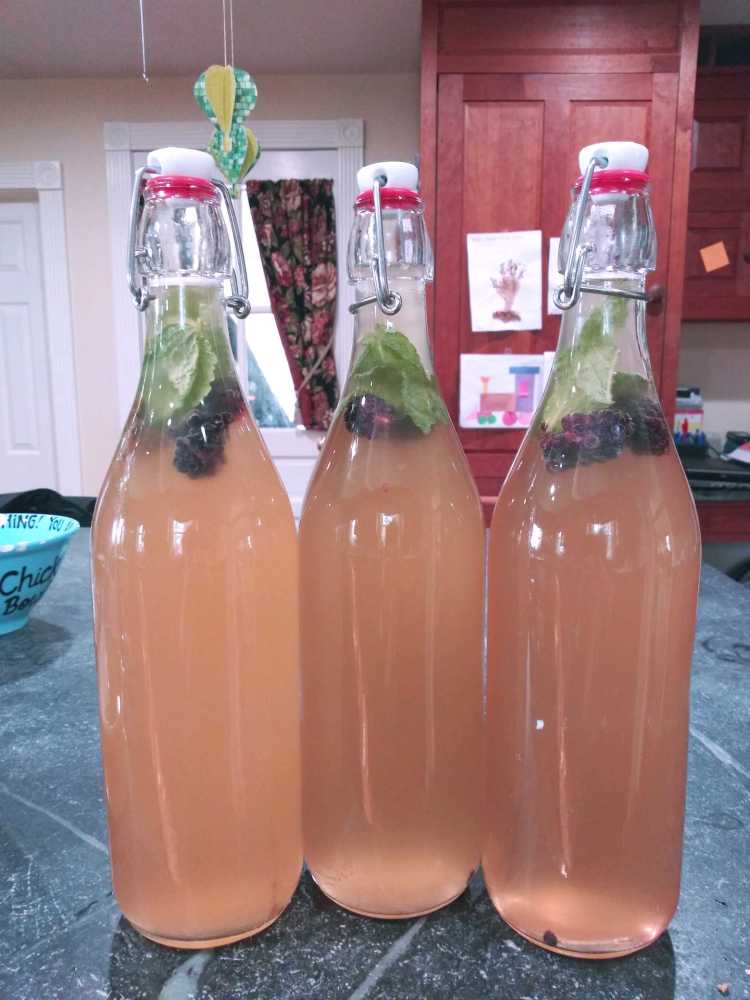
  1. Add ginger, fruit (straw, black, blueberries), mint, basil, etc. to the bottles per your taste preferences.
  2. Store on counter for 2 days.  Burp the bottle once/day to let out gas.
  3. Refrigerate and enjoy 🙂
Making kombucha at home, three bottles of finished strawberry, basil and cucumber
Strawberry, basil and cucumber Kombucha (a batch Jenny made)
Making kombucha at home, three finished bottles of blackberry mint
Blackberry mint Kombucha I made.

PS: In case my title makes no sense, for whatever reason this song constantly comes to mind when I am brewing some ‘bucha.  Remember this fun little diddy by Everything?  I just replace the word ‘hooch’ with ‘booch’ and ta-da, genius in action 🙂

Getting Crafty with Gelati

I would not put myself in the crafty bucket.  When I scroll through Instagram and Pinterest and see the amazing things that women come up with, my jaw drops and I am in awe of the creativity that oozes out of some people (and yes, I specifically meant to say women; guys are creative too but they typically get all the recognition they need).  Often it is so simple yet brilliant.  

Let me be clear, that is not what I aspire to.  However, when I have a moment of inspiration I like to jump on it.  I have read that creativity is like any other muscle, the more you work it the stronger it gets.  So one week my mom indulged us with a few Talenti gelati flavors.  [Let me be absolutely transparent:  Talenti representatives, call me – I’m your girl.]  There was something about the container shape and size that made me not toss them in the recycling bin and instead I held on to the three pints knowing that I would find some magical use for them.

Pint gelati container with endless craft potential

Then a few days later when combing and braiding my daughter’s hair I thought it would be so handy if I had a few containers to keep all her hair clips, brushes, combs and products in.  Et voila!  

Pint gelati containers with endless craft potential

I decided to spray paint the pints different colors and then I would figure out later how to stick them together.  I also had a vision that they would be staggered in height somehow to allow for a more interesting visual. That was the tricky part .  Not sure I came up with the best solution but it works.  

Spray painting with my daughter was fun.  We had some leftover spray paint from some other art project I did a few years back when I was obsessed with Mod Podge.  All we needed was a few old magazines to set the pints on.

Pint gelati container with endless craft potential

I thought the writing on the pints was a sticker that I could peel off but I couldn’t find an edge.  For that reason, the yellow one took a few coats of spray but the maroon and teal were fine with a single coat.

Then I let my daughter choose the Park Lane washi tape embellishments and she pretty much put them on herself.  Pretty impressive for a 4.5 year old in my book.

Lastly was joining them together.  I’ll be honest these sat on my kitchen counter for at least a week.  Due to the rim with the rings, they have to be offset in height. My solution to this was to flip one upside down.  In retrospect, I think this would have worked better if I had five pints instead of three. Two could have been upside down and three right side up.  Once I lined them up to where I thought they looked good, I put a big rubber band around them to hold them in place and then went at it with my hot glue gun.  

Three pint gelati craft for easy storing of hair stuff, desk items

I think the finished product is cute and could honestly be used for so many organizing options – desk items, bathroom items, bedside table, small toys, other craft supplies, on and on.  And I’m sure someone craftier than I could improve on this exponentially. Enjoy!

The Wallpaper Takedown: 5 Tips to Save You the Trouble

For a change of pace, I thought I’d bring you a little farm project that involved the interior instead of the exterior.  Like everyone else on the planet, I LOVE me some busy wallpaper. Can I get an Amen? In our last house, I actually put up wallpaper on a single wall as an accent and truly enjoyed looking at it everyday.  I think I got the idea during one of my HGTV phases. I was probably transitioning out of House Hunters International (we’ve all gotta dream!) over to Income Property and I saw him redo a basement with this really awesome orange geometric print on one wall and I said “I must do this.”  In case you’re interested, the product I used was Graham Brown and I would totally use them again.  [Sidenote: can we talk about how much the dude from Income Property looks like Roger Federer, the tennis player?  They must be related.]

The thing about wallpaper IMHO is quantity.  Can you do wallpaper in every room? Umm, sure.  Far be it from me to yuck your yum. But you can’t do every wall of every room.  You’ve got to think about balance since in a normal day you’ll be walking from one room to the next and you need not be visually accosted every time you enter a room.  And I believe I’ve said before, we live in a farmhouse from 1890 so wallpaper actually fits the vibe but… I needed to tone it down just a tad.

I’ve never removed wallpaper.  Something to think about when you’re putting it up, “Will I be the one removing this?” as it may change your approach.  But I watched some youtube videos, talked to a couple friends and was like, sure, I can do this. Seems easy and straightforward.  Wrong, wrong and wrong. So to save you the frustration I experienced, here are the tips I wish someone had told me (that YouTube didn’t!).

1. Start with the smallest room/wall.

This is the one and only decision that went my way.  You never know what challenges you’ll run into that will delay progress or what other project will surface causing this one to be back burnered.  

The smallest wall I attempted first for wallpaper removal at Farm Charm

2. There is no single way to remove wall paper.  I tried these three combinations with about 20% success (and 56% frustration)

A. Roll fabric softener on to the wallpaper with a paint roller, let it soak in, do another coat.  Attempt to remove wallpaper.

B. Score the wall paper first, then do the fabric softener per above.

C. B + A only I substituted actual wallpaper stripping liquid + used a scraper to lift an edge of the dampened wallpaper.

None of these approaches allowed me to pull off sizeable strips of paper (picture how annoying it is to try to peel a price tag off a package and bingo, that was me).  I was getting shavings and slivers, especially after scoring the wallpaper, which was pretty bewildering because so many videos and links said the scoring was a critical step. I understood the premise to be that the adhesive must be loosened in order to remove the wallpaper.  But the fabric softener, wallpaper remover liquid, and scorer seemed ineffective in penetrating the adhesive. I don’t quite understand how you are supposed to penetrate a glossy-ish exterior without scoring, but then once the surface was scored it was too shredded.  

Farm Charm wallpaper take down project

3. Don’t spend a lot on any special tools or products.

I bought the Zinsser scoring tool, scraper and stripper.  I’m not saying these are bad products, they just didn’t work for me.  This goes back to tip #1 as well. If you start with a small room/spot you can experiment with tools you already likely have, like a paint scraper.

4. Probably the biggest predictors of success are whether the wallpaper was applied correctly to begin with and the surface to which it was applied.

If you are the one who is putting it up and taking it down, then congratulations!  But that brings up a whole ‘nother set of questions as to why you are putting up and taking down wallpaper just for kicks…  Two of the walls in this room appeared to be unfinished (just sheetrock drywall panels) underneath the wallpaper so I think that presented challenges with regard to how the adhesive set in.

Wallpaper Take Down project at Farm Charm
Never know what you will find under wallpaper. Look at that fun Southwest-inspired border up top!

5. Start with a steamer.  

This ended up being the one and only strategy that worked.  In all fairness, Cactus did tell me to try this first and I ignored him.  Not being one who steams or irons my clothes, I just didn’t think those little machines were legit.  Well, apparently they are and maybe you already have one or have a friend who has one. Many local hardware stores also rent equipment and I wouldn’t be surprised if they had a steamer for rent.

Bottom line, I don’t have any fail proof tips for you but when I attempt the next room (because we got four more rooms that have dazzling walls), I am going to start with the steamer.