First Year Garden Learnings – Part Two
Howdy again. I’m back with part two of my first year garden learnings. I’m glad I took notes and will continue to do so. Doing this lookback is also helping me think through some of my plans a little more deeply, which is good.
What I hope to improve next year:
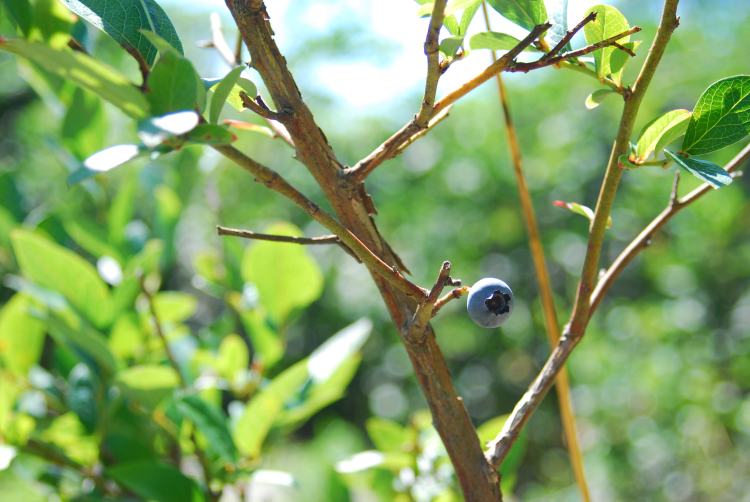
The blueberry ambush. We will have to rewire our electric fence. The deer in our area are out of control and they are not taking my blueberries again. The Deer Chaser was not enough of a deer-terrant. Ha ha ha, I had to.
Carrots and cucumbers. Total flop. Nothing ever sprouted and I tried carrots twice – once in the spring and fall. Grrrr!

Fig Fail. Wah! I believe a few things worked against us. I don’t think we pruned enough of the old growth or insulated the roots during the colder months. I reached out to the previous owner as well and he said that some years were a miss as well for them.
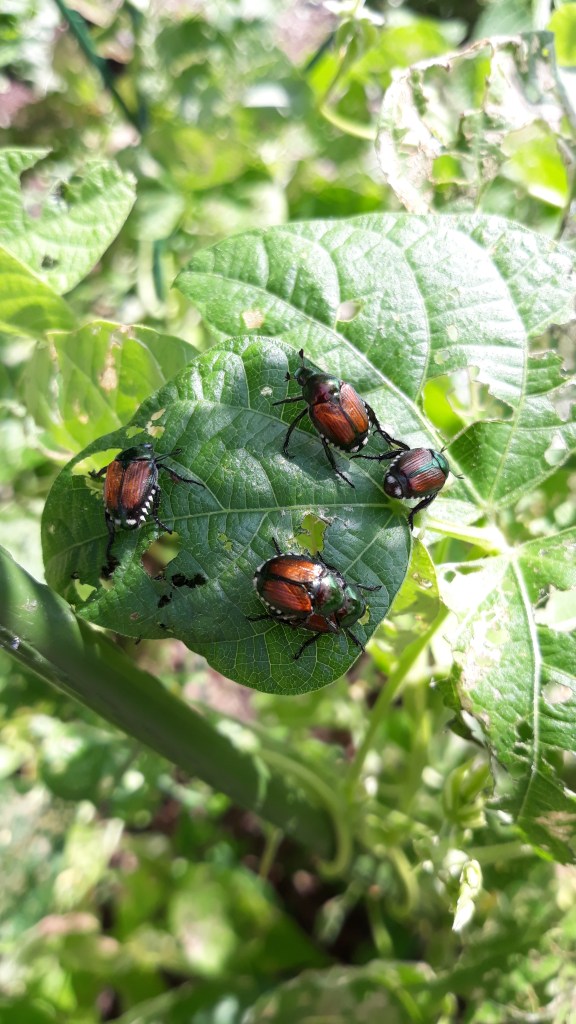
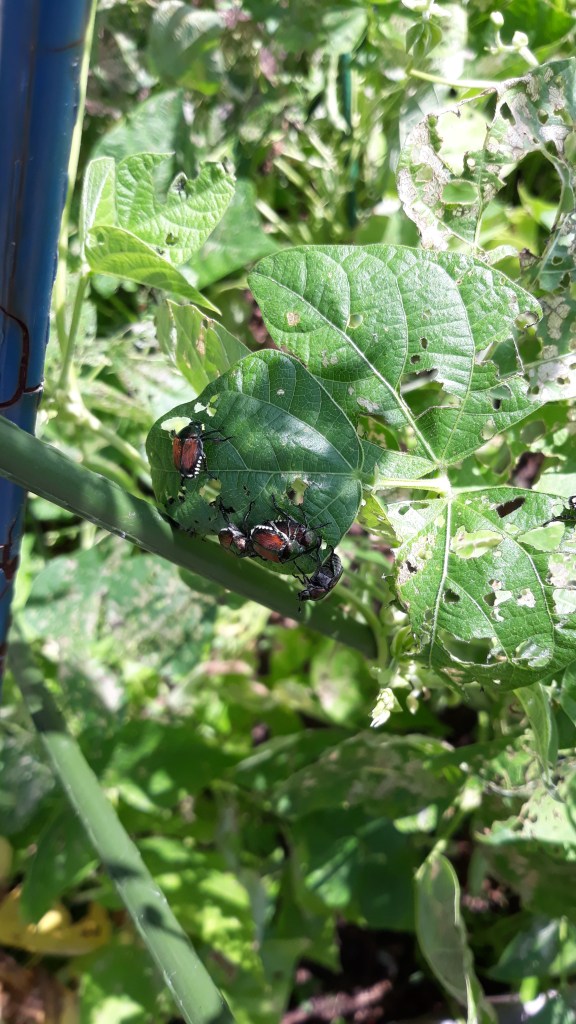
Kale caterpillars. I had to rinse all my kale like 9 times before I used it and I’m sure I still ate extra protein without knowing. Not that big of a deal, but it did slightly lessen my enjoyment of the salads. However, not worried about worms at all from the bags of kale I froze and am putting in smoothies. I’m trying to keep my garden chemical free so will need to figure out how to keep these caterpillars out.
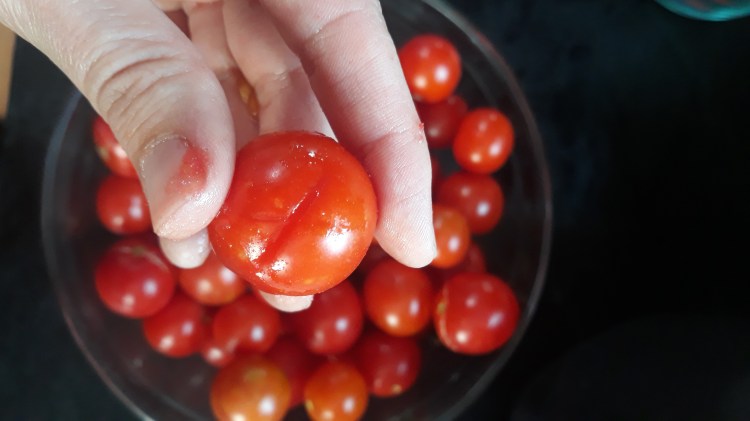
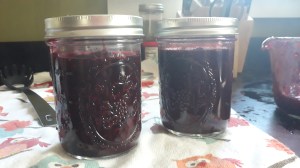
Tomatoes a-go-go. Since I hope to do more canning next year, I am not going to exclusively plant the small guys.
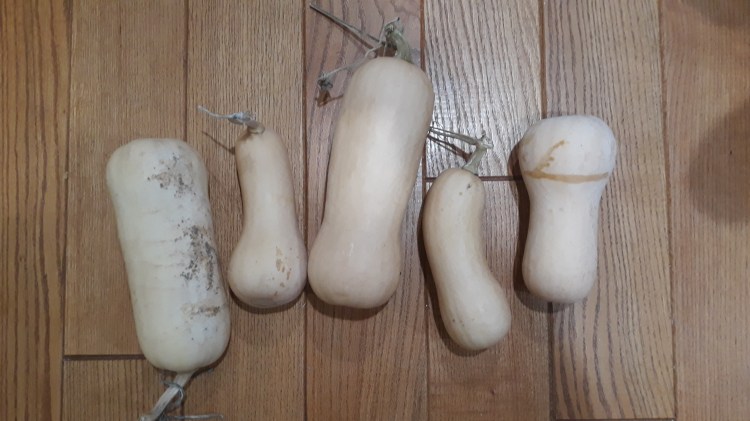
The layout. I feel like the location for where I planted squash and lettuce could be improved. The squash needs room to spread but also needs to be contained somehow. The two butternut plants took over the entire corner of the garden and grew through the fence. For the lettuce, not sure if it was due to soil or sunlight, but my lettuce leaf varieties did not take hold the way I would have hoped.
Spacing. Green beans need their space. So do tomato plants. This is true both horizontally and vertically. I will need to create better trellising configurations. For the green beans, I made a teepee that was not tall enough, only about 3 feet tall. Next year I will make it at least 5 feet tall and just plant 1-2 plants at each leg of the teepee. Personally, I don’t think tomato cages get the job done. The plants get tangled in them and they can still tip over. I’d really like to have some sort of bar suspended above them that they can grow up to.
No compost bed. I will not be dedicating a garden bed to composting. It became intractable and overgrown and my garden does not have extra space. Plus we have three other compost piles.
Take pictures of everything! Since I’m out in the garden so much and my memory is so, so spotty, I want to put a reminder on my phone to take a picture once each week. This will be a great visual record of where stuff was planted, how quickly it grew (or didn’t grow), etc. The challenge will be remembering to take my phone. I enjoy my gardening time as a way of being outside away from screens.
New veggies I want to try to grow:
- Broccoli
- Brussel sprouts
- Collard greens
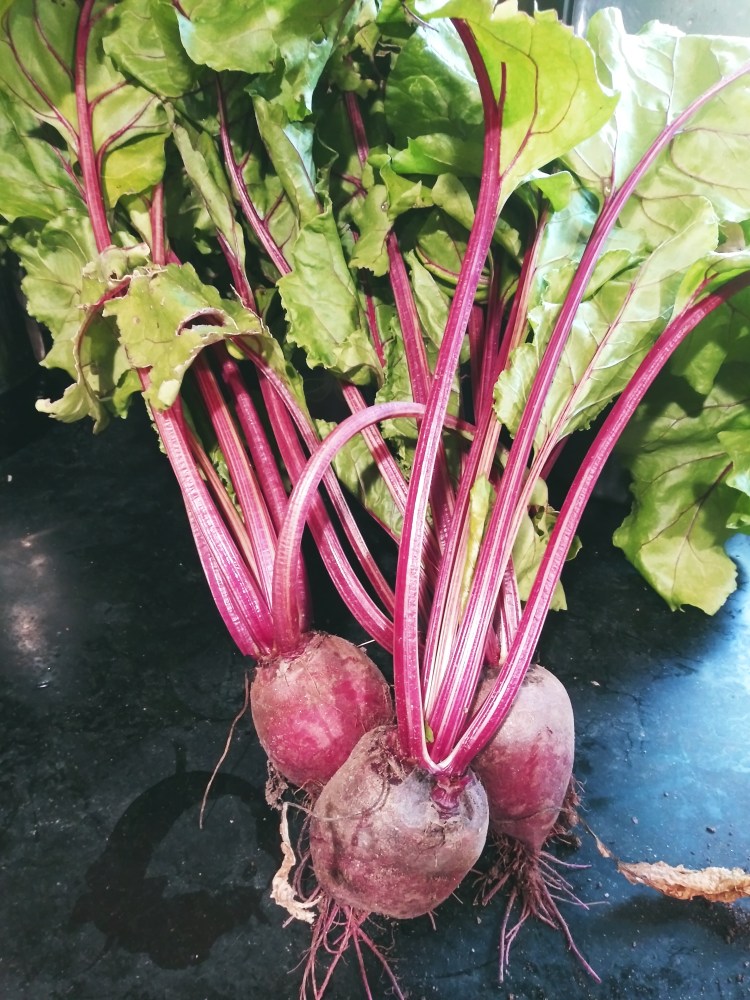
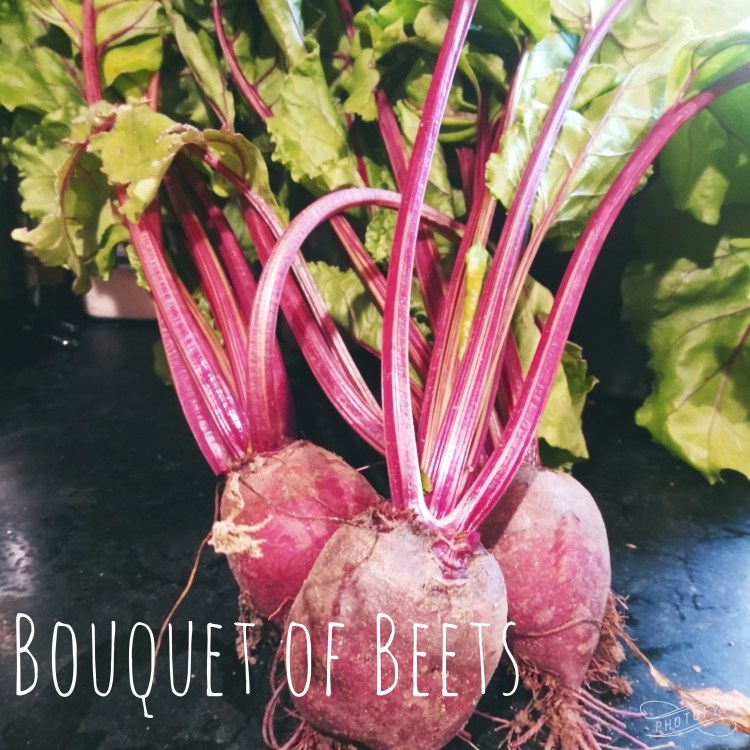
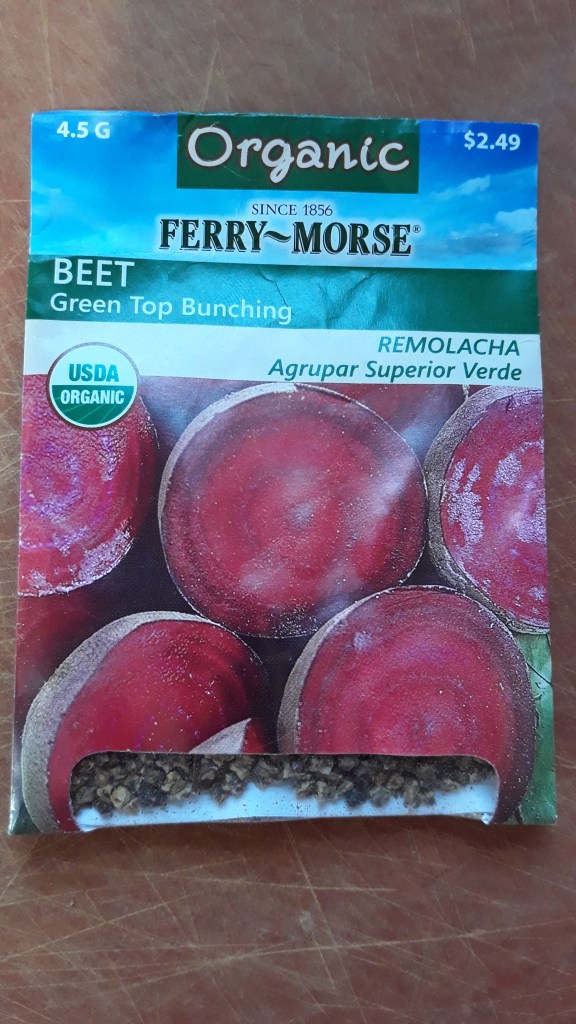
- Golden beets
- Spinach
What I will NOT be growing next year:
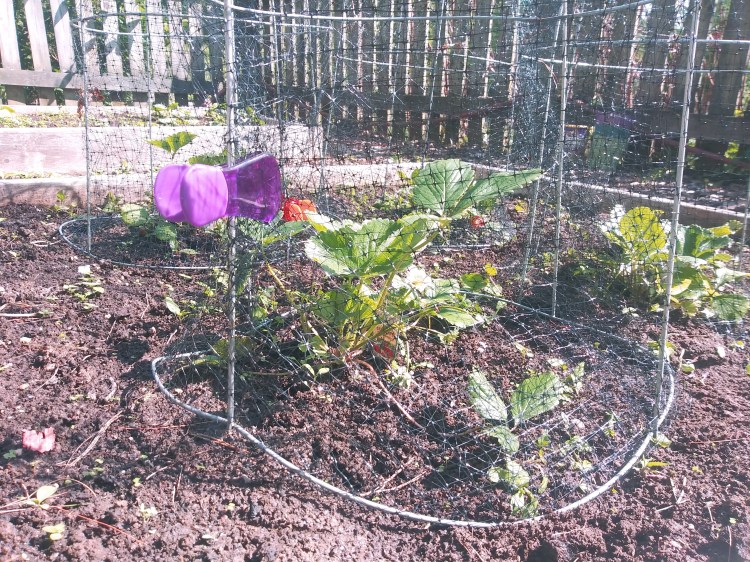
Strawberries – I had four strawberry plants and as you know they were a great source of sustenance for what I guess were a local bunny family. I think we only ate 10-12 strawberries tops. I’m sure I could learn more about caging them in a way that allows them to spread while being protected, but they seem like more trouble than they are worth at this stage of my gardening game.