This is the first year I grew poppies in the Spring. I’ve always loved poppies and how delicately beautiful they are. I did absolutely zero maintenance, as seems to be the case with all of my efforts in the garden this year, and they were a raging success. I literally sprinkled two-year-old seeds on the ground in early April and walked away. The varieties were: falling in love, amazing grey, giant lilac pompom, jelly beans, purple peony, and Flemish antique.
One thing I’m trying to get better at each year is lowering my baseline costs. There’s probably a real financial term for this but basically, if I spent $35 on veggie seeds and $25 on flower seeds last year, I want to spend less this year. Or I somehow need to generate income to cover the cost, e.g. sell some veggies and/or flowers.
This year my goal was to be cost neutral in the garden. I had bought 5 flower buckets ($16), 100 count of kraft paper cut flower sleeves ($29), and 100 count of Chrysal water conditioner ($16). My plan had been to sell fifteen $10 bouquets to generate $150. That seemed very realistic. Well, it didn’t happen, but there’s always next year. When I stopped watering the garden after July 4, I couldn’t really hope for too much.
In preparation for next year, I’ll be ready with some amazing poppy seeds. Here’s how you can save flower seeds for the next season.
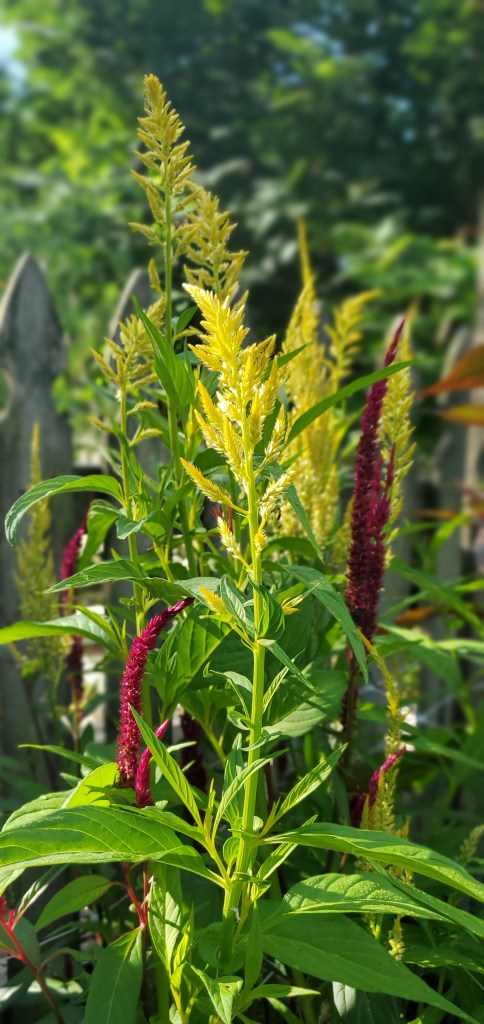
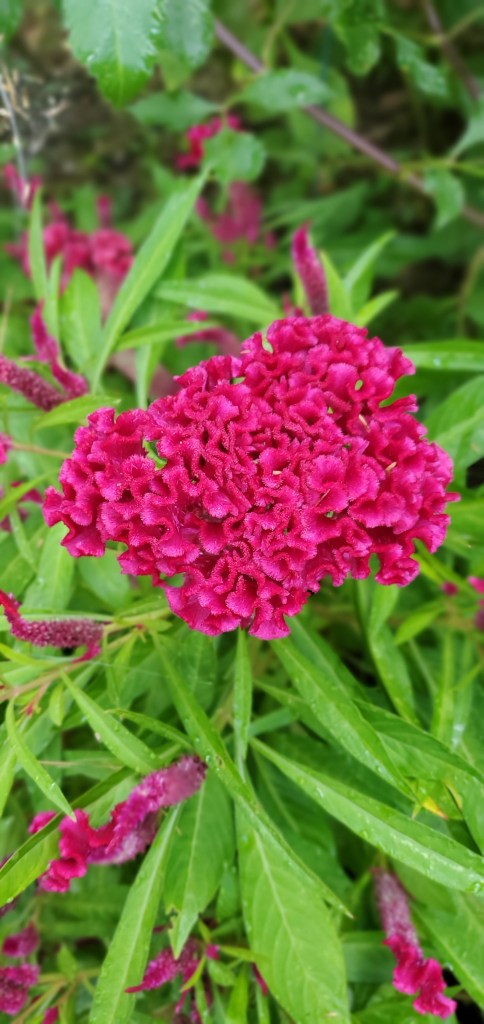
Remember how I added a cutting garden last year? I experimented with a wild flower direct sow section (AKA hands off), a perennial section, and then two designated 3×10 foot bed of intentionally planted, started indoors, known for growing easily cut flowers – largely zinnias, celosia, snapdragons, sunflowers, and dahlias. I had gomphrena and yarrow for fillers too.
I think I spent about $40 on dahlia tubers. Everything else was started from seed that I spent about $30 on. My goal was to sell ten bouquets for $15 each and make all my money back as well as cover the costs for my seeds this year. That didn’t happen. Hence why most businesses go under in the first 3-5 years. This year, having not met my goal last year, I’m committed to an even bigger goal. I’m going to sell $250 worth of flowers this summer June-August. Ha – I hope you are reading the irony here. If at first you don’t succeed, make it even harder 😊
I’d like to think I’m a bit more experienced and have solved for some of the challenges that slowed me down last year.
I’ve got soil blocking down (post coming soon!). Way more starts in way less space!
I’ve got a good handle on a two-week succession planting schedule.
I’ve got a plan for drip irrigation. Key word – PLAN.
I’ve realized the error of my ways in loving how pretty the flowers are and not wanting to cut them. They are getting harvested two days a week.
I’ve got buckets for storing flowers in cool water the moment I cut them, and I’ve got flower feed packets.
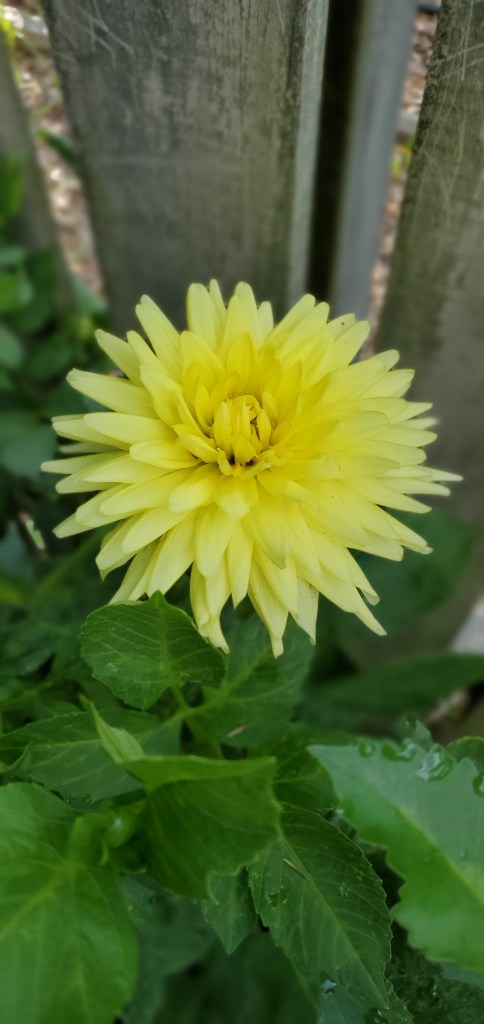
While I don’t want to play favorites with flowers – I LOVE THEM ALL – I am very excited about my dahlias this year. I knew they were a good investment because they multiply on their own. I borrowed Discovering Dahliasfrom the library over the winter and was fascinated with all the different types. I fell in love with the pom pom, water lily, and cactus styles. So I bought a six dahlia sampler kit from Hudson Valley Seed Company {perfect time to buy as they are on sale}. And then I bought four more from Connel’s Dahlias.
Last year, I really knew nothing other than watching some short videos on the Floret website. I pretty much only got them started correctly. I didn’t space them or support them adequately, and I certainly didn’t harvest them frequently enough. When there was beautiful blossom, I was so enamored by it I couldn’t cut it. Oh Dear! This year will be different.
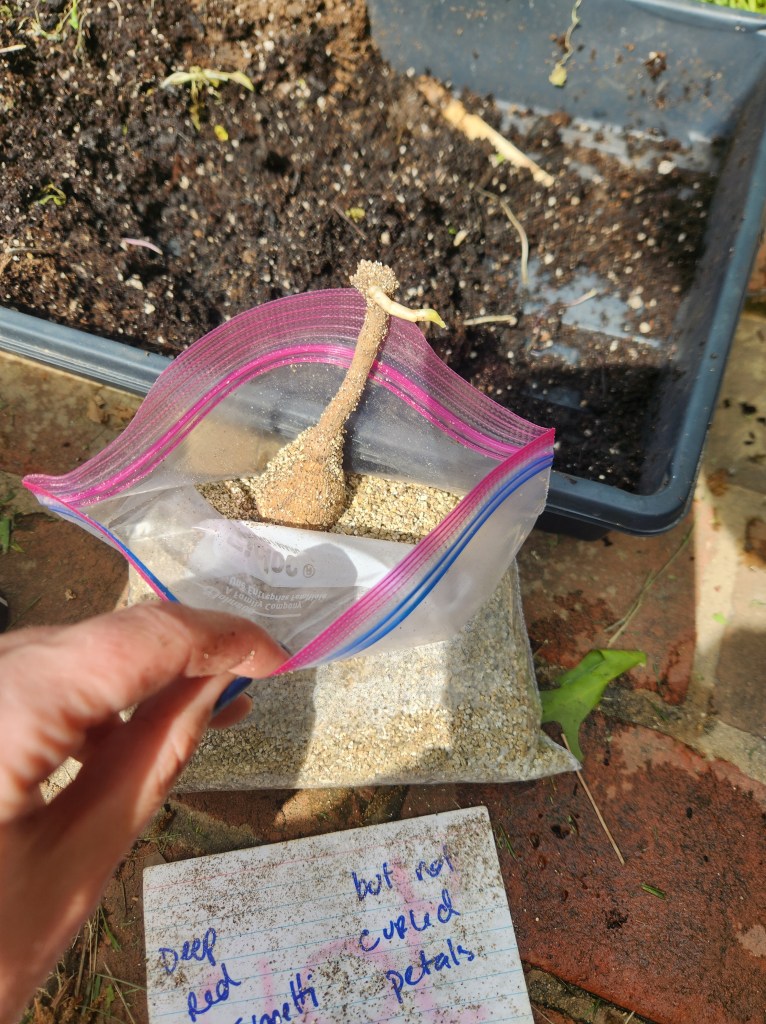
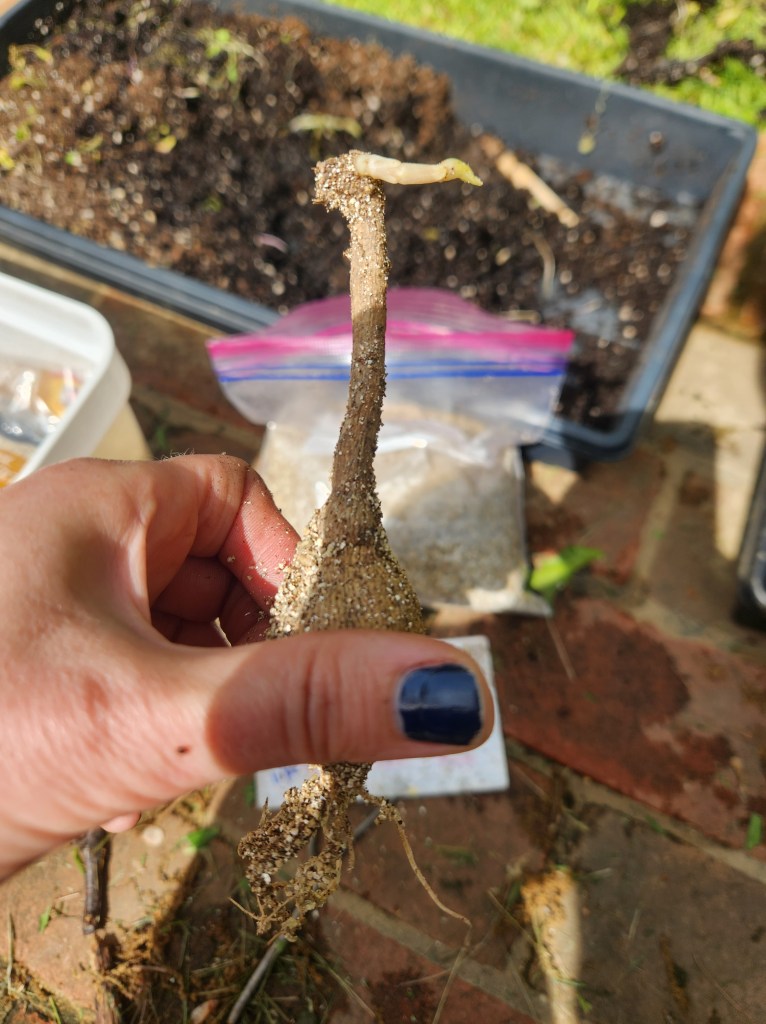
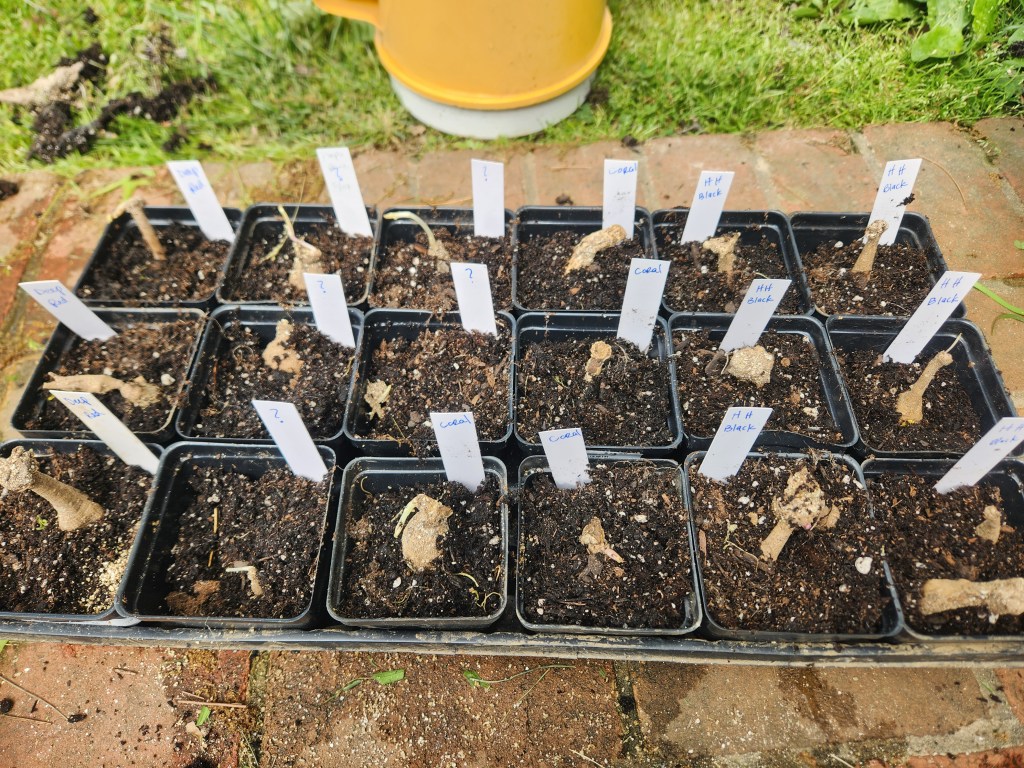
So I’m off to a strong start with more than 30 tubers. That’s what the ten I bought last year turned into. Yippee! The first stage is to get your tubers pre-sprouted as follows:
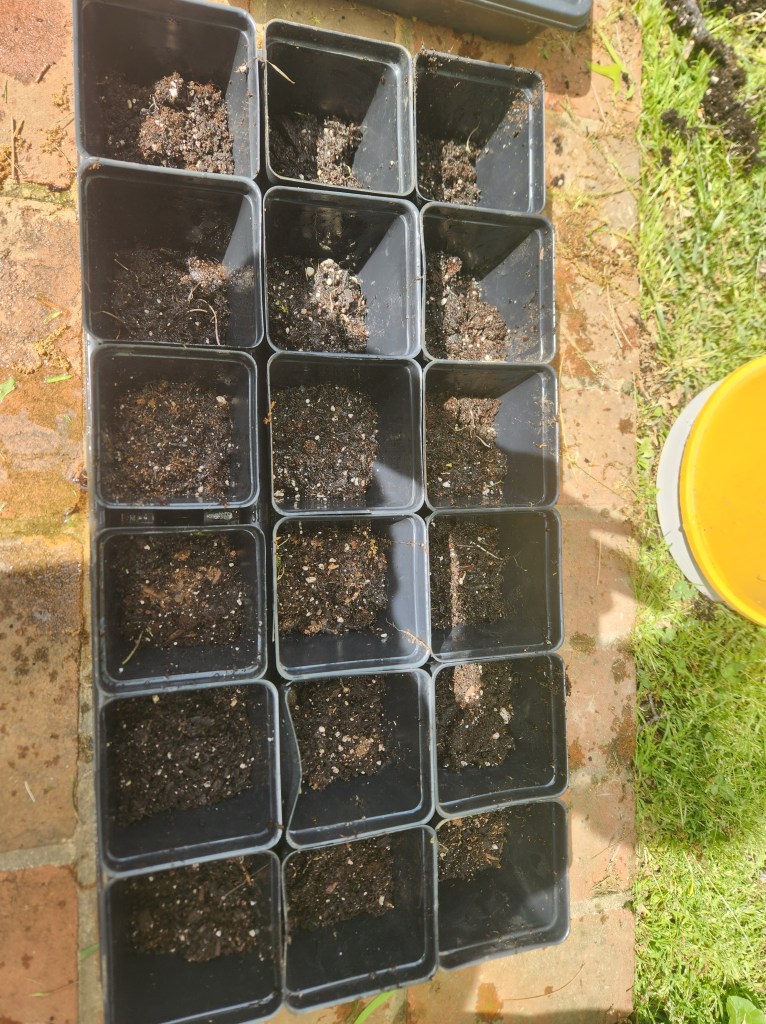
Fill a container with growing medium. I do a mix of 1/3 potting soil, 1/3 peat moss, and 1/3 vermiculite.
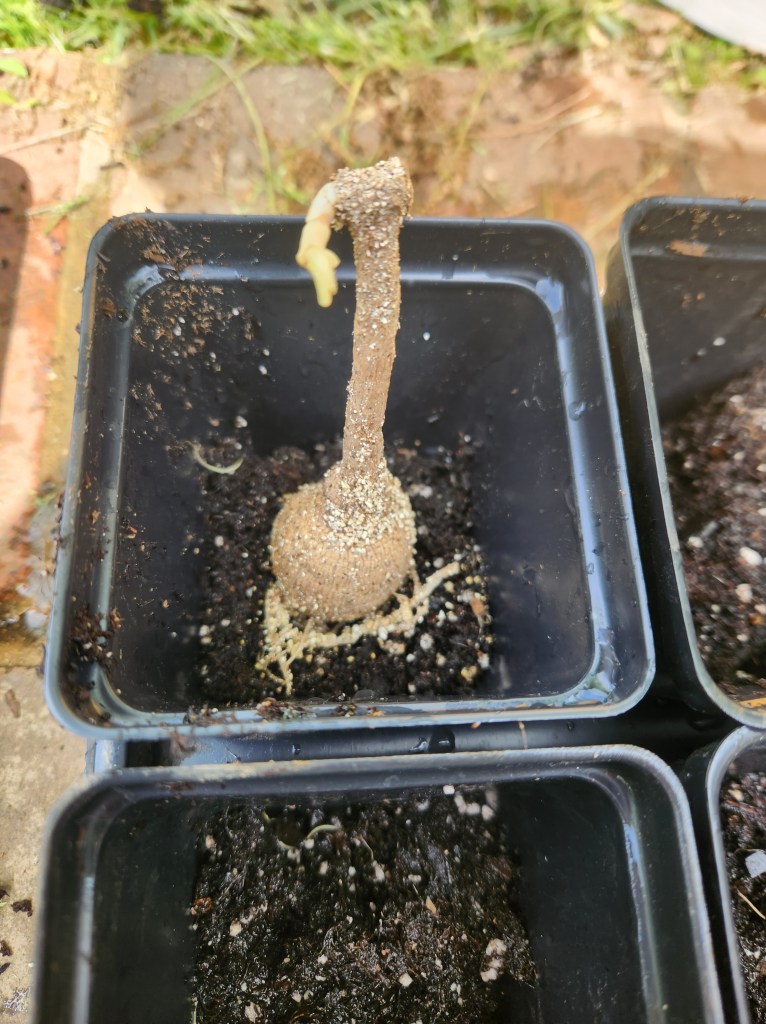
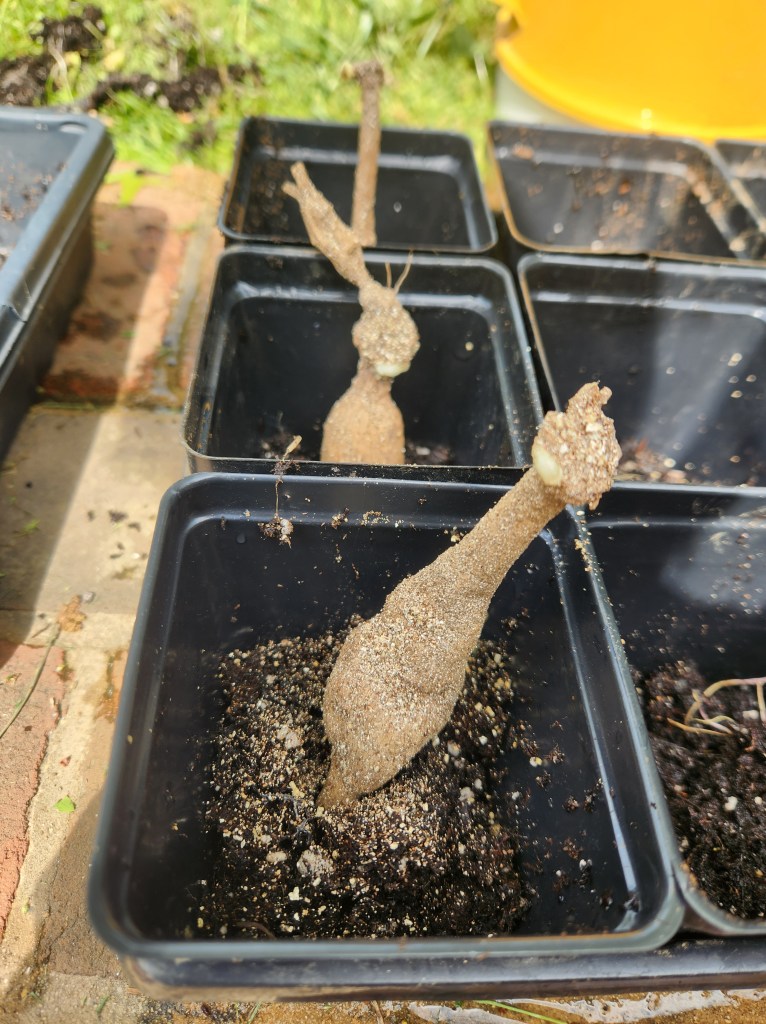
Nestle your tuber in so the neck and eye are exposed.
Label them as you go.
Keep them in a warm sunny place and keep the soil moist. Not wet, not dry, just moist. I have left mine outside from day one because I didn’t have room on my growing shelves.
Watch and wait…
Stay tuned, a post will be coming very soon on planting the tubers, setting up drip irrigation, and staking them correctly.
Fall is just so gorgeous that I hate to think of it as the end of something. Every season shines in its own way, and fall feels like the slow, gentle closing of the final chapter of a book that I really enjoyed. With the cool crops planted and some of the fast ones like lettuce, greens and radish nearly ready for harvest, my mind naturally meanders toward ideas and plans for what next year will look like. (Spoiler: my 2022 reflections will be the next post.)
Each year I try to figure out ways to simply, streamline, and build more sustainability into my gardening. Getting the timing down for seed starting, perfecting the numbers of plants of each crop I need to have enough to harvest and preserve, and minimizing weed and pest management are all important aspects. And seed saving is one of the biggest pieces.
Plants are natural reproducers. They want to go forth and multiply. And as fun as paging through seed catalogs is every December, I want to have my staple crops pretty well nailed down. There is always room to experiment and find new favorites (one of my favorite things about talking to other gardeners and volunteering on a farm), but it makes the most sense to have your seed bank naturally replenishing itself each season.
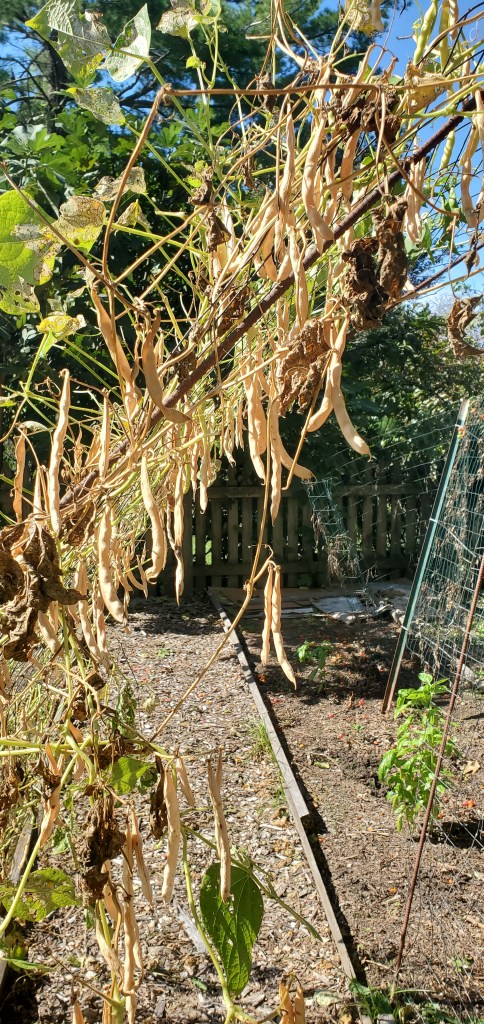
If you’re new to saving seeds, definitely start with the easy crops like green beans, peppers, and squash. Lettuces and greens are easy when they bolt in the spring. I’ll be honest in saying I haven’t yet tried to save tomato seeds but I plan to do this next year.
The main factor in saving seeds is letting one or two of the plants go to seed. This is the part I find challenging because when I’m ready to transition a bed from cool to warm or warm to cool, I just want to rip stuff out. However, that’s where a little planning pays off. This year, I did three long rows in each bed. The two outer rows were for the cool crops and the middle row was for the warm crops. This allowed me to let things bolt and stay longer than necessary because I wasn’t vying for the space. You can easily do this in smaller beds and containers as well.
Here are some tips for your seed saving endeavors:
Let your strongest plants go to seed. While growing, identify your best producers and take note that they are the chosen ones.
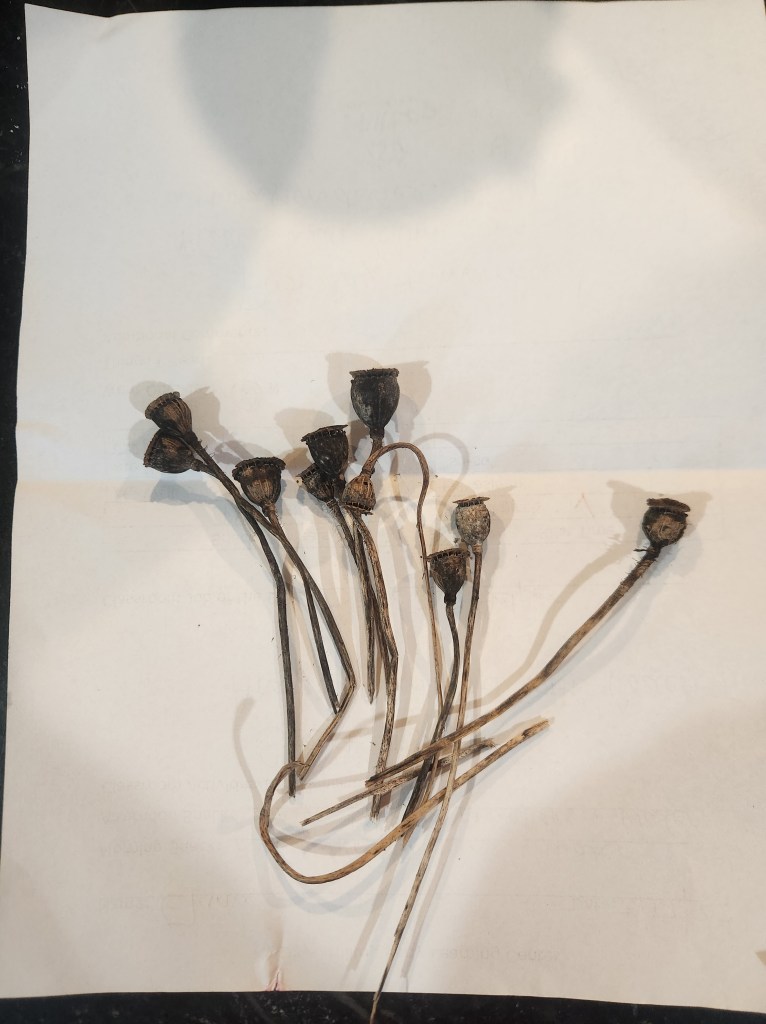
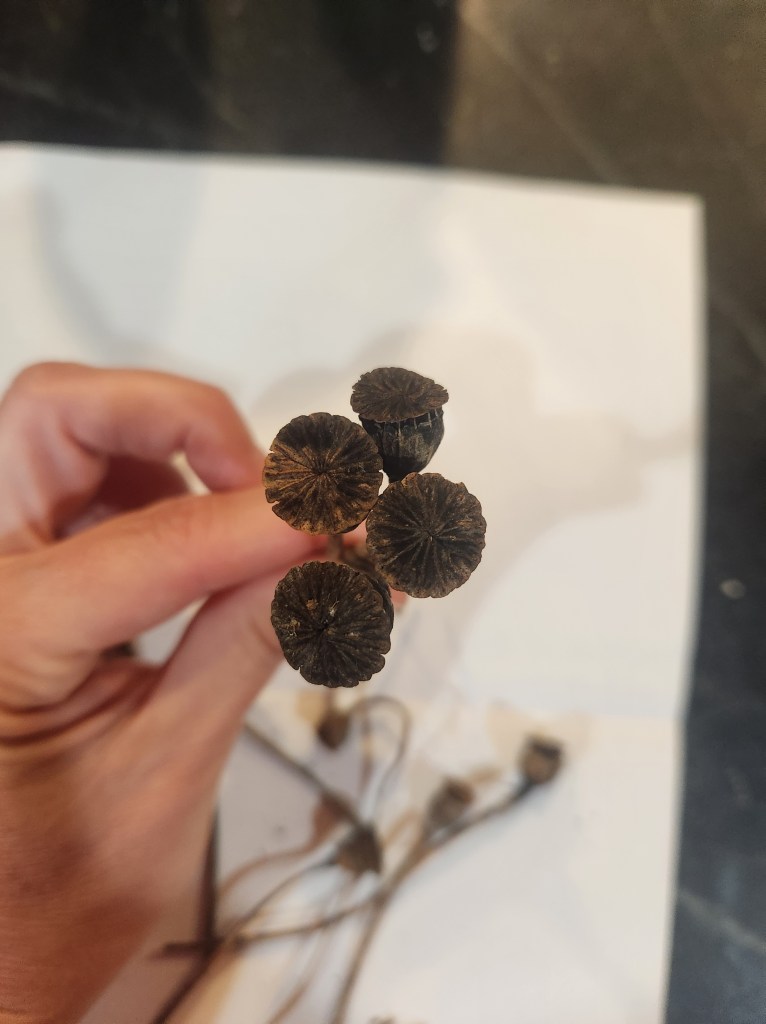
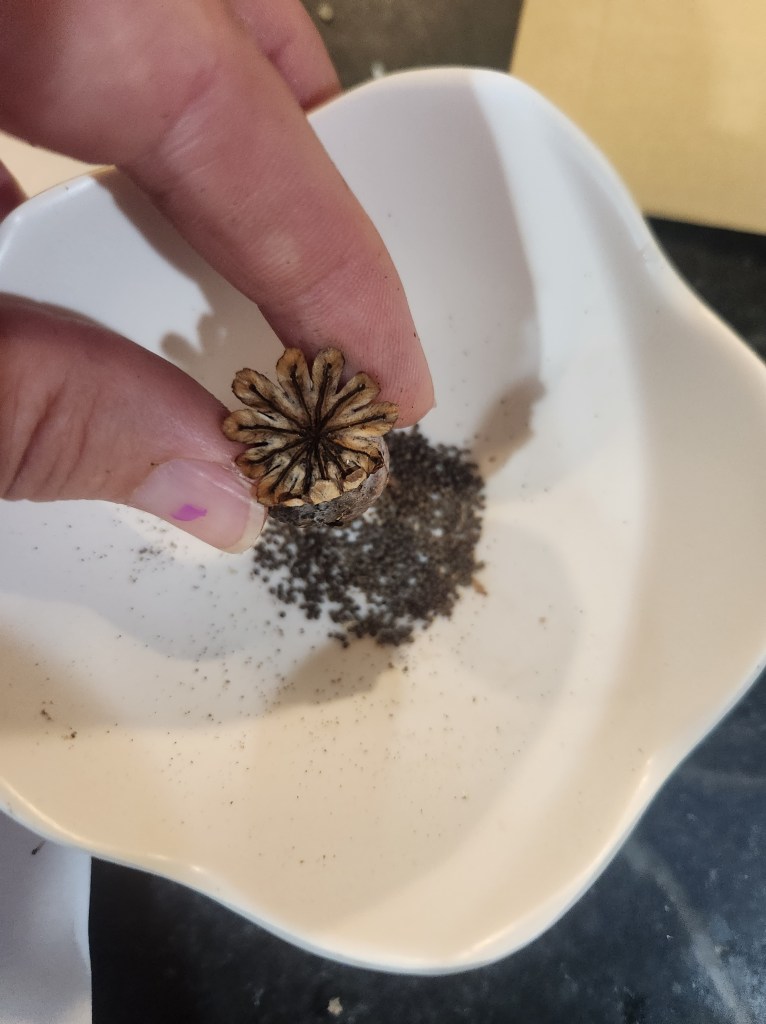
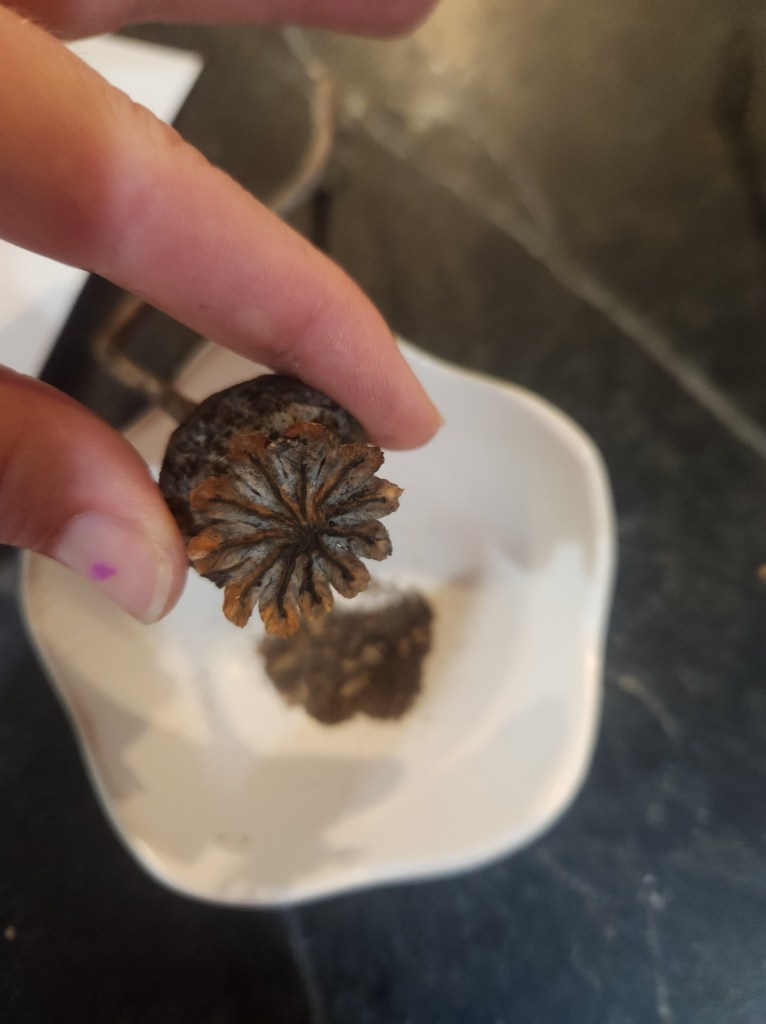
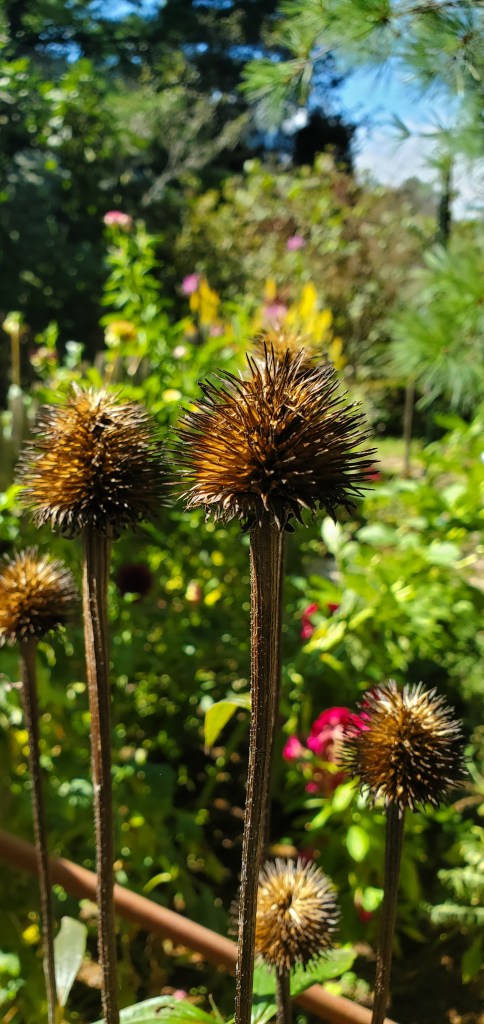
Pay attention for when they have created seed pods or seed heads (this applies to veggies and flowers).
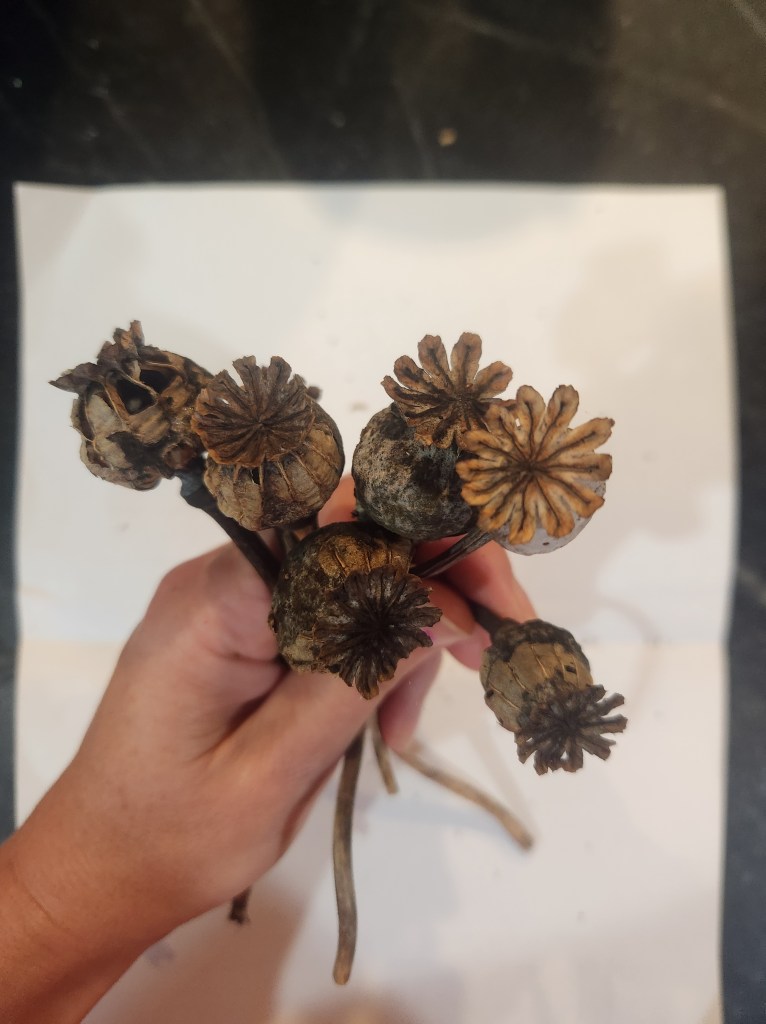
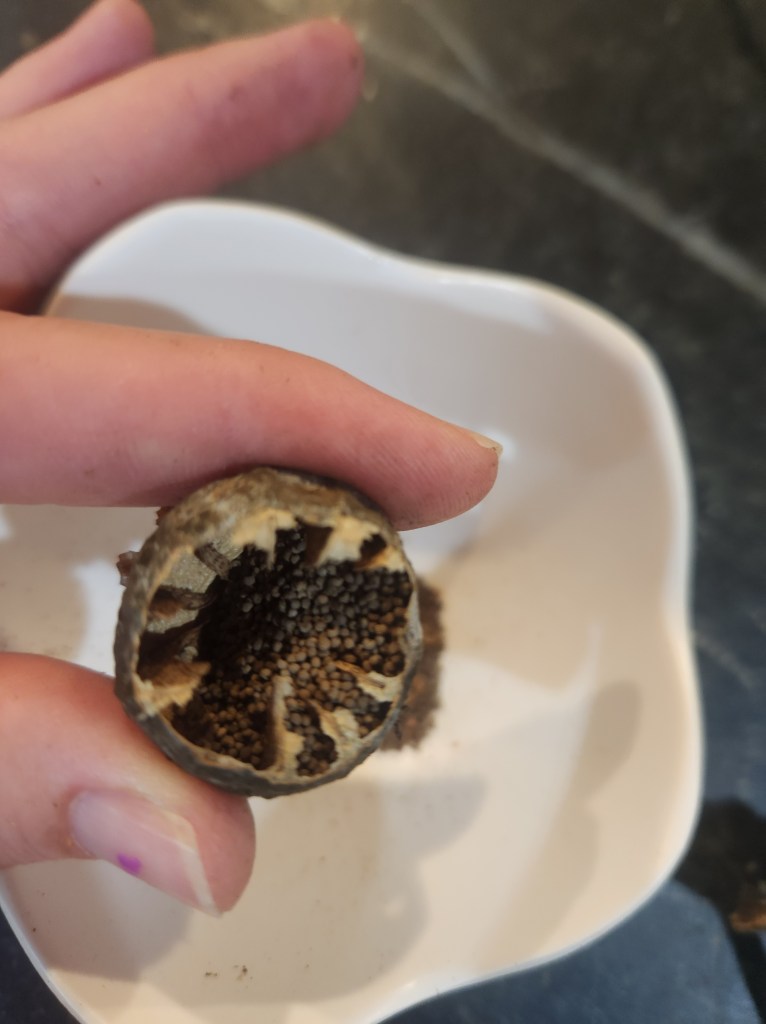
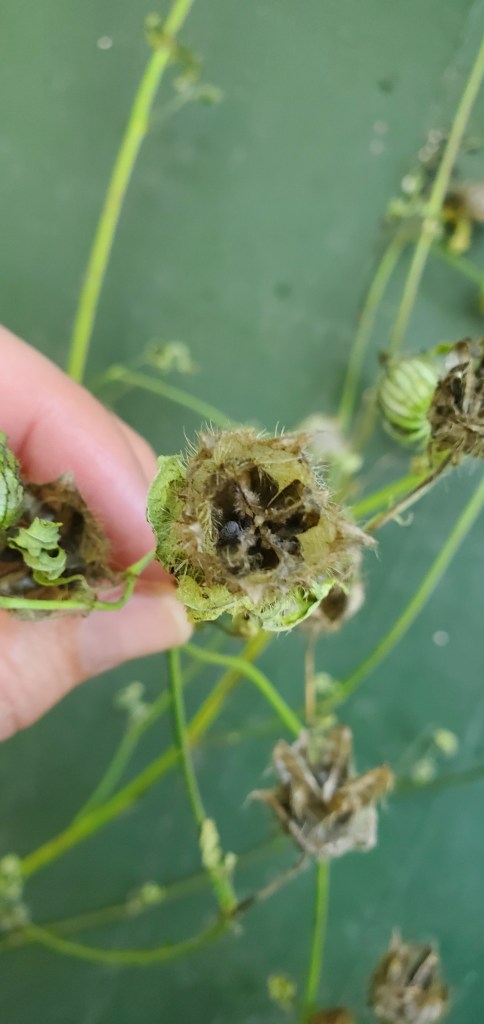
Let the seed head/pod dry out completely. You can do this by leaving them on the plant for a week or two, but you run the risk of birds and other garden friends enjoying them and/or rain interfering. Or you can pick the seed pod/head and leave it in a cool place with decent air flow so that it dries out.
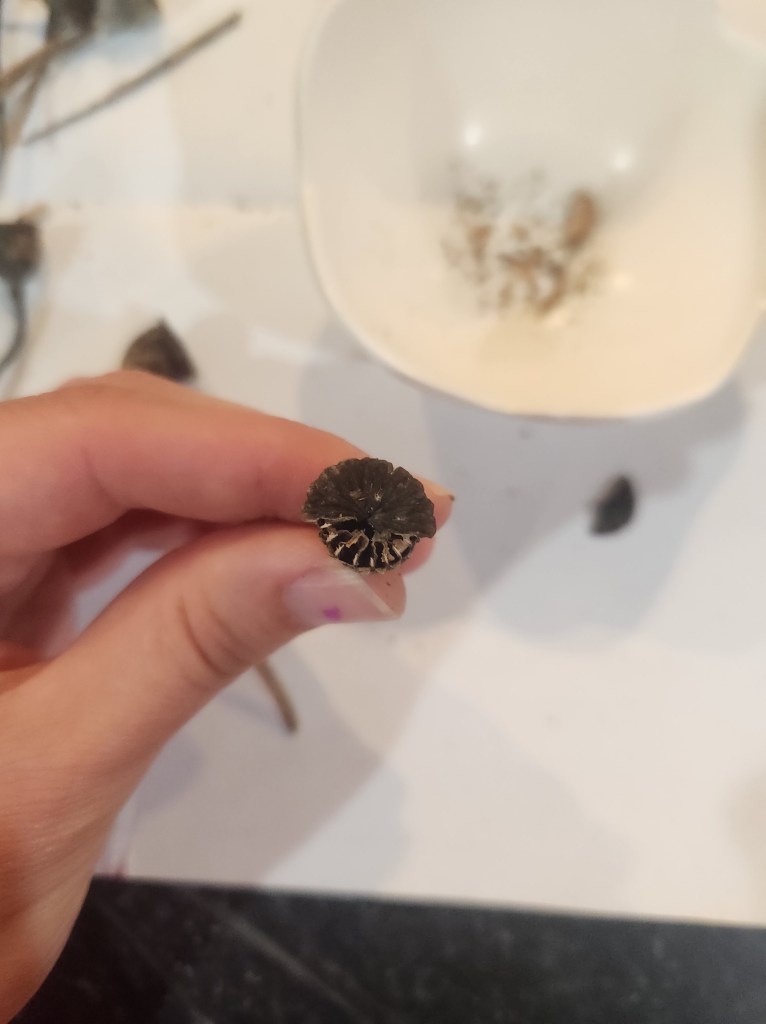
Then you go to work emptying the dried seeds from the pod or carefully breaking apart the seed head. I do this over a big piece of newspaper (the free one that shows up in my mailbox) and write on it with the name of the seed. Trust me, you think you’ll remember and you won’t.
Leave the seeds to dry on the piece of paper another 1-3 days.
Store the seeds in a paper envelope or other package where they will stay cool and dry and out of direct light until the next season.
What is your favorite seed to save? What tricks have made seed saving easier for you?
Where did summer go, folks? Seriously, when were kids summer felt like it lasted forever. You almost wanted school to start so you had something to do. And how come kids get 12 weeks of vacation each year but adults only get like 2 or 3?!? I’m pretty sure adult-ing is way harder than kidd-ing.
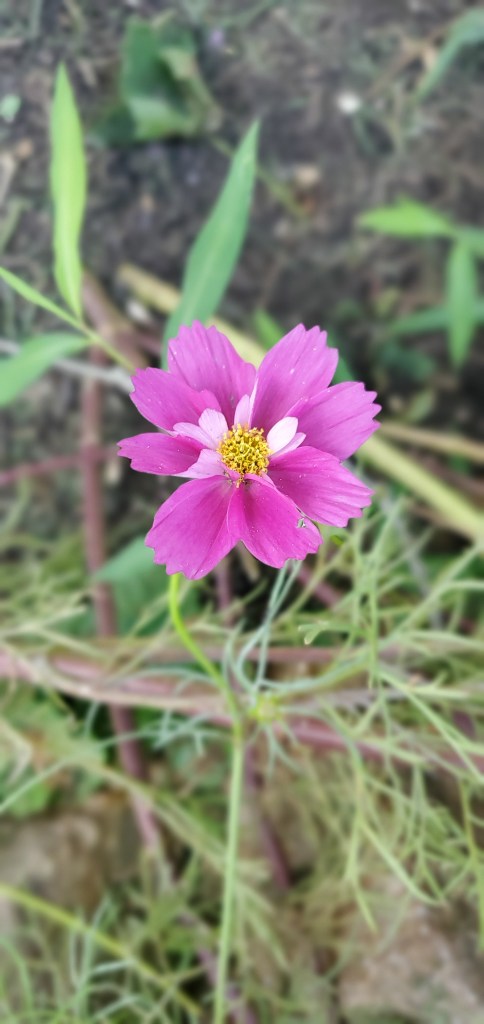
But, I’ll take the simple pleasures whenever they come and however I can get them. That’s where flowers come into my life. This summer I started experimenting with growing some cut flowers. Mainly snapdragons, zinnias, dahlias, celosia, yarrow, marigolds, and cosmos. I’ve had some fails and some wins. As much as I was hoping for big amazing blooms, I’m actually okay with the smaller production that has transpired. I’ve learned a lot about spacing, watering, and fertilizing. And of course, the adage of ‘less is more’ has been very applicable.
I started with probably 15 different types of flowers (sweet peas, bells of Ireland, china aster, scabiosa, Mexican sunflowers) and I already know that next year I’m scaling back: snapdragons, zinnias, sunflowers, and celosia. That’s it. Maybe some bupleurum 😊
I tend to take on too much at once, create a super complex schedule, and then about 6-8 weeks in I’m tired and falling behind. I always want things to turn out perfectly on the first try. And that’s just not realistic. I’m saying all this because if you are in the same boat, I’m hoping you can cut yourself some slack. Life doesn’t usually go smoothly. The frustration and mishaps are part of the process and how we learn (saying this as much for myself as anybody else who needs to hear it). In general, as I try to take on more of a homesteading lifestyle while working full-time and raising two little kids, I just feel like I’m coming up short more of the time than not. And that takes the fun out of it. I want to enjoy the successes and learn from the misses. And smell the flowers along the way.
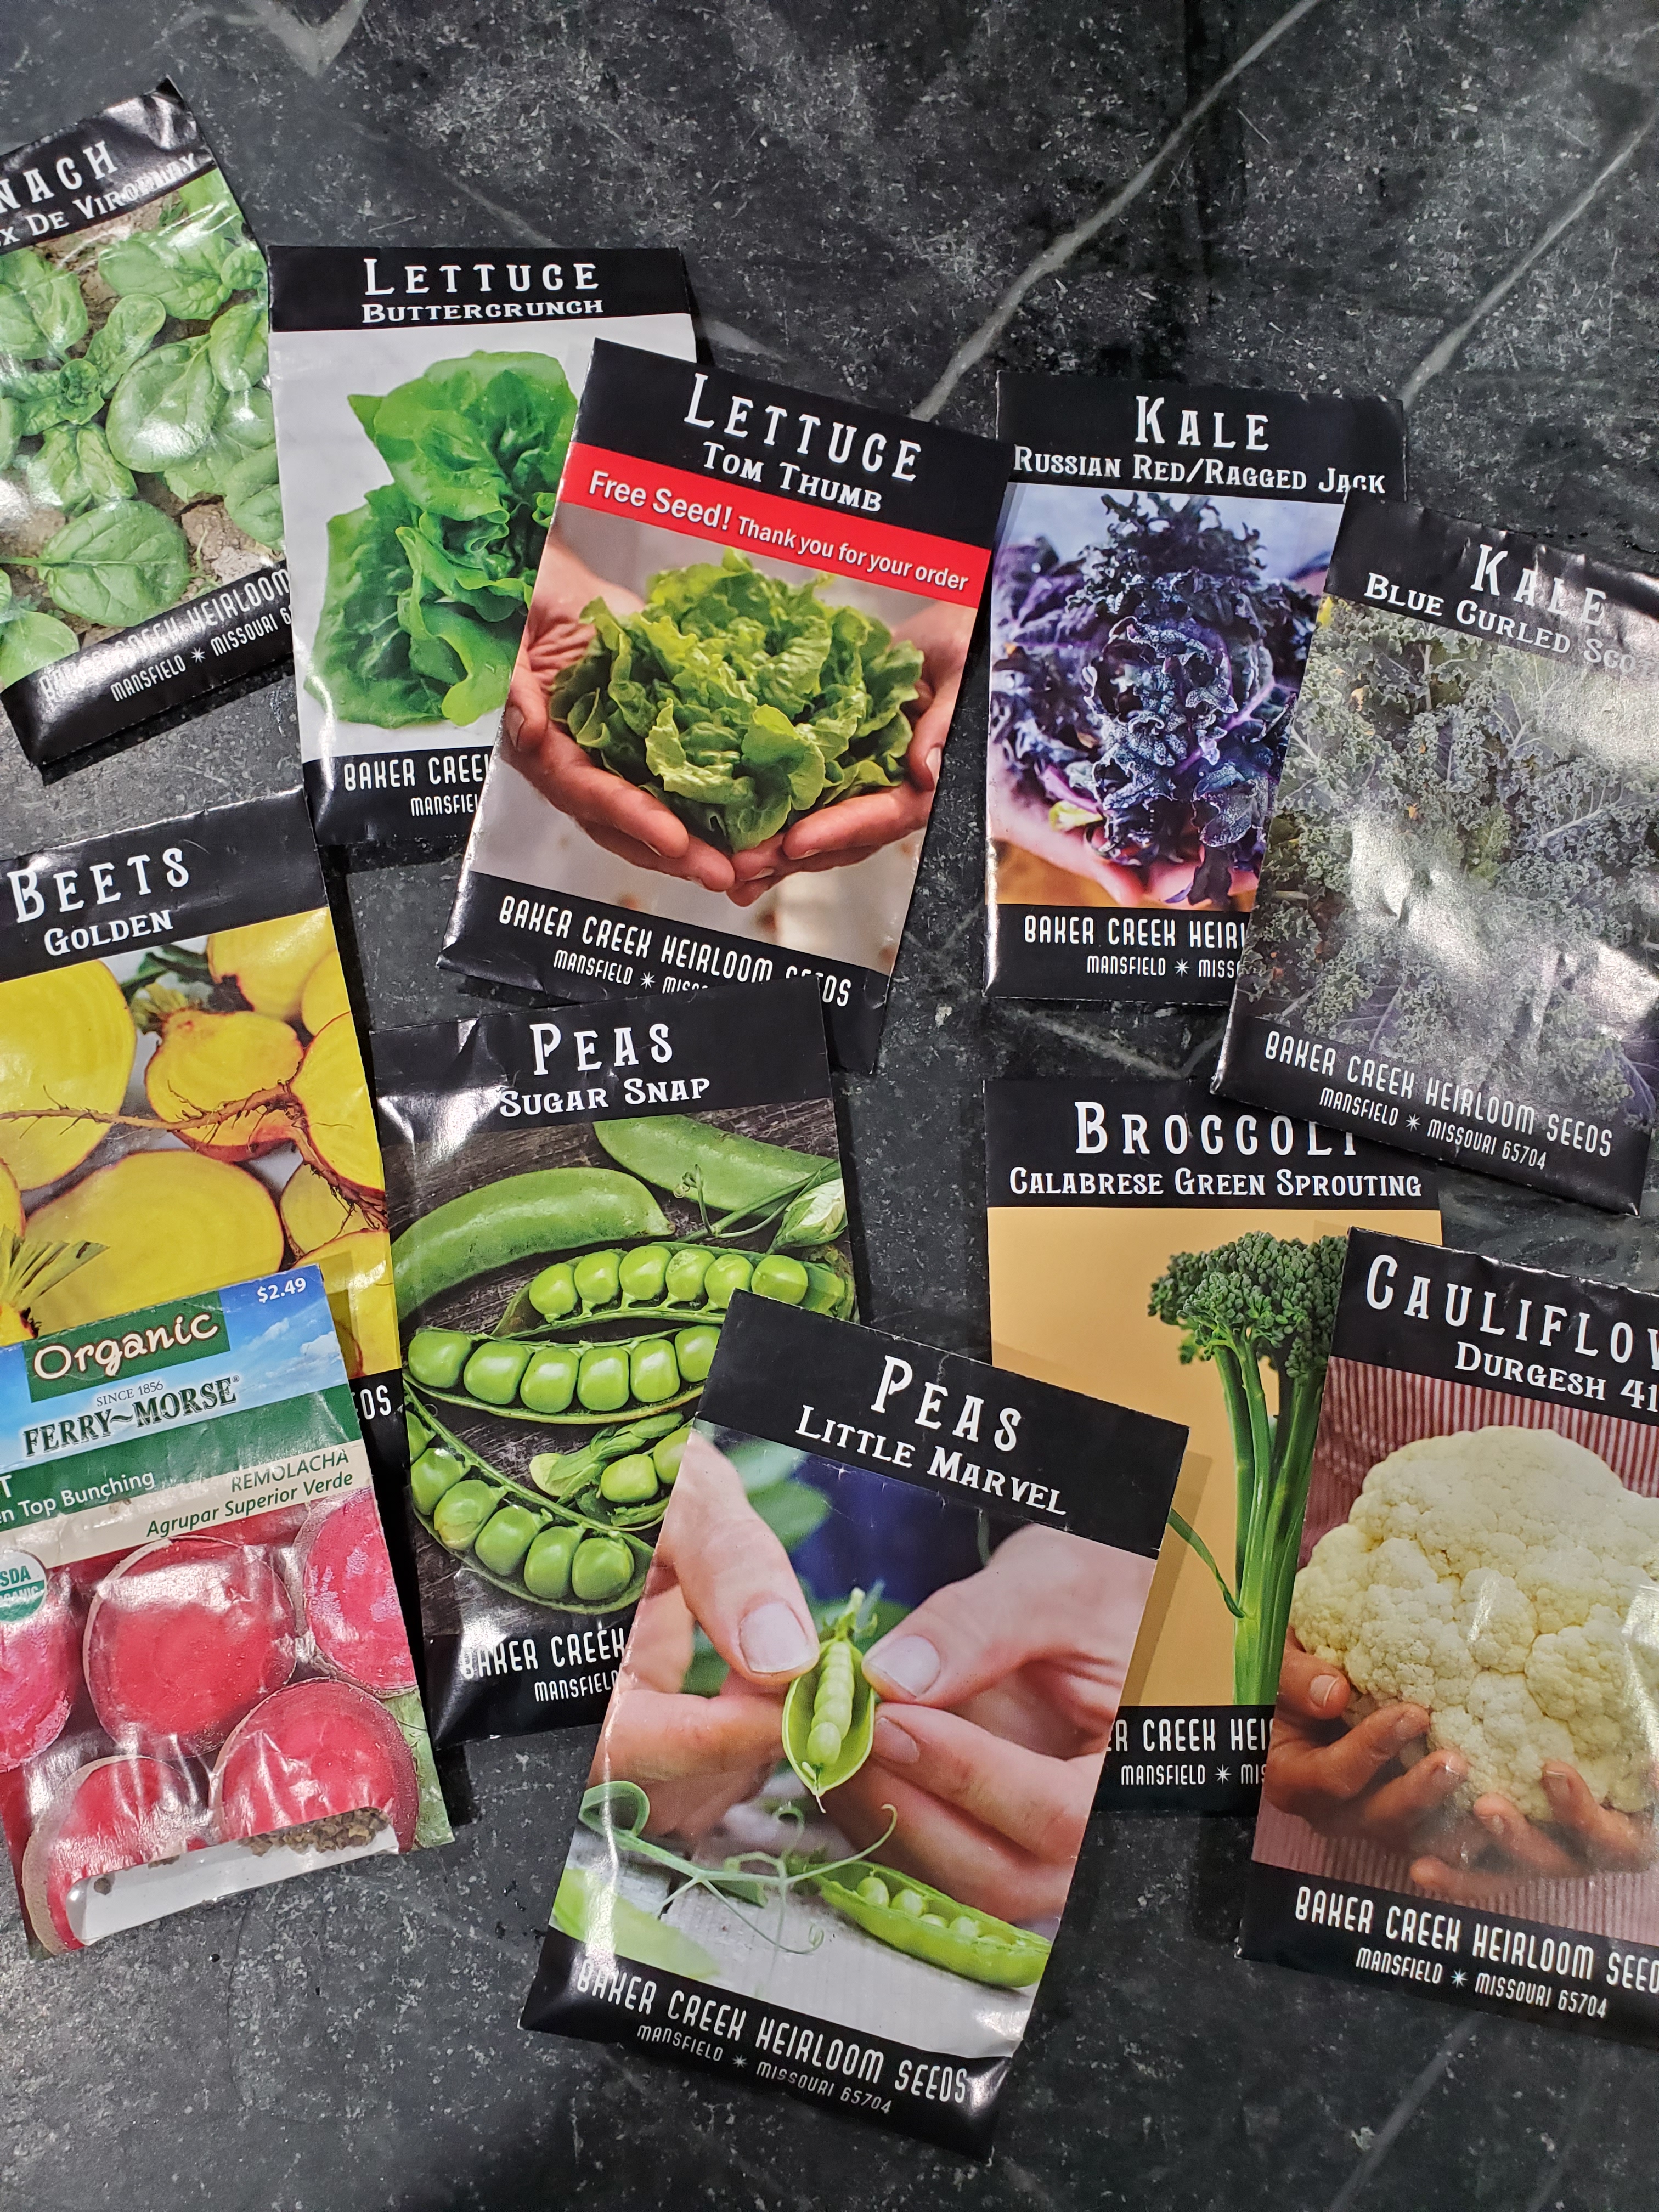
If you’re anything like me, you’ve received about a handful of seed catalogues or at least a dozen emails reminding and prompting you to buy your seeds. This typically starts back in late November or early December and for most of us the warm weather is still too far off to seem real so it’s easy to just page through them and dream. But don’t make the mistake of waiting too long to decide what you are going to plant, and thus the seeds you need to buy, so that you have a good selection to pick from. I’m already getting “back ordered” and “out of stock” notices for some of my top picks.
I can’t and wouldn’t tell you what to buy or not buy – that’s a very personal choice. I did write a post about this two years ago that gives some questions to consider as you put your plans together. Your plans don’t have to be set in stone yet. They can be rough lists on a notecard (warm weather vs. cool weather crops) or drawings scribbled on a scrap paper of your garden space. You are just going for a general idea of what you want to plant and where. [Mom comment: that’s where doing your “lessons learned” and notetaking throughout the season really comes in handy because you have already identified what worked and didn’t and what you want to do differently this season.]
If you’re new to gardening (I’d say anyone who has been gardening 1-3 years is in this category), this all probably feels very overwhelming. I assure you, by years 4 and 5 it gets better. You’ll have a template, you’ll know what you like growing, what’s worth the effort and what isn’t, and the crops you are determined to figure out no matter how many times you’ve failed (Cucumbers – I’m talking to you!)
Once you’ve hit the “not so new to this” phase, I would encourage you to ponder two additional options: 1) flowers and 2) fruit trees.
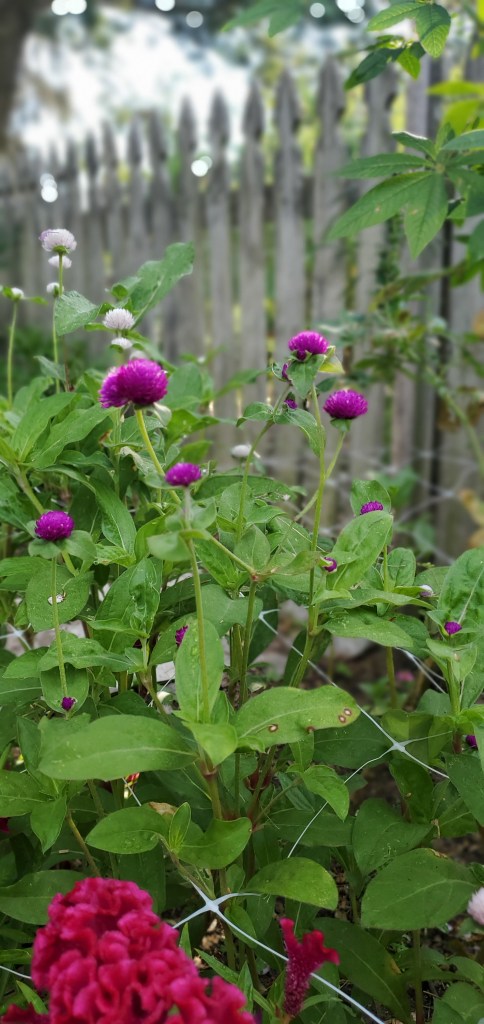
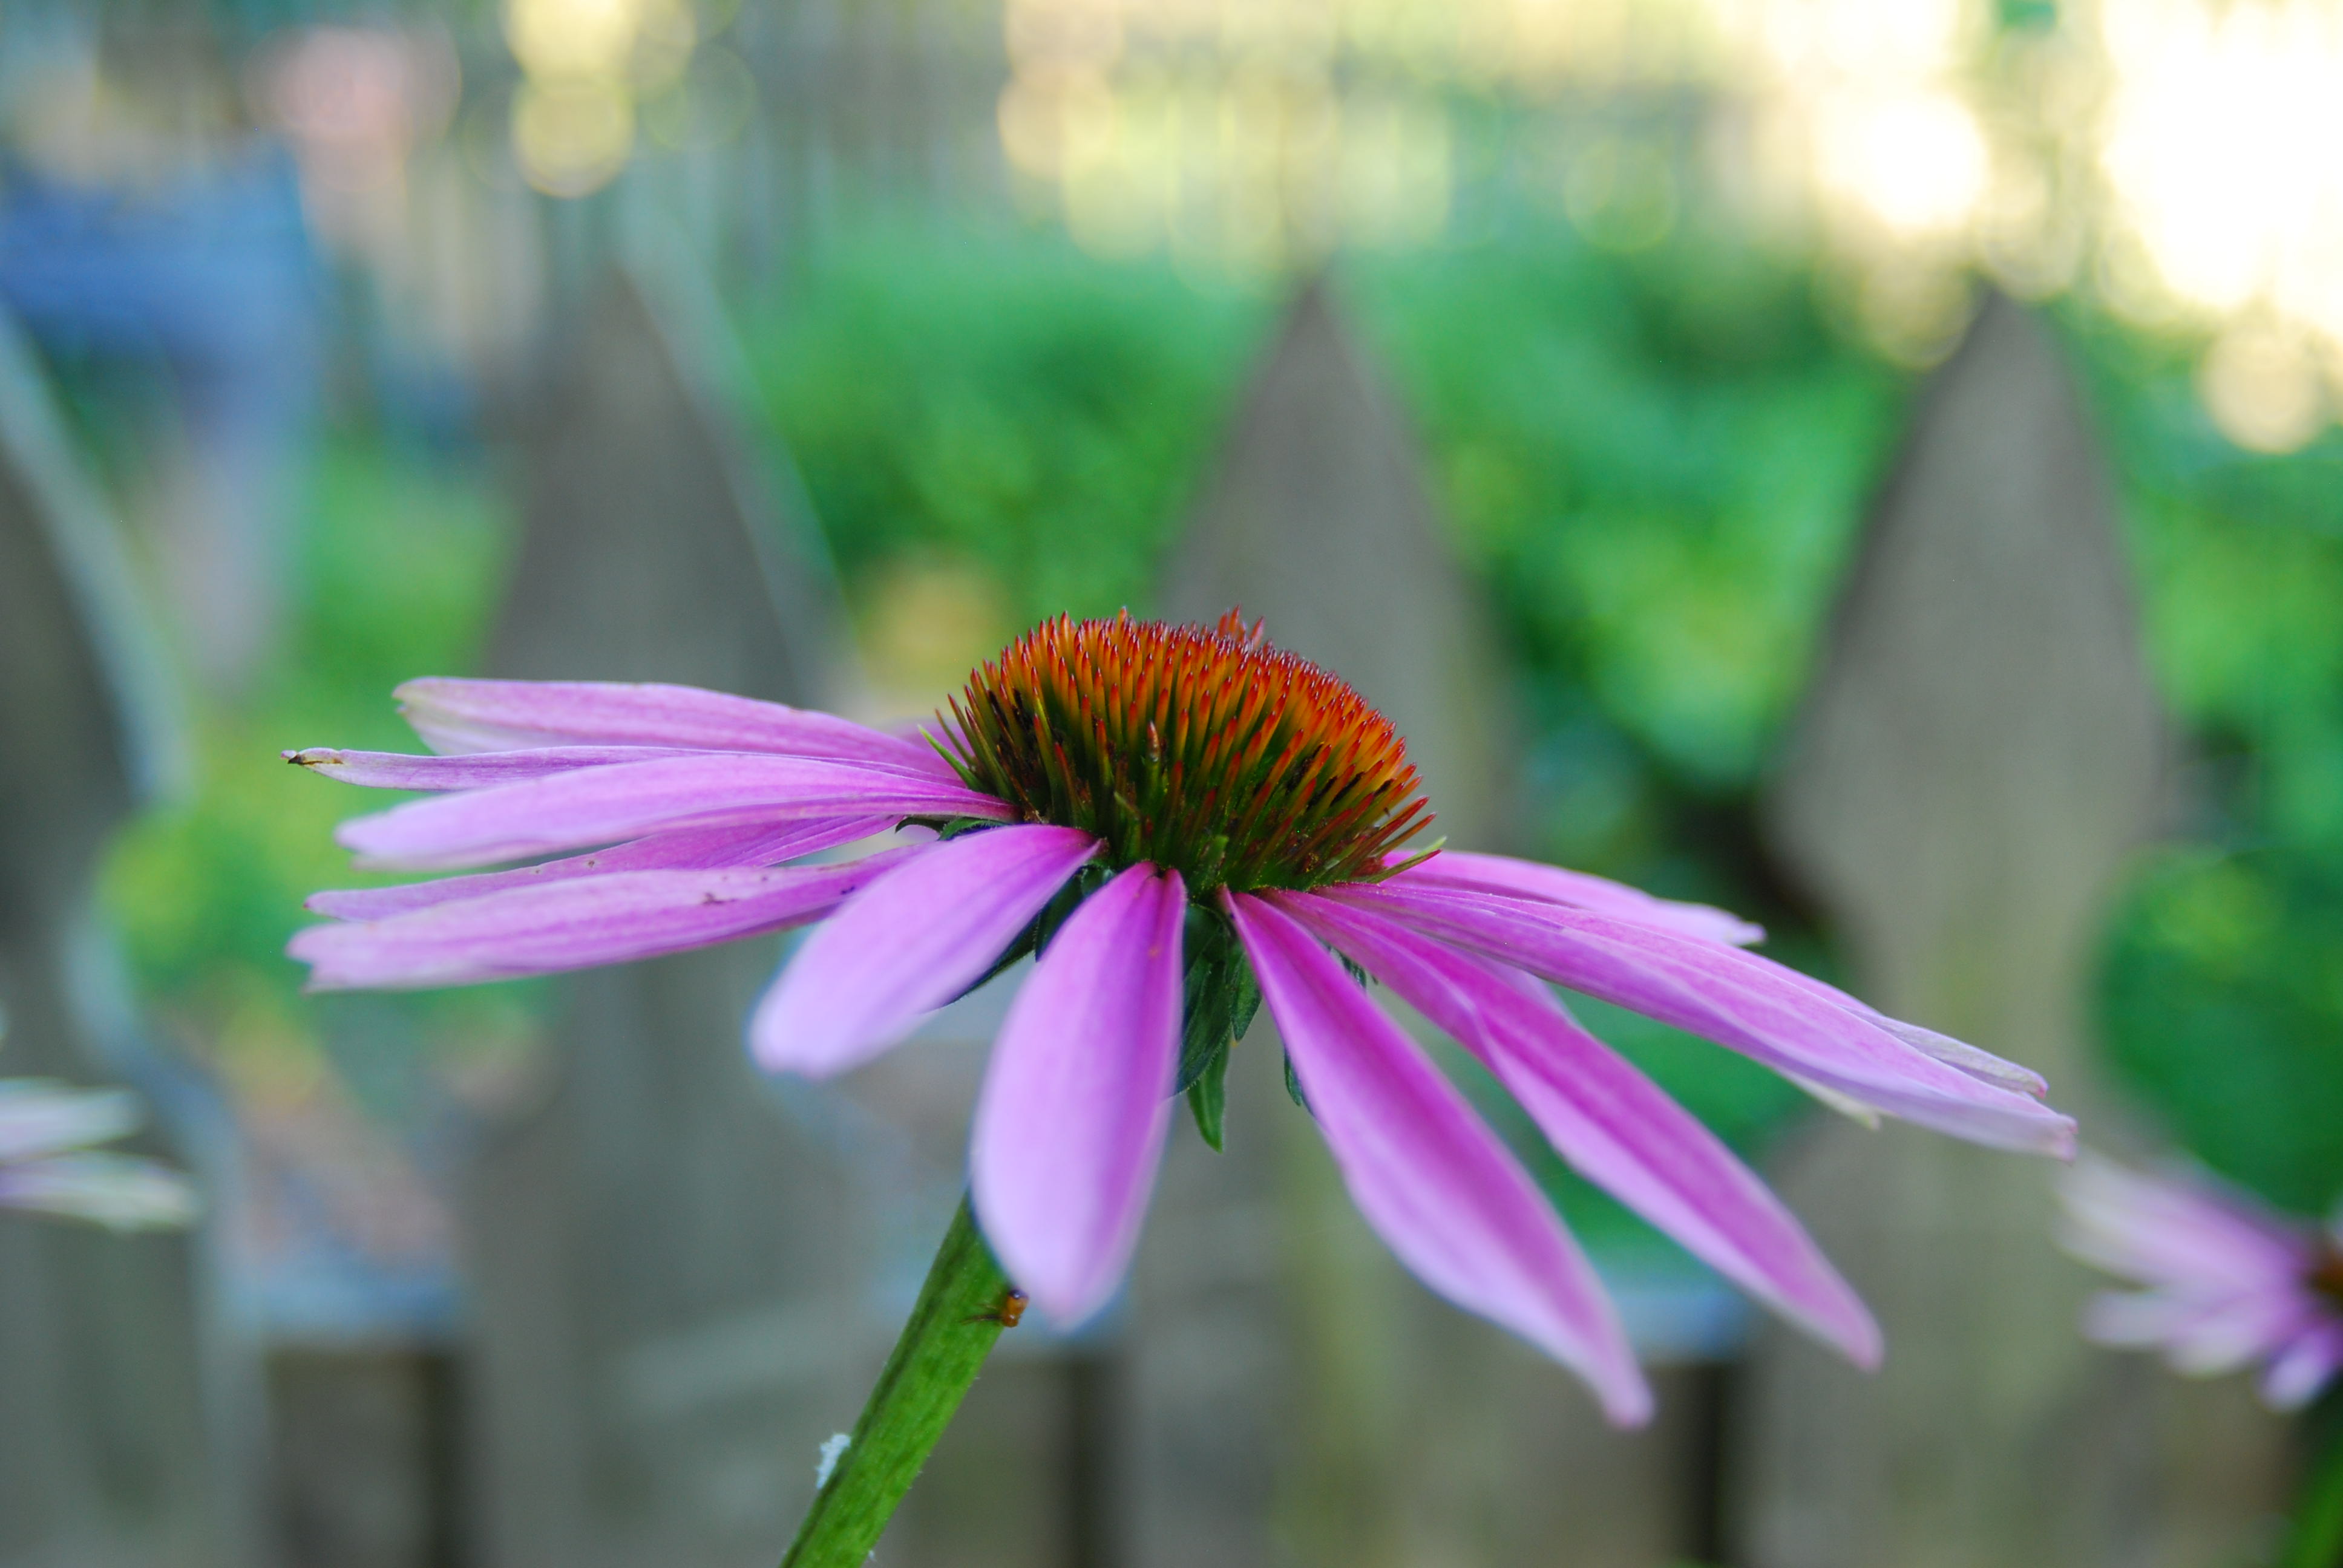
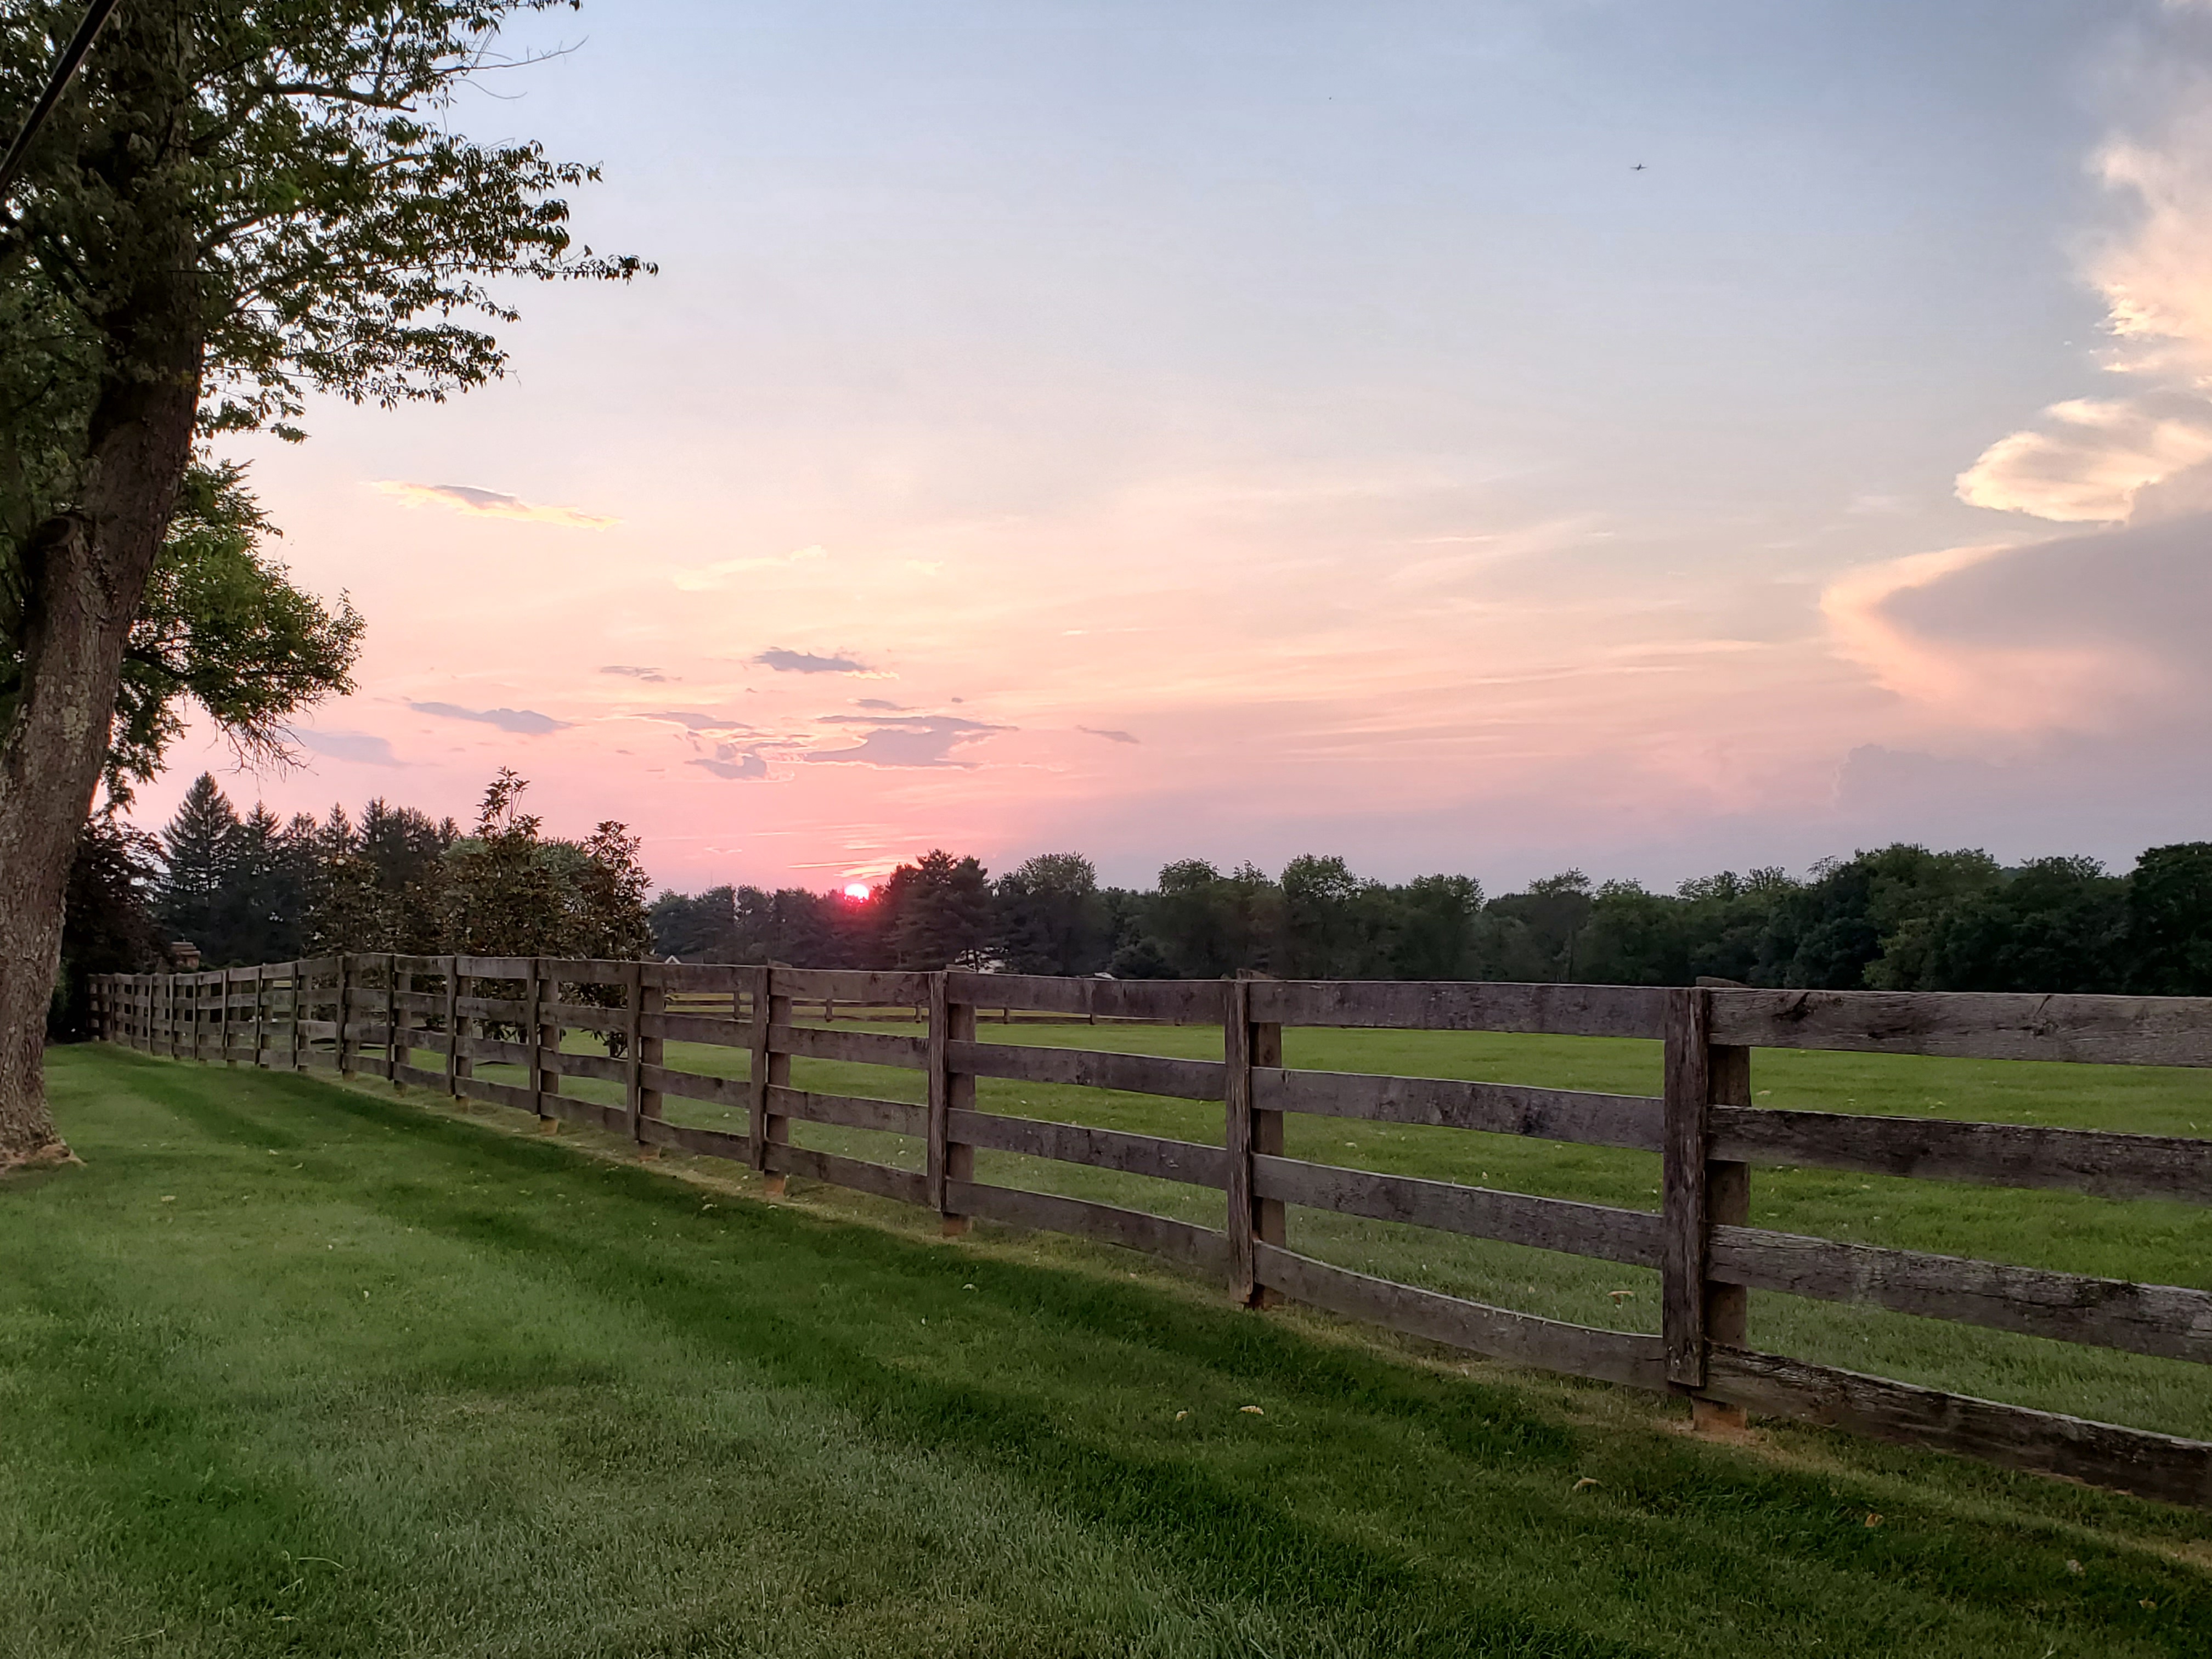
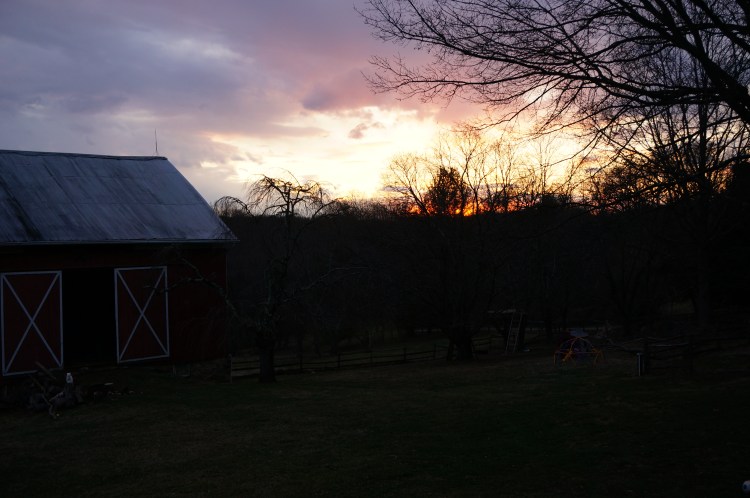
Flowers, whether you think they’re beautiful or not, bring all the happy pollinators that will support your garden and bring it to a whole new level of abundance. I happen to think flowers are completely perfect. Their symmetry, colors, and textures take my breath away. And if there is anything I wish we would all appreciate a little more, it’s the magnificence of nature. Flowers and sunsets illustrate that for me time and again. You don’t have to go all out either. Pick some perennials – black eyed susans, coneflowers, cosmos, or alliums – and plant them in and around your garden space. For fun and color, maybe throw in some zinnias, sunflowers, and marigolds.
Beyond your garden, I’d encourage you to look around your space. Do you have 10-15 square feet in your yard or a shared plot in your neighborhood? If yes, great! Plant a self-pollinating apple, cherry or pear tree. If no, what about a patio, front porch, or balcony? Then you could plant a dwarf option in a container like a Meyer lemon. I’ve chosen a few trees from Stark Brothers this year in the hopes that we’ll have a sweet little orchard going in the next 4-5 years.
There aren’t many years when my birthday falls on the first day of Spring – thanks Leap Year! In light of that, I wanted to share a positive and cheery post to celebrate since I didn’t have a big get together. No matter where you are in the world, you are being impacted by Covid-19. Kind of a crazy statement when I think about it. But aside from the nearly minute-by-minute updates on this virus, I have to believe there are still beautiful and wonderful things happening all around us every day.
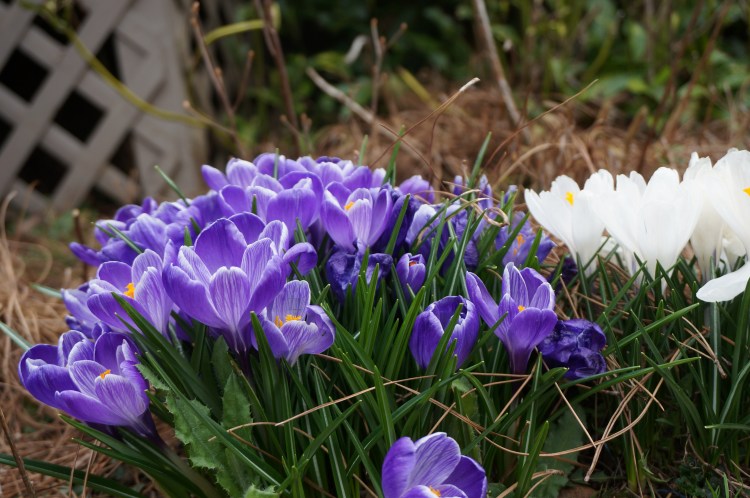
Here are a few examples right from my backyard, literally. Have you looked in your backyard, front yard, sidewalk, or parking lot? I’m sure there are at least five things to bring a smile to your face in an instant. I like to live life to the loudest (and fullest) so Corona isn’t gonna stop that – I’ll just be doing it from 6 feet away 😊
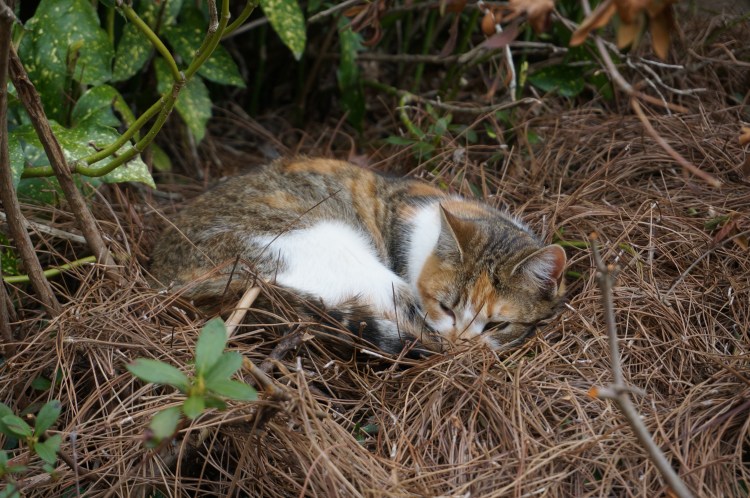
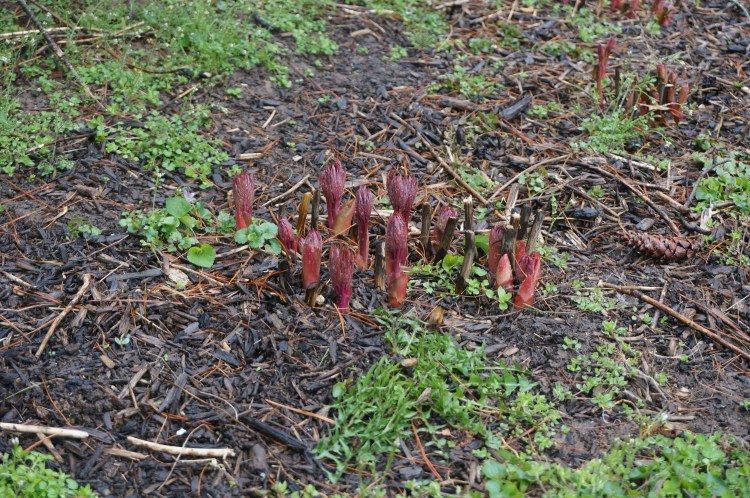
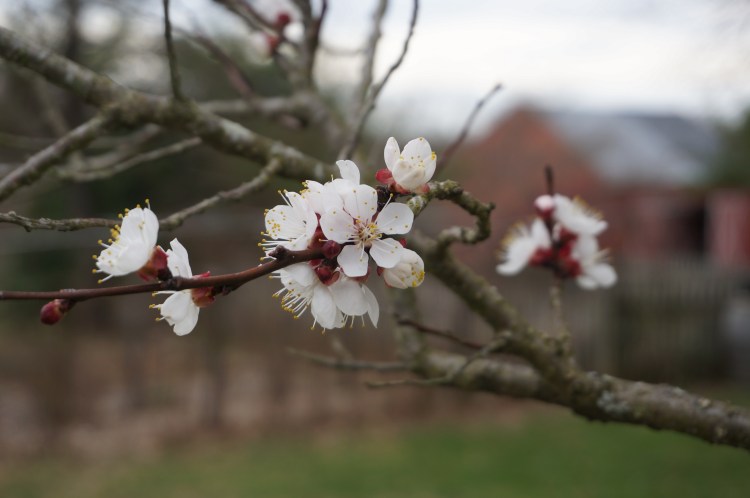
Purple crocus that show up each spring. Peanut – our cute little farm kitty.My peonies are breaking through!Farm Charm plum trees blossoming.Farm Charm cherry blossoms are nearly at their peak!We got four more baby chicks who are very skeptical of my camera.Wowza! Seriously looks like the horizon is on fire.