If it’s the beginning of November, it’s Garlic Planting Time. If there is one crop that is worth planting due to it’s low effort and high production, Garlic Is It. I know not everyone loves the taste and smell of garlic, but we cook with it at least five days a week. Just something that is always nice to have in the kitchen.
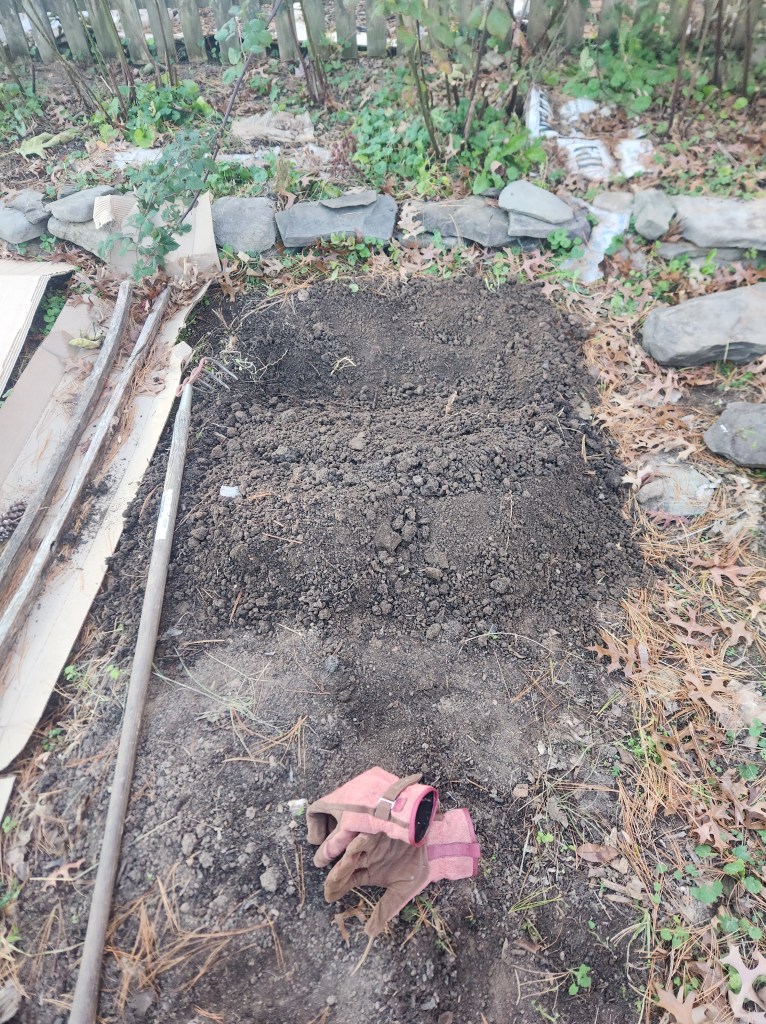
I wrote about garlic last Fall and am following essentially the same approach this year. I chose a bed that I let rest the entire year so decided not to add any fertilizer because I had added compost and manure last year.
The steps for planting garlic are very simple:
Get heads of garlic from an organic source – your local organic grocery store is fine or mail order from a place like Baker Creek or Hudson Valley Seed.
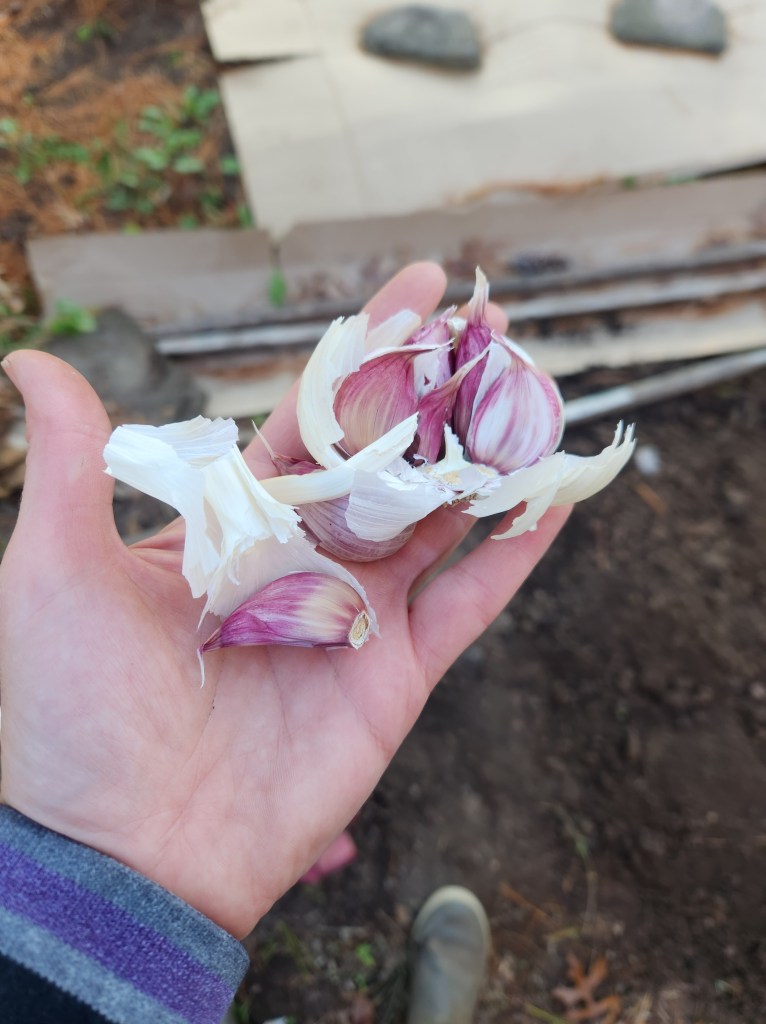
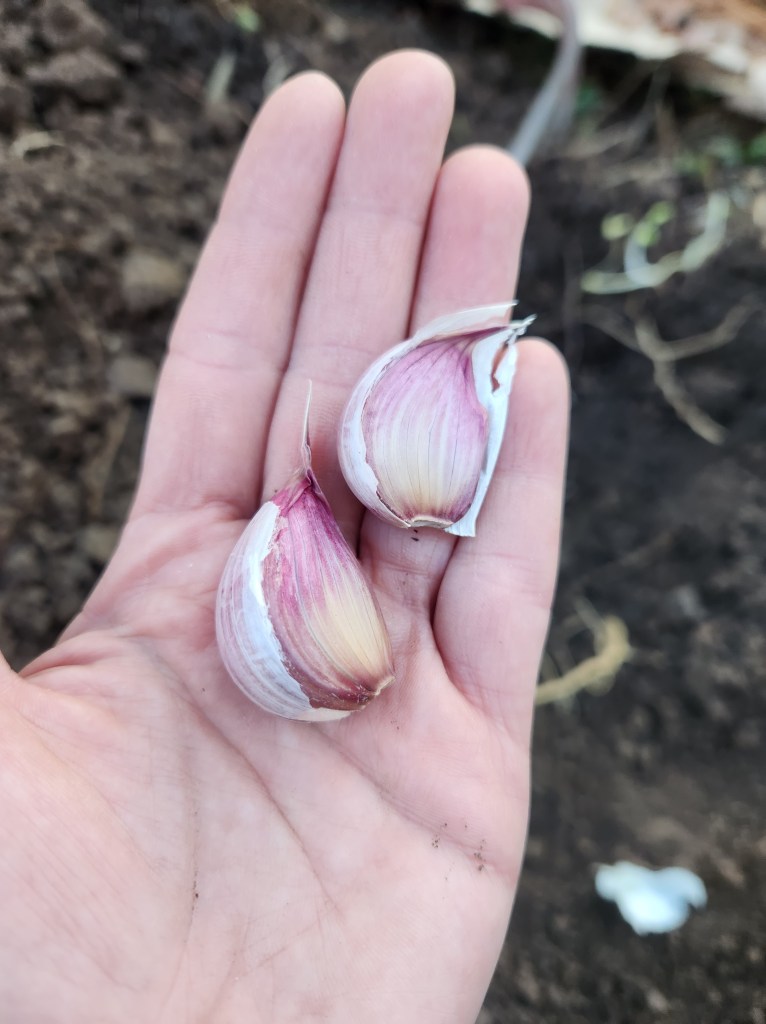
Separate the garlic heads and choose the biggest cloves.
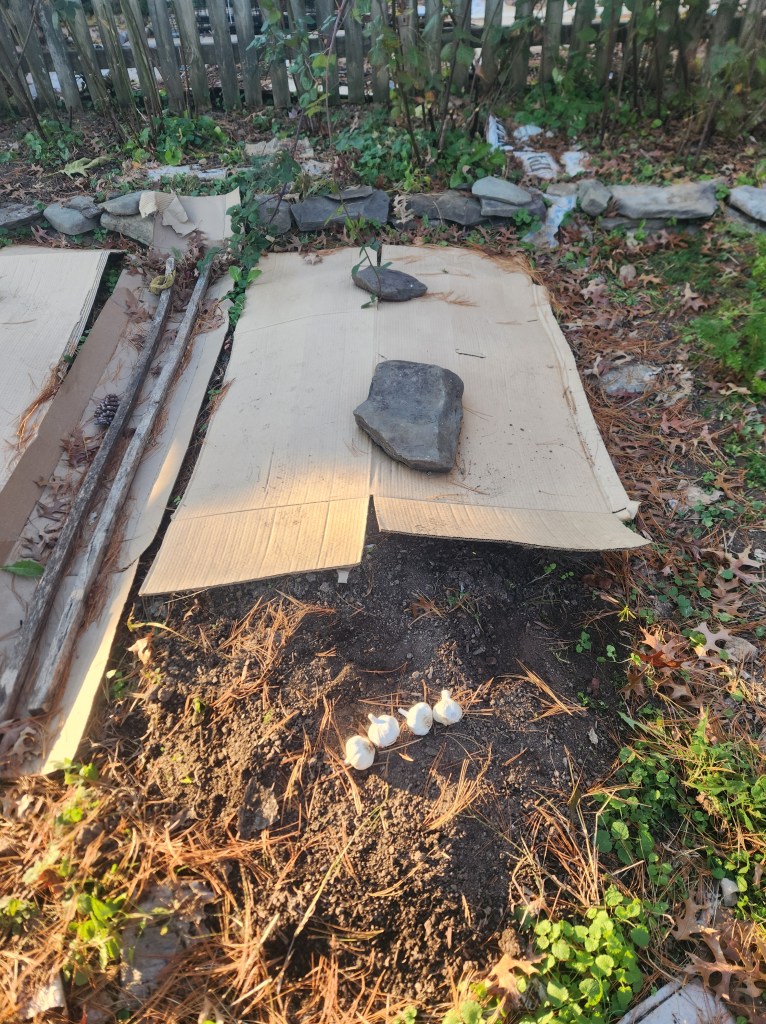
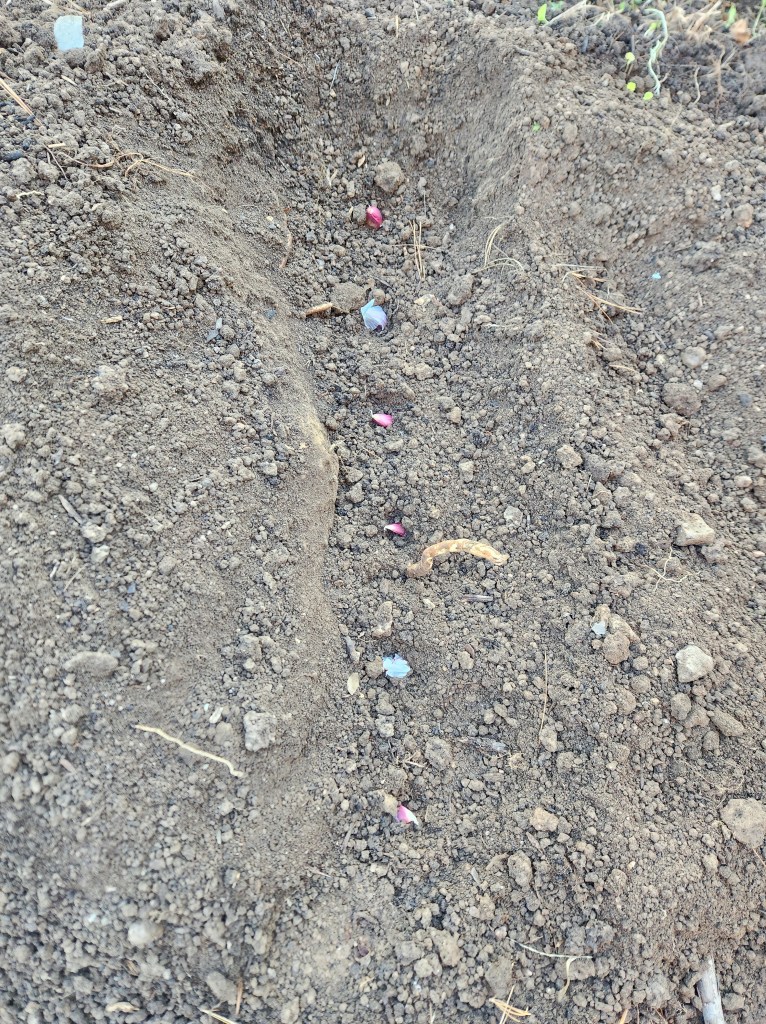
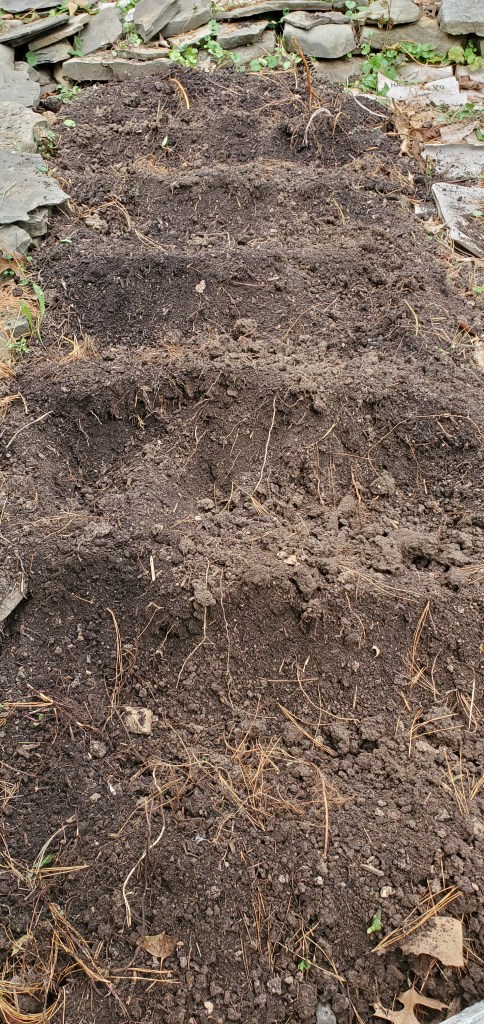
Dig individual holes or a trench to plant cloves 2-4″ deep and about 6″ apart.
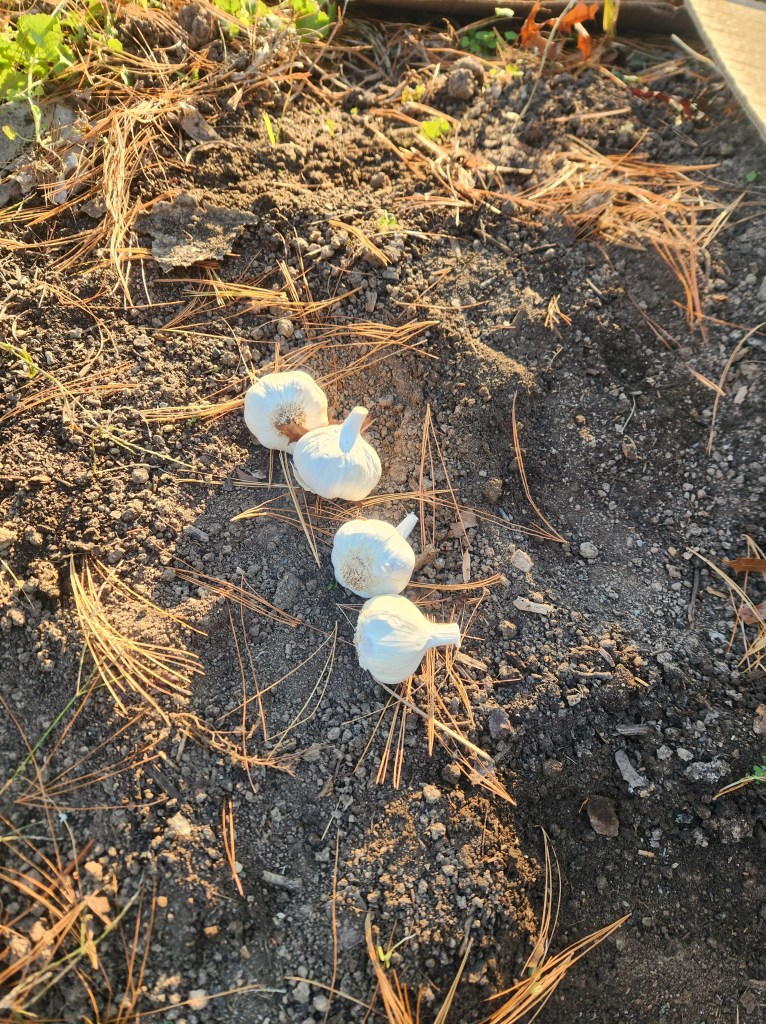
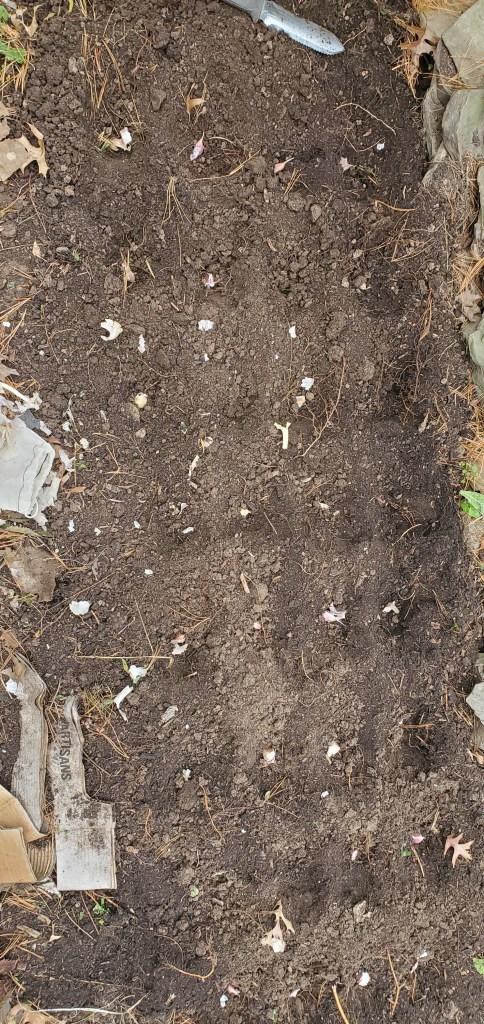
Place the cloves in the holes or trench with the pointy end up.
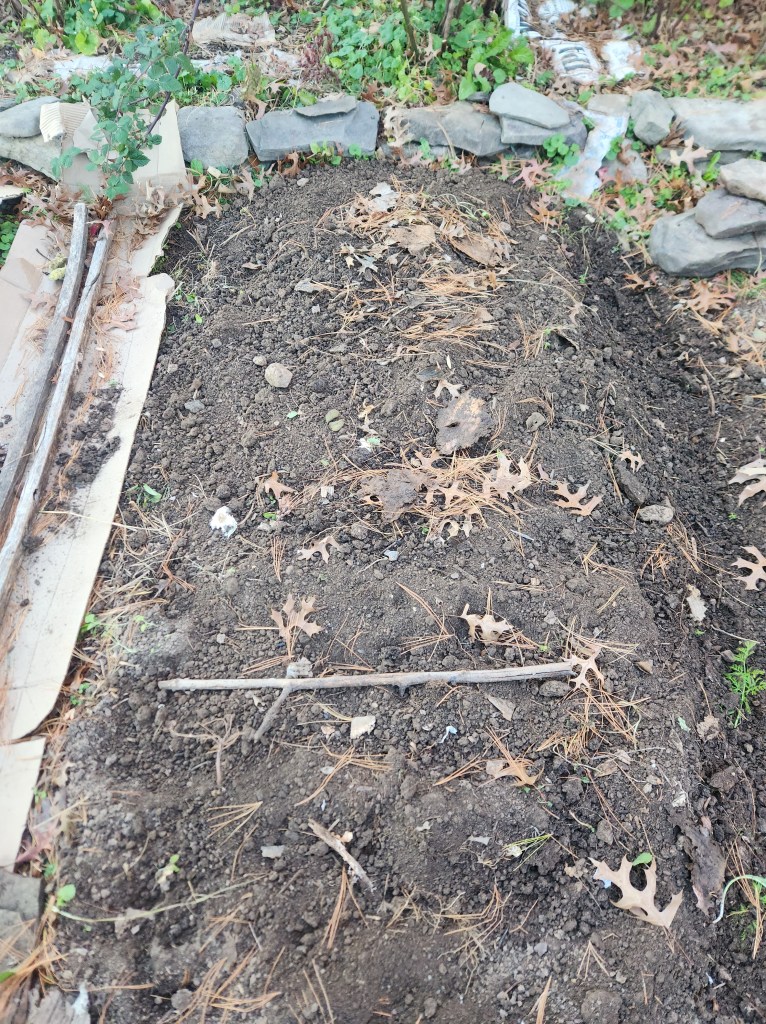
Cover with soil and place a marker if you didn’t plant the full bed so you know what open planting space you have in the spring.
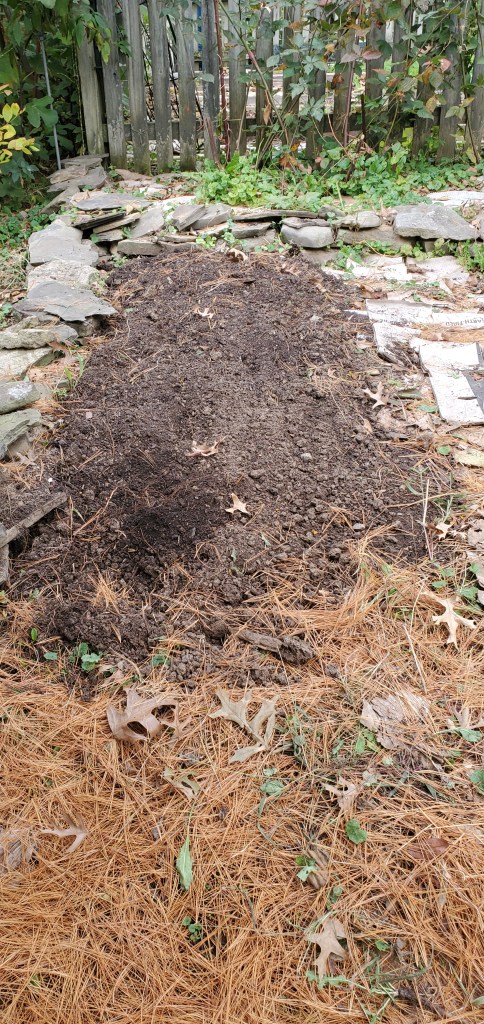
I cover the bed with leaves and cardboard for the winter.
Ya know, if I was going to tell someone to start with planting one crop, it wouldn’t be the typical tomatoes or green beans that you frequently hear people suggest for beginner gardeners.
Do you want to grow something that essentially needs no care except for watering?
Do you not want to worry about staking, pruning, or spacing?
Do you want to grow something that is virtually untouched by pests?
Do you want a crop that you can store and use year round?
If this were a gardening commercial on QVC, my hand would shoot up in the air and I’d blurt out “I want that! That’s the crop for me!!” Then I’d run down the aisle Price is Right style and jump up and down.
Well my friends, then garlic is your girl. Who doesn’t use garlic? I have not met that person (aka vampire) yet.
Garlic is so gloriously simple. You essentially have to make two decisions –
How much garlic do I need? We use probably 3-4 cloves in at least two meals per week. I estimate that to be a single bulb. Hence, I need to plant 52 cloves. When you want to get real savvy and sustainable, make sure you account for planting extra which will serve as your starter cloves for the next season.
And what kind? There are two types to choose from: soft neck and hard neck. See my not at all comprehensive descriptions of the two types below to help you decide.
Beyond knowing how much and what kind, you’ll want to get your garlic planted in late fall – Halloween is usually my reminder. The soil is pretty easy going, just add a layer of compost, mix in some fertilizer, and cover with a 4” layer of leaves until spring. Last year I covered my bed with cardboard boxes as well so that I wouldn’t lose any soil with winter snow and early spring rains. I removed the cardboard in April and bada bing – garlic galore by July!
Hard neck – a long, flowering stem grows through the center of the bulb and becomes rigid after drying (which is where the name comes from). Hardneck garlic produces bulbs with fewer cloves, in the range of 4-12. They tend to do better in areas with colder winters.
Soft neck – does not have the flowering stalk and therefore a softer neck that can be braided. Softnecks typically produce a larger bulb with more cloves, usually between 8-20, in concentric layers. They tend to grow well in places with milder winters.
Don’t know about you, but it’s getting pretty steamy in the Mid-Atlantic. As we head into peak harvest season, that’s when I find it most challenging to get out in the garden if I don’t go first thing in the morning. Every day is pretty hot and humid (think about walking through soup and you’ll get the idea) and we get a lot of afternoon thunderstorms that are quite strong. We lost power the other day for about four hours after a storm but thankfully it came back on right around 9:30pm for bedtime.
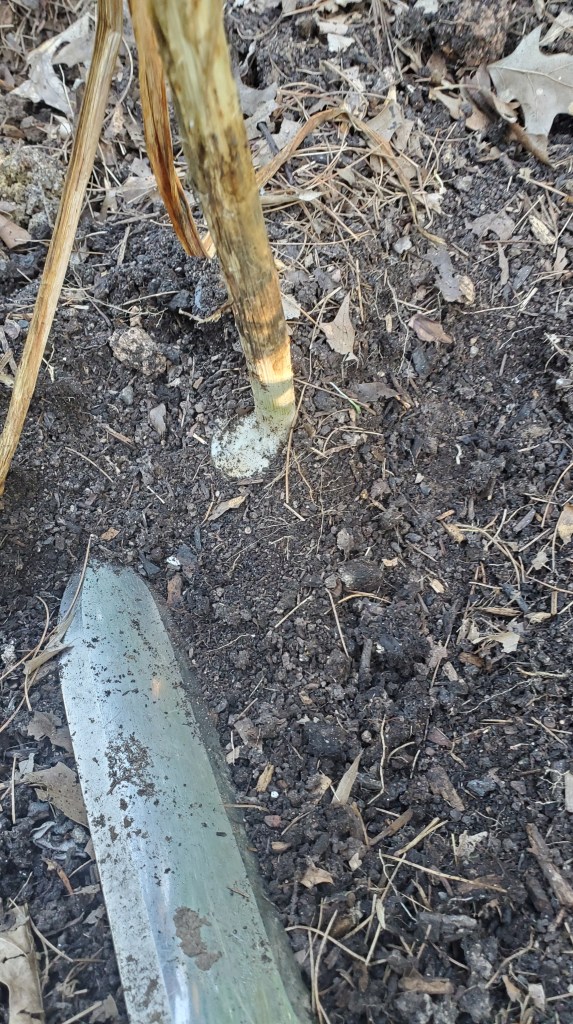
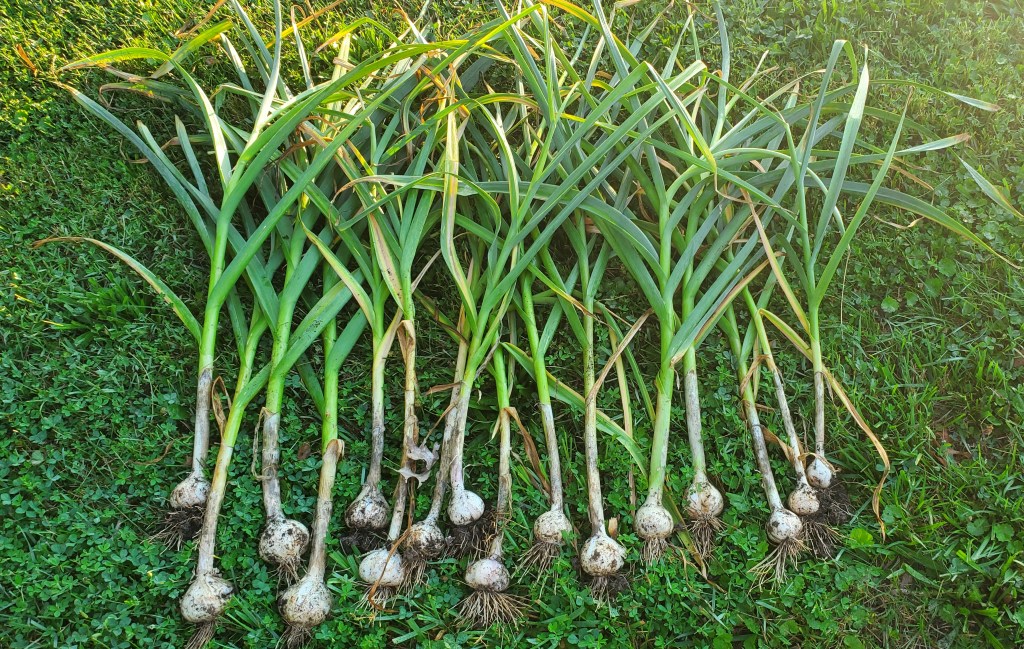
Mid- to late June is typically the time when garlic is ready to be harvested. I planted a half pound of Music Garlic in early November last year so that it would get a good 7-8 months of growing time. Last November was so mild the cloves sprouted before December so I covered them with a really thick layer of leaves and then lightly covered the bed with a layer of cardboard for the winter. I removed the cardboard in early April.
April was still pretty cold and wet so in May I started checking on the garlic every week or so. I trimmed the curly scapes that shoot up through the center so that the growth and energy would be focused toward the bulb. Then throughout June I kept checking to see when the lower layer of leaves would turn brown. That’s the sign garlic is ready to be harvested.
Garlic Harvesting Tips
When the lower layer of leaves has turned brown, pick a day or time when the soil will be relatively dry. Not right after a big rainstorm or watering.
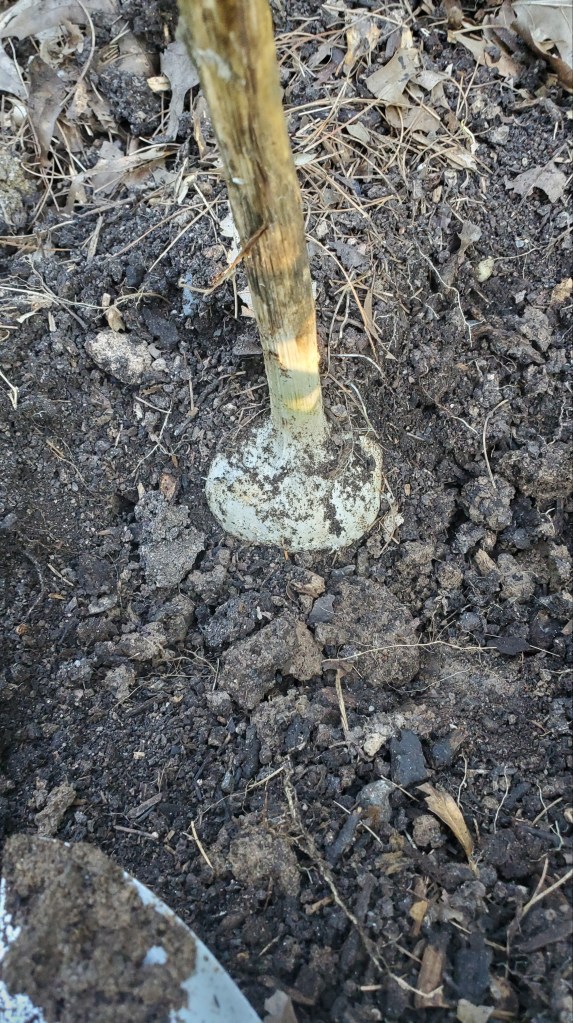
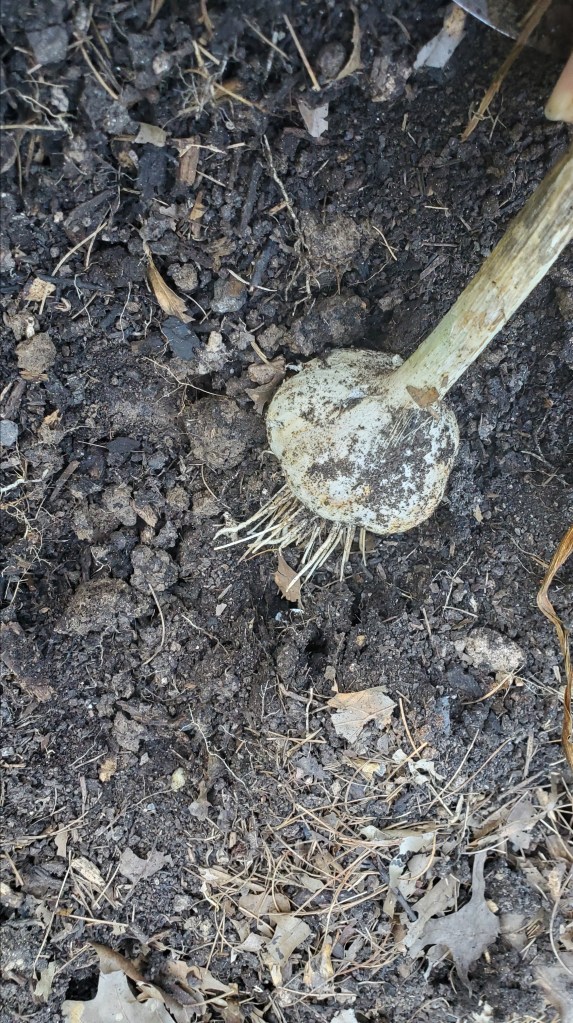
Harvest carefully using a hand shovel to dig around and loosen the roots. You DO NOT want to just grab the stalk and try to pull it out. Be careful to not pierce the bulb as that will mean you’ll need to use that bulb sooner than later and it isn’t suitable for storing.
Once you’ve dug up all your bulbs, no need to hose them down. You can just shake or brush off the extra soil.
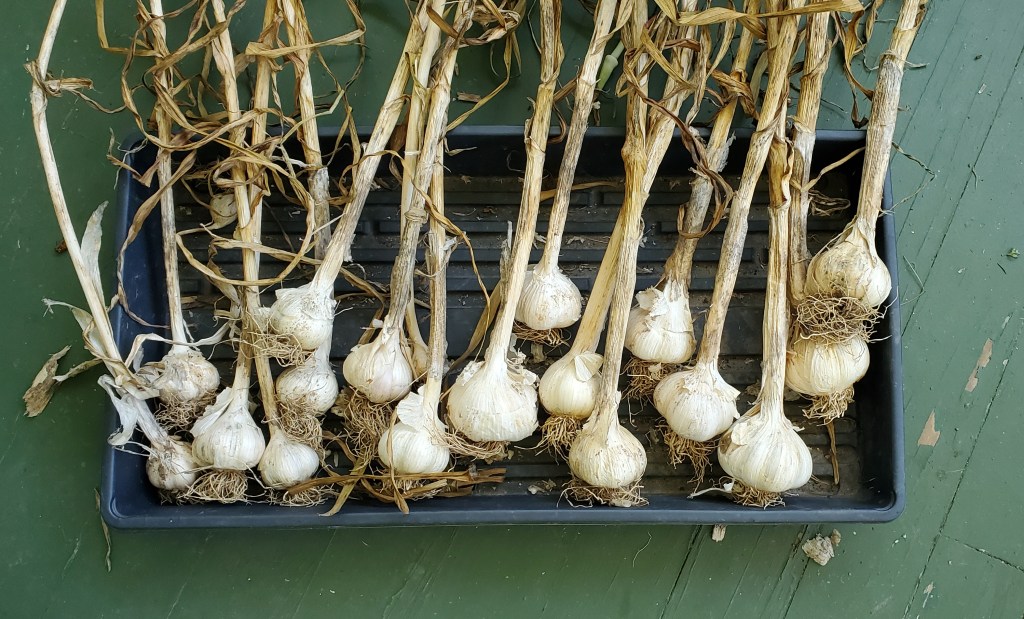
Leave your garlic in dry, shady, cool place for 3-4 weeks so it can cure. I see lots of examples of people leaving them on a picnic table or extra piece of fencing that will allow for air flow. I left mine on our front porch because it’s shaded and gets the northern exposure so it’s a bit cooler throughout the day.
After 3-4 weeks, you can trim the roots around the bottom and leave about a half inch on the neck.
Garlic should be stored in a cool location, out of direct sunlight, that gets good air flow.
Eventually, you’ll want to store enough to plant your next crop and still have enough leftover for your cooking needs for the year (which is different for every household).