‘Tis the Season
Season’s Greetings, Ho Ho Ho, and all that jazz. If there were ever a year that we could all use a little more cheer, this would be it. I’ve always liked giving holiday goodies to my co-workers. My “go to” items are poppy seed bread and chex mix – sweet and savory. And throwing in a $1 or $2 lottery scratcher makes everyone smile. Since I’ve been working from home since March 16th (not that we’re counting) and I knew I wasn’t going to have the chance to give goodies in person, this year I decided to spread elf-like joy to my neighbors.
We’ve lived here two years and Cactus (as ironic as it may be for the prickly one) has made a much bigger effort to get to know our neighbors. He has all their phone numbers saved in his cell whereas I have none. But I do know their names whereas he defaults to the same three or four standard American male names he knows (Scott, Chris, Tom, Matt) whether or not it is the person’s actual name.
I used ten of these cute little baskets from Jo-Anns and included the following items. In case you’re wondering, this is a prequel to my 2021 theme of “make it myself” (MIM is totally going to replace DIY, I can feel it) that you will assuredly hear more about:
- Mini poppy seed bread (recipe below)
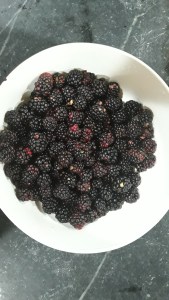
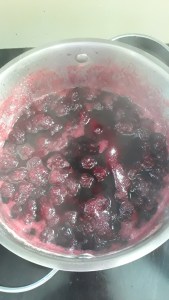
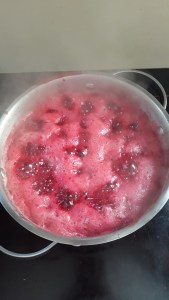
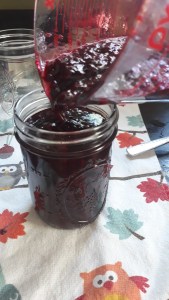
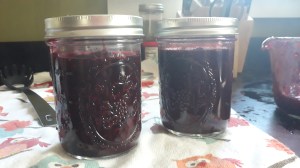
- Farm Charm black raz-ma-tazz jelly
- Chex mix
- Homemade brownie mix (courtesy of Melissa K Norris)


And yes, I forgot to take a picture of these. Gee whiz! We delivered these all on the weekend (wearing masks, of course) and it was so much fun! Just chatting on people’s door steps, hearing how they are doing, and reiterating how happy we are to be their neighbors. It honestly warmed my heart more than I could have imagined and was completely worth it.
If you don’t know your neighbors, and regardless of what religion they observe, I would encourage everyone to deliver some cookies, a sweet bread, or bottle of wine this time of year. I promise nobody will be offended and it will brighten their day as much as yours. Then, not to be self-serving, but next time you need a cup of milk or sugar, you won’t have to make an awkward introduction to ask for it.
If you already do deliver reindeer droppings, please share your favorites in the comments.
Poppy Seed Bread Recipe (Servings: makes one 9” loaf or three mini loaves)
Ingredients:
2.5 c flour
1 c sugar
¼ c poppy seeds
3 ½ tsp baking powder
1 tsp salt
1 ¼ c milk
1/3 c vegetable oil
1 egg
1 tsp vanilla
½ tsp almond extract (technically optional but recommend to include)
Steps:
- Heat oven to 350. Grease bottom of loaf pan(s).
- Sift all dry ingredients together. Add wet ingredients and beat with mixer for 30 seconds.
- Pour into pan(s).
- Bake 45-50 mins for a single large loaf (25-30 for smaller loaves) until toothpick comes out clean.
- Let cool for 5 mins, remove from pan. Place on wire rack to cool completely.
- Eat entire loaf in one sitting 😊