MIM: The Ballerina
This is sort of a MIM gone wrong post. It’s meant to serve as more of a warning than a “how to.” Essentially, ways to make sure you don’t do what I did. Let me set the scene.
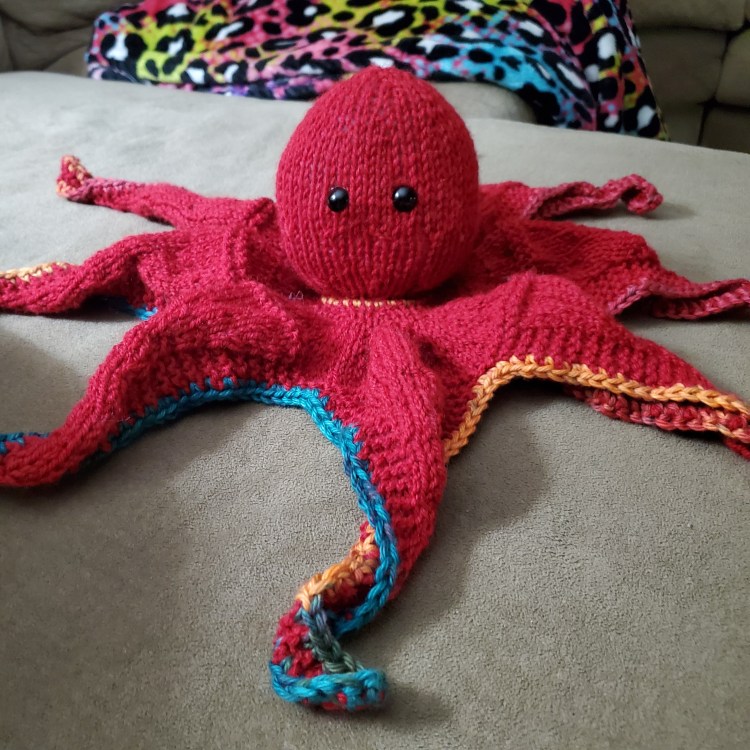
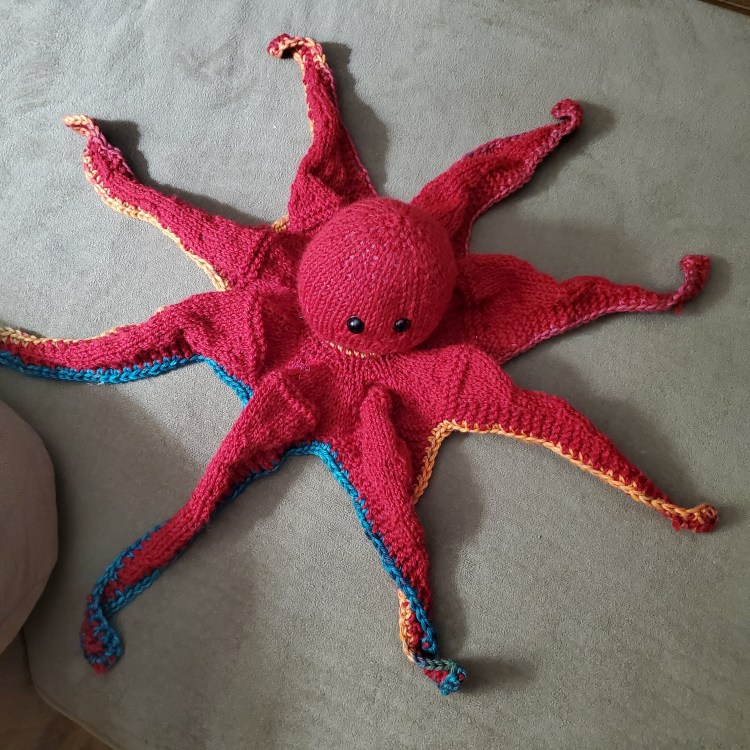
Last February, when we were a mere 12 months into the pandemic, I made an octopus for my six year old. She is a fanatical animal lover who knows more animal facts than I could ever memorize. I saw the pattern on Ravelry and couldn’t resist how simple and cute it was. Picked up some yarn at the local yarn store on my once weekly foray out of the house, and then stayed up knitting about an hour each night for a week. Voila! You have Seven, the cuddly and fun Octopus.
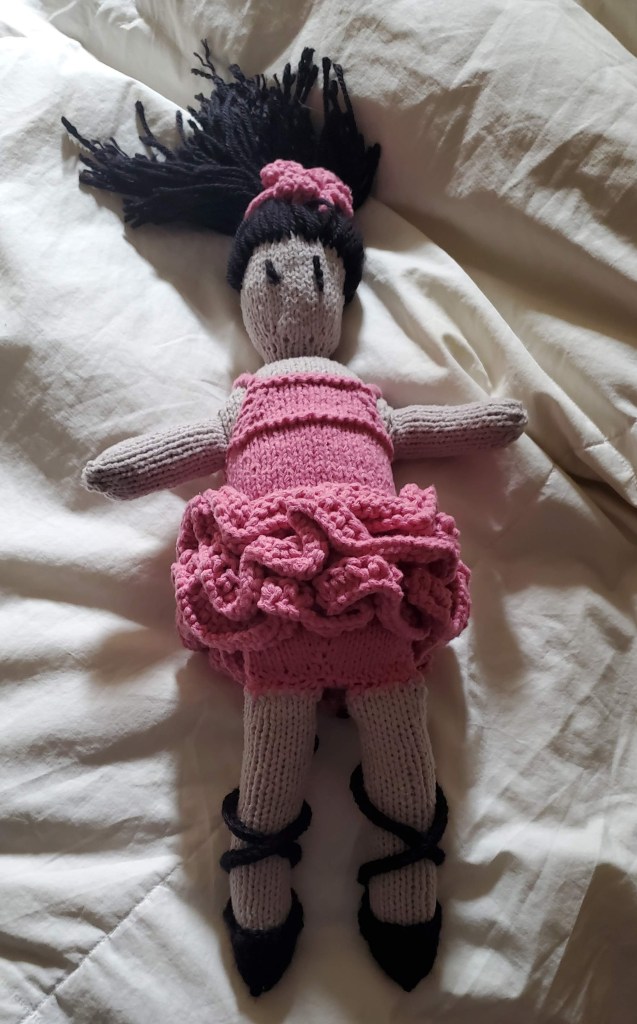
In March, my lovely and adoring three year old asked that I knit her something also. Being a mother who over analyzes my parenting and wants each child to feel valued and special, I said “Of course! What would you like?” And this is where the story turns tragically foreboding. She asked for a ballerina.
Feeling over confident based on my momentary success with Seven, I headed to the library to get a few beginner knitting books and find some doable options. I showed her pictures of a handful of ballerina dolls and we agreed on what looked like a reasonable choice. I took on the project with zeal, working from the bottom up. I made her two little legs, I made her torso, I attached arms, and then… nothing.
It was April. The weather was getting nice and daylight was getting longer. I wanted to be outside in my garden. I associate knitting as a cold weather activity so I had zero motivation to do it. Then it was May, and June, and July, and August. Every few weeks she would ask where her ballerina doll was and I would say I’m working on it <total lies>. This made me feel horrible as a mom and person. Why did I agree to something I couldn’t do? Will she think I don’t love her as much as her sister because I’m not finishing the doll? Will she use this in arguments when she’s a teenager to prove how unfair I’ve always been? Remember the over-analysis-itis I have? Serious condition.
Fast forward to October and her birthday looming the following month. I told myself this must be finished by that date. And, you’ll be pleased to know I did. But oh it was painful. Thankfully there were no physical injuries in the making of this doll, but if you count the social emotional damage to my four year old, the bill would be quite high.
And so friends, in an effort to save you from similar troubles, I am sharing a few suggestions to avoid the “make it myself” trauma we have both endured. And yes, I know I’m being overly dramatic here and this is all tongue in cheek, but there is a bigger lesson here.
For any homemade gift you are considering, please take the following advice to heart:
- Read the instructions carefully. Whether this be a pattern, recipe, or manual, the devil is in the details. If you’re not an advanced practitioner of _______ (fill in the blank: knitting, baking, building, crafting, etc.), ask someone who is to review it for any obstacles you may not know to look for. This is where I must interject to say using an online pattern where people can write reviews would have saved me. But I used an old-fashioned hard copy paper book. Any weirdo can write a book. It takes true expertise to blog <wink, wink>.
- Think through the usefulness of the item. Will it actually be functional or is it decorative? For either answer, does that make sense?
- Consider the recipient of said item. How well do you know them? How much do you love them? Will they appreciate it? Not meant to be a judgement of the person but more so an assessment of appropriateness.
- Account for the time. Do you have the time the project will require or will it become a source of stress and burden? Handmade gifts are truly unique and special. And they take considerably more time than clicking through Amazon or Target. As a compromise, give ol’ Etsy a gander or frequent a local small business instead.
- Lastly, will it bring you joy? I know this sounds a little too Marie Kondo but it is honestly an important component if not The most important. For all the reasons above, this is no fanciful endeavor. Are you going to enjoy the act and effort of creating it? Or just the fleeting moment of handing the gift to someone?
I know I must sound like a horrible scrooge with these “make it myself” warnings. That’s not my goal. I guess my point is the gift of time is more precious than any material item. If I’m yelling at my kids on the weekend, telling them to leave me alone while I finish the sweet breads, chex mix, and cookies I’m making for the neighbors, I missed the point. But if I can make it an activity that brings our family together with an intention of generosity and community, then that was worth it. I truly love making and receiving homemade gifts. I think we need to do it more instead of just handing someone a gift card (no judgement – I LOVE ME A GIFT CARD). But you’ve got to find the format and avenue that works for you. It can’t be about comparison or competition. It’s got to be about belonging and caring.