MIM: Seed Starting Mix to Save $$$

It’s nearly seed starting time! Can you feel the excitement in the air? Oh Joy 😊 It’s so fun to be thinking about and planning this year’s garden. Each year it gets a little easier as some things become more habitual and I figure out little tricks to challenges I encountered before.

Something I wanted to do this year as a little test was make my own seed starting mix (#makeitmyself, #MIM). Last year I used the Miracle Gro® seed starting potting mix and it turned out really well. And that might lead one to say “Well, if it ain’t broke, don’t fix it.” But, I’m not entirely sure what is in the mix and I like to know what I’m growing my vegetables in.

Before I go further, there is one important point about seed starting to remember. You can’t just go outside and shovel a bunch of dirt into a bucket and bring that in your house. I know, this didn’t make much sense to me either when I learned it. Afterall, when I direct sow, I’m not creating a bunch of little holes of different ingredients before I sow the seed. But typical soil is going to be too dense, likely have a bunch of weed seeds, of course pests, and possibly disease. That’s just a much harder start than your little baby seedlings need.

Instead, it’s important to use a seed starting mix that is light and well aerated to allow you to control the moisture levels and drainage, sterile meaning there is no fungus, mold or viruses, and ensures strong root development for proper nutrient absorption.

Ingredients to Use:

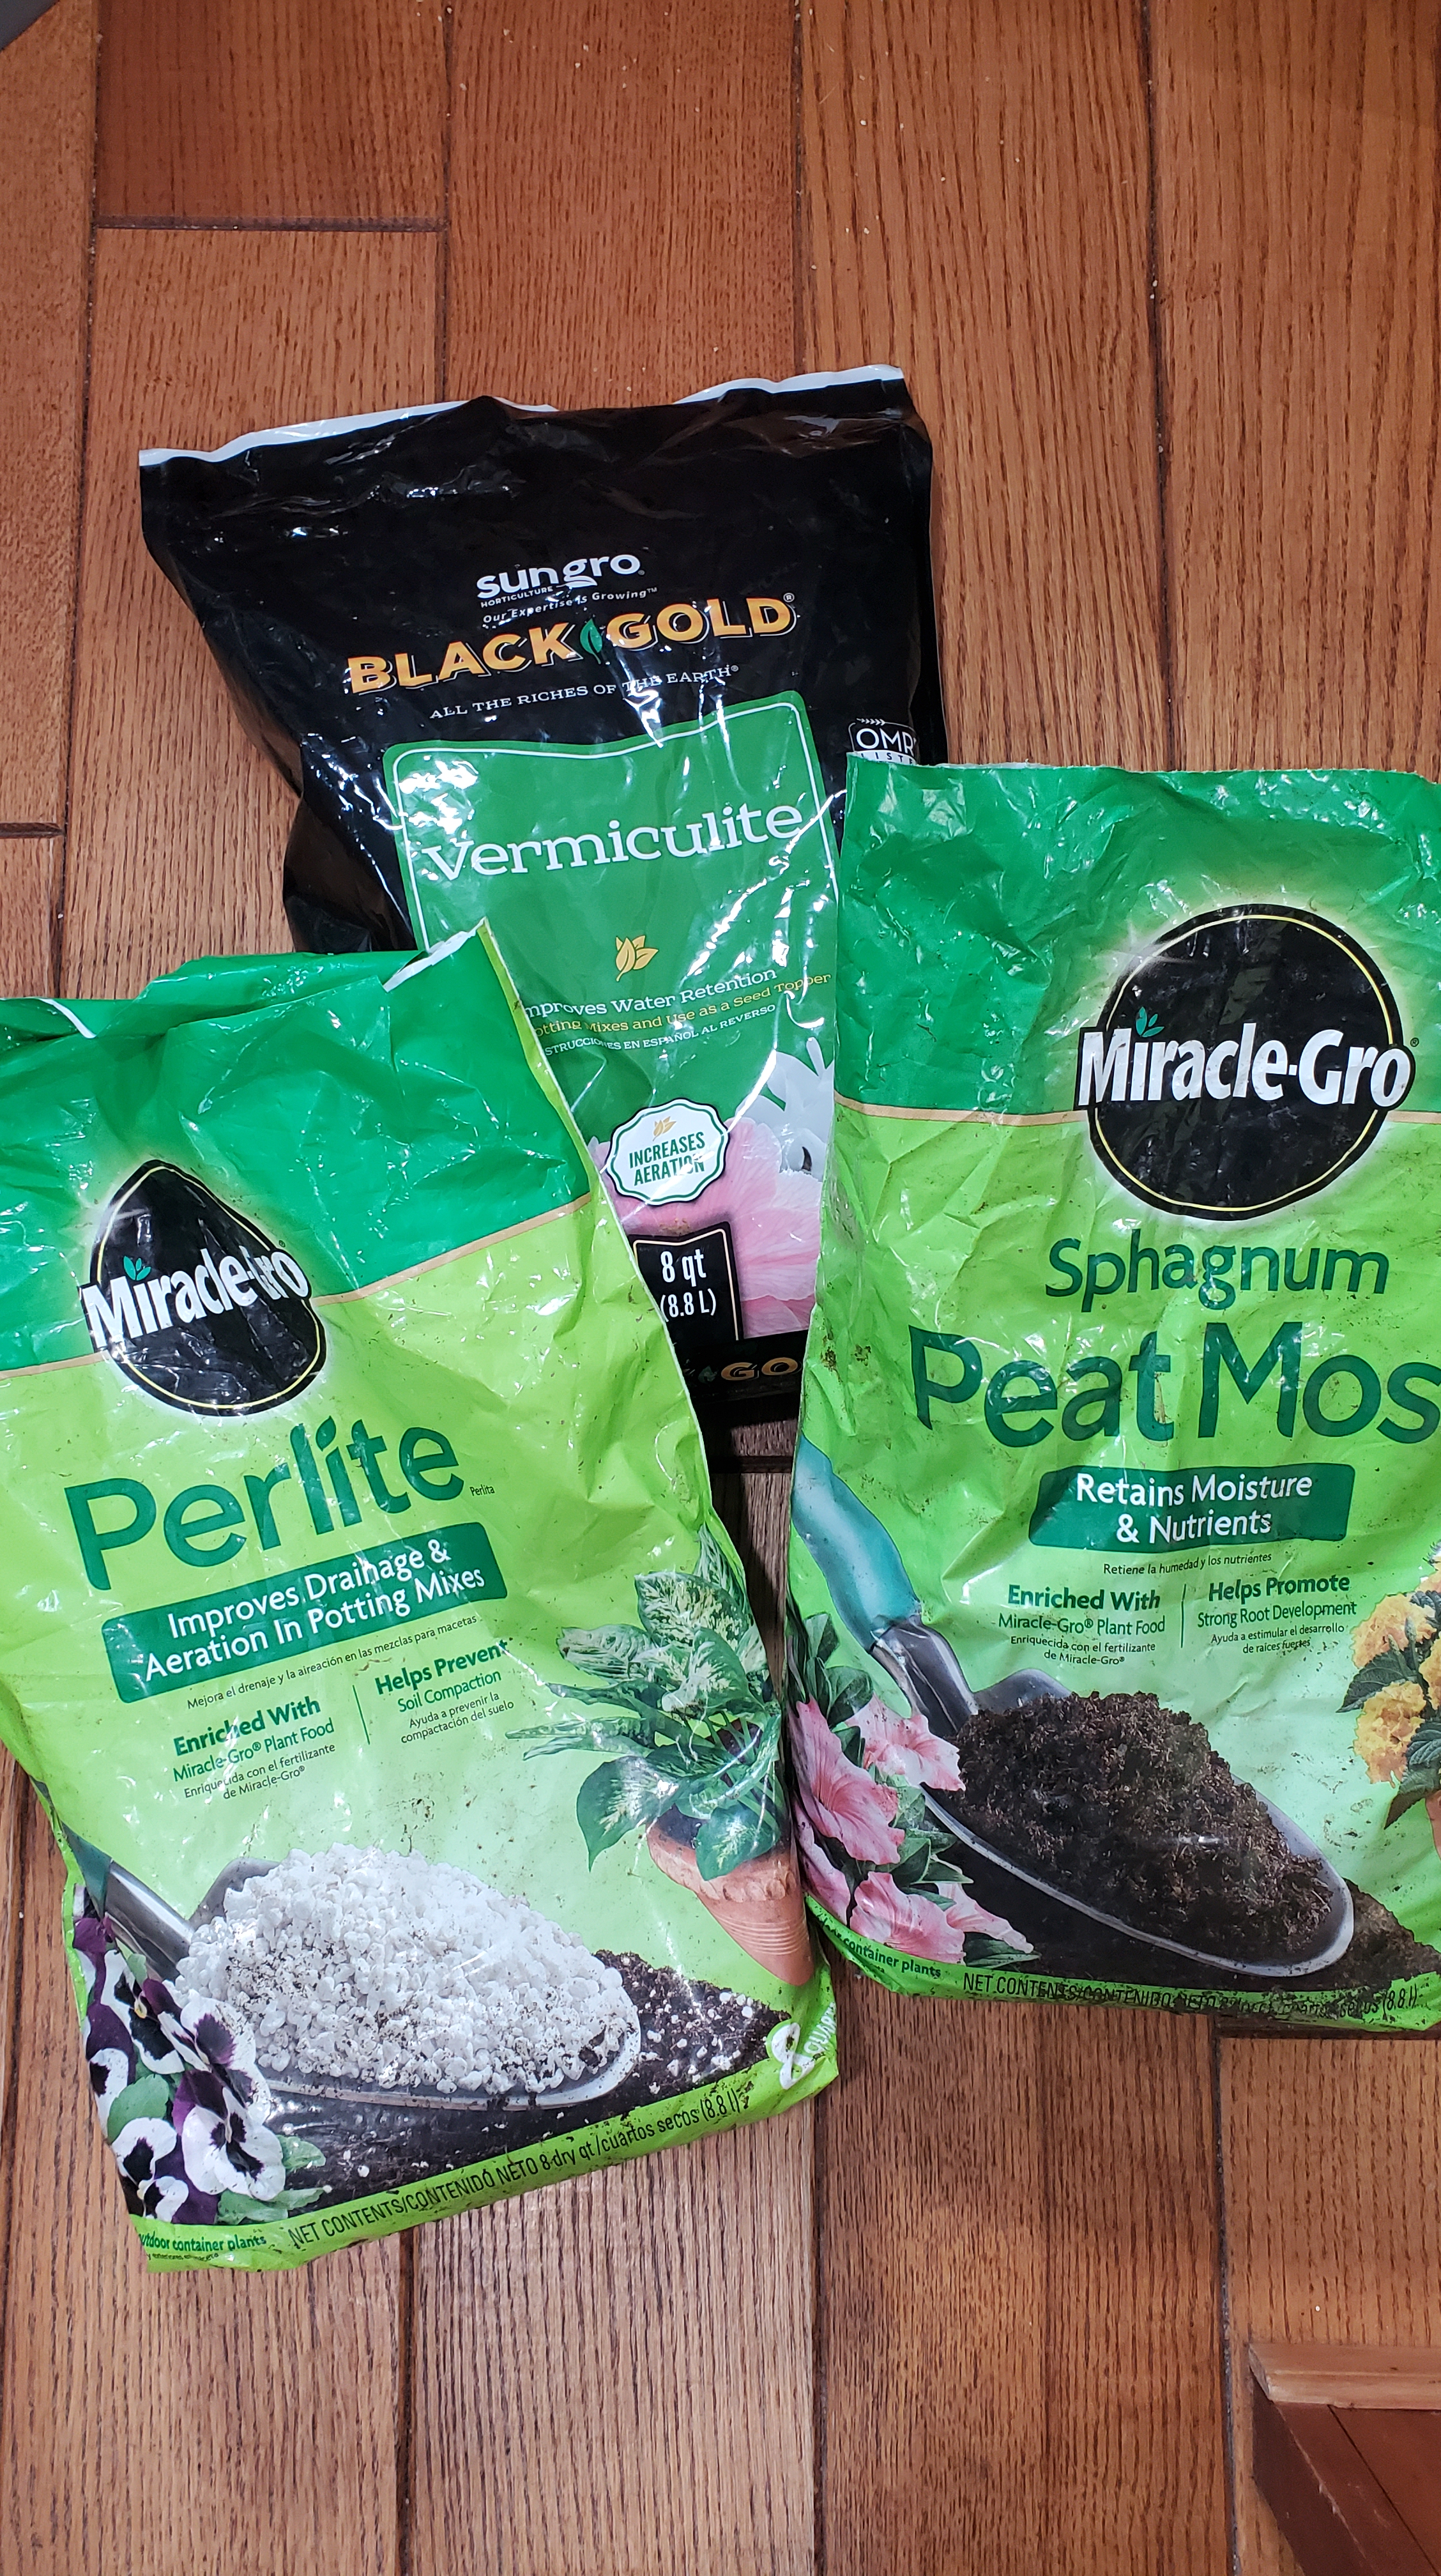
You may find lists of 7-10 ingredients that go into seed starting mix. From the numerous articles I’ve read, there are really only three items common to all recipes so that’s what I’ve chosen to use. It’s the “no frills” version and it works just fine.

  1. Peat Moss OR Coco Coir – peat moss comes from peat bogs whereas cooc coir made from the husks of coconuts and is a much more sustainable alternative to peat moss. From a price standpoint, they are pretty comparable so I don’t see any reason to not use it. I had leftover peat moss from last year and will only be buying coco coir going forward.
  2. Perlite – a volcanic glass that helps your soil stay light, prevents compaction, and promotes moisture retention.
  3. Vermiculite – a mineral that is highly absorbent, improves aeration and moisture levels, and will help your little seedling absorb nutrients.

Steps to Follow:

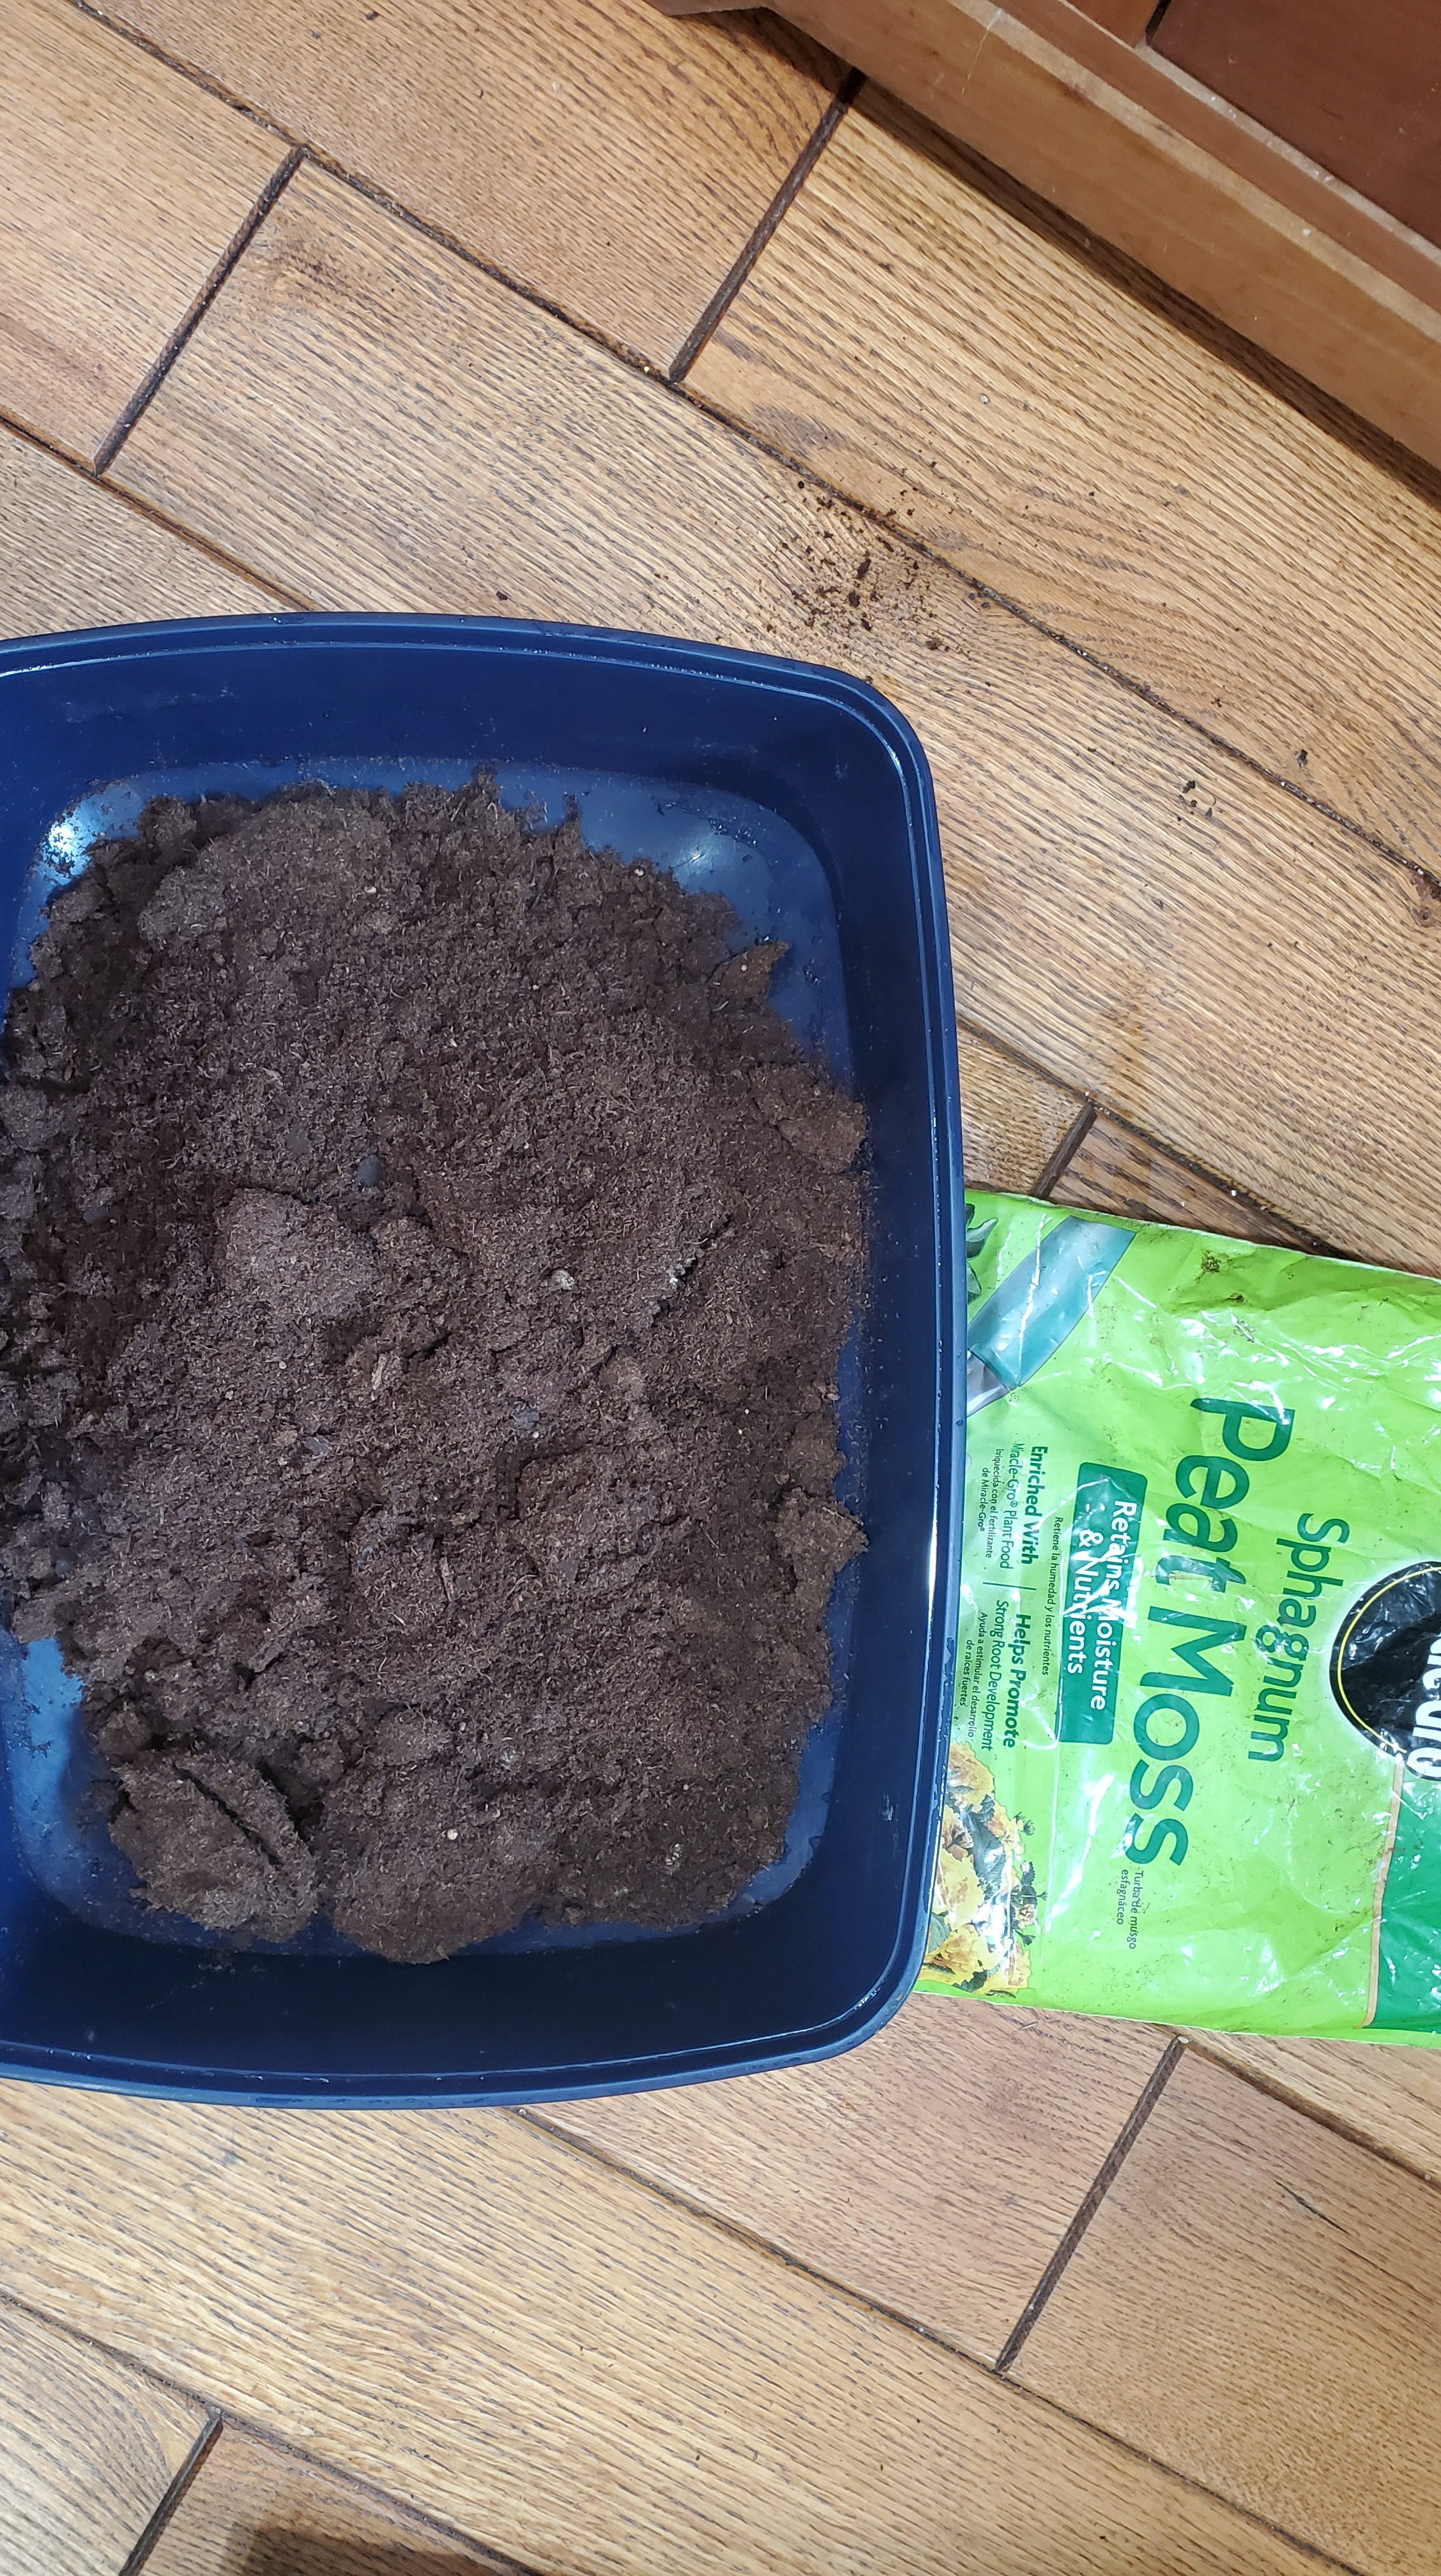
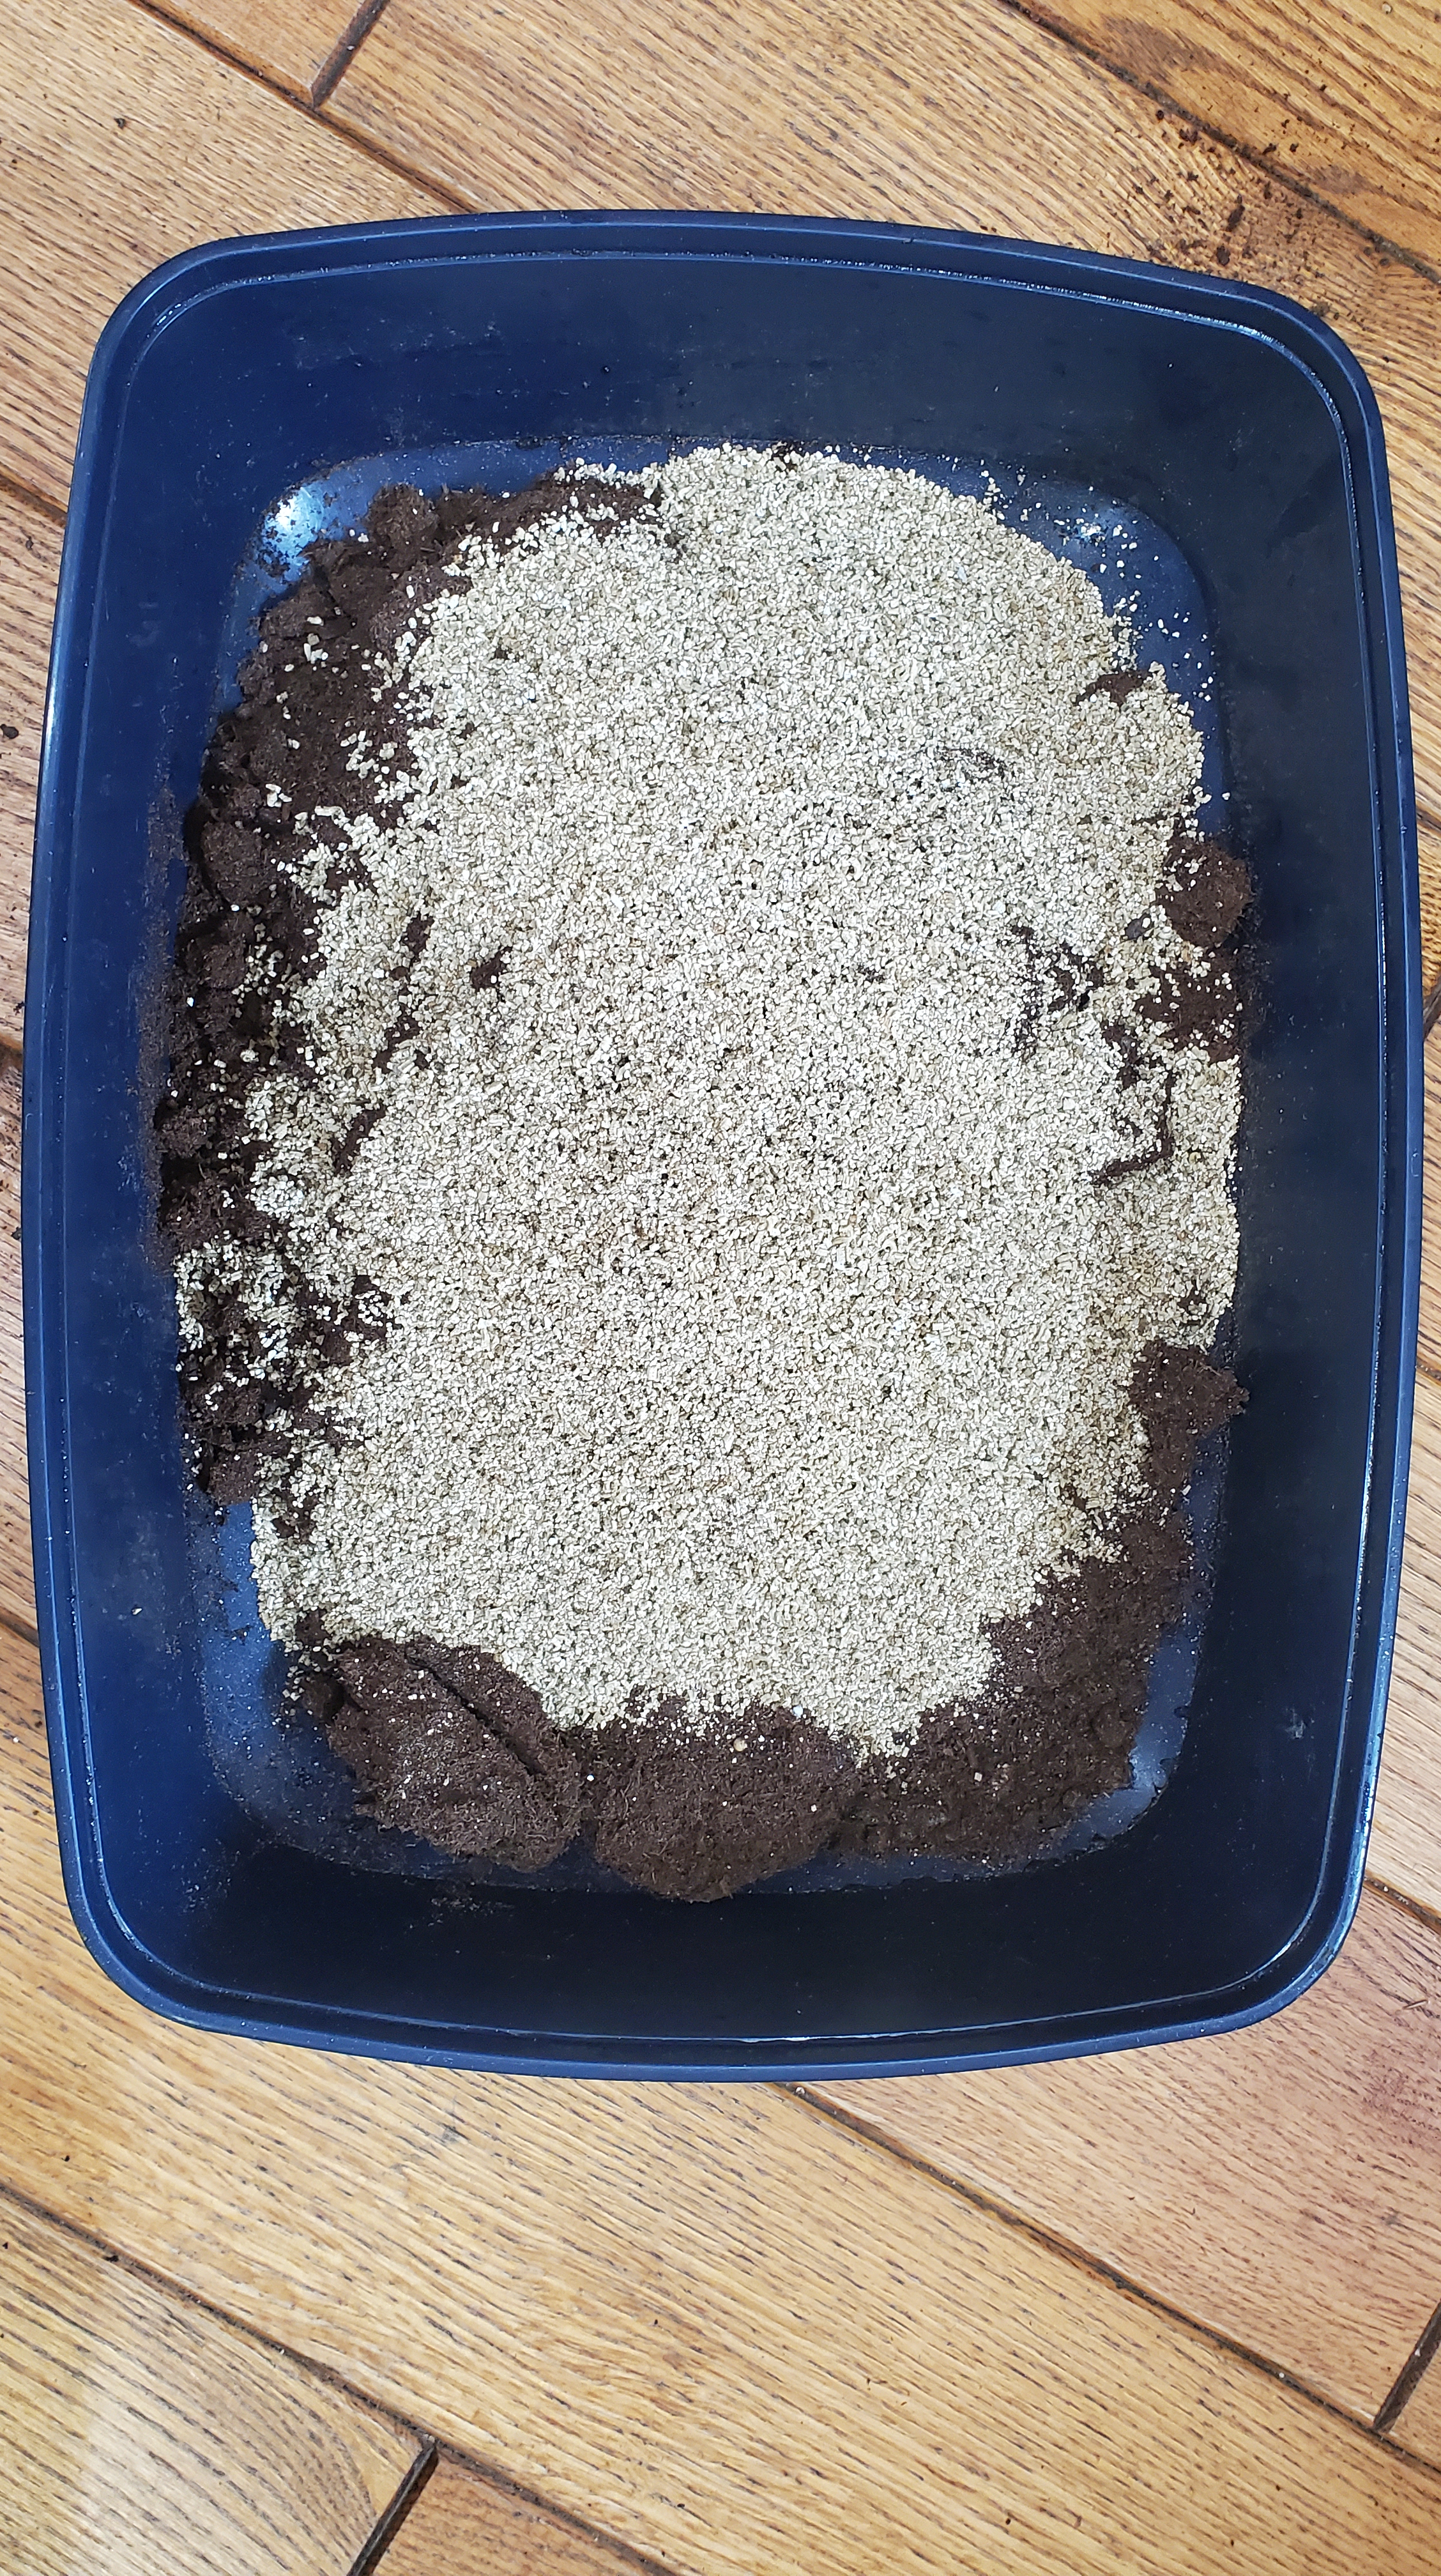
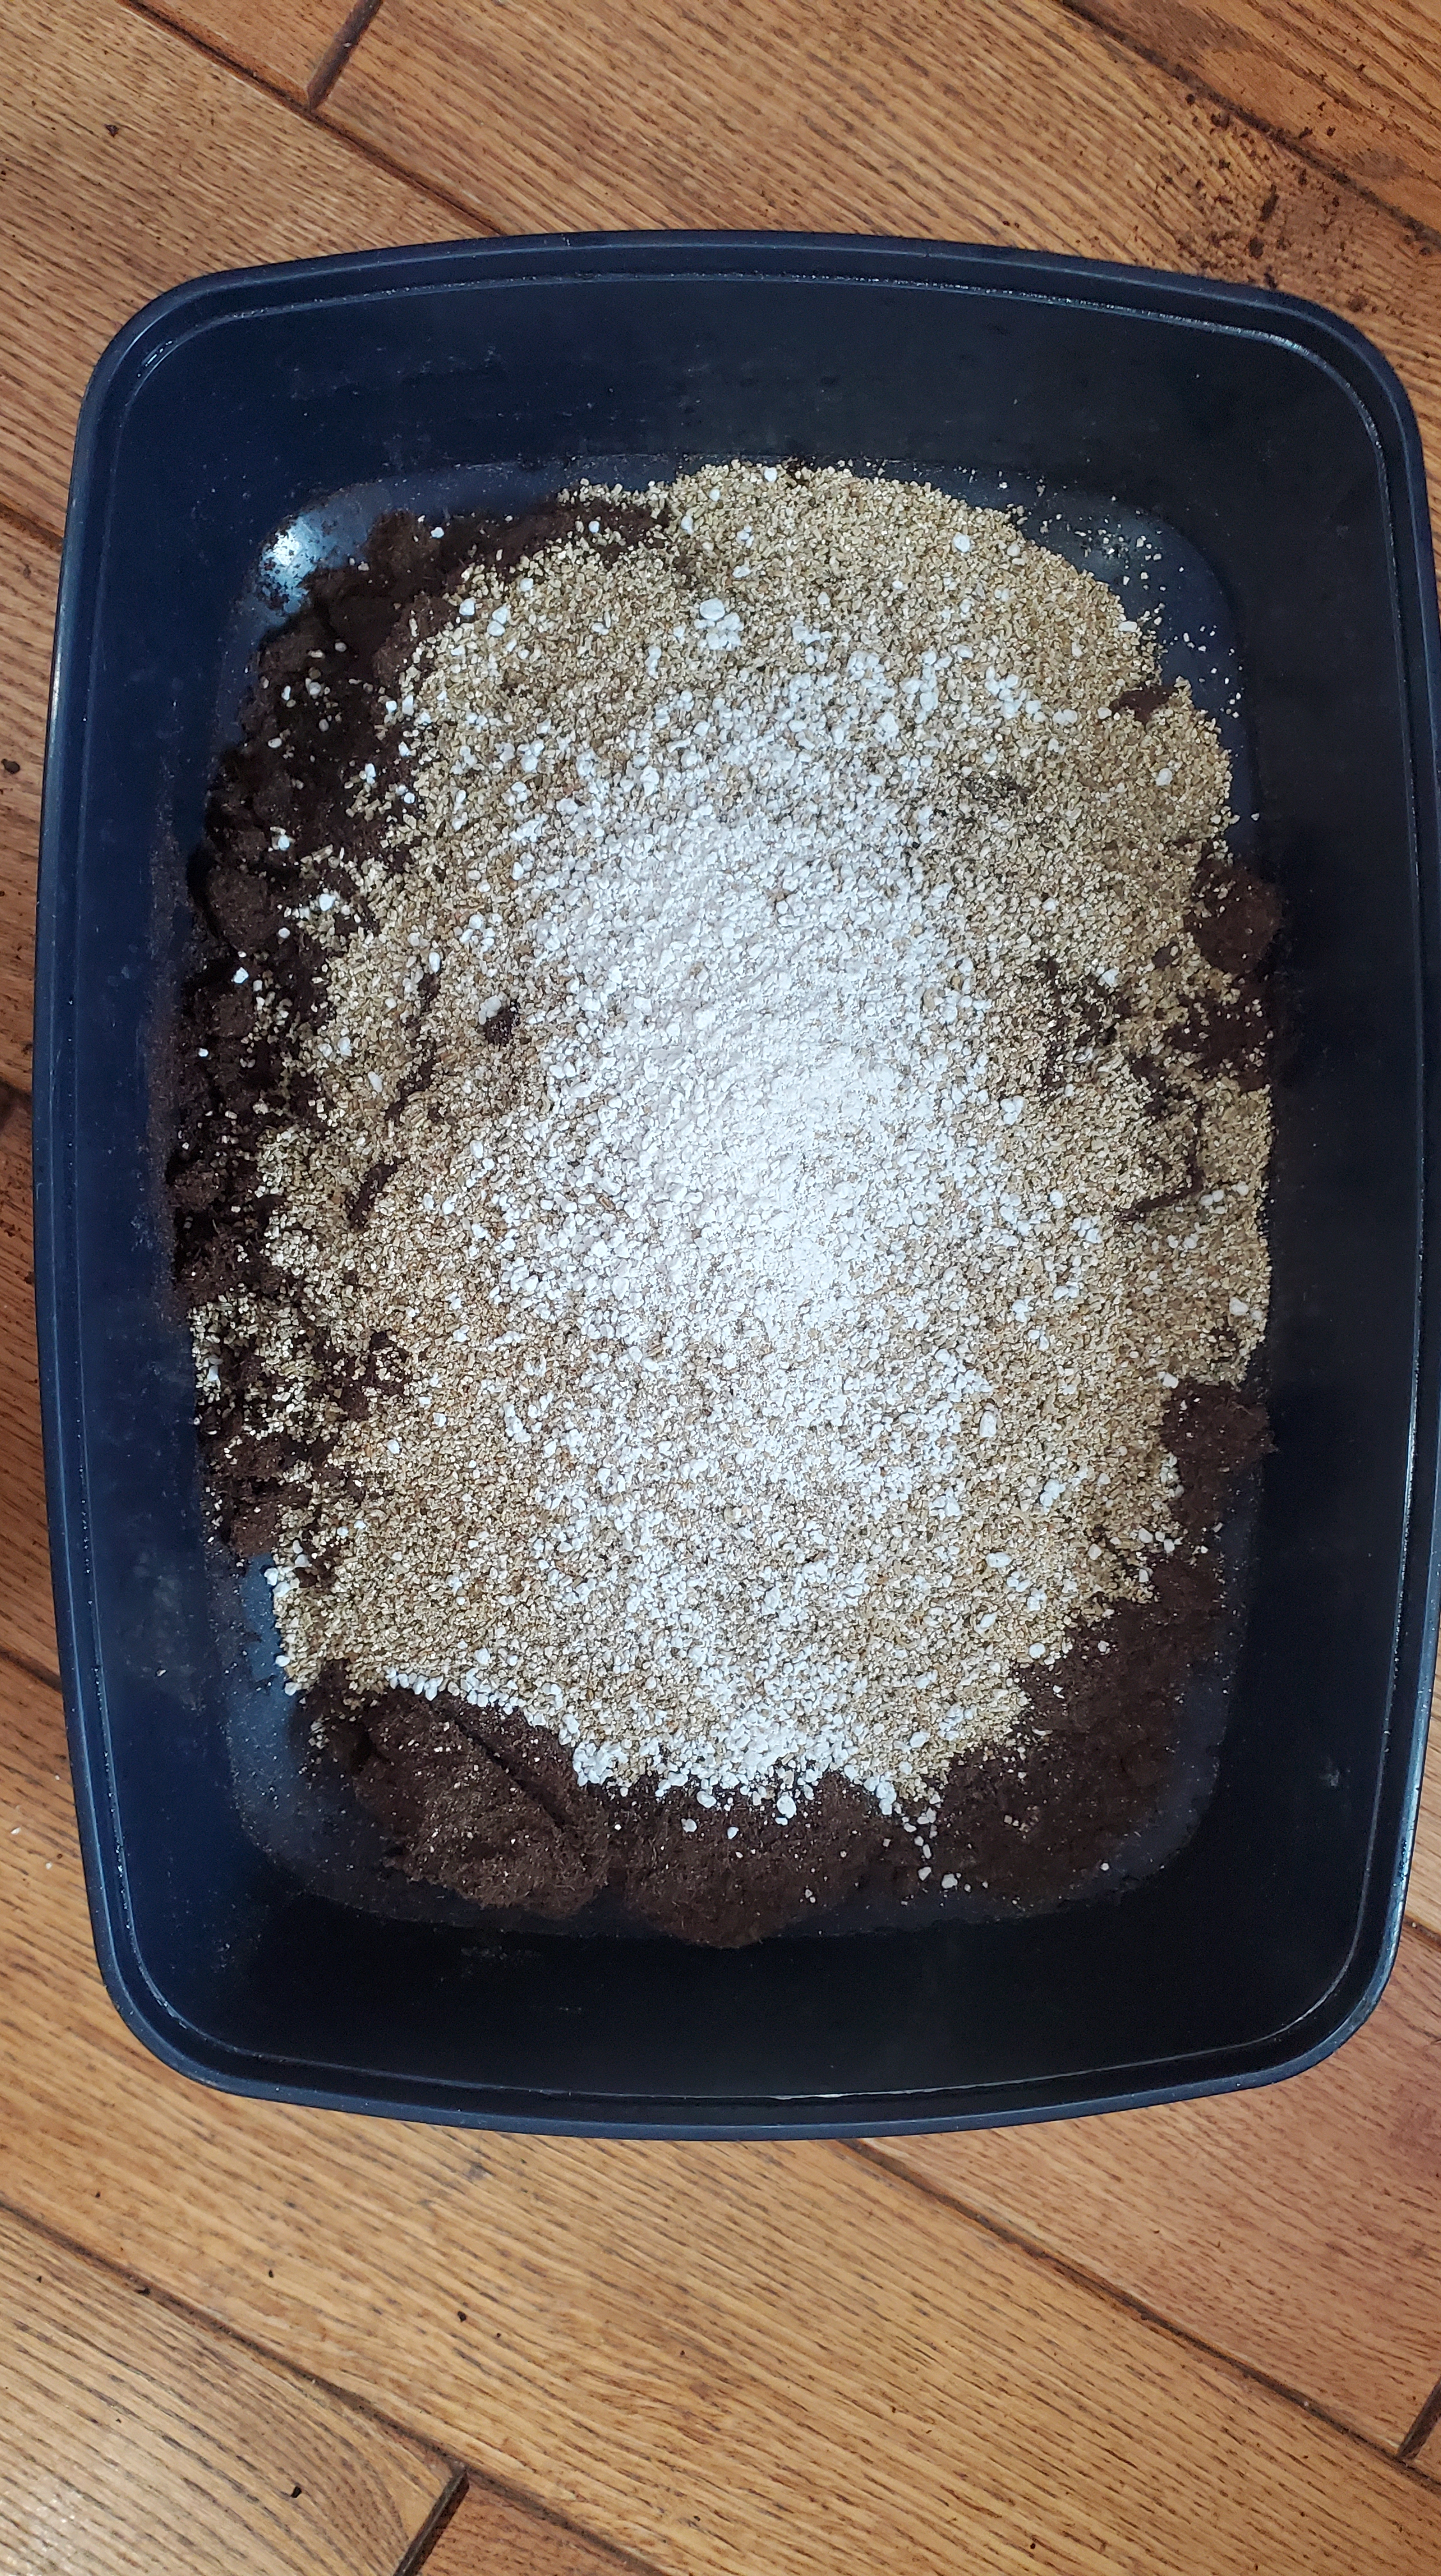
  • Your ratios are 6 parts coco coir to 2 parts perlite and vermiculite (6:2:2). As an example, if you took 1 coffee mug from your cabinet and filled it 6 times with coco coir, you would then fill it 2 times with perlite and 2 times with vermiculite.
  • Mix it up well with your hands in a bucket or plastic storage bin.
  • Then add enough boiling water to thoroughly wet the whole mix, and then let it cool to room temperature. Caution: it will be hot when you add the boiling water so wear garden or kitchen gloves.
  • Then just fill your seed trays or pots that you plan to use with the mix.

The big win from starting your own seeds and making your mix is you have complete control over everything that goes into the process and don’t have to rely on whatever your garden store offers.

MIM: The Ballerina

This is sort of a MIM gone wrong post. It’s meant to serve as more of a warning than a “how to.” Essentially, ways to make sure you don’t do what I did. Let me set the scene.

Last February, when we were a mere 12 months into the pandemic, I made an octopus for my six year old. She is a fanatical animal lover who knows more animal facts than I could ever memorize. I saw the pattern on Ravelry and couldn’t resist how simple and cute it was. Picked up some yarn at the local yarn store on my once weekly foray out of the house, and then stayed up knitting about an hour each night for a week. Voila! You have Seven, the cuddly and fun Octopus.

In March, my lovely and adoring three year old asked that I knit her something also. Being a mother who over analyzes my parenting and wants each child to feel valued and special, I said “Of course! What would you like?” And this is where the story turns tragically foreboding. She asked for a ballerina.

Feeling over confident based on my momentary success with Seven, I headed to the library to get a few beginner knitting books and find some doable options. I showed her pictures of a handful of ballerina dolls and we agreed on what looked like a reasonable choice. I took on the project with zeal, working from the bottom up. I made her two little legs, I made her torso, I attached arms, and then… nothing.

It was April. The weather was getting nice and daylight was getting longer. I wanted to be outside in my garden. I associate knitting as a cold weather activity so I had zero motivation to do it. Then it was May, and June, and July, and August. Every few weeks she would ask where her ballerina doll was and I would say I’m working on it <total lies>. This made me feel horrible as a mom and person. Why did I agree to something I couldn’t do? Will she think I don’t love her as much as her sister because I’m not finishing the doll? Will she use this in arguments when she’s a teenager to prove how unfair I’ve always been? Remember the over-analysis-itis I have? Serious condition.

Fast forward to October and her birthday looming the following month. I told myself this must be finished by that date. And, you’ll be pleased to know I did. But oh it was painful. Thankfully there were no physical injuries in the making of this doll, but if you count the social emotional damage to my four year old, the bill would be quite high.

knitting project of a ballerina doll wearing a pink tutu and camisole and black slippers

And so friends, in an effort to save you from similar troubles, I am sharing a few suggestions to avoid the “make it myself” trauma we have both endured. And yes, I know I’m being overly dramatic here and this is all tongue in cheek, but there is a bigger lesson here.

For any homemade gift you are considering, please take the following advice to heart:

  1. Read the instructions carefully.  Whether this be a pattern, recipe, or manual, the devil is in the details. If you’re not an advanced practitioner of _______ (fill in the blank: knitting, baking, building, crafting, etc.), ask someone who is to review it for any obstacles you may not know to look for. This is where I must interject to say using an online pattern where people can write reviews would have saved me. But I used an old-fashioned hard copy paper book. Any weirdo can write a book. It takes true expertise to blog <wink, wink>.
  2. Think through the usefulness of the item. Will it actually be functional or is it decorative? For either answer, does that make sense?
  3. Consider the recipient of said item. How well do you know them? How much do you love them? Will they appreciate it? Not meant to be a judgement of the person but more so an assessment of appropriateness.
  4. Account for the time. Do you have the time the project will require or will it become a source of stress and burden? Handmade gifts are truly unique and special. And they take considerably more time than clicking through Amazon or Target. As a compromise, give ol’ Etsy a gander or frequent a local small business instead.
  5. Lastly, will it bring you joy? I know this sounds a little too Marie Kondo but it is honestly an important component if not The most important. For all the reasons above, this is no fanciful endeavor. Are you going to enjoy the act and effort of creating it? Or just the fleeting moment of handing the gift to someone?

I know I must sound like a horrible scrooge with these “make it myself” warnings. That’s not my goal. I guess my point is the gift of time is more precious than any material item. If I’m yelling at my kids on the weekend, telling them to leave me alone while I finish the sweet breads, chex mix, and cookies I’m making for the neighbors, I missed the point. But if I can make it an activity that brings our family together with an intention of generosity and community, then that was worth it. I truly love making and receiving homemade gifts. I think we need to do it more instead of just handing someone a gift card (no judgement – I LOVE ME A GIFT CARD). But you’ve got to find the format and avenue that works for you. It can’t be about comparison or competition. It’s got to be about belonging and caring.

The Berry Jungle gets a face lift

Looking through the berry tunnel at the 3 bridges that connect both sides

You’ve heard me talk before about our berry tunnel, berry bramble, berry jungle, etc.  It was getting quite overgrown which meant two things in my mind – A) I haven’t pruned as I should have and B) we need better supporting structures.

I was picturing some beautiful trellis, archway that you might see in a movie scene where there is some unrealistically romantic moonlit kiss so I sent this idea to Cactus via my mental powers and he came up with exactly what I wanted…  Oh wait, who am I kidding?  That’s not true at all.  I showed Cactus a few pictures and he said, “No, I have an idea. Here’s what we’ll do.”

Supplies purchased (approximately $70 in value)

  • Eight 4x4x8 posts (purchased an extra just in case)
  • Four 2x4s (purchased an extra just in case)

Supplies being reused:

  • 5 pieces of galvanized tubing

So here’s what we did (nothing fancy, but I quite like it):

  1. We measured the current set up.  Assessed that we needed to improve both sides of the tunnel – one side is about 30 feet long, the other about 20 feet long.  This was actually super important and a step we usually skip.  How do you know how much of anything you need without measuring?  Sidenote: I’d like mention the value of staring at a project site and walking around a bit.  I’m being 100% serious. It’s really valuable to just walk around your garden/yard/etc. to daydream and let inspiration flow.
  2. From this two-minute assessment, we determined the spacing between the current posts was too far and they weren’t tall enough. That little bit of planning guided our marching orders.
  3. We decided to increase the number of supports by adding one post on each side, and to also make them taller and have the horizontal support between each post much more sturdily attached.  To explain a bit more clearly, the 30-foot distance originally had just 3 posts so we increased that to 4 posts, each just about 7.5 feet apart. Similarly, the 20-foot distance originally had just 2 posts so we increased that to 3 posts. 
  4. We laid the posts on the ground and spaced them out evenly across the 30-foot side. This helped us determine where we would need to dig the holes and that 3 of the 4 would easily align with where the posts would go on the shorter length of the berry tunnel.
  5. Cactus then used a 1-inch wood bit to drill two holes in the top of each post.  These holes are where we inserted the galvanized tubing. The tubing serves as the top ‘shelf’ for the berry vines to go up and over as they grow.
  6. While the posts were laying on the ground, Cactus did the drilling and inserted the tubing so that it was one long structure that just had to be stood up and put in place.  But before we stood up the posts, we had to dig the holes.
  7. We have an auger for another fence project currently underway so we used that to dig the seven holes. I’m usually a fan of doing everything by hand but it made sense to use this so that we could complete the project that afternoon (instead of having to come back to it the following day). 
  8. Once the holes were dug, we lifted up two posts at a time and placed them in the holes just dug. Then we just had to insert one final piece of the galvanized tubing.
  9. The final step was bridging the 30-foot side of the tunnel to the 20-foot side of the tunnel to make my romantic berry trellis. Honestly, no idea where I’m going with this romantic notion.  That at is not my life at all. So we used 2x4s to connect both of the sides.  Since each side is not the same length, we had just ensured that three of the four posts were lined up to each other and connected at those three points.  The 4th post on the 30-foot side is not attached to anything, but it’s right next to our trailing rose archway so I’m sure it won’t be lonely.

This took us about a little over an hour to do (excluding the trip to Home Depot that Cactus did on his own) and it all went super smoothly. Now, the more dedicated work will be spent re-directing all the berry vines up and over the trellis to make my beautiful archway. And then the jelly, jam and pie fillings!!

MIM: Apple Pie Filling

As you’ll notice, one of my goals for 2021 is to make more things myself (#MIM – make it myself) and coincidentally that also supports one of my other personal efforts to reduce food waste. One of my first attempts was using veggie scraps and chicken bones to make my first ever chicken broth. In all transparency, it wasn’t super tasty but I made a second batch last week with lots more bones and it came out so much better.

Back during the Christmas holiday, my *hopefully* future sister-in-law brought this over-the-top fruit and cheese basket from Bishop’s Orchard. There were so many simultaneously impressive and entertaining aspects of this gift.

1-It weighed at least 30 pounds and she carried it on the train from Connecticut on Christmas Day.

2-There were at least 20 apples in this beast (should have taken a picture).

3-It had cheeses, jams, jellies, and multiple sweet breads inside as well. I’ve never seen a fruit basket with so many different foods. I think if you’re going to get stranded on a desert island with one food “item,” this basket would be the way to go.

After a few days when it became apparent we were not going to be able to eat these apples fast enough, one of my daughters asked “Do you have any work for me to do?” I thought about it for a second and replied, ‘Yes, yes I do.’ (And yes, this child is that sweet and helpful all the time. I’m not quite sure who her parents are…)

So I followed this apple pie filling recipe from awesome homesteader Melissa K. Norris.  I used XX apples, it took me about 90 minutes from start to finish, and I ended up with a three quarts of apple pie filling. Not being someone who eats pie very often, this will probably suffice the entire year. I’m thinking I’ll use one for an apple pie, one for an apple cobbler, and one for some mini apple pie bites like these.

Here’s what I did:

  1. Washed, peeled and quartered 12 apples. My awesome helper did the slicing with the food processor. I was sure to include a few granny smiths because they have more acidity which is important for water bath canning.  The lemon also helps ensure you achieve the right acidity.
  2. In two batches, I dropped them in boiling water to protect them from turning brown. To save time and water, I used the boiling water in the same pot I would later use for the water bath canning.
  3. Made the ClearJel® mixture in the pot, brought it to boil, took it off the heat and folded in the apples. (These first three steps took about 40 minutes.  I mention this because we all think we don’t have time to do these “home spun” activities which just isn’t true.)
  4. I washed my jars and lids with warm soapy water, dried them with a paper towel, and used my canning funnel to fill the quart jars. I also did the air bubble release by running a small spatula around the inside. I ended up only filling three quarts instead of four and I chalk that up to varying apple sizes.
  5. Fastened the lids to “finger tight.” This is important to just be tight, not “all your might” tight.
  6. Placed them in the water bath, ensured the water covered beyond the top of the jars, and boiled for 25 mins. (Steps 4-6 took me about 40 mins as well, but the 25 minutes of boiling I was playing tag.)
  7. I let them sit another five minutes in the water bath, then carefully removed with my jar lifter and let sit on the counter until the next morning.

In other MIM adventures, I knitted this fun little octopus for my 6-year old.  She named him Seven which tickled me.  Yes, I followed the pattern and he does in fact have eight legs so the name is quite hilarious.

MIM: Chicken Broth

I am a tad embarrassed to admit that I’ve never made any of my own broths. Is that bad? Pathetic? Up to this point it just wasn’t on my radar as something I could or should do myself. I’m not sure what I thought it involved and figured it was likely difficult and time consuming. And we are lucky enough to live during a time when so many foods are just as convenient to buy at the store and often it’s faster and sometimes cheaper than making it myself.

Recently though I was reading the label on a box of organic chicken stock I bought at the store (don’t recall why, but it was an exciting read) and was like, “Wait a minute. Chicken, water, carrot, celery, onion, salt, pepper, and bay leaves. This is all stuff I have!” Challenge accepted!

As I referenced, 2021 is going to be a year of MIM (make it myself). My hope is to identify a handful of items I use regularly and learn how to make them. Chicken broth seemed like the perfect first foray. I searched for a few different recipes and used a bit of a combination approach.

Here’s what I did:

I saved vegetable scraps and chicken bones for about two weeks in a gallon ziplock bag in the freezer. Whenever I was chopping carrots, onions or celery for another meal, I saved the (washed) ends, nubs and skin. Ordinarily I would have tossed them in the compost so this wasn’t any extra work or cost. Once I had the whole bag filled, I figured I had enough.

I put the chicken bones (and a few feet) in my crock pot and added 2 T of apple cider vinegar.

Then I added the vegetables – celery, carrots, onion.

Onions, celery and carrots pieces in black crock pot

I covered everything with 16 cups of water, basically filling my crock pot to the brim. I added 2 teaspoons of salt and ¼ tsp of pepper.

Crockpot full of chicken bones and veggie chunks and water

Set the crockpot to low for about 16 hours. I turned it on around 9pm and went to bed (with mild nightmares of a This is Us situation happening) and then turned it off around 12pm the next day.

Strained out the veggie and chicken remnants, and filled my mason jars.

SPOILER: I didn’t love the flavor of this first attempt. I was kind of bummed and I think this is how people get discouraged doing things themselves and just opt to buy them. It’s disappointing to do extra work and not be happy with the result but I am going to give this a few more tries because a) it was very little effort and b) there are many ways of tweaking the flavor. I am going to pay attention to the ratio of vegetables because I think I had too much onion and not enough carrot. I can also try using bone-in chicken thighs and wings. And add different spices like garlic, thyme, rosemary, or parsley. I also want to try plain vegetable broth.

One of my underlying goals was to put food scraps to use and I did that. The flavor was fine, just not amazing. I used it to make butternut squash soup, copy cat Olive Garden Zuppa Toscana, and a few other things, all of which came out very tasty.

Let me know what things you’ve made yourself that you were intimidated to try but now can’t imagine buying at the store.

‘Tis the Season

Season’s Greetings, Ho Ho Ho, and all that jazz. If there were ever a year that we could all use a little more cheer, this would be it. I’ve always liked giving holiday goodies to my co-workers. My “go to” items are poppy seed bread and chex mix – sweet and savory. And throwing in a $1 or $2 lottery scratcher makes everyone smile. Since I’ve been working from home since March 16th (not that we’re counting) and I knew I wasn’t going to have the chance to give goodies in person, this year I decided to spread elf-like joy to my neighbors.

We’ve lived here two years and Cactus (as ironic as it may be for the prickly one) has made a much bigger effort to get to know our neighbors. He has all their phone numbers saved in his cell whereas I have none. But I do know their names whereas he defaults to the same three or four standard American male names he knows (Scott, Chris, Tom, Matt) whether or not it is the person’s actual name.

I used ten of these cute little baskets from Jo-Anns and included the following items. In case you’re wondering, this is a prequel to my 2021 theme of “make it myself” (MIM is totally going to replace DIY, I can feel it) that you will assuredly hear more about:

And yes, I forgot to take a picture of these. Gee whiz! We delivered these all on the weekend (wearing masks, of course) and it was so much fun! Just chatting on people’s door steps, hearing how they are doing, and reiterating how happy we are to be their neighbors.  It honestly warmed my heart more than I could have imagined and was completely worth it.

If you don’t know your neighbors, and regardless of what religion they observe, I would encourage everyone to deliver some cookies, a sweet bread, or bottle of wine this time of year. I promise nobody will be offended and it will brighten their day as much as yours. Then, not to be self-serving, but next time you need a cup of milk or sugar, you won’t have to make an awkward introduction to ask for it.

If you already do deliver reindeer droppings, please share your favorites in the comments.

Poppy Seed Bread Recipe (Servings: makes one 9” loaf or three mini loaves)

Ingredients:

2.5 c flour

1 c sugar

¼ c poppy seeds

3 ½ tsp baking powder

1 tsp salt

1 ¼ c milk

1/3 c vegetable oil

1 egg

1 tsp vanilla

½ tsp almond extract (technically optional but recommend to include)

Steps:

  1. Heat oven to 350. Grease bottom of loaf pan(s).
  2. Sift all dry ingredients together.  Add wet ingredients and beat with mixer for 30 seconds.
  3. Pour into pan(s).
  4. Bake 45-50 mins for a single large loaf (25-30 for smaller loaves) until toothpick comes out clean.
  5. Let cool for 5 mins, remove from pan. Place on wire rack to cool completely.
  6. Eat entire loaf in one sitting 😊