This past week was Teacher Appreciation Week. Somehow, even with all the emails and notifications, this seems to catch me off guard and unprepared. That and the fact that the bar seems to always be raising on what’s appropriate and expected. It used to be a $5-10 gift card to Dunkin Donuts or Barnes & Noble was reasonable. Now it’s send a gift, buy them lunch, paint a picture, and hold a parade. Not really, but you know what I mean.
I’m always a fan of homemade gifts. I’ve done jellies and jams, homemade breads and brownie mixes in a jar. I would like to receive those things so I’m hoping they do too.
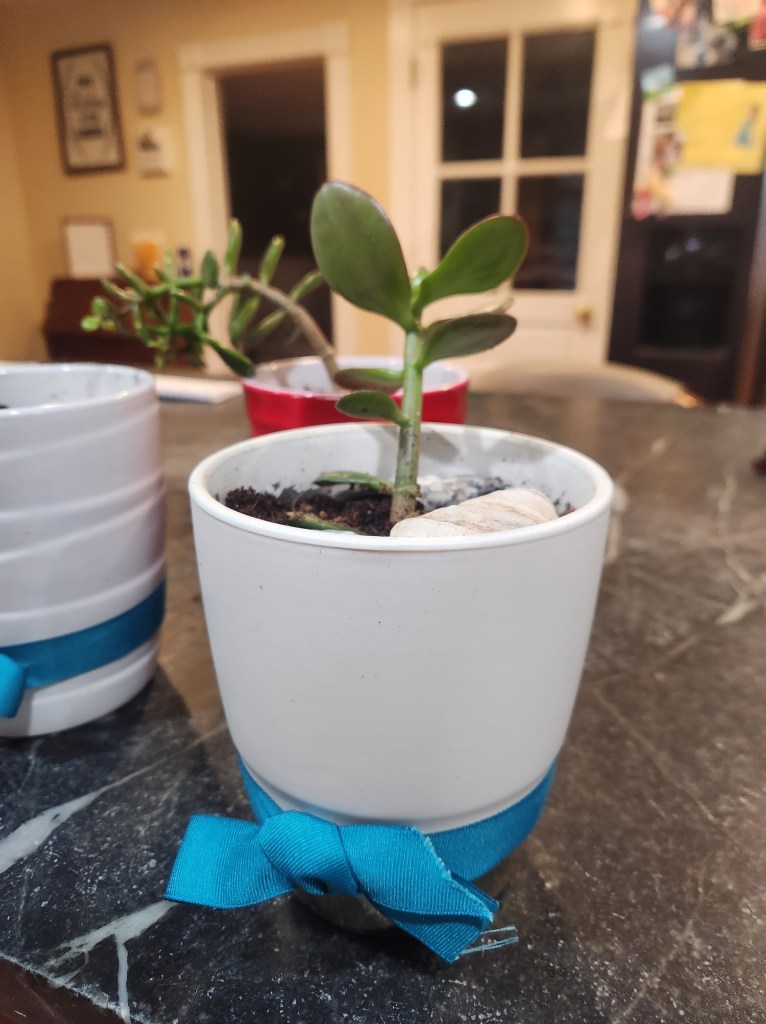
Last year, Cactus brought home a jade plant from a customer he was doing a job for who no longer wanted it. Jackpot my friends! There are always new little plants showing up around the base of the main plant in the pot so I just remove them and start them in their own new pot. I keep them on the windowsill in my bathroom, usually 3-4 are growing at any given time, and bada bing – instant homemade, thoughtful gift.
I usually have some extra pots in the shed that are a bit nicer than what I use for seed starting. You can always grab some from a yard sale or goodwill to have a few on hand. I don’t have to tell you where or how to get potting soil. Then in 5 minutes you have a gift.
Even for someone like me who intentionally avoids the news and social media, I’ve heard about microgreens as one of the latest super foods.I as at the local farmers’ market last fall when I saw a stand selling just small, essentially Ziploc sandwich-sized, bags of microgreens for upwards of $7 each. Yowza!
Up to that moment, I’d had exactly two experiences with this genre of green fluff lettuce confetti:
As a kid, my mom always included alfalfa sprouts on taco night. Call her ahead of the curve and ahead of her time, this was the 80s in Missouri. My dad was in the military and assigned to Ft. Leonard Wood and people lovingly called it “Ft. Lost in the Woods.” Knowing that, I have no idea how my mom decided sprouts were the thing to take taco night to the next level. I loved filling my hard, yellow tach shell to the brim with the white, hair-like sprouts with little green bulbs on the tips.
A few years back, I was into making ‘bowls’ for my work lunches. You know the trend of Buddha bowls or green bowls where it’s some grain like quinoa or brown rice, topped with sauteed veggies like kale, sweet potato, and mushrooms, and drizzled with some sort of goddess sauce. A co-worker of mine suggested adding sprouts to it so I started sprouting my own mung beans.
So when I saw this outrageously priced (IMHO) bag of microgreens, I thought “I can grow these for way less.” And I did (#MIM). Very easily. In case you’re wondering, yes, I bought them. Then immediately thought “why did I buy these?!?”
How to Grow Microgreens
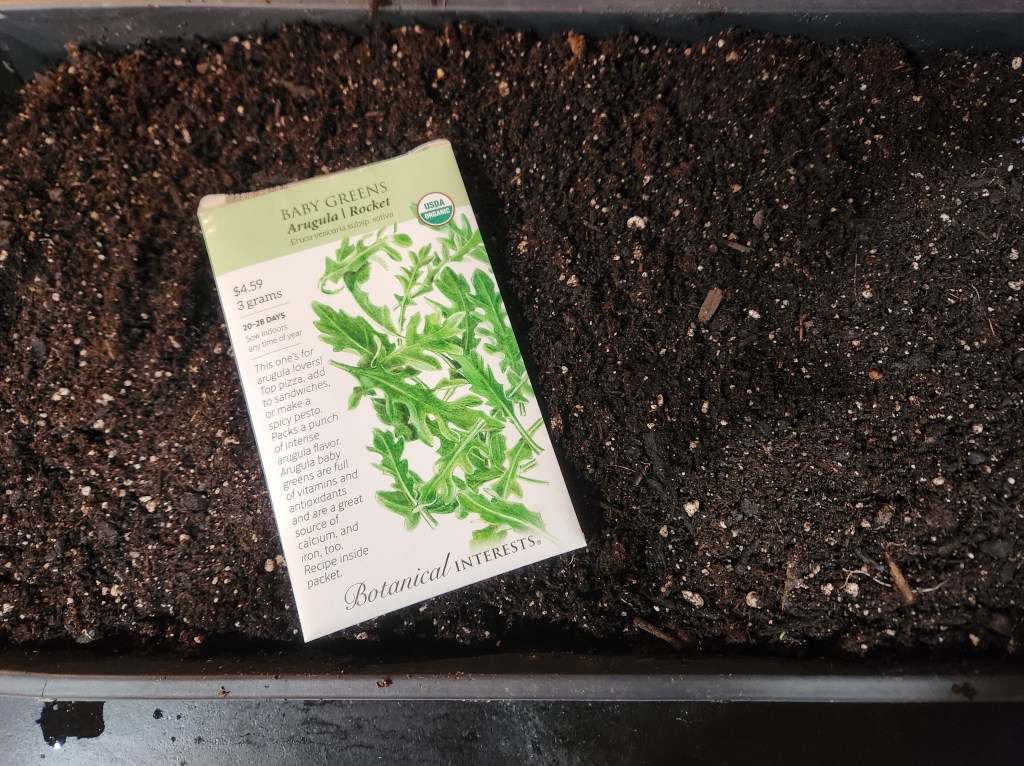
Fill a tray with potting soil. Doesn’t need to be deep, like 1-2 inches. The size of the tray depends on how much you want to grow.
Sprinkle the entire surface with seeds. I grew arugula for this first stint.
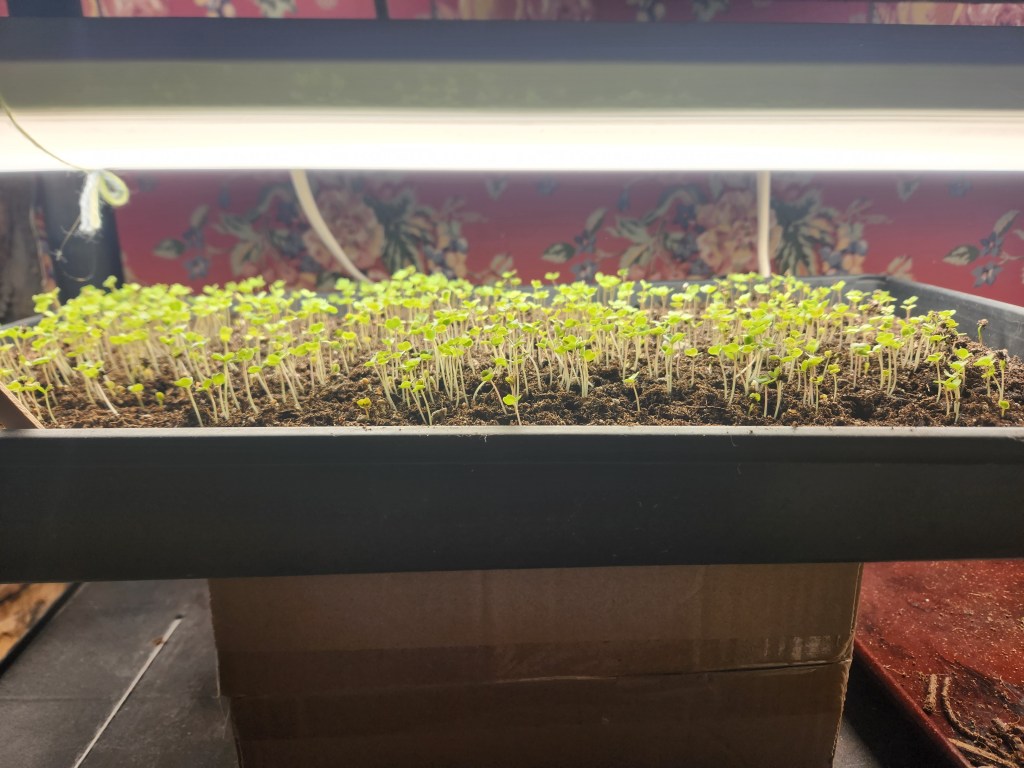
Wait three days, then let the tray sit under grow lights. To save you some struggle, since my first attempt was an utter failure, the grow lights are essential. I put my tray in the sunniest, warmest room in my house and they just got too leggy and pathetic looking.
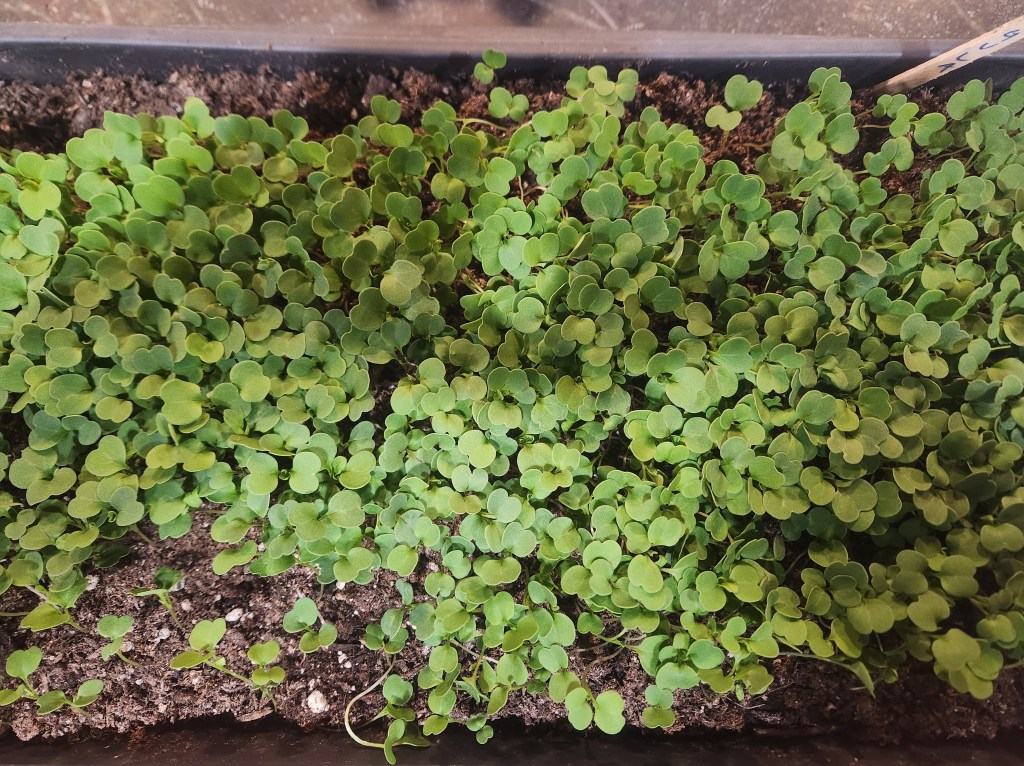
Within 10-14 days, you will have microgreens to fulfill all your heart’s desires.
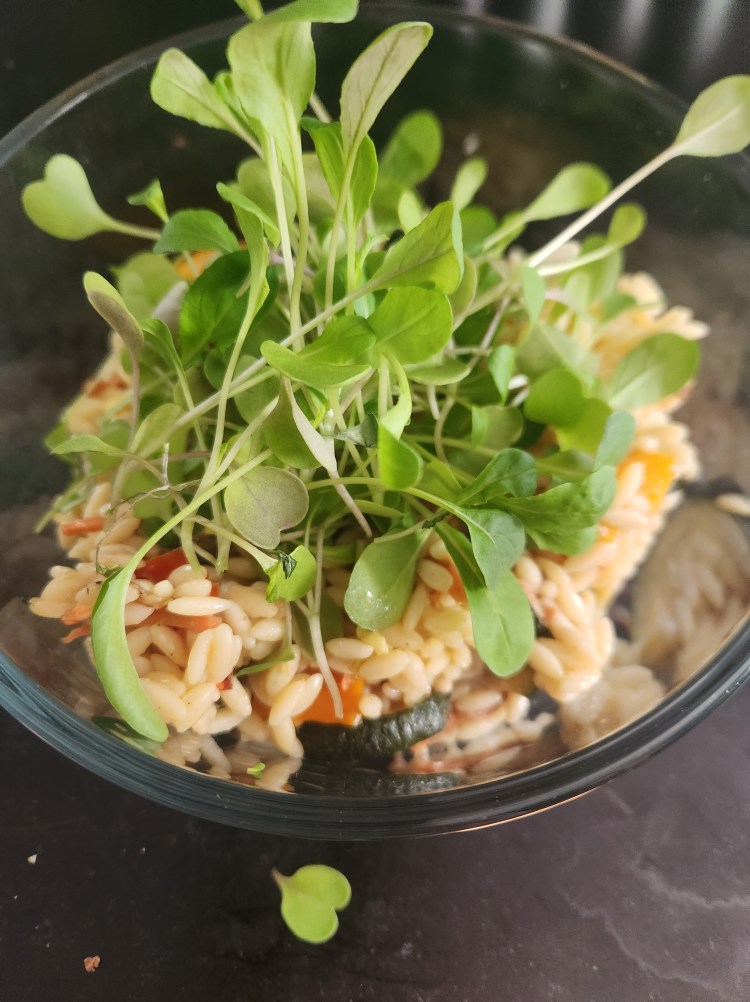
It was seriously that simple. Minimal effort and zero fuss. I’ve put the greens on grilled cheese sandwiches (any panini or regular sandwich would be delicious, I’m sure – just not PBJ), mixed in with regular lettuce salads, and used as a topper for an orzo or other pasta salad, and on pizza. My good friend had delivered this orzo salad with grilled veggies and the arugula greens were a super yummy addition.
It’s nearly seed starting time! Can you feel the excitement in the air? Oh Joy 😊 It’s so fun to be thinking about and planning this year’s garden. Each year it gets a little easier as some things become more habitual and I figure out little tricks to challenges I encountered before.
Something I wanted to do this year as a little test was make my own seed starting mix (#makeitmyself, #MIM). Last year I used the Miracle Gro® seed starting potting mix and it turned out really well. And that might lead one to say “Well, if it ain’t broke, don’t fix it.” But, I’m not entirely sure what is in the mix and I like to know what I’m growing my vegetables in.
Before I go further, there is one important point about seed starting to remember. You can’t just go outside and shovel a bunch of dirt into a bucket and bring that in your house. I know, this didn’t make much sense to me either when I learned it. Afterall, when I direct sow, I’m not creating a bunch of little holes of different ingredients before I sow the seed. But typical soil is going to be too dense, likely have a bunch of weed seeds, of course pests, and possibly disease. That’s just a much harder start than your little baby seedlings need.
Instead, it’s important to use a seed starting mix that is light and well aerated to allow you to control the moisture levels and drainage, sterile meaning there is no fungus, mold or viruses, and ensures strong root development for proper nutrient absorption.
Ingredients to Use:
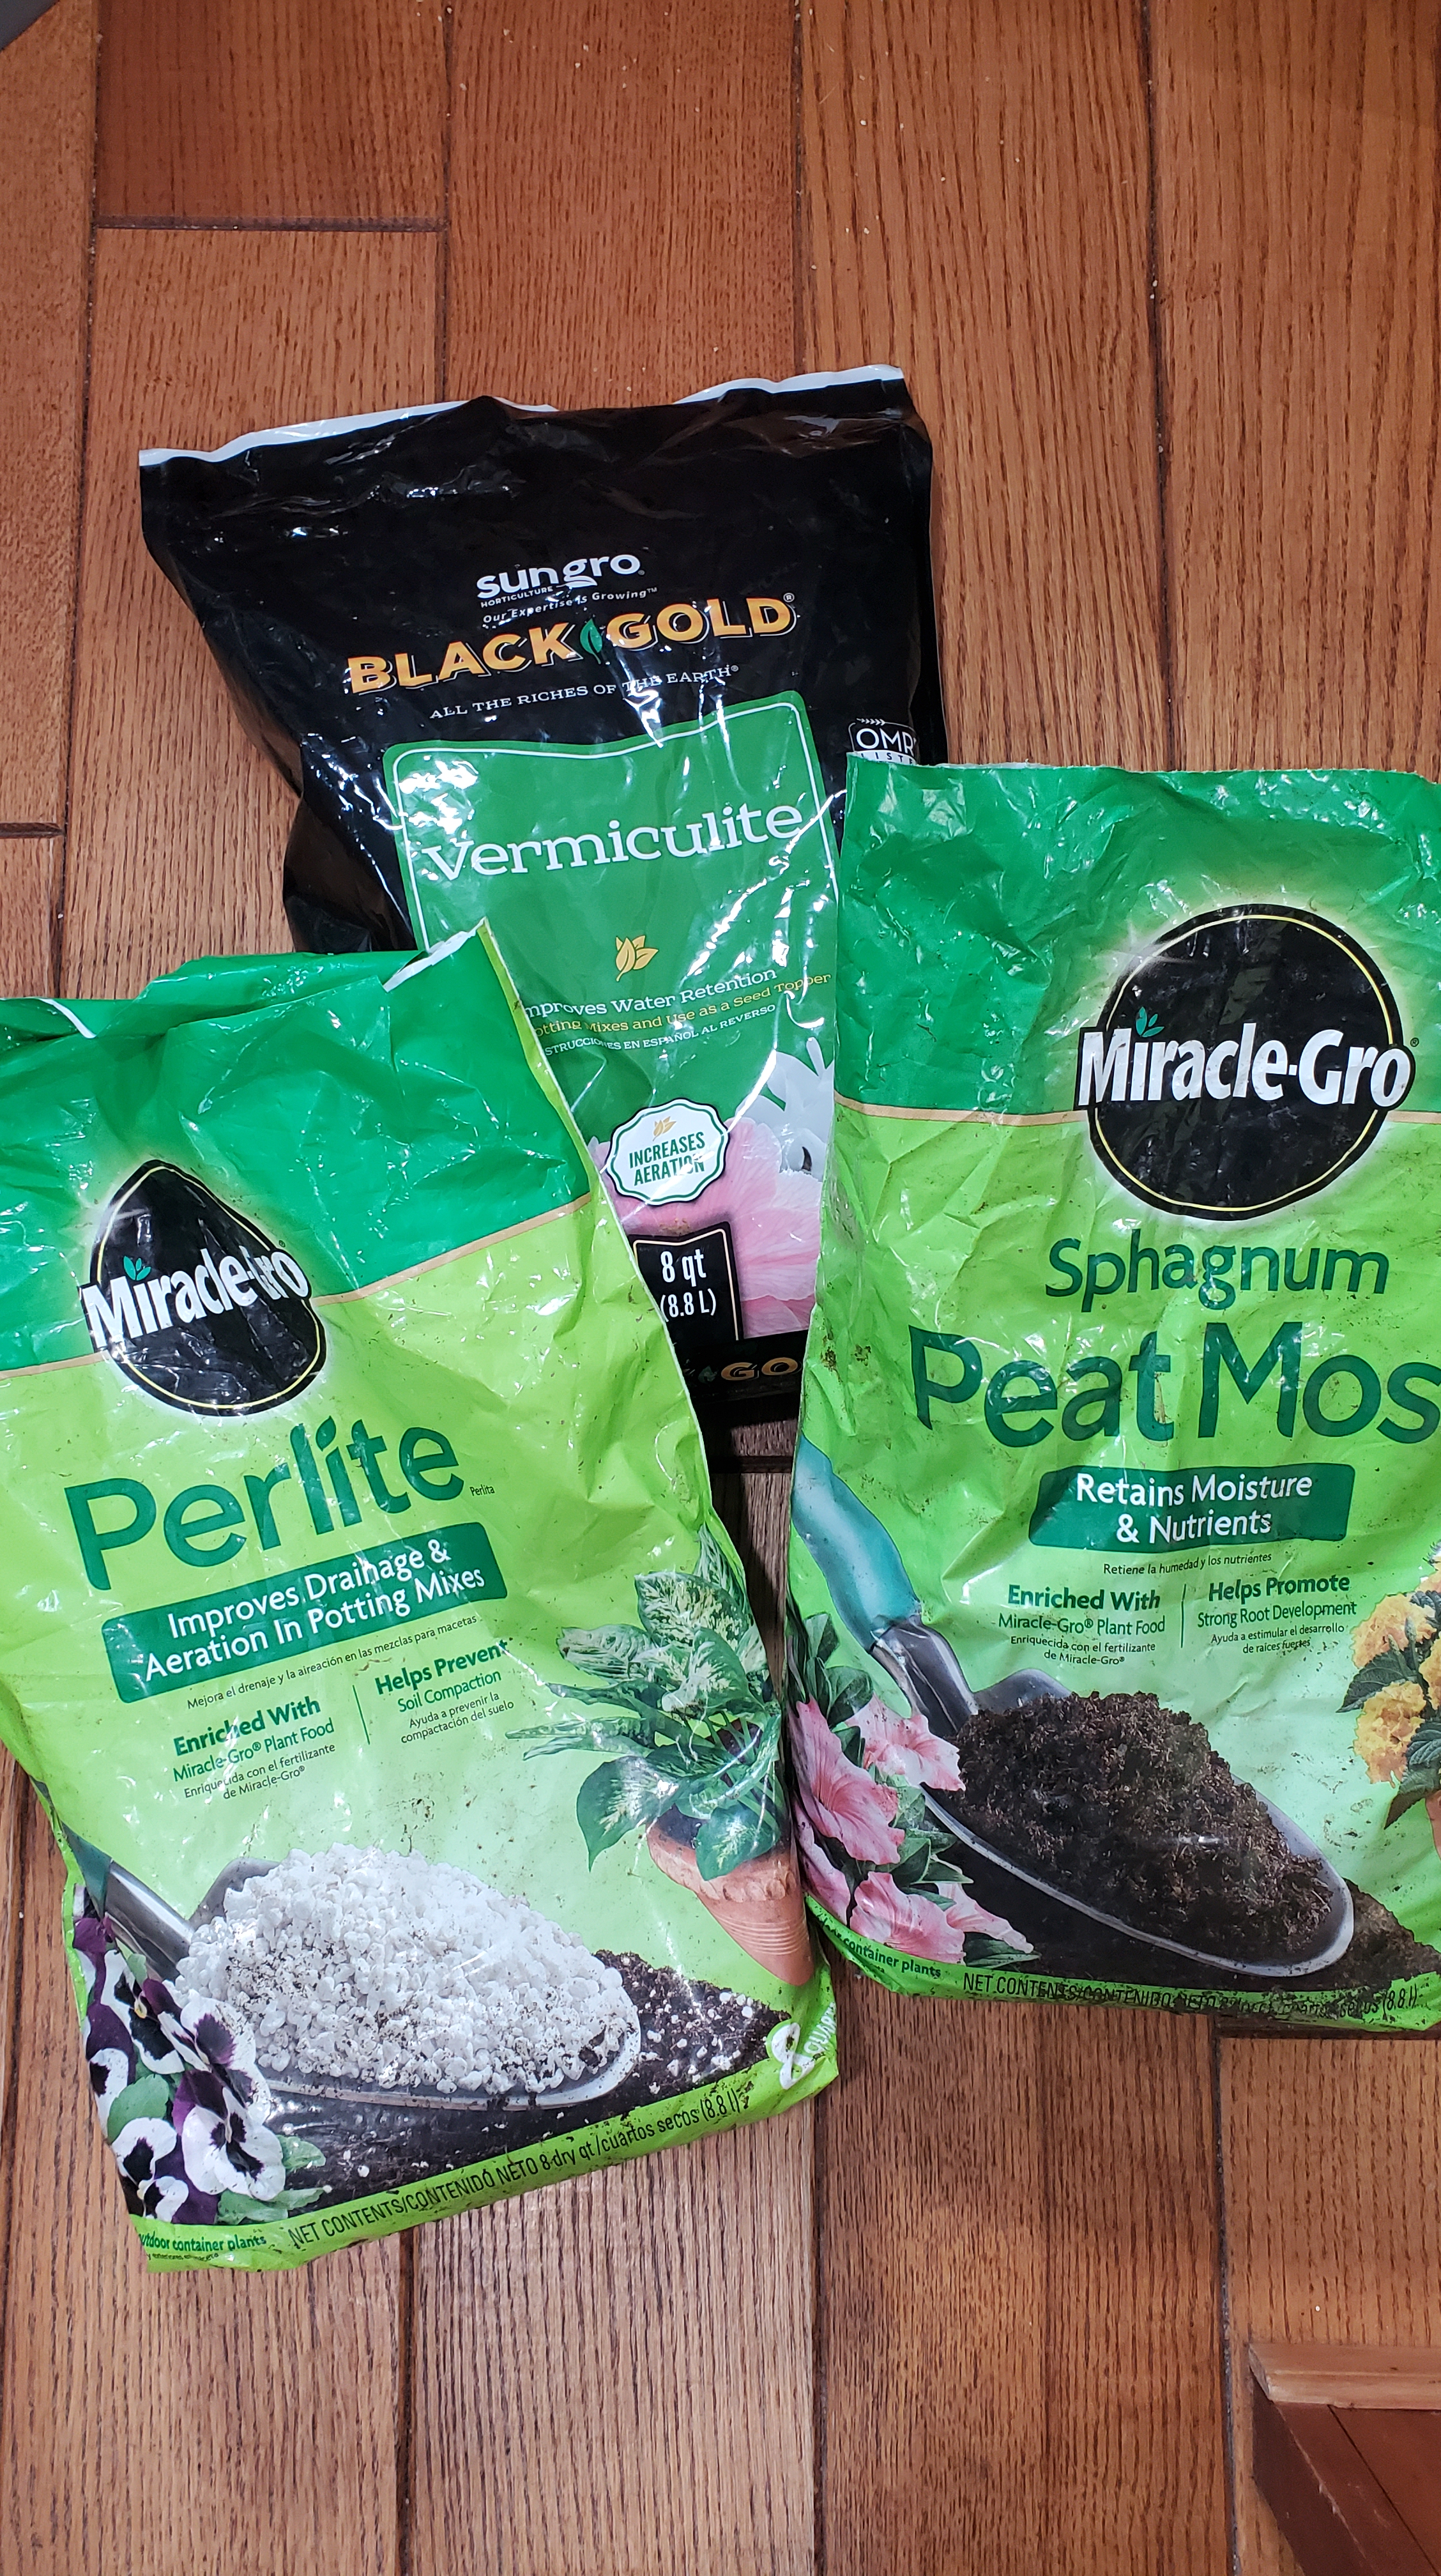
You may find lists of 7-10 ingredients that go into seed starting mix. From the numerous articles I’ve read, there are really only three items common to all recipes so that’s what I’ve chosen to use. It’s the “no frills” version and it works just fine.
Peat Moss OR Coco Coir – peat moss comes from peat bogs whereas cooc coir made from the husks of coconuts and is a much more sustainable alternative to peat moss. From a price standpoint, they are pretty comparable so I don’t see any reason to not use it. I had leftover peat moss from last year and will only be buying coco coir going forward.
Perlite – a volcanic glass that helps your soil stay light, prevents compaction, and promotes moisture retention.
Vermiculite – a mineral that is highly absorbent, improves aeration and moisture levels, and will help your little seedling absorb nutrients.
Steps to Follow:
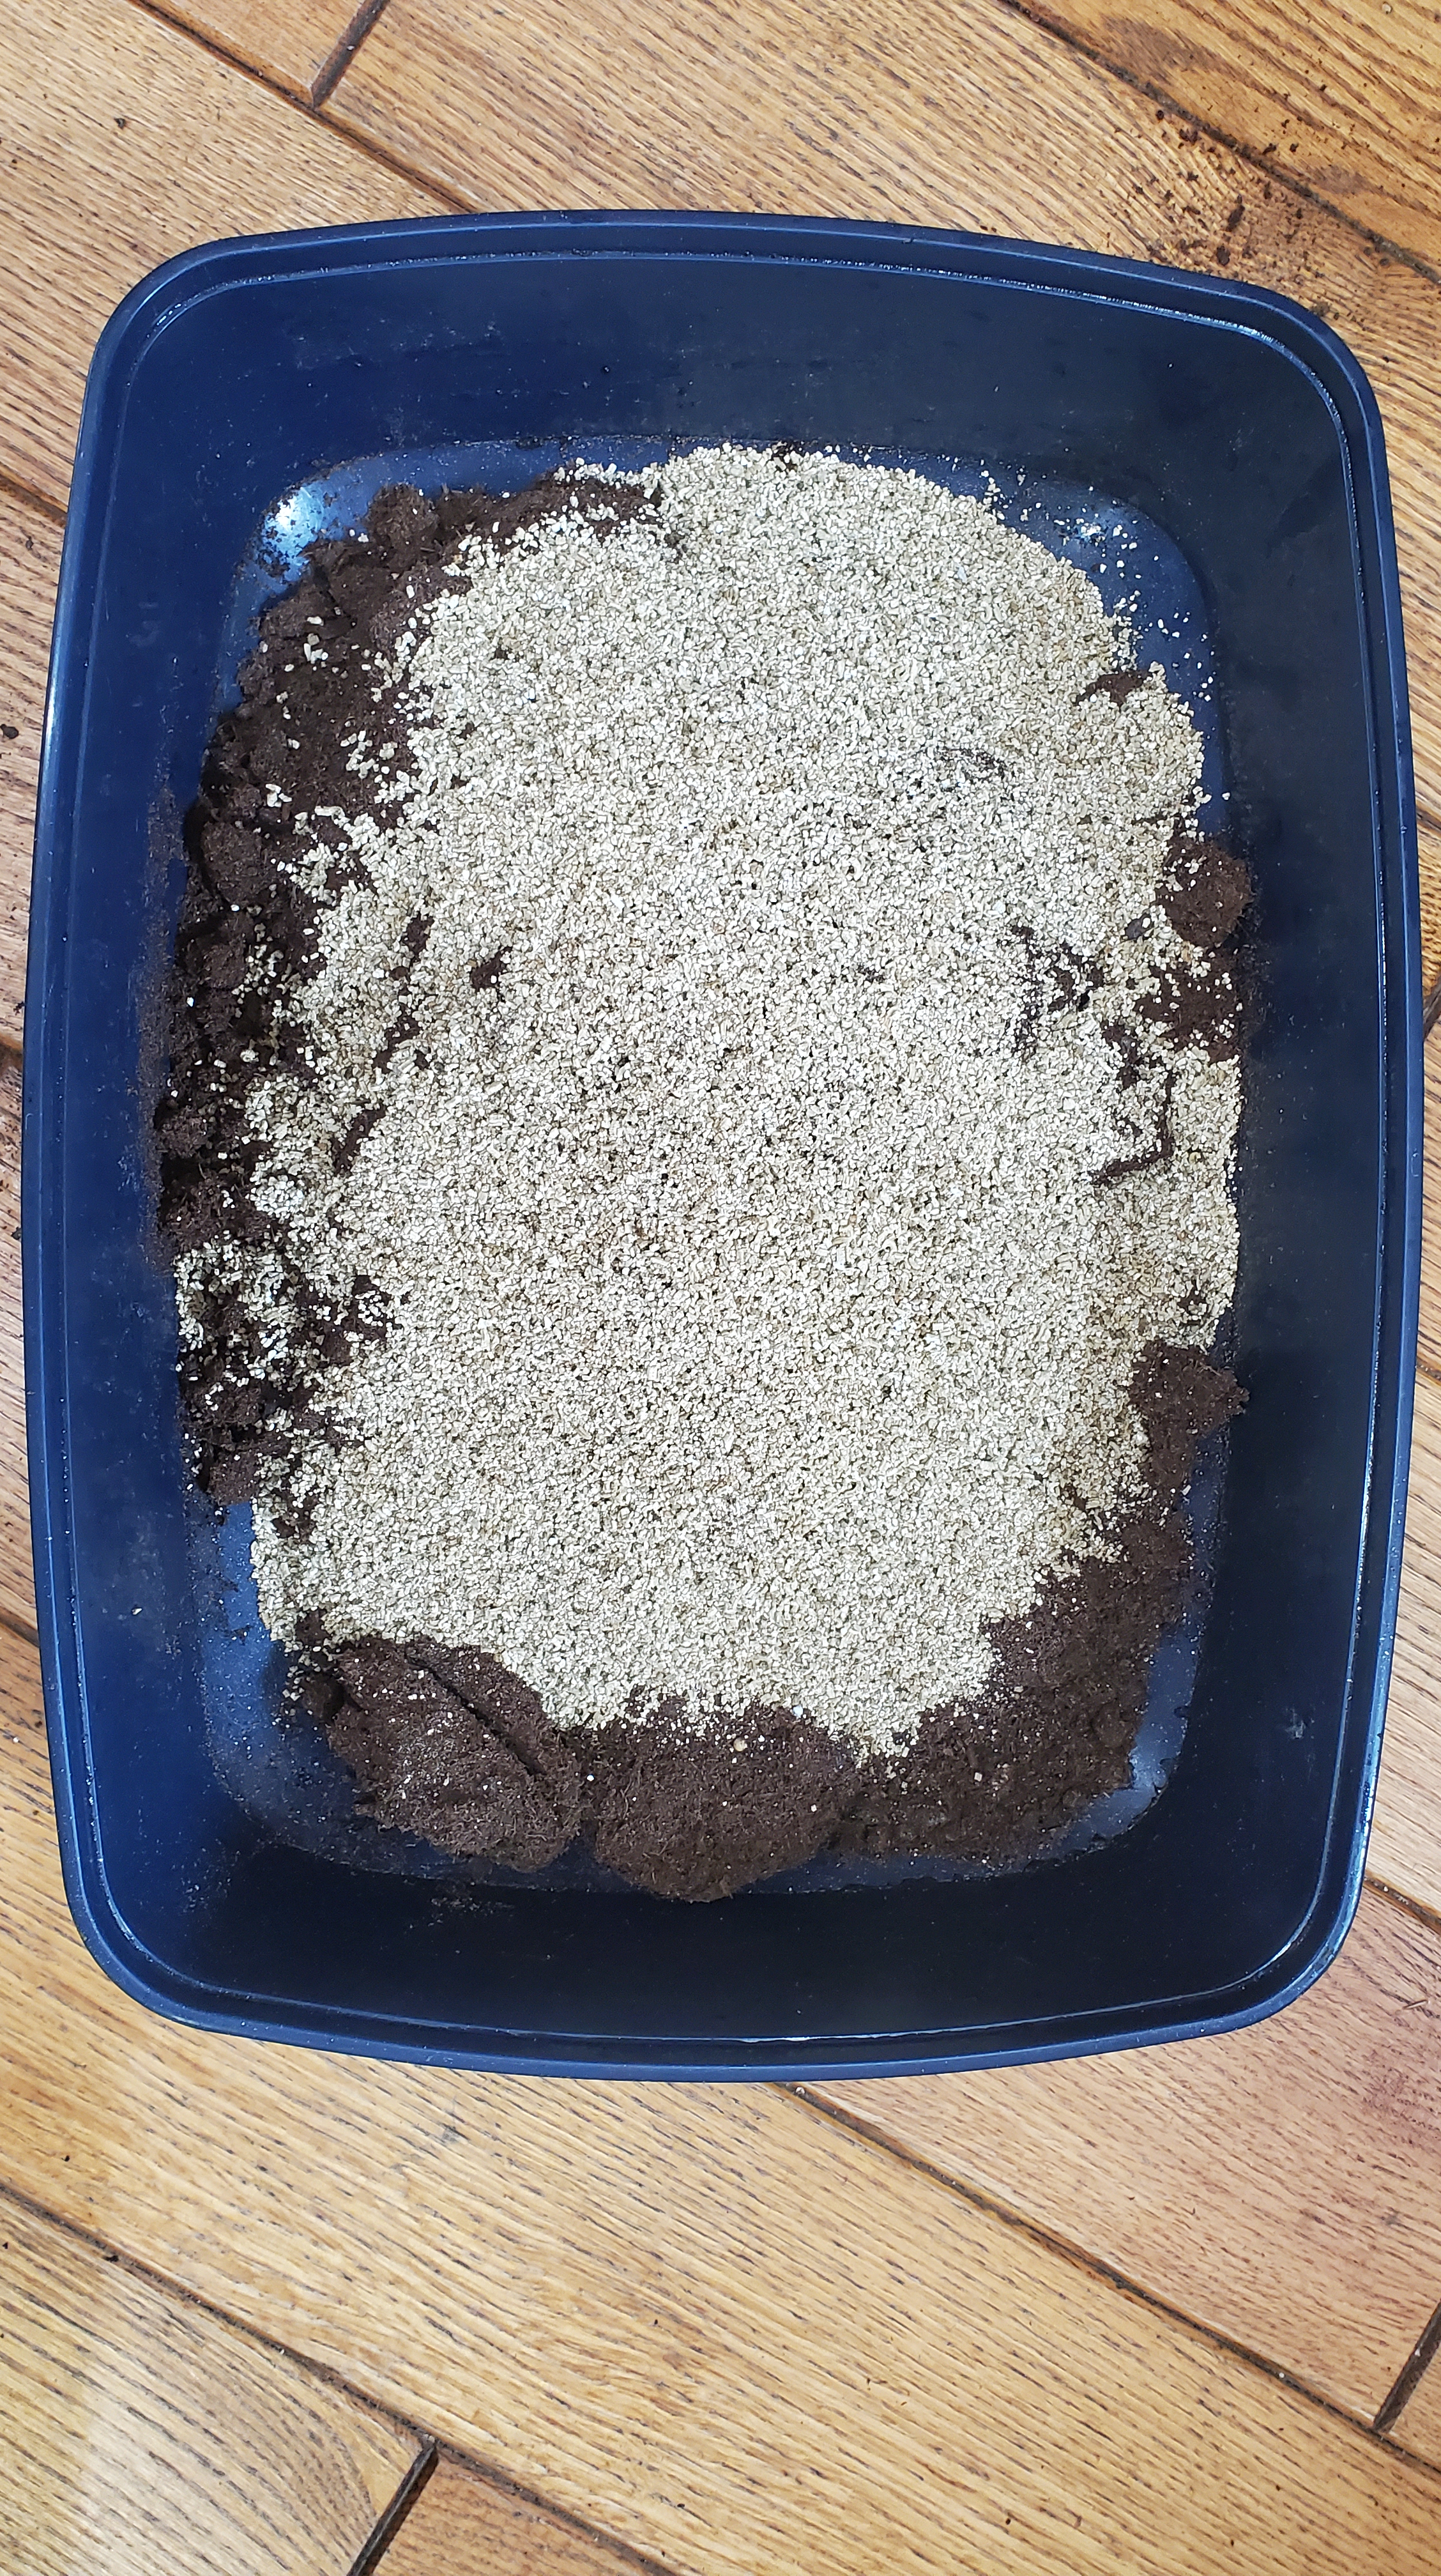
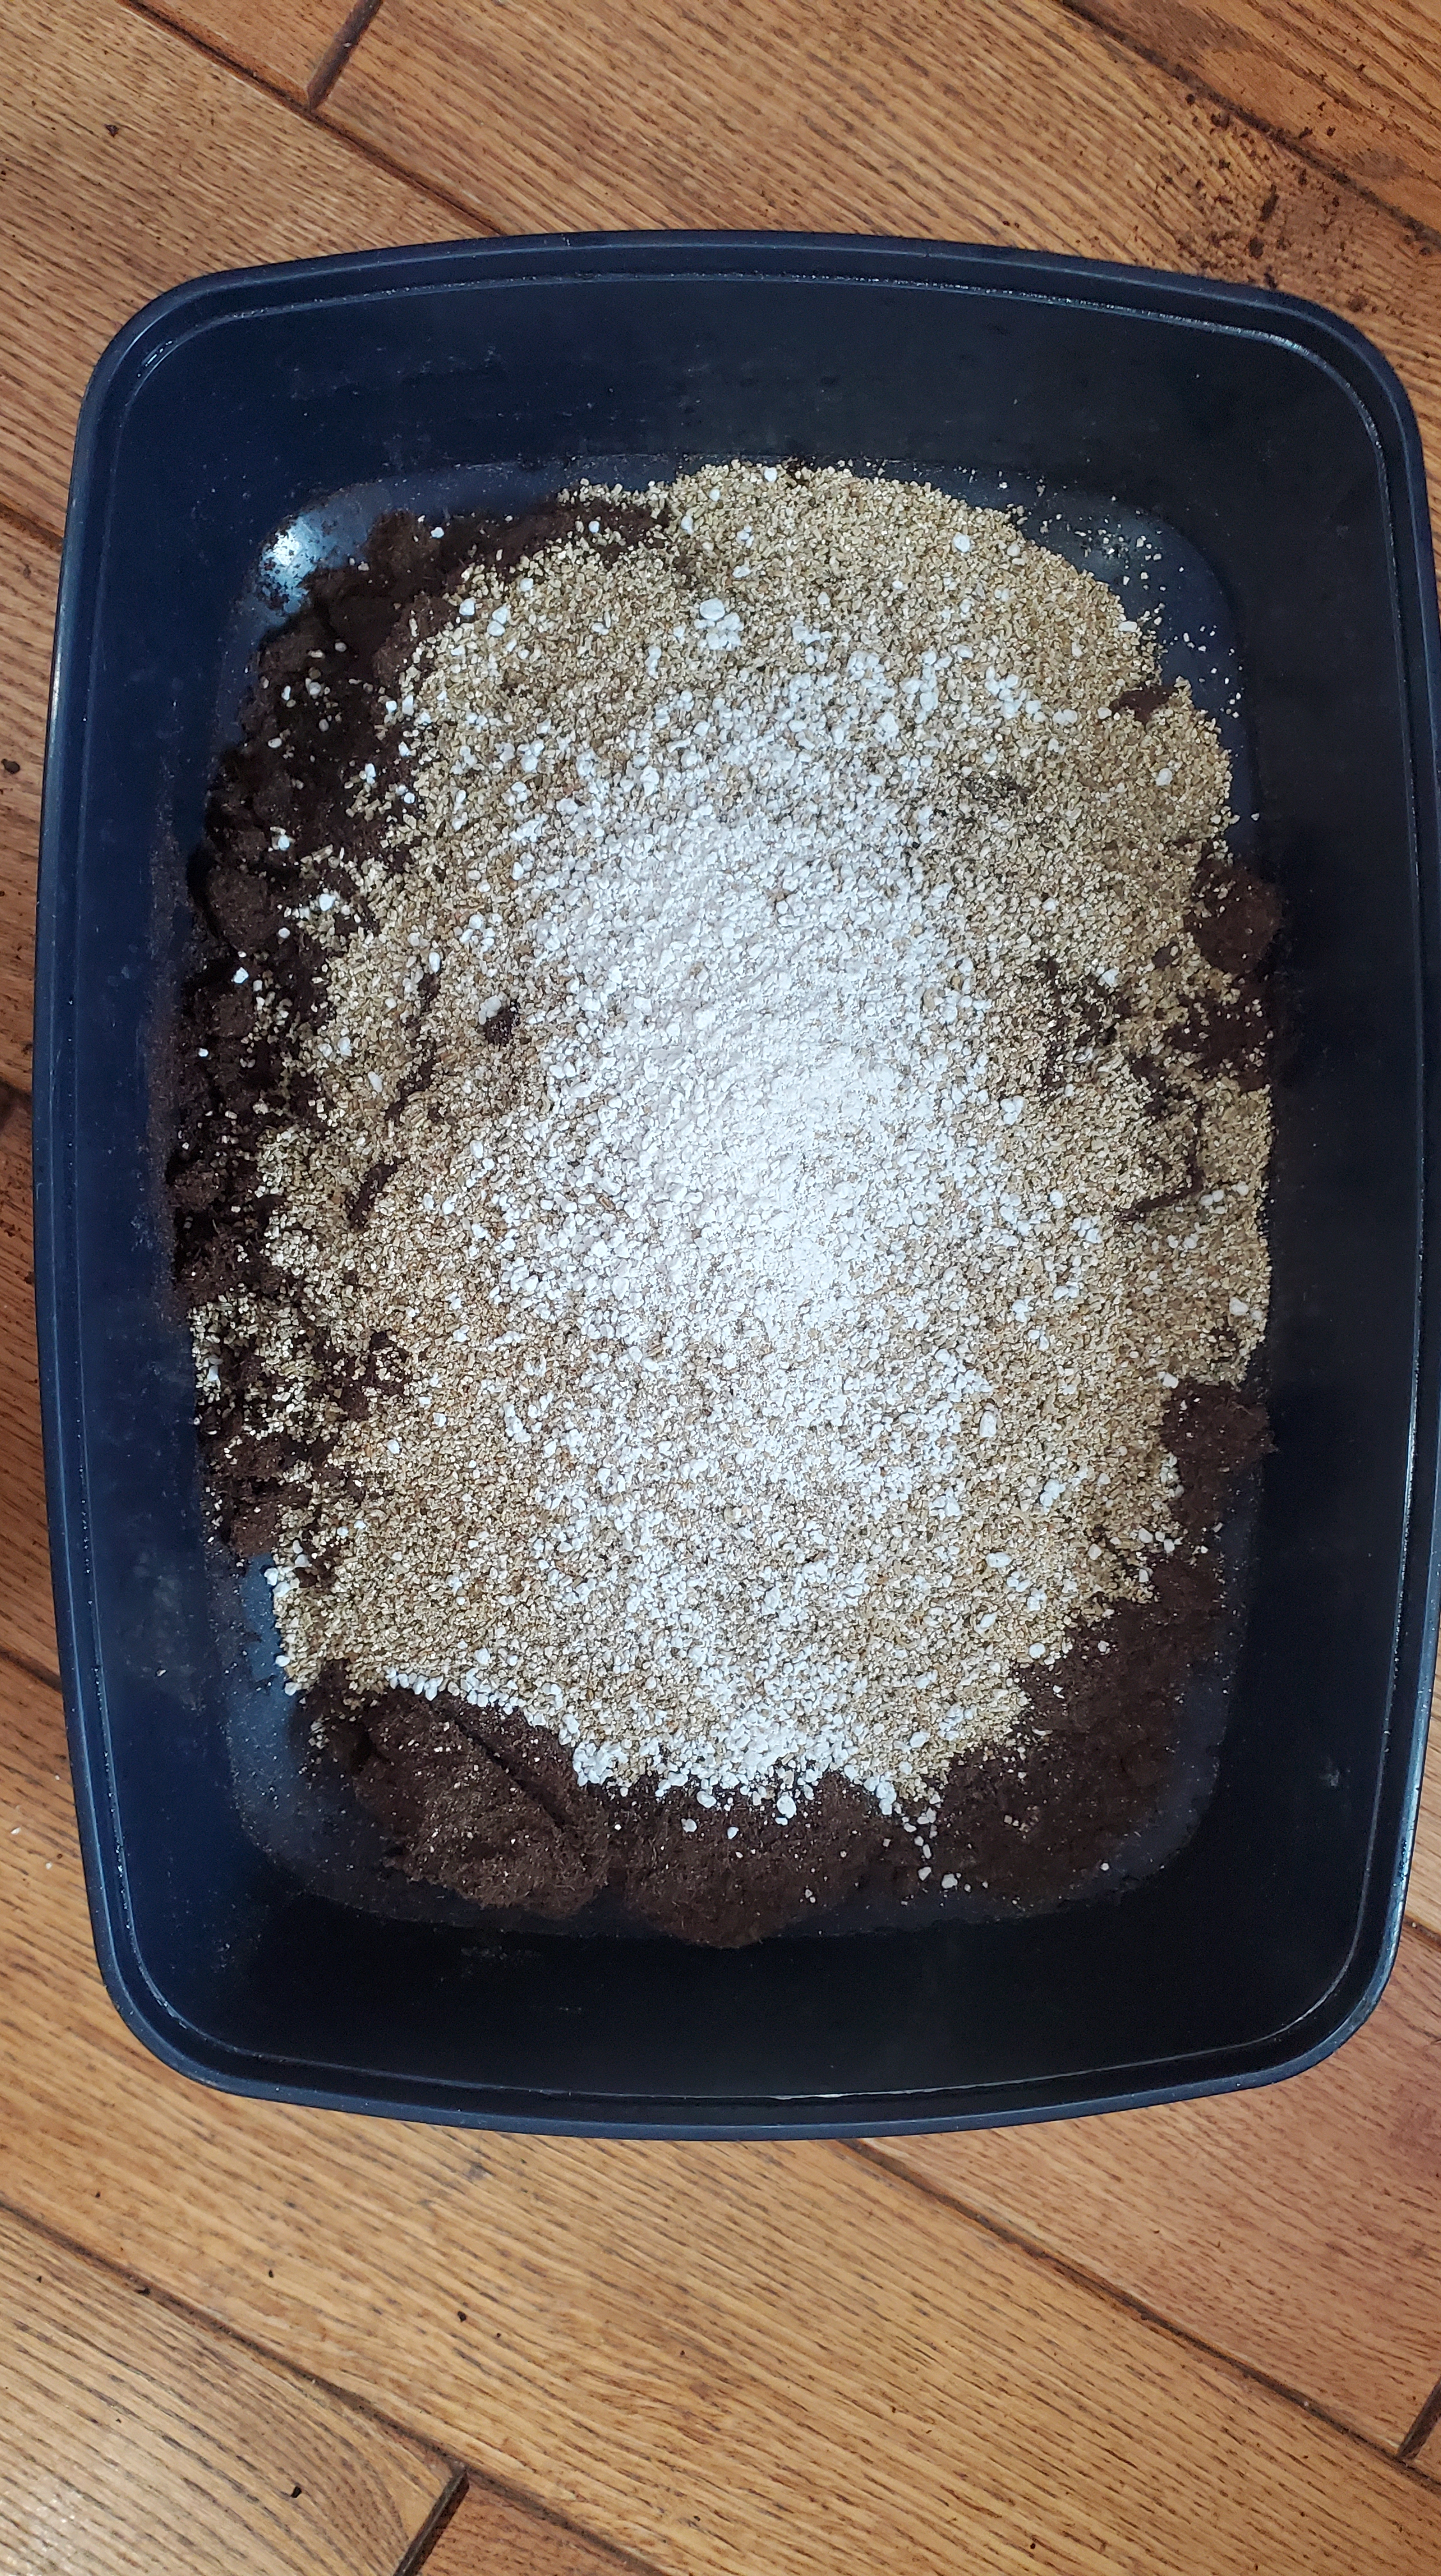
Your ratios are 6 parts coco coir to 2 parts perlite and vermiculite (6:2:2). As an example, if you took 1 coffee mug from your cabinet and filled it 6 times with coco coir, you would then fill it 2 times with perlite and 2 times with vermiculite.
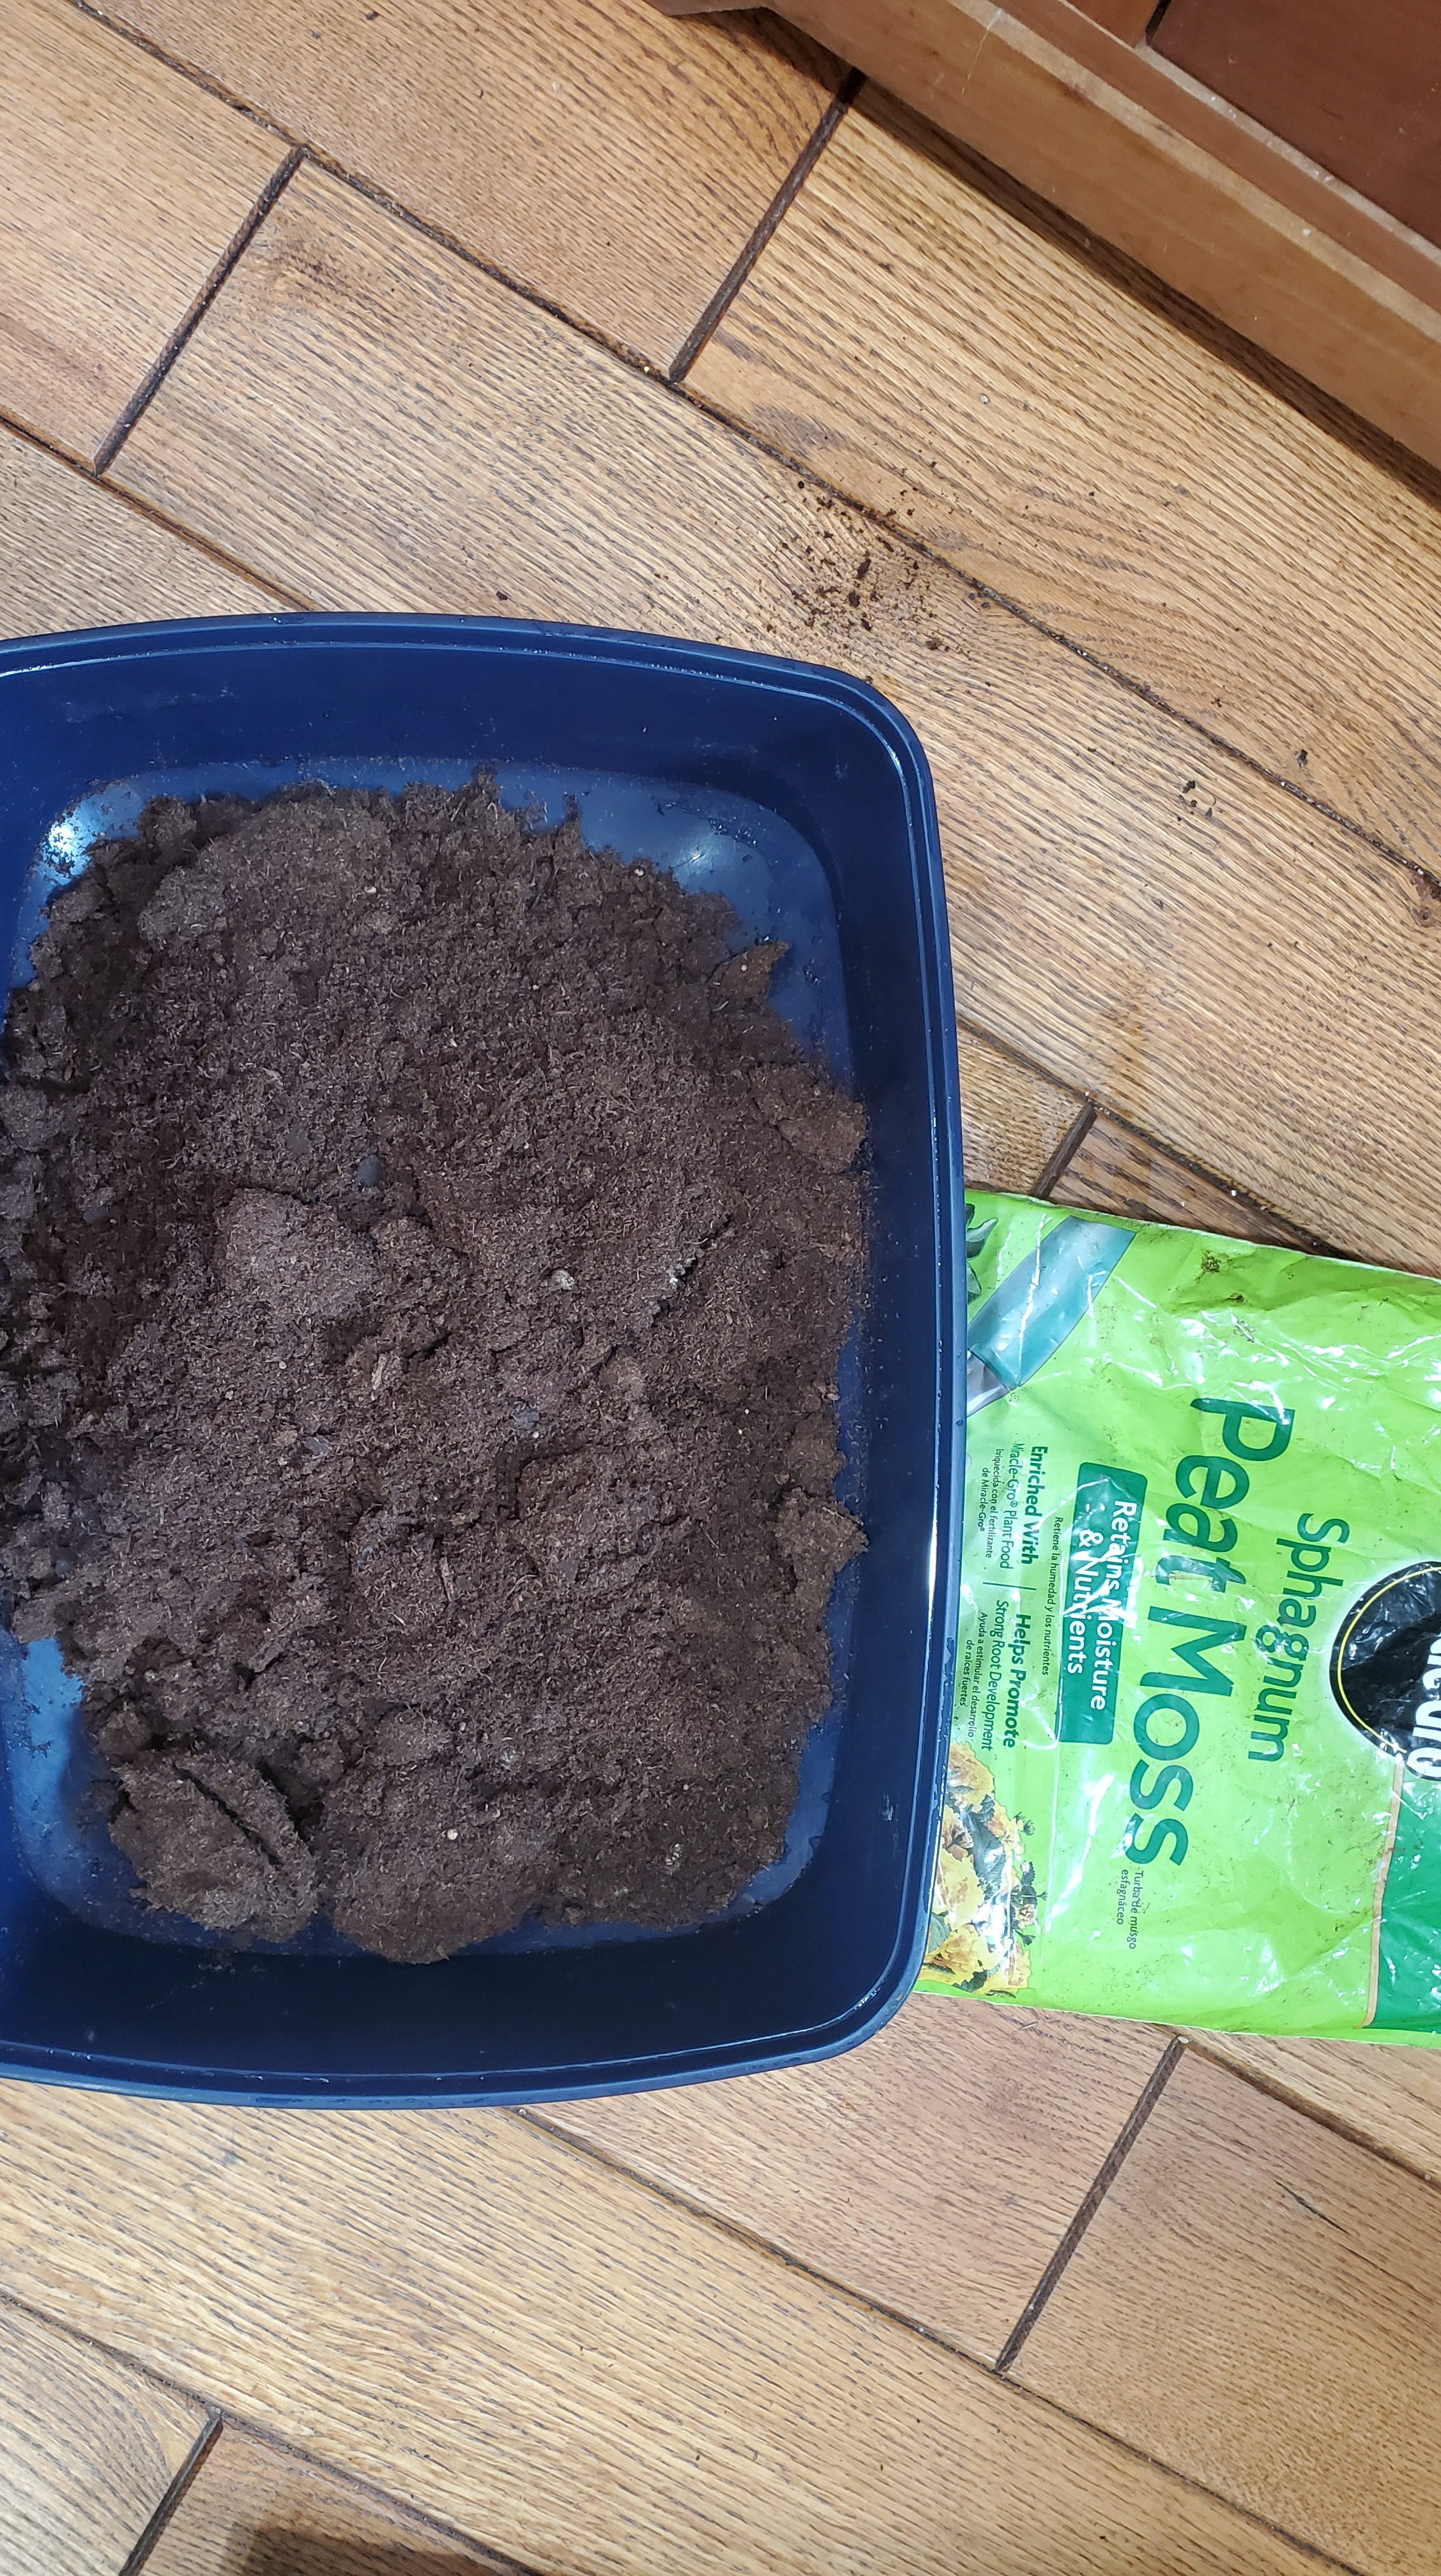
Mix it up well with your hands in a bucket or plastic storage bin.
Then add enough boiling water to thoroughly wet the whole mix, and then let it cool to room temperature. Caution: it will be hot when you add the boiling water so wear garden or kitchen gloves.
Then just fill your seed trays or pots that you plan to use with the mix.
The big win from starting your own seeds and making your mix is you have complete control over everything that goes into the process and don’t have to rely on whatever your garden store offers.
I have never been much into radishes. I’m guessing there is more than one way to skin a radish, but I only ever at them in salads years ago. They were always flavorful and added some crunch, but nothing I craved. Until… have you ever had Korean Fried Chicken #TheRealKFC?
In our neck of the woods, KFC has been a pretty hot trend for about five years. If you’re not sure what it is , I suggest you not ask too many questions and just trust me when I say it’s delicious. It’s double fried or twice fried chicken with a few different sauce options – usually sweet or spicy. I wouldn’t say KFC is a regular indulgence by any means but two to three times a year won’t kill you, or it will, I can’t say for sure.
The whole reason I’m bringing this up is because the accompaniment served with Korean Fried Chicken is pickled radish that is absolutely addictive. You can’t stop popping them in your mouth. I think they cleanse the palate and turn down the heat. You will ask for multiple refills, I assure you.
So back in September when I wanted something fast and easy to plant, I heard radishes fit that description. But per my opening paragraph, I didn’t think beyond what I would do with them after I grew them. I hope I’m not the only gardener who does this. I obviously didn’t want to waste them so I thought pickling would be a good approach.
Without further ado, here is an insanely fast and easy recipe for pickled radish KFC style that are great to put with cheese, crackers, and other snacks when you have guests over <hint hint for upcoming holiday gatherings>.
What you need:
1 lb radish (daikon is recommended, I used a regular cherry radish)
⅔ c white granulated sugar
⅔ c white vinegar
⅔ c filtered water
¾ tsp salt
2 pint-sized canning jars with lids
Steps:
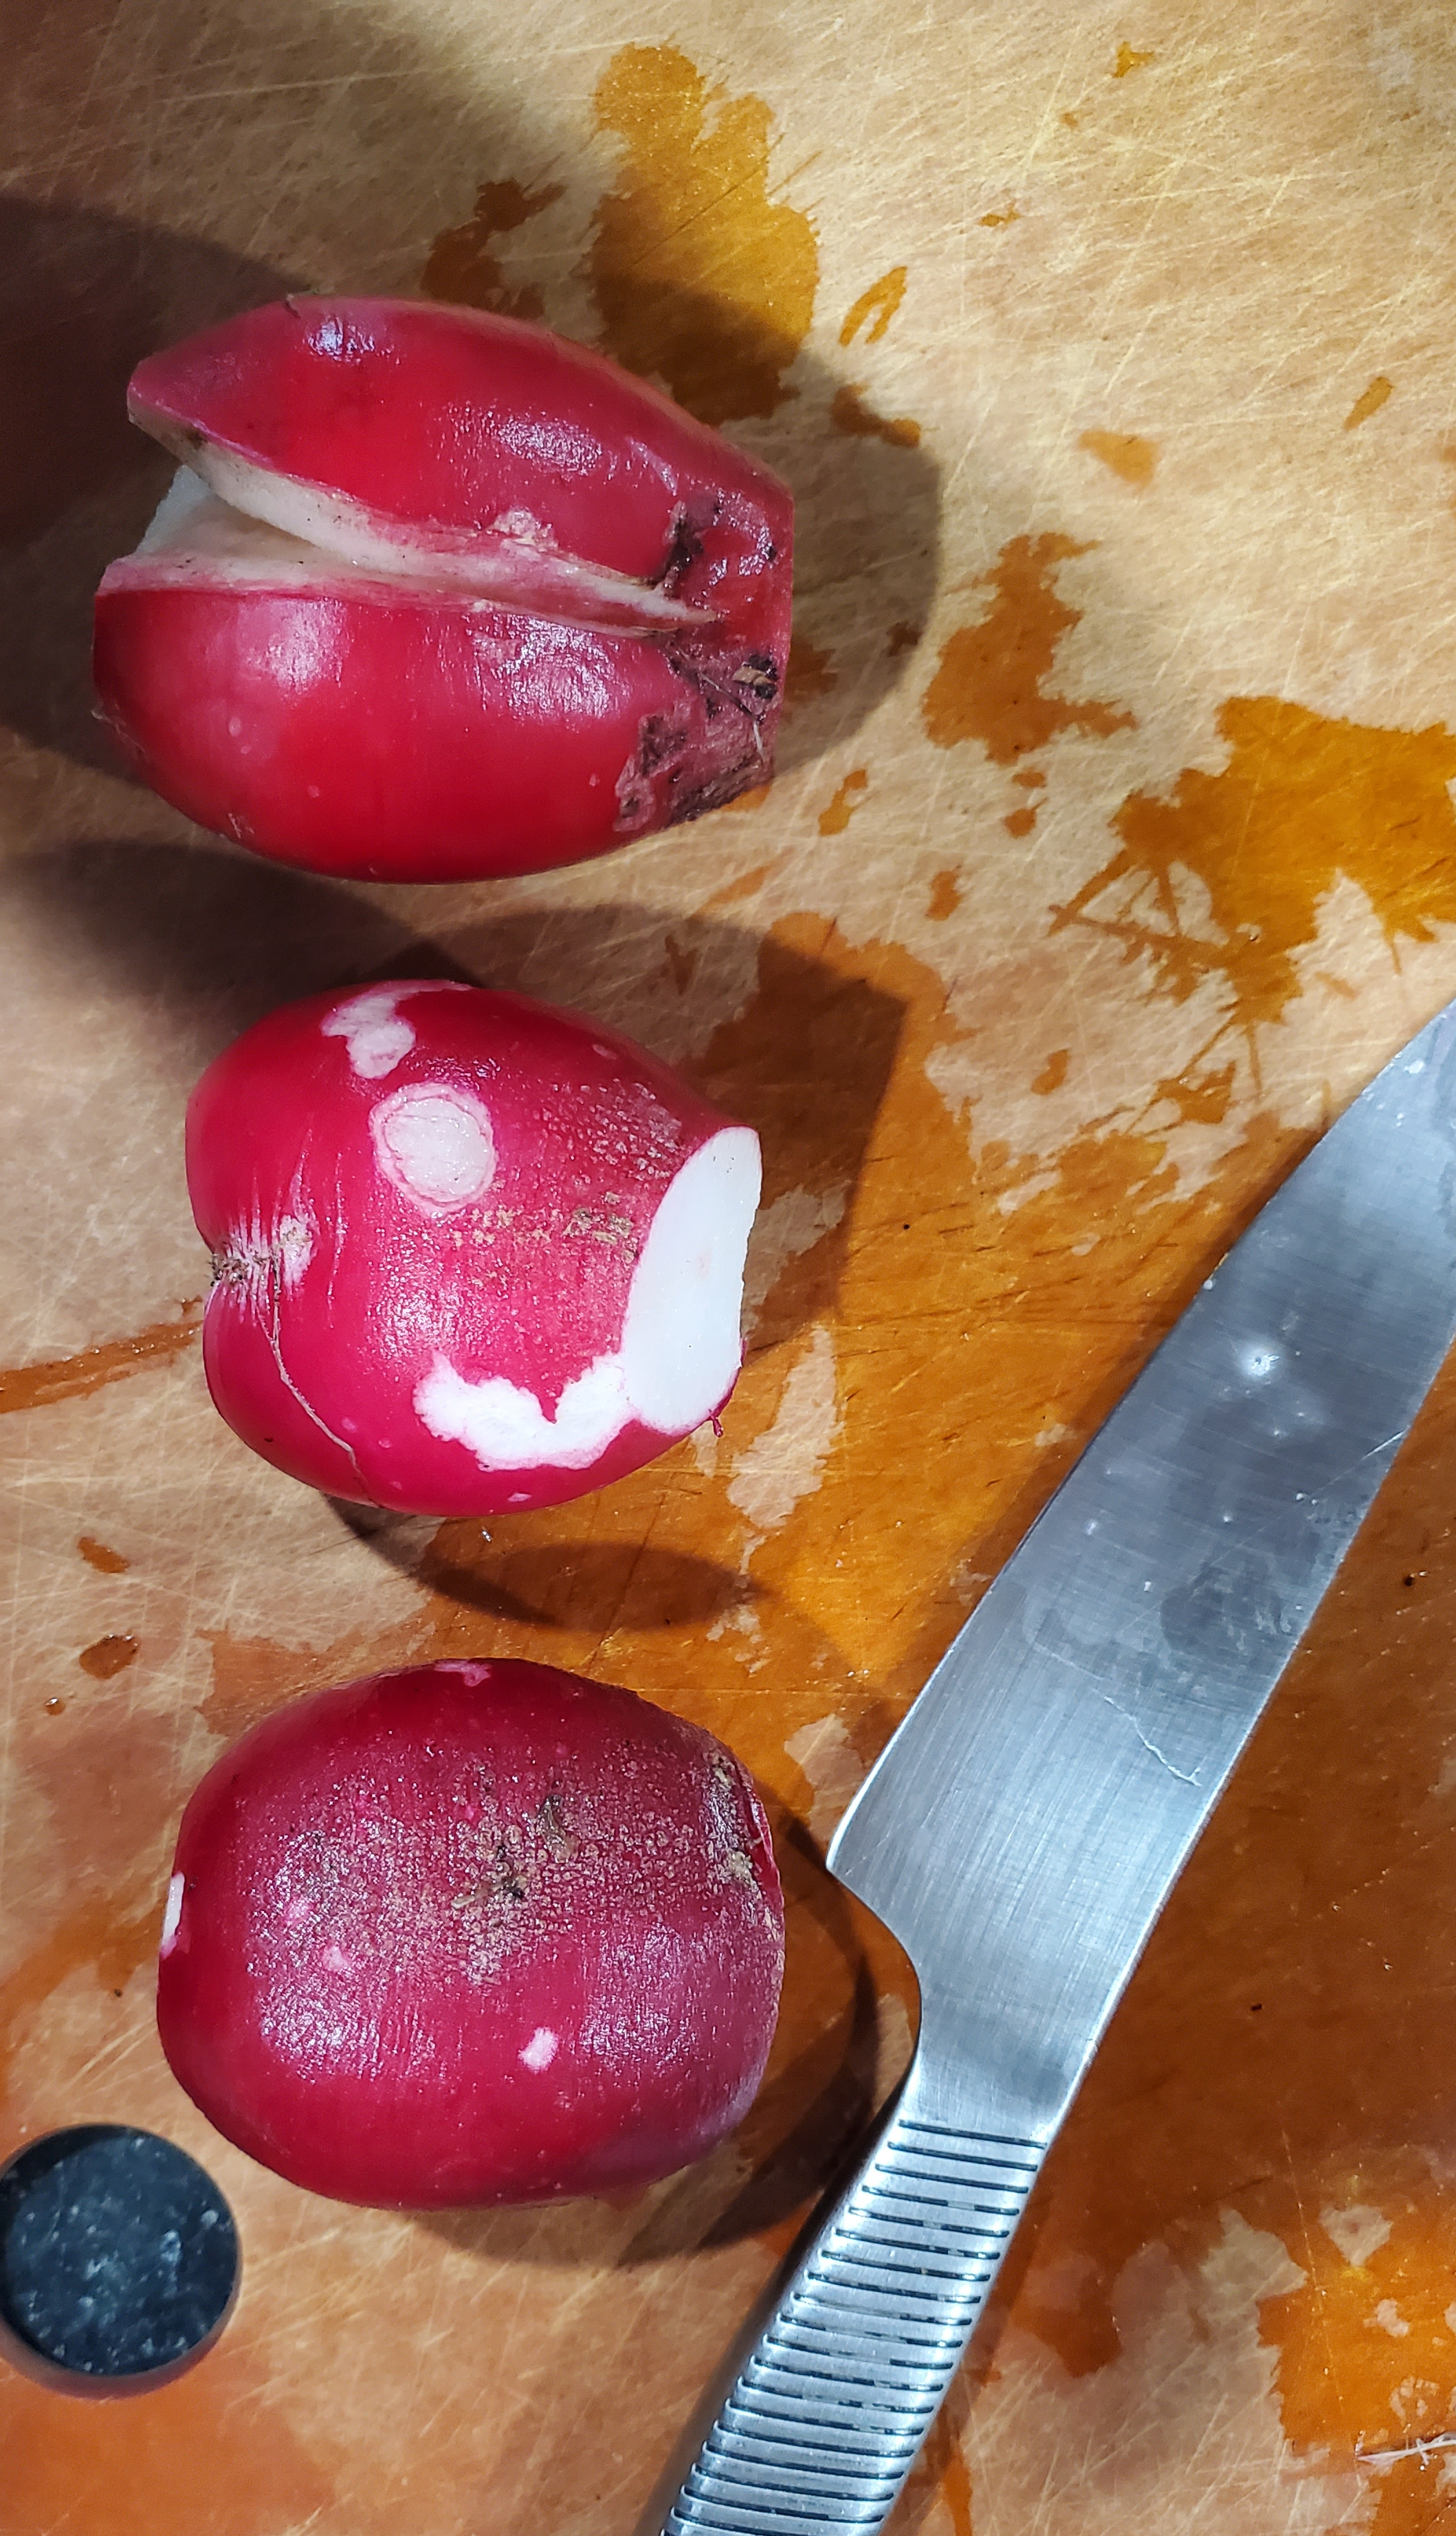
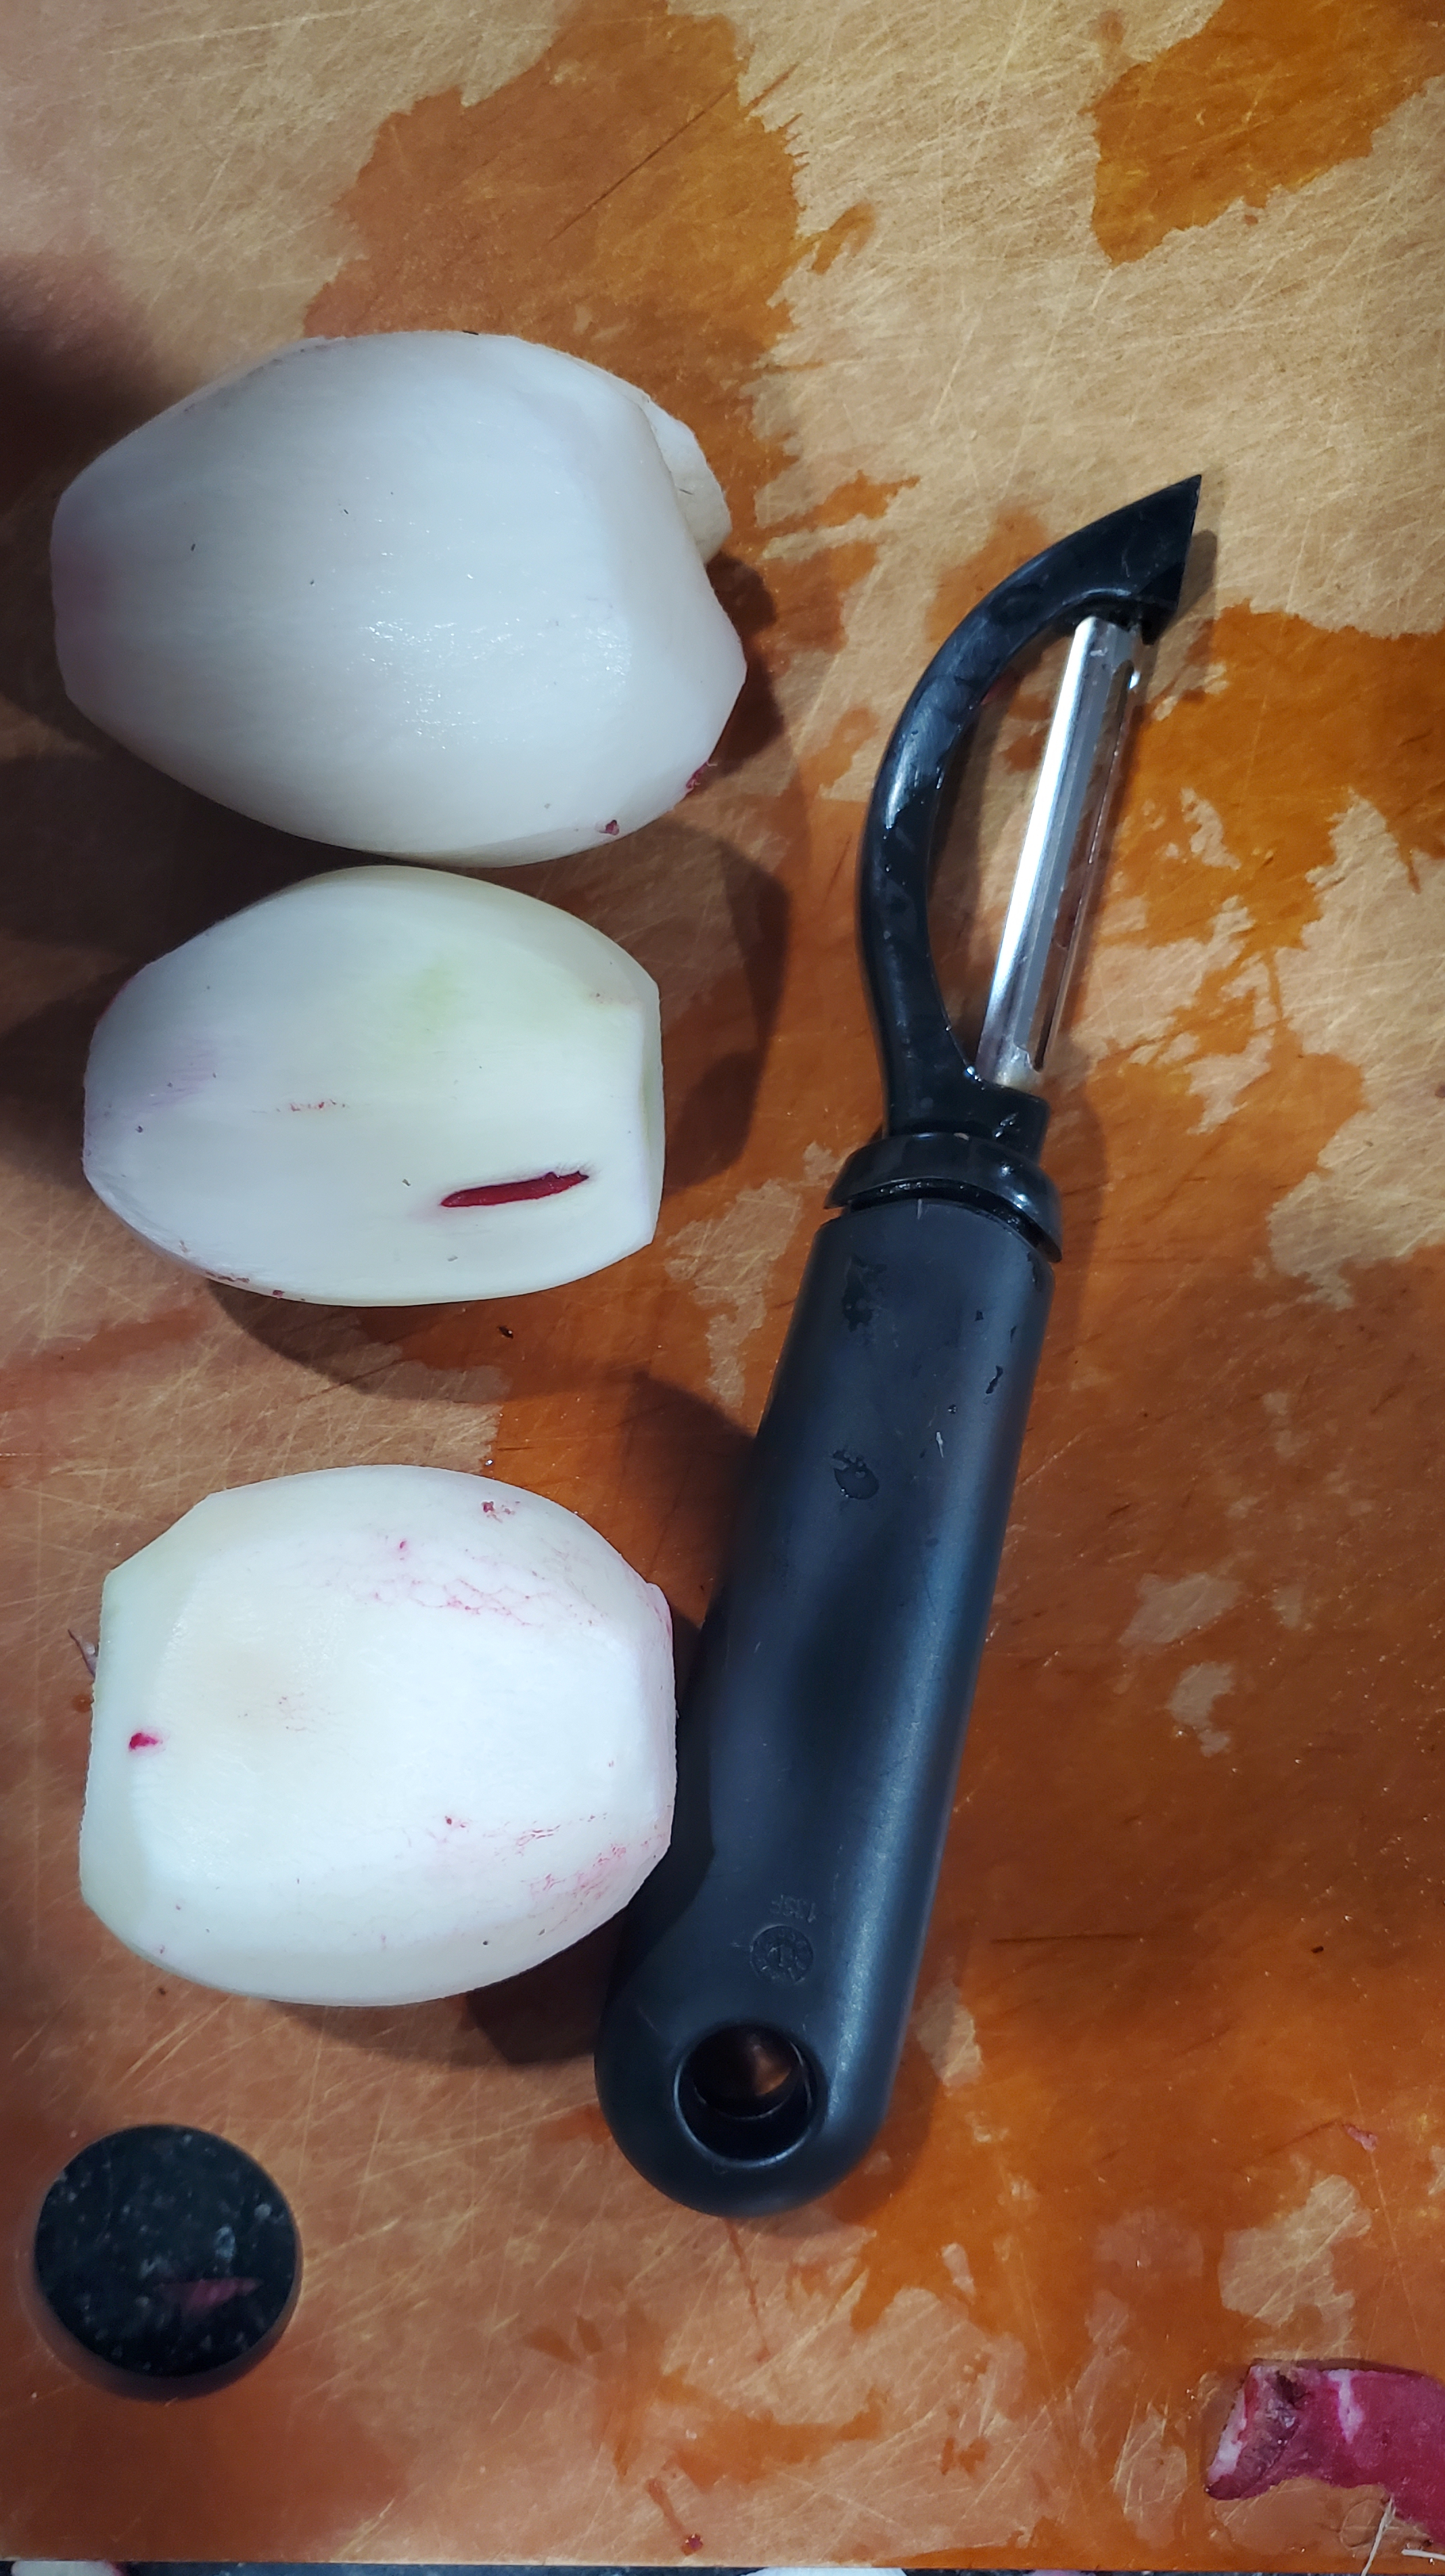
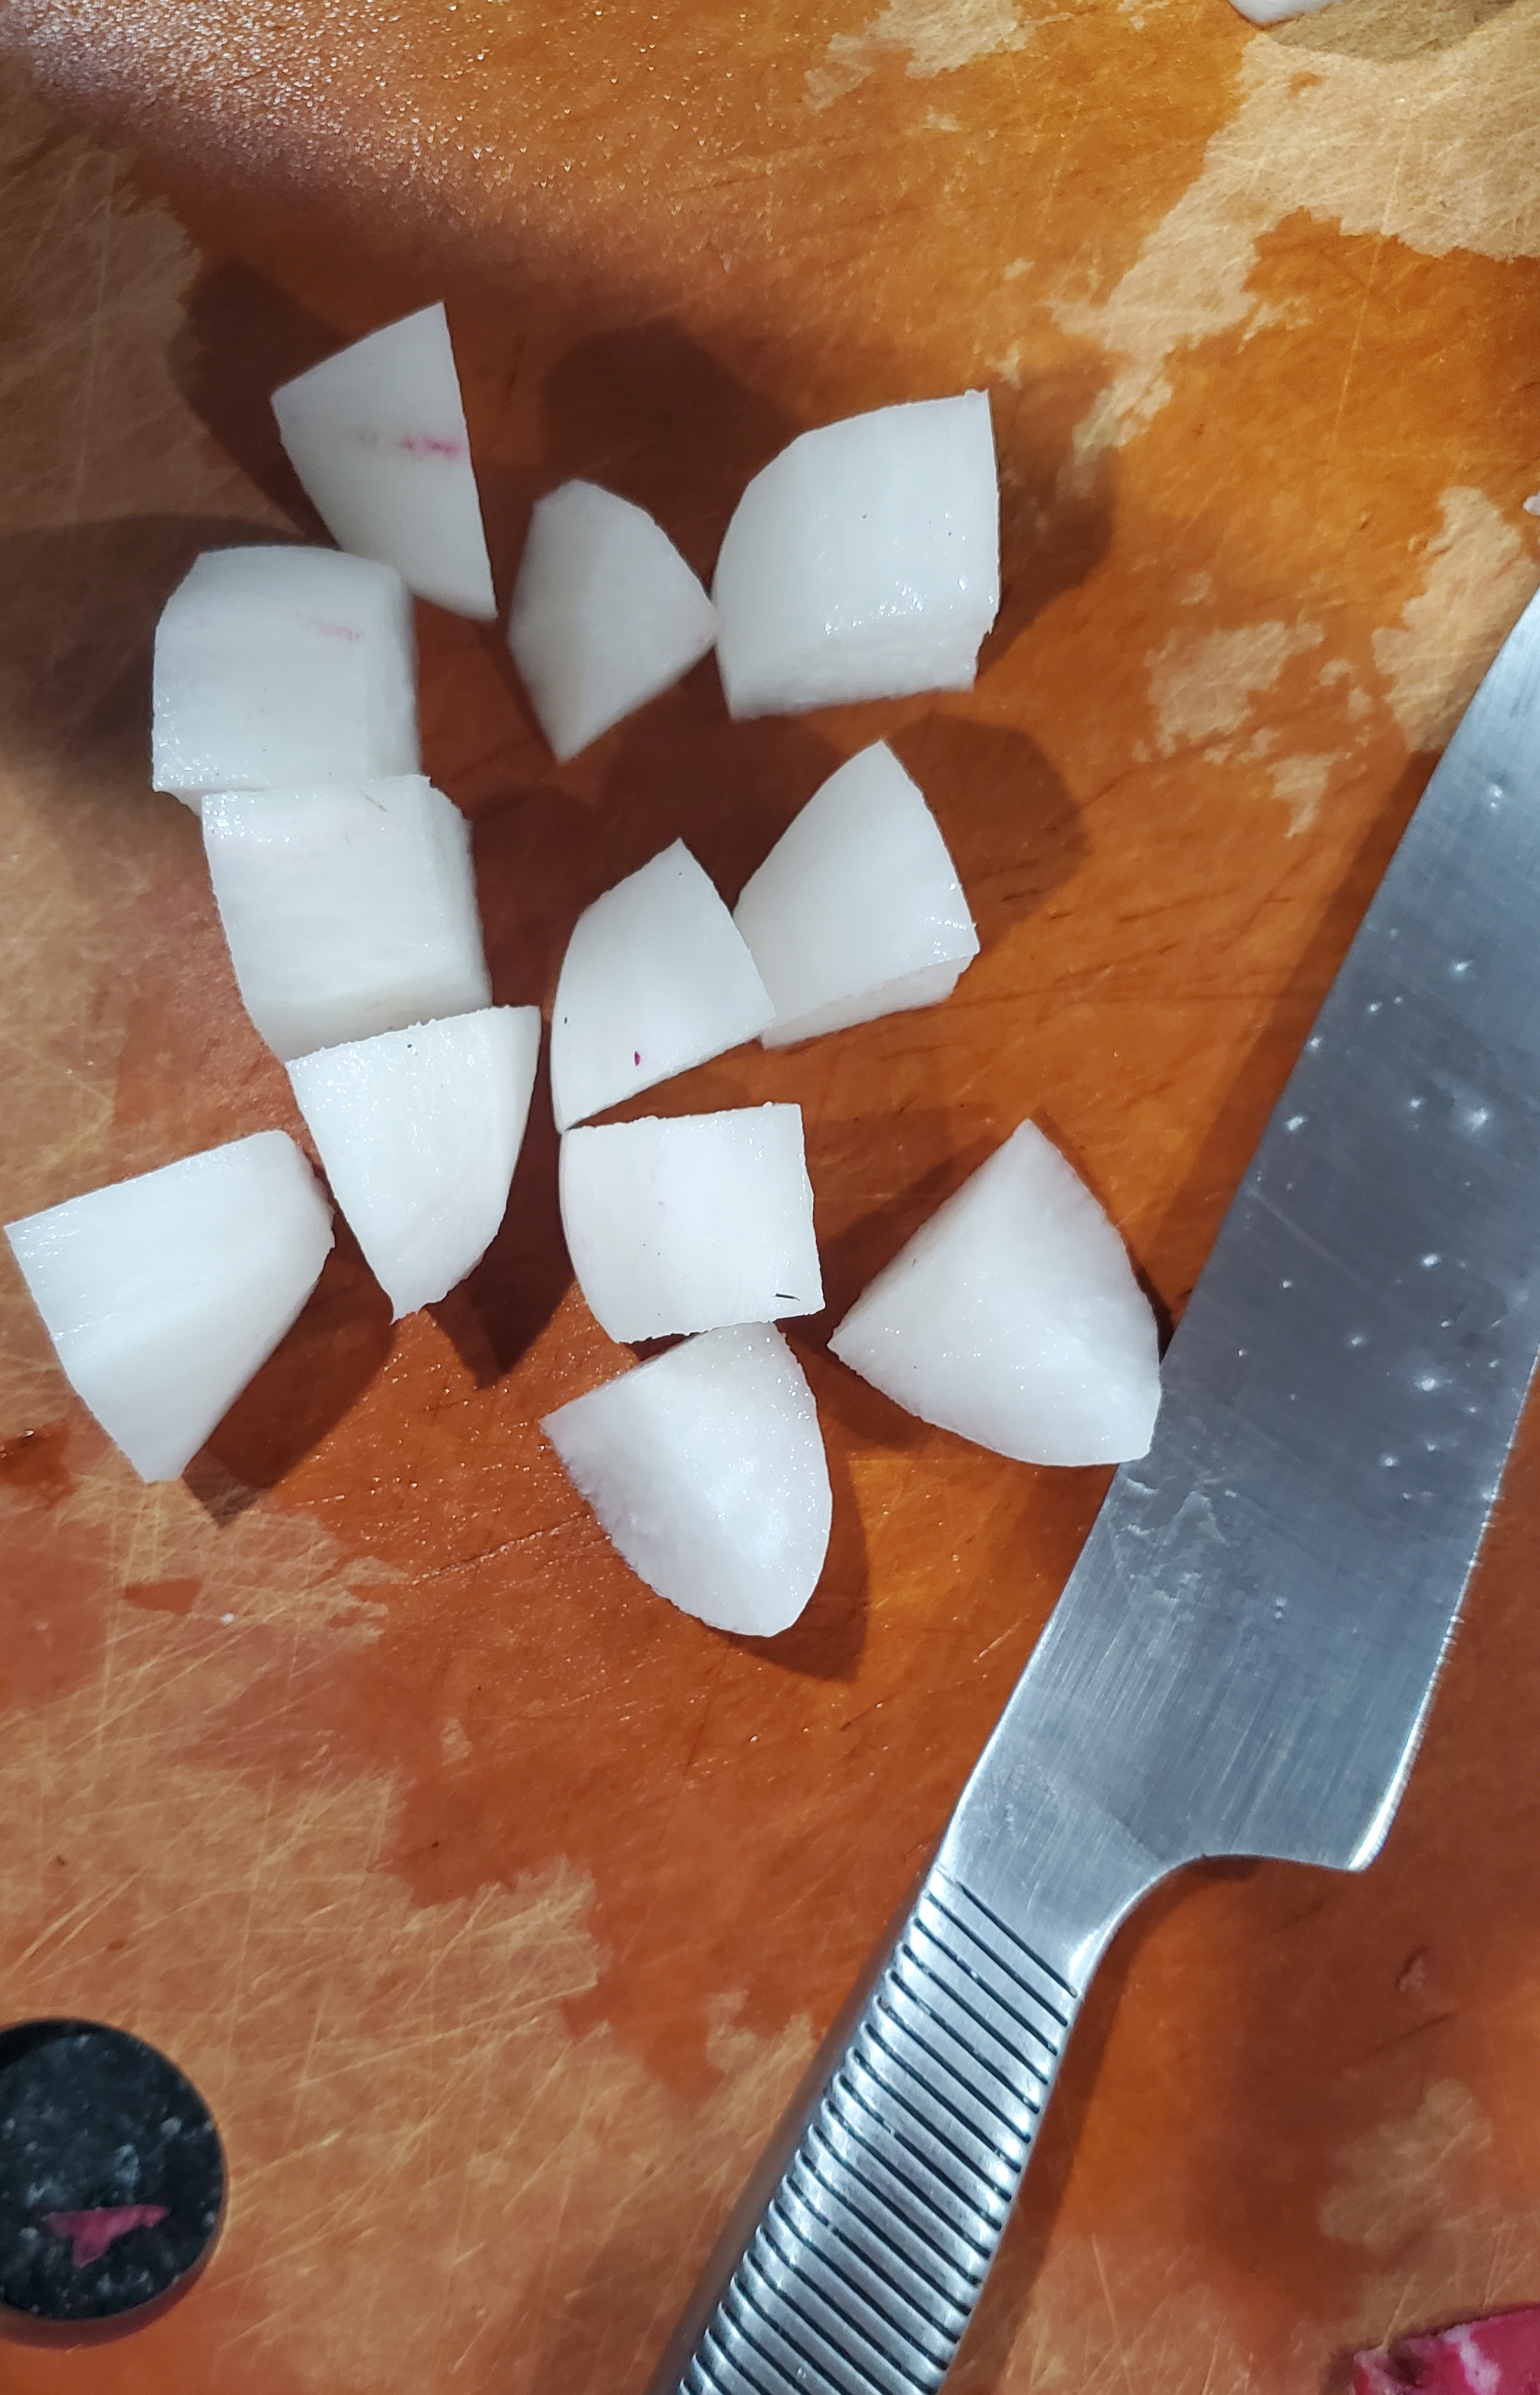
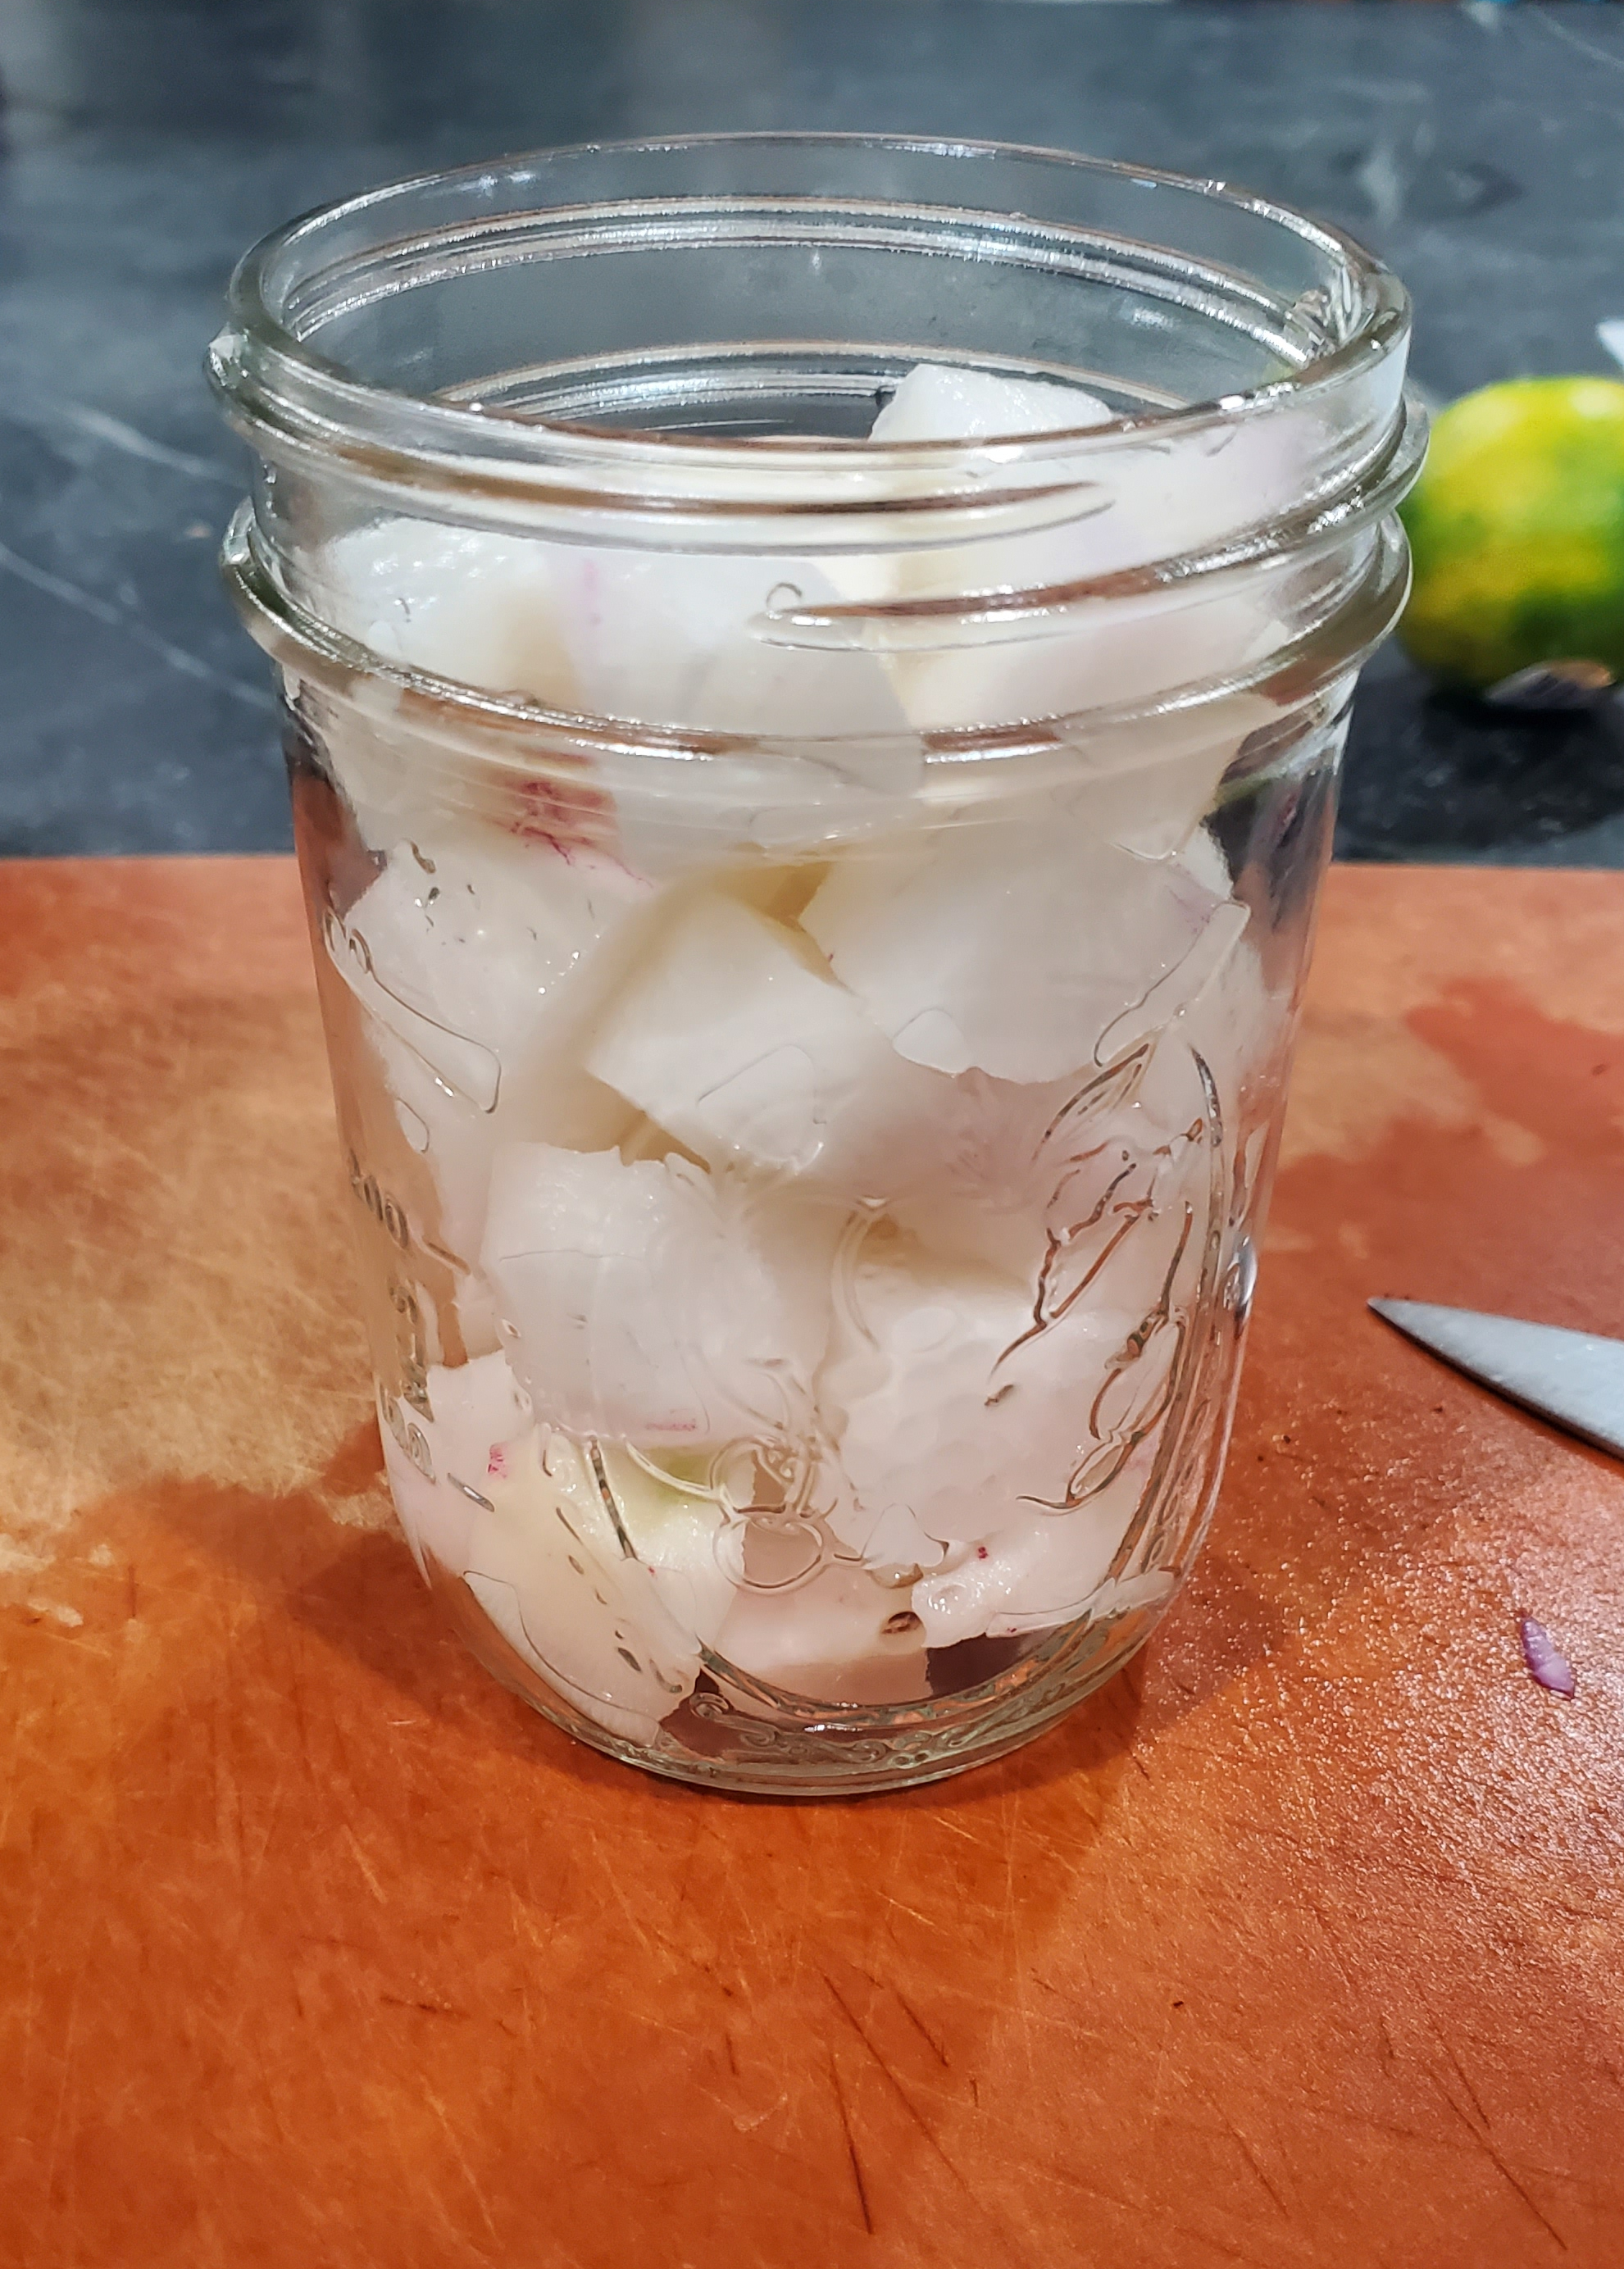
Clean, peel, and chop your radish into 1/4 to 1/2″ cubes. Place in canning jars.
Combine your pickling liquid and stir to dissolve the sugar and salt.
Pour the pickling liquid over the radish.
Store in the refrigerator for minimum 8 hours; 24-48 hours is recommended.
Ladies and Gents, in the spirit of prevention, it is my duty to inform you that flu season is upon us and I encourage everyone to go get a flu shot. If prevention isn’t your thing, well then I’d be remiss to ask how you’ve found yourself a hobby like gardening? Homesteading and self-sufficiency is all about being prepared and doing what’s in your power to ensure a better tomorrow (the definition of prevention in my book).
On the flip side of that same coin, while I have much respect for the evidence and advancements of the scientific and medical communities, I will also emphasize that we shouldn’t solely rely on them to “make us better.” There is nothing wrong or contradictory to also use the wonders of nature, our original doctor, to boost health and immunity. That’s called complementary.
In that vein, I have been hearing about fire cider for over a year now but for whatever reason haven’t managed to find the time to actually make some <Translation: totally unmotivated and barely getting myself to accomplish the minimum each day due to the pandemic>. I had been doing The Booch for a while if you recall because that’s great for boosting gut health. But I’ve taken a break from that and figured there’s no better time to jump on some fire cider and #MIM (make it myself).
I did some searching for different recipes and found that most are built off the same baseline ingredients and the overall process seems to be pretty similar as well. The main difference between recipes seems to be the variety and extensiveness of ingredients. Basically, how much flair do you want to add?
The majority of recipes I reviewed all used the following ingredients.
Apple Cider Vinegar – a source of Vitamin C, amino acids, and more
Citrus fruit (lemon and/or orange) – source of Vitamin C
Garlic – a wonder food that boosts immunity, plus many other benefits
Ginger Root – great for soothing the stomach
Honey (local) – a natural allergy fighter
Horseradish – effective against respiratory issues
Hot Peppers – boost metabolism and sinus relief
Onion – boosts heart health and anti-inflammatory
Turmeric – anti-inflammatory
So here’s what I did:
Chopped an orange, lemon, onion, and four habanero peppers. Peeled a whole head of garlic. Shredded a large piece of horseradish and ginger root. Note: If you’ve never shredded horseradish, it will open your nasal passages like never before!
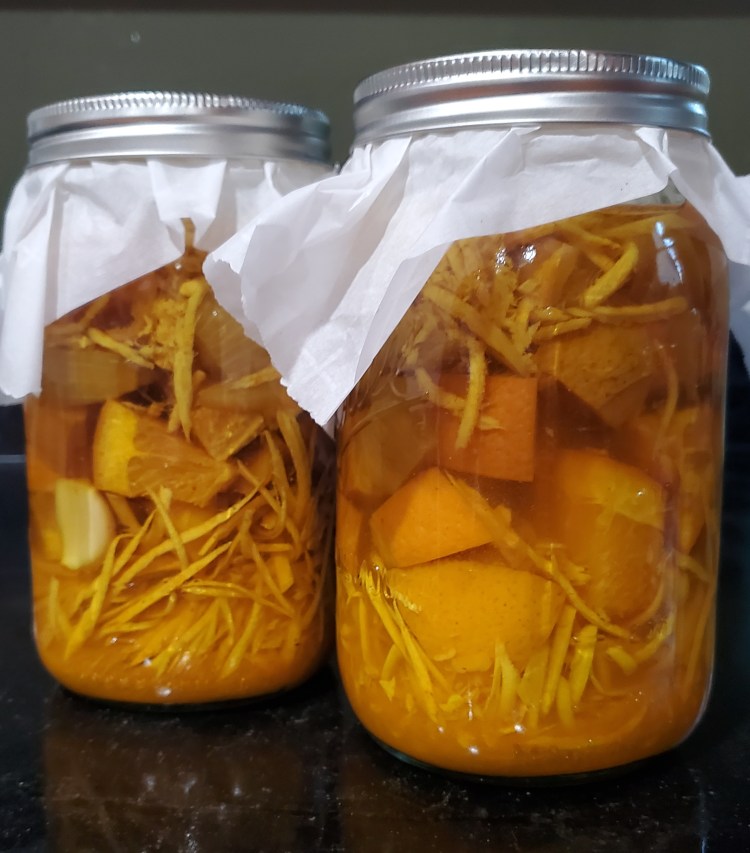
I divided the ingredients between two quart-sized mason jars and then sprinkled 1 tablespoon of turmeric on top of each.
Then poured enough apple cider vinegar in each jar to cover all ingredients.
I covered the top with a piece of parchment paper and screwed the band on then shook it gently.
I let it sit on the bottom shelf in my pantry for a month and tried to shake it up a little each day if I remembered. Realistically, it was more like 3 times each week.
After one month, I strained out as much liquid as I could and then poured into a clean quart jar.
I added about ¼ c of honey and stirred. You can add however much ‘til it meets your taste preferences.
Then store in fridge.
I am taking a tablespoon each morning to prevent any illness. Some people think it will also help shorten any bouts of cold and flu that you may experience. If you want to check out a couple, these all tap into nature’s amazing immune-boosting properties.
You’ve heard me talk before about our berry tunnel, berry bramble, berry jungle, etc. It was getting quite overgrown which meant two things in my mind – A) I haven’t pruned as I should have and B) we need better supporting structures.
I was picturing some beautiful trellis, archway that you might see in a movie scene where there is some unrealistically romantic moonlit kiss so I sent this idea to Cactus via my mental powers and he came up with exactly what I wanted… Oh wait, who am I kidding? That’s not true at all. I showed Cactus a few pictures and he said, “No, I have an idea. Here’s what we’ll do.”
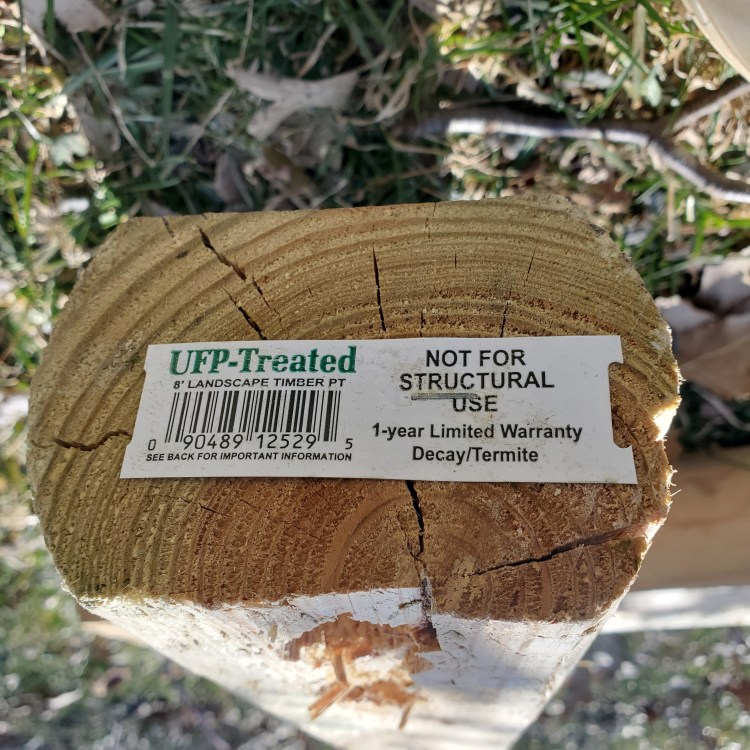
Supplies purchased (approximately $70 in value)
Eight 4x4x8 posts (purchased an extra just in case)
Four 2x4s (purchased an extra just in case)
Supplies being reused:
5 pieces of galvanized tubing
So here’s what we did (nothing fancy, but I quite like it):
We measured the current set up. Assessed that we needed to improve both sides of the tunnel – one side is about 30 feet long, the other about 20 feet long. This was actually super important and a step we usually skip. How do you know how much of anything you need without measuring? Sidenote: I’d like mention the value of staring at a project site and walking around a bit. I’m being 100% serious. It’s really valuable to just walk around your garden/yard/etc. to daydream and let inspiration flow.
From this two-minute assessment, we determined the spacing between the current posts was too far and they weren’t tall enough. That little bit of planning guided our marching orders.
We decided to increase the number of supports by adding one post on each side, and to also make them taller and have the horizontal support between each post much more sturdily attached. To explain a bit more clearly, the 30-foot distance originally had just 3 posts so we increased that to 4 posts, each just about 7.5 feet apart. Similarly, the 20-foot distance originally had just 2 posts so we increased that to 3 posts.
We laid the posts on the ground and spaced them out evenly across the 30-foot side. This helped us determine where we would need to dig the holes and that 3 of the 4 would easily align with where the posts would go on the shorter length of the berry tunnel.
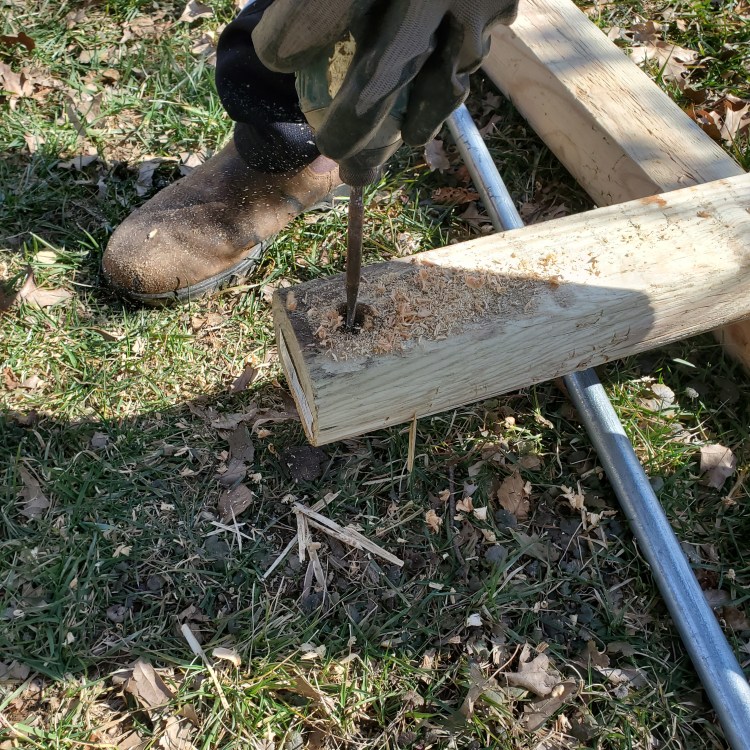
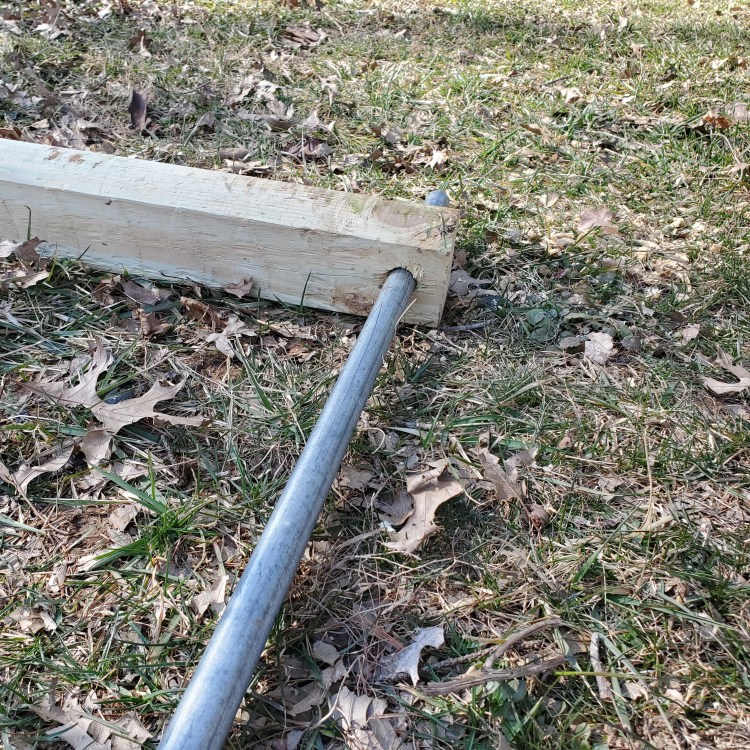
Cactus then used a 1-inch wood bit to drill two holes in the top of each post. These holes are where we inserted the galvanized tubing. The tubing serves as the top ‘shelf’ for the berry vines to go up and over as they grow.
While the posts were laying on the ground, Cactus did the drilling and inserted the tubing so that it was one long structure that just had to be stood up and put in place. But before we stood up the posts, we had to dig the holes.
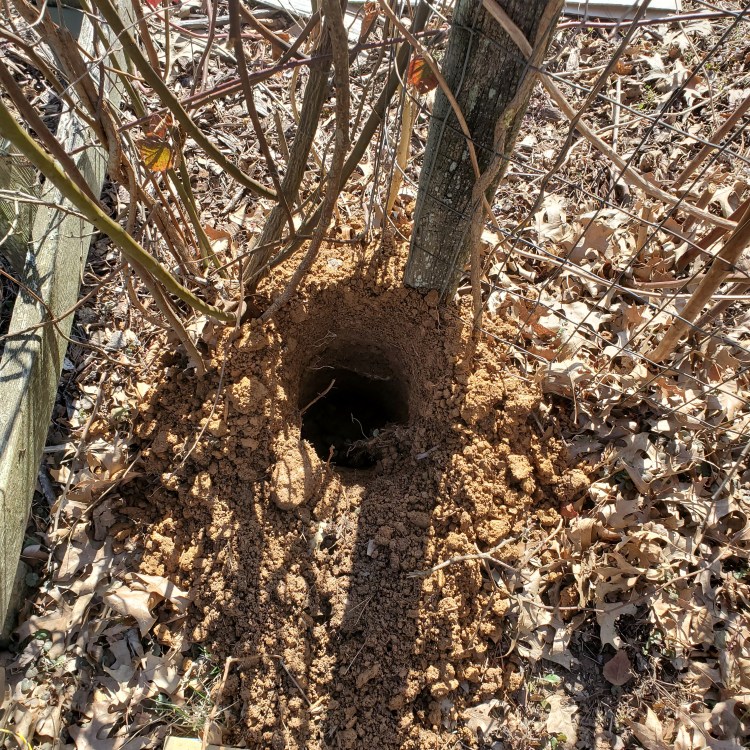
We have an auger for another fence project currently underway so we used that to dig the seven holes. I’m usually a fan of doing everything by hand but it made sense to use this so that we could complete the project that afternoon (instead of having to come back to it the following day).
Once the holes were dug, we lifted up two posts at a time and placed them in the holes just dug. Then we just had to insert one final piece of the galvanized tubing.
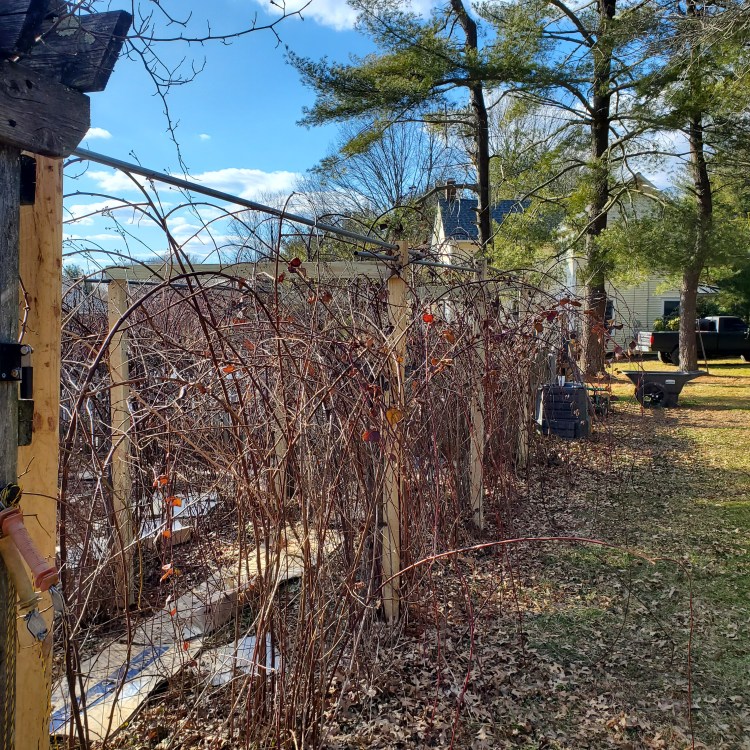
The final step was bridging the 30-foot side of the tunnel to the 20-foot side of the tunnel to make my romantic berry trellis. Honestly, no idea where I’m going with this romantic notion. That at is not my life at all. So we used 2x4s to connect both of the sides. Since each side is not the same length, we had just ensured that three of the four posts were lined up to each other and connected at those three points. The 4th post on the 30-foot side is not attached to anything, but it’s right next to our trailing rose archway so I’m sure it won’t be lonely.
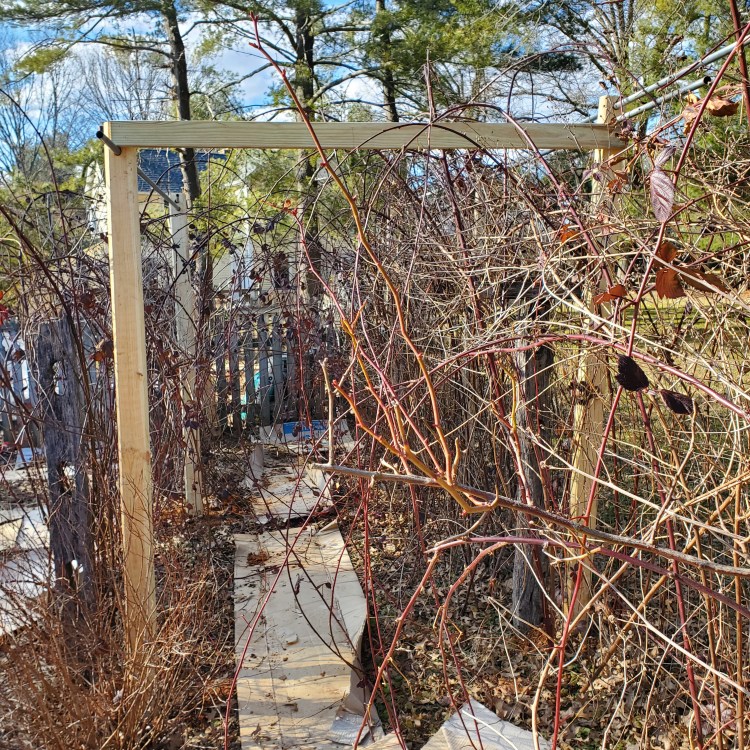
The completed berry tunnel. Four posts on the right side connected with galvanized tubing, three posts on the left side connected with galvanized tubing, and both sides bridged with 2x4s. Yay!
This took us about a little over an hour to do (excluding the trip to Home Depot that Cactus did on his own) and it all went super smoothly. Now, the more dedicated work will be spent re-directing all the berry vines up and over the trellis to make my beautiful archway. And then the jelly, jam and pie fillings!!
As you’ll notice, one of my goals for 2021 is to make more things myself (#MIM – make it myself) and coincidentally that also supports one of my other personal efforts to reduce food waste. One of my first attempts was using veggie scraps and chicken bones to make my first ever chicken broth. In all transparency, it wasn’t super tasty but I made a second batch last week with lots more bones and it came out so much better.
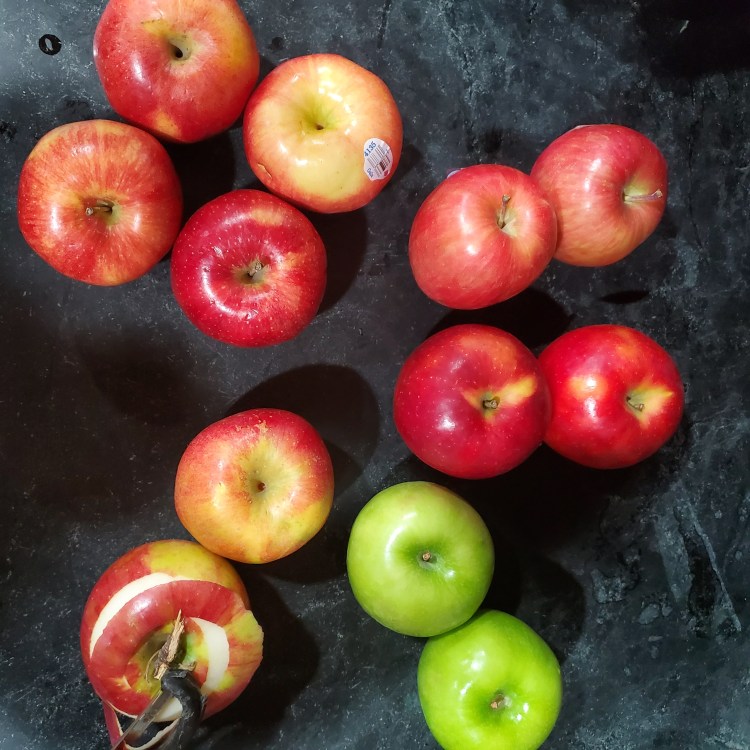
Back during the Christmas holiday, my *hopefully* future sister-in-law brought this over-the-top fruit and cheese basket from Bishop’s Orchard. There were so many simultaneously impressive and entertaining aspects of this gift.
1-It weighed at least 30 pounds and she carried it on the train from Connecticut on Christmas Day.
2-There were at least 20 apples in this beast (should have taken a picture).
3-It had cheeses, jams, jellies, and multiple sweet breads inside as well. I’ve never seen a fruit basket with so many different foods. I think if you’re going to get stranded on a desert island with one food “item,” this basket would be the way to go.
After a few days when it became apparent we were not going to be able to eat these apples fast enough, one of my daughters asked “Do you have any work for me to do?” I thought about it for a second and replied, ‘Yes, yes I do.’ (And yes, this child is that sweet and helpful all the time. I’m not quite sure who her parents are…)
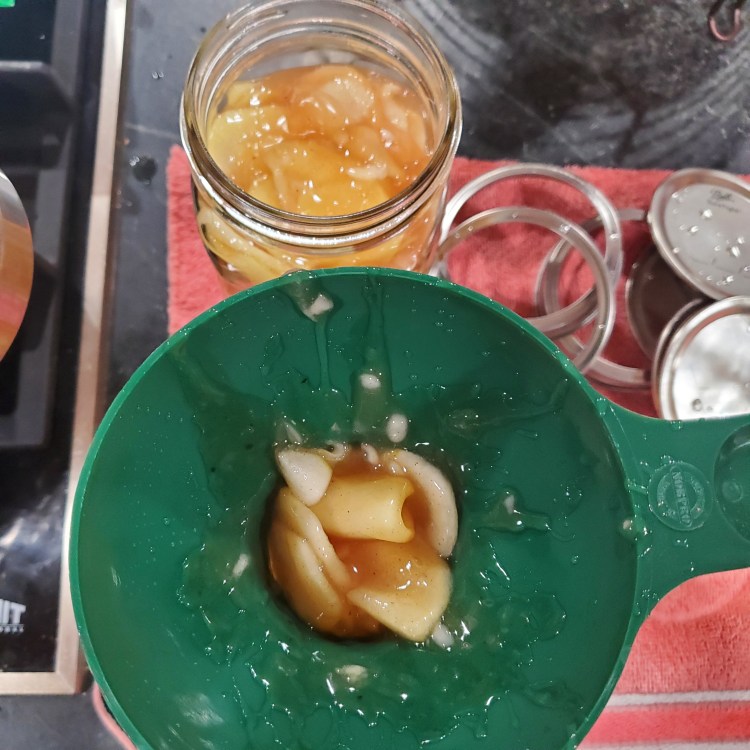
So I followed this apple pie filling recipe from awesome homesteader Melissa K. Norris. I used XX apples, it took me about 90 minutes from start to finish, and I ended up with a three quarts of apple pie filling. Not being someone who eats pie very often, this will probably suffice the entire year. I’m thinking I’ll use one for an apple pie, one for an apple cobbler, and one for some mini apple pie bites like these.
Here’s what I did:
Washed, peeled and quartered 12 apples. My awesome helper did the slicing with the food processor. I was sure to include a few granny smiths because they have more acidity which is important for water bath canning. The lemon also helps ensure you achieve the right acidity.
In two batches, I dropped them in boiling water to protect them from turning brown. To save time and water, I used the boiling water in the same pot I would later use for the water bath canning.
Made the ClearJel® mixture in the pot, brought it to boil, took it off the heat and folded in the apples. (These first three steps took about 40 minutes. I mention this because we all think we don’t have time to do these “home spun” activities which just isn’t true.)
I washed my jars and lids with warm soapy water, dried them with a paper towel, and used my canning funnel to fill the quart jars. I also did the air bubble release by running a small spatula around the inside. I ended up only filling three quarts instead of four and I chalk that up to varying apple sizes.
Fastened the lids to “finger tight.” This is important to just be tight, not “all your might” tight.
Placed them in the water bath, ensured the water covered beyond the top of the jars, and boiled for 25 mins. (Steps 4-6 took me about 40 mins as well, but the 25 minutes of boiling I was playing tag.)
I let them sit another five minutes in the water bath, then carefully removed with my jar lifter and let sit on the counter until the next morning.
In other MIM adventures, I knitted this fun little octopus for my 6-year old. She named him Seven which tickled me. Yes, I followed the pattern and he does in fact have eight legs so the name is quite hilarious.