It’s that time in the season where your fall garden is likely winding down depending on where you are. I really enjoy the clean up phase. It helps me take note of the areas and crops that went well, and those that need more attention or a different approach next year.
As I’m putting stuff away like stakes, cages, and netting, I’m noting if the spacing was adequate, how many plants I want to fit next year, which ones should be near different partners. That’s the beauty of gardening, it’s constant learning and attention. I love that my brain clears in the garden with the effort of the physical work.
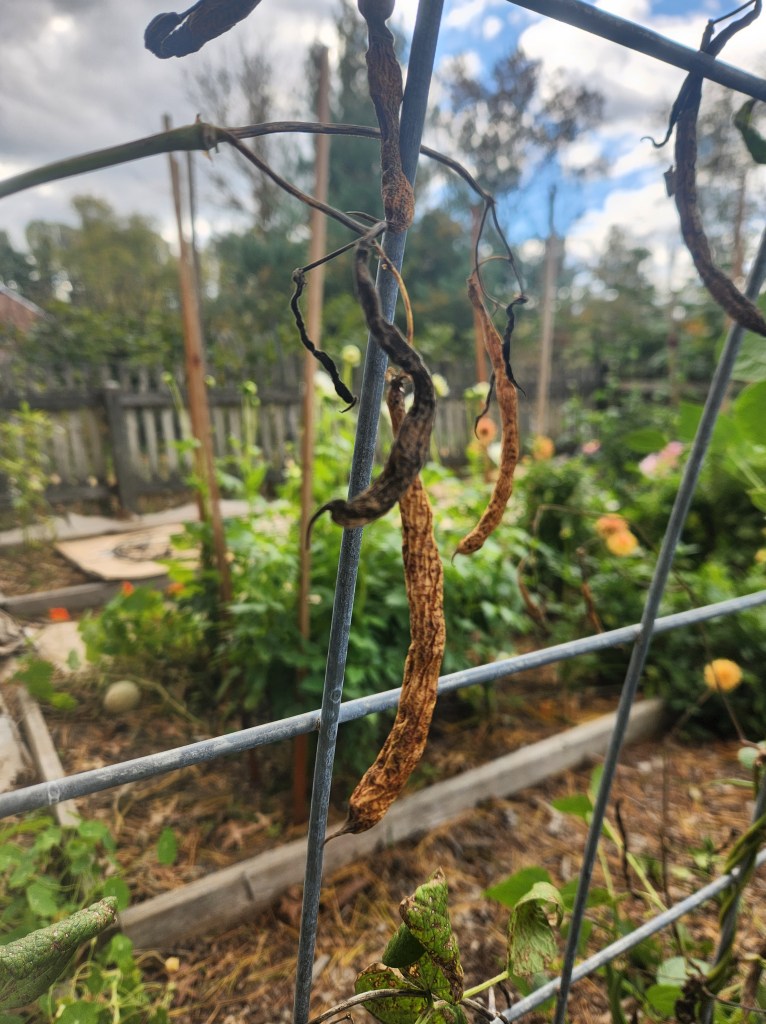
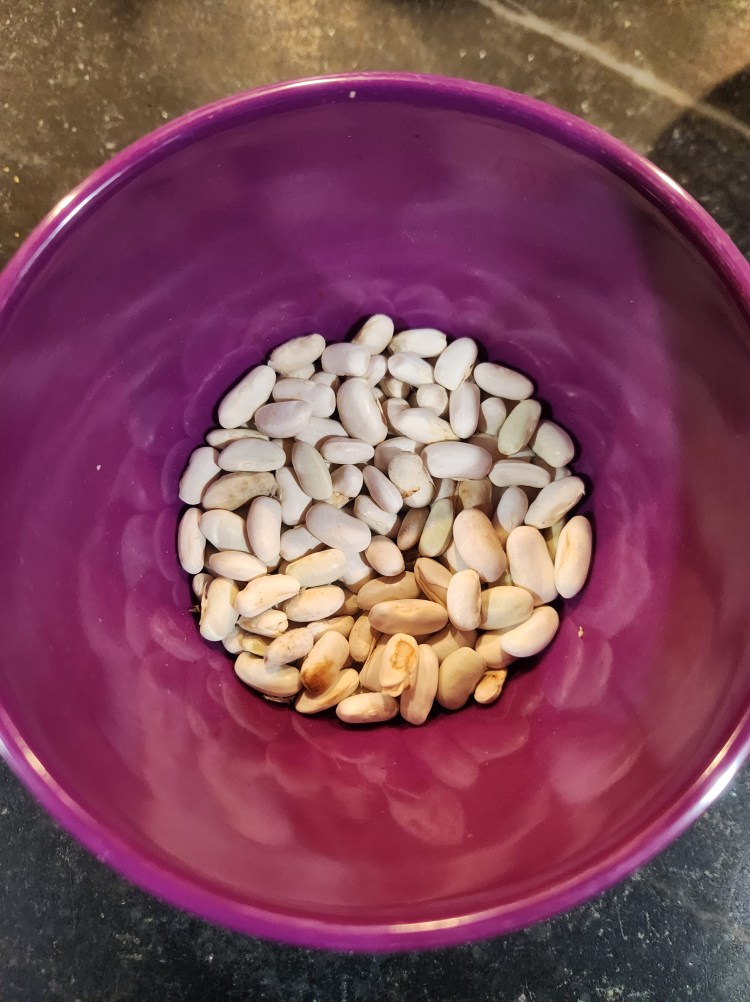
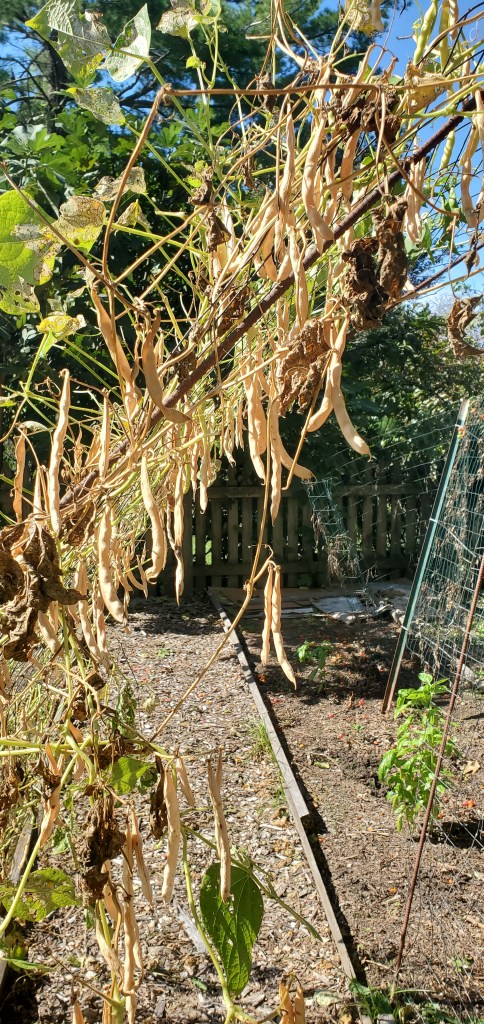
As I was trying to take down my cattle panel that I used as a trellis for my pole beans, I needed to unweave the plants that I had left to dry for seed saving. Green beans have to be the easiest plant to seed save. Literally two steps: 1) leave them to dry, and 2) crack them open.
And the best part is you never have to buy these seeds again. Yippee!
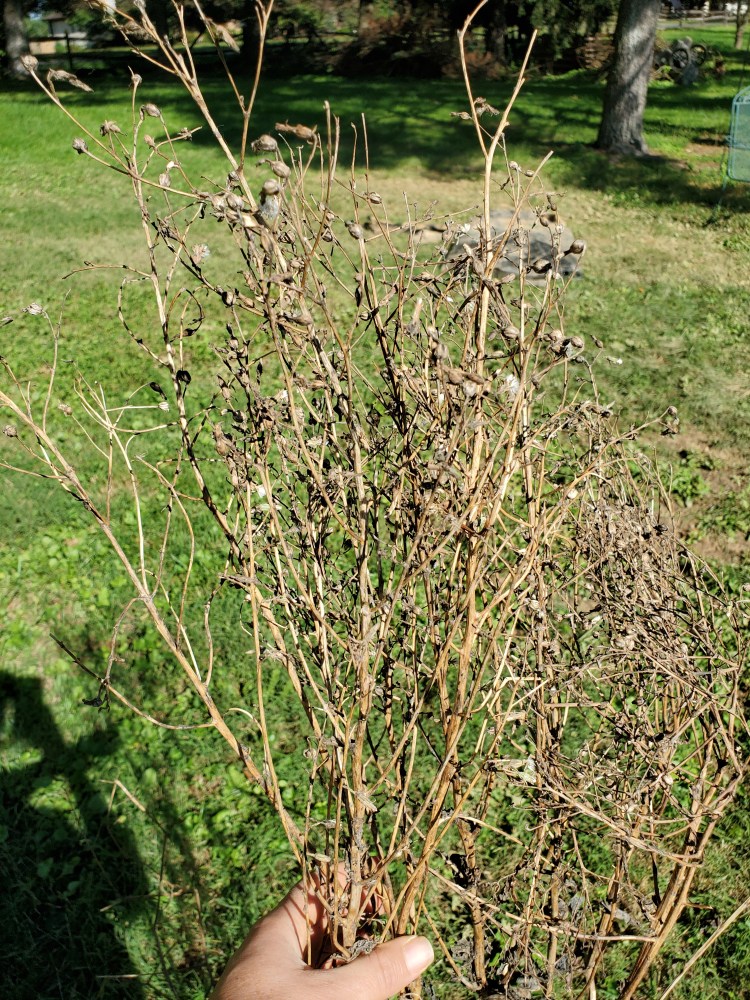
Continuing with the seed saving discussion we started last week, there are a few more no fail varieties you should definitely try. Honestly, the only thing that you can mess up is not letting them dry enough. Be sure to leave them on the plant to dry for about two weeks or cut a stem and leave it in a warm place where it’s protected from any rain for about a week.
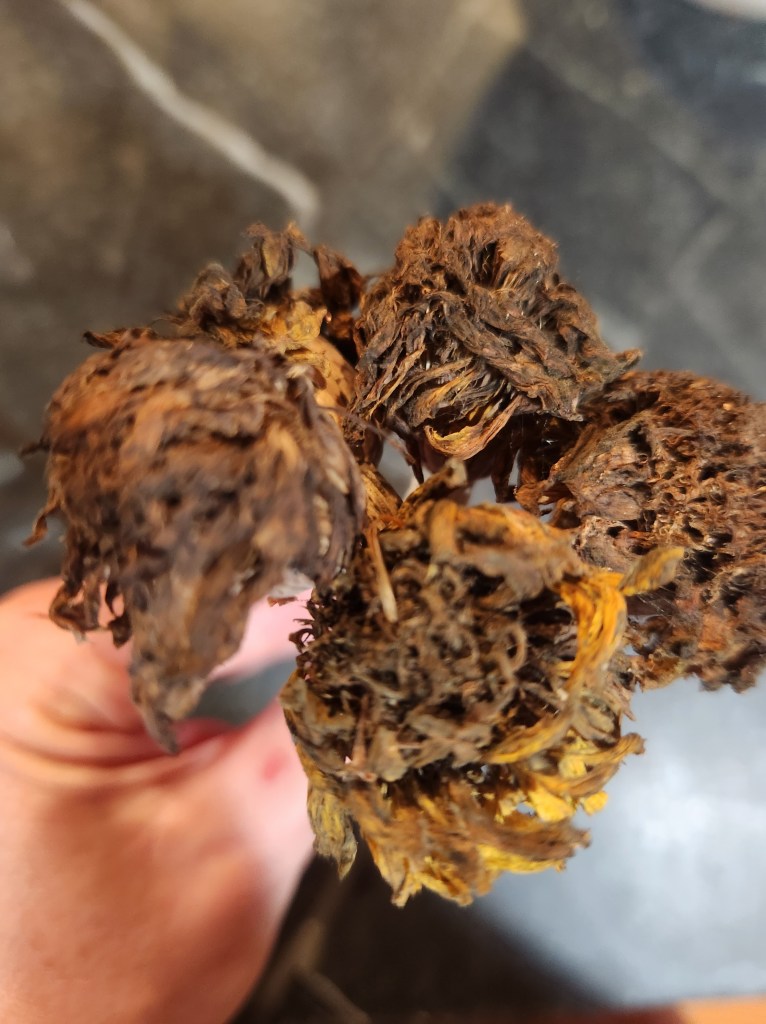
Marigolds: I will never stop being impressed and in awe of how many seeds come from a single dry marigold bloom.
four dried marigold bloomsmarigold bloom with seeds exposedmarigold bloom with dried seeds Dried marigold seedsCollected marigold Seeds
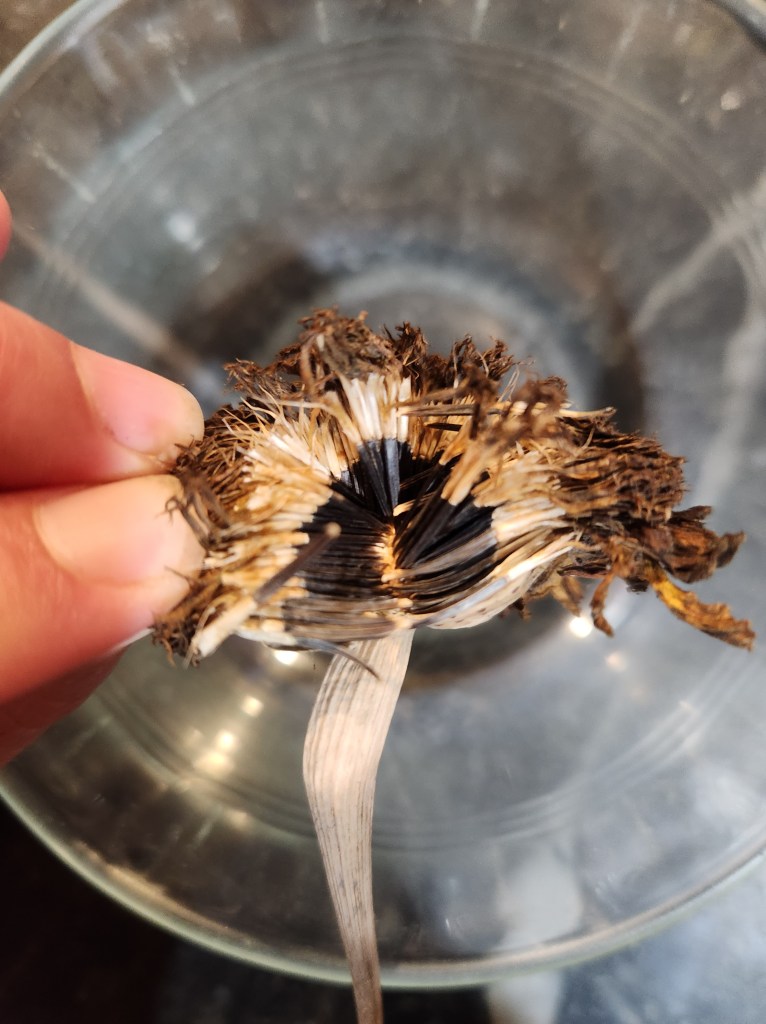
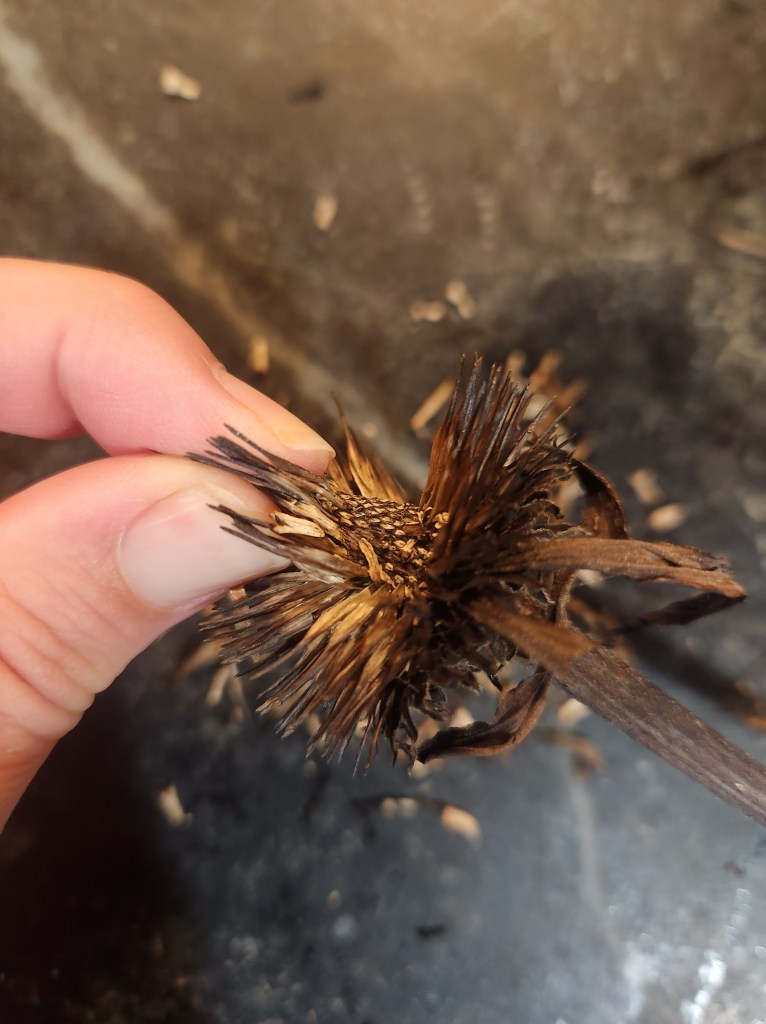
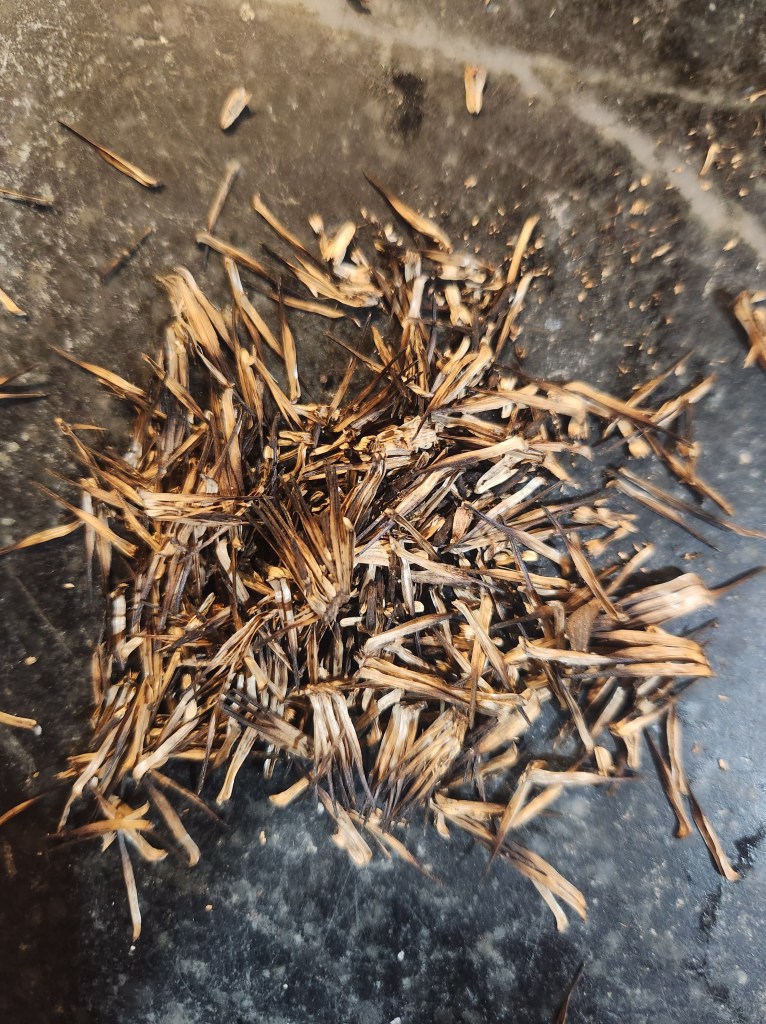
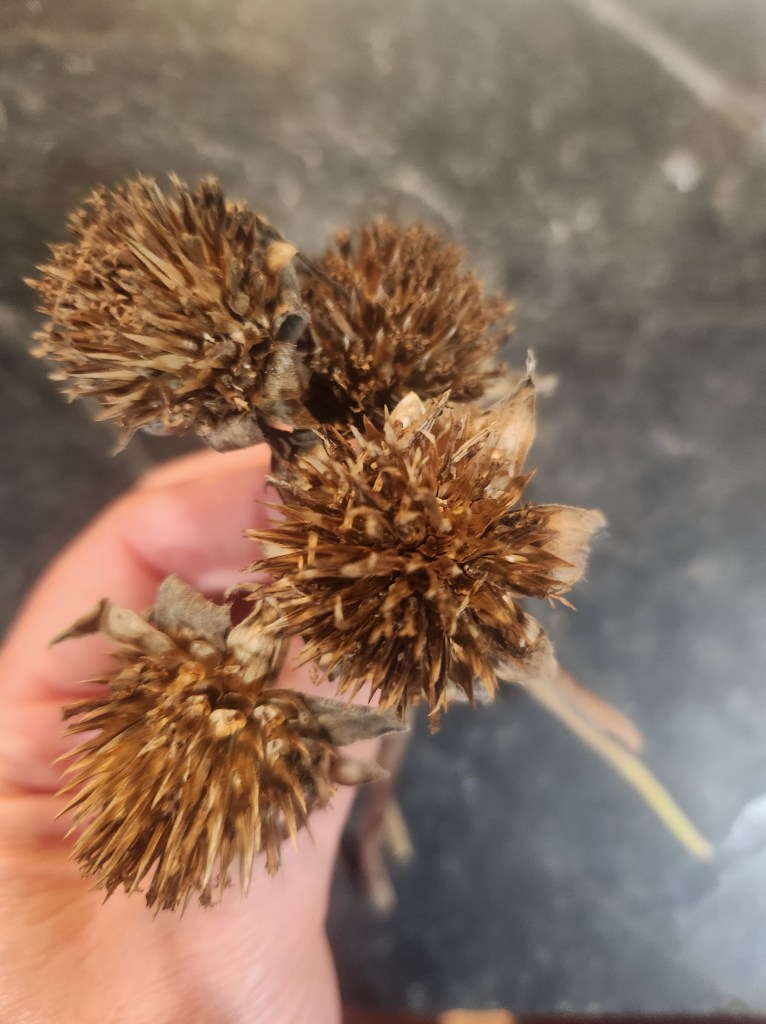
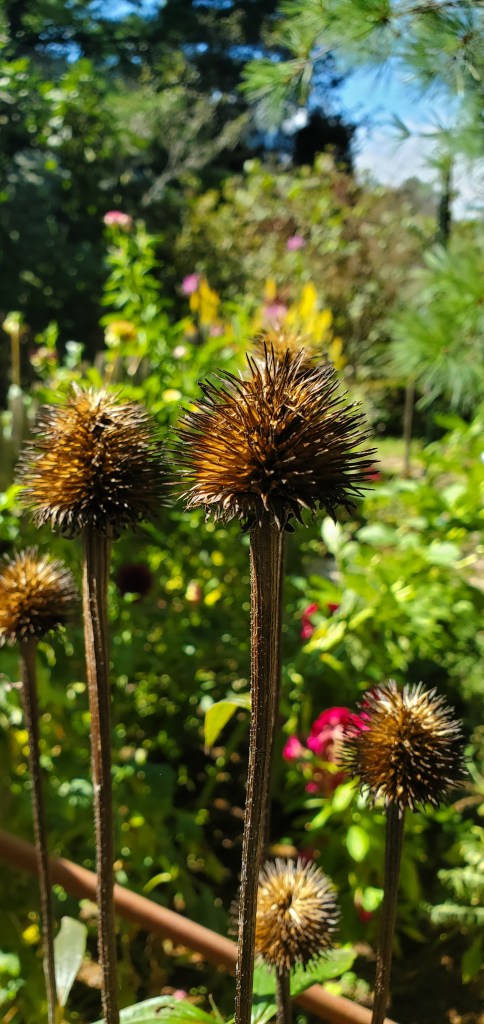
Echinacea: If you aren’t saving coneflower yet, now is the time to start. It’s a super hardy perennial that expands every year. Plant once and be amazed.
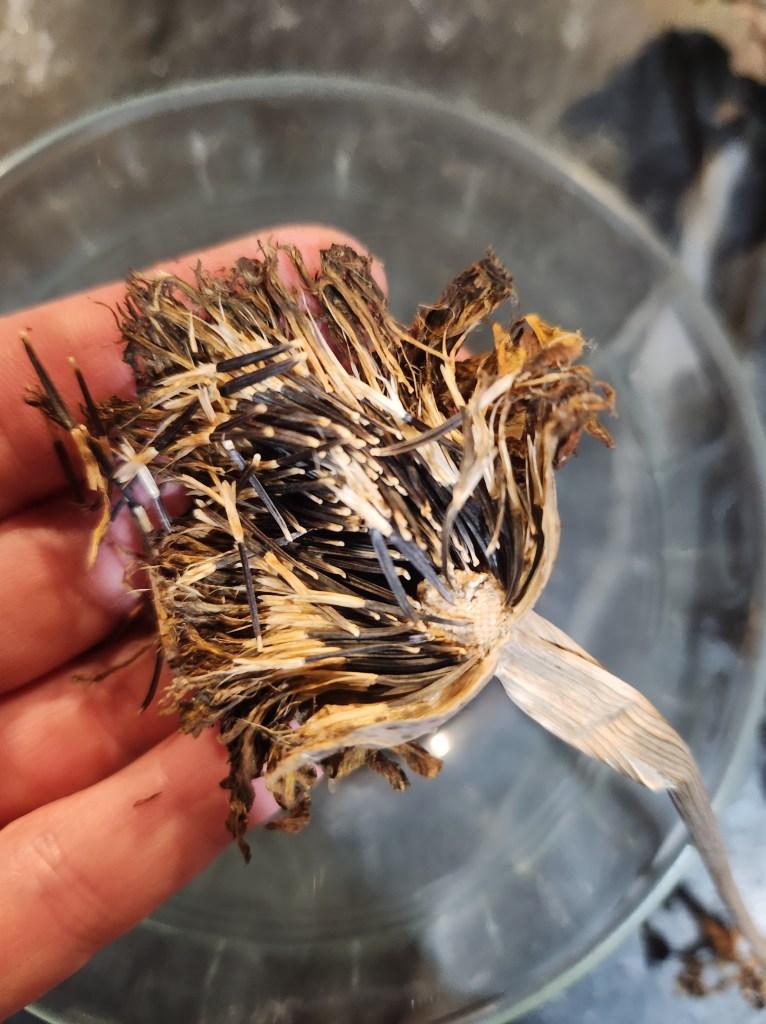
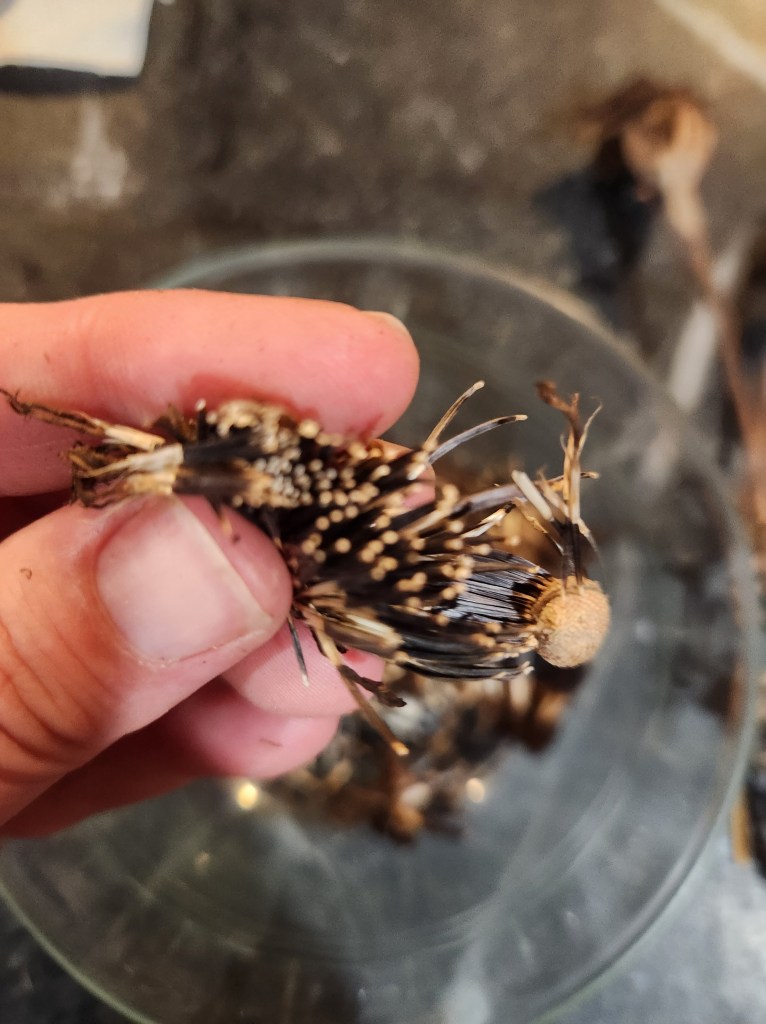
Mexican Sunflower: So similar in shape and qualities to coneflower, and hummingbirds absolutely love it.
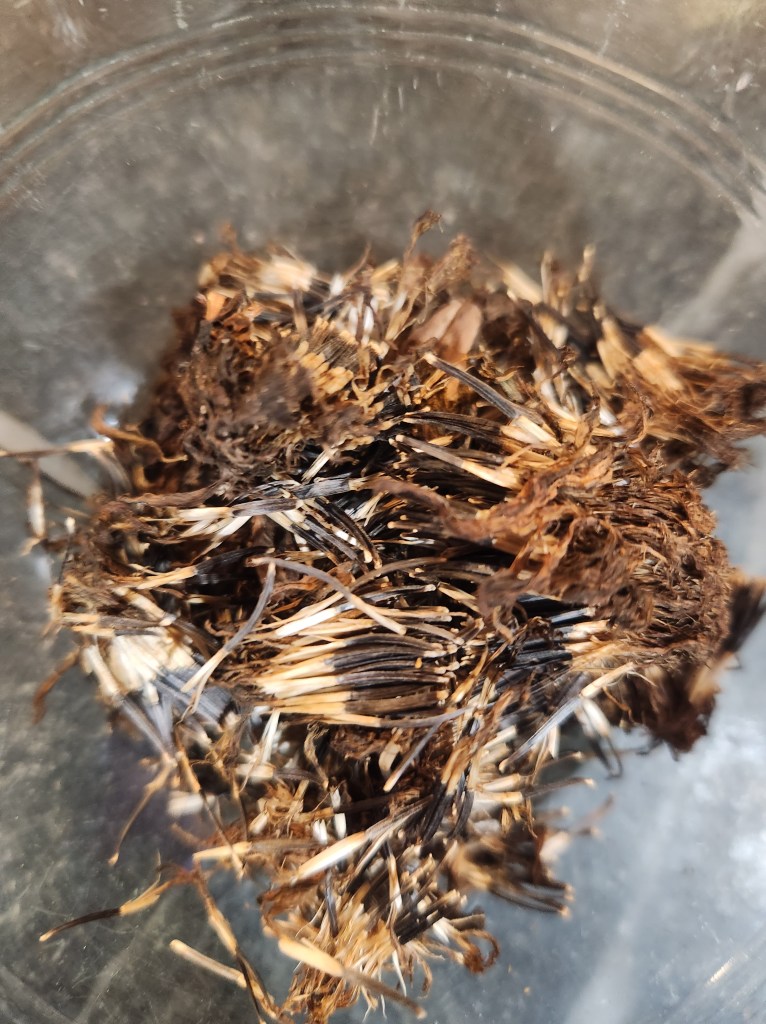
Dried Mexican sunflower headsMexican sunflower head with seeds being gently loosenedMexican sunflower head with seeds gently loosenedMexican sunflower seedsCollected Mexican sunflower seeds
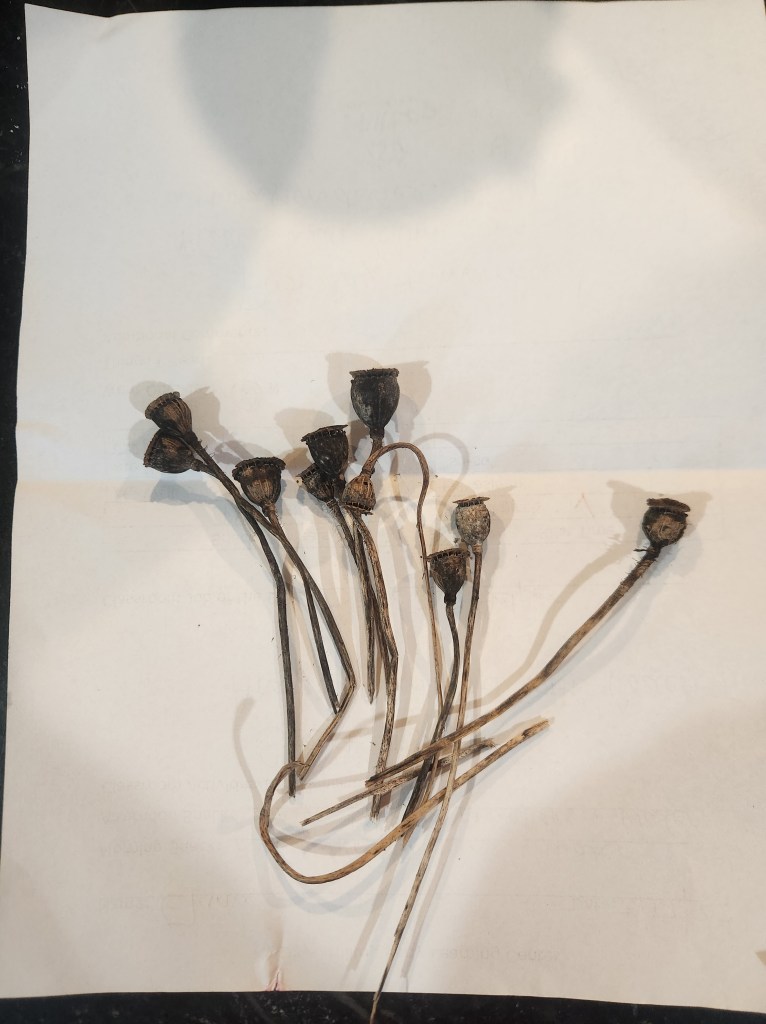
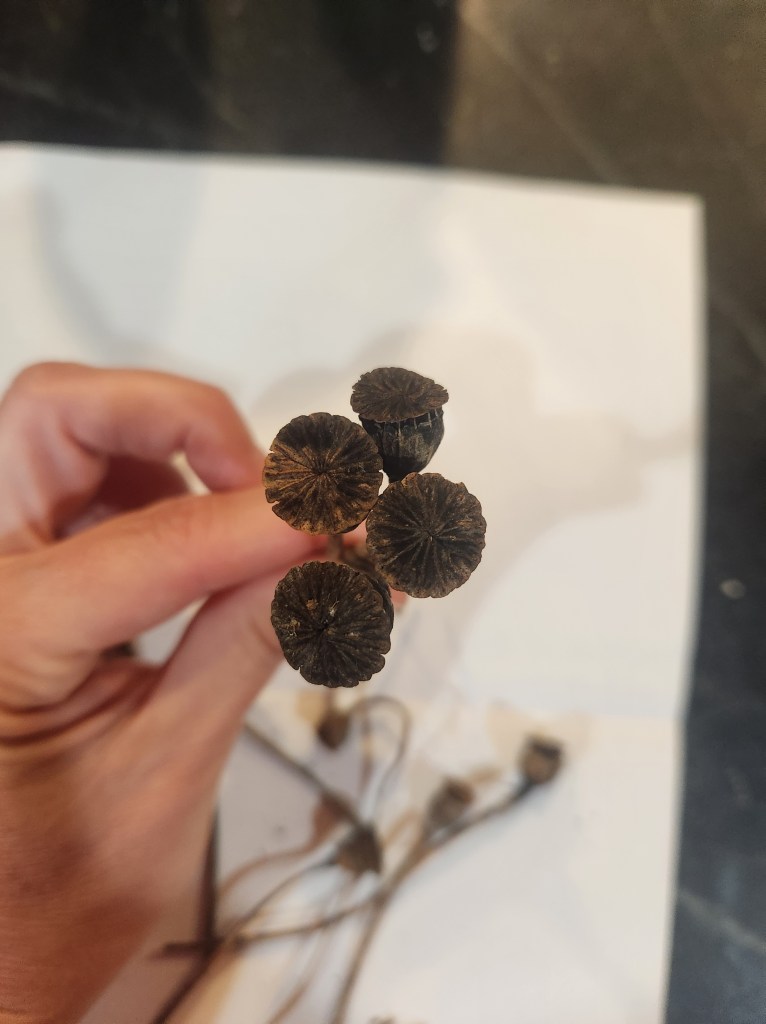
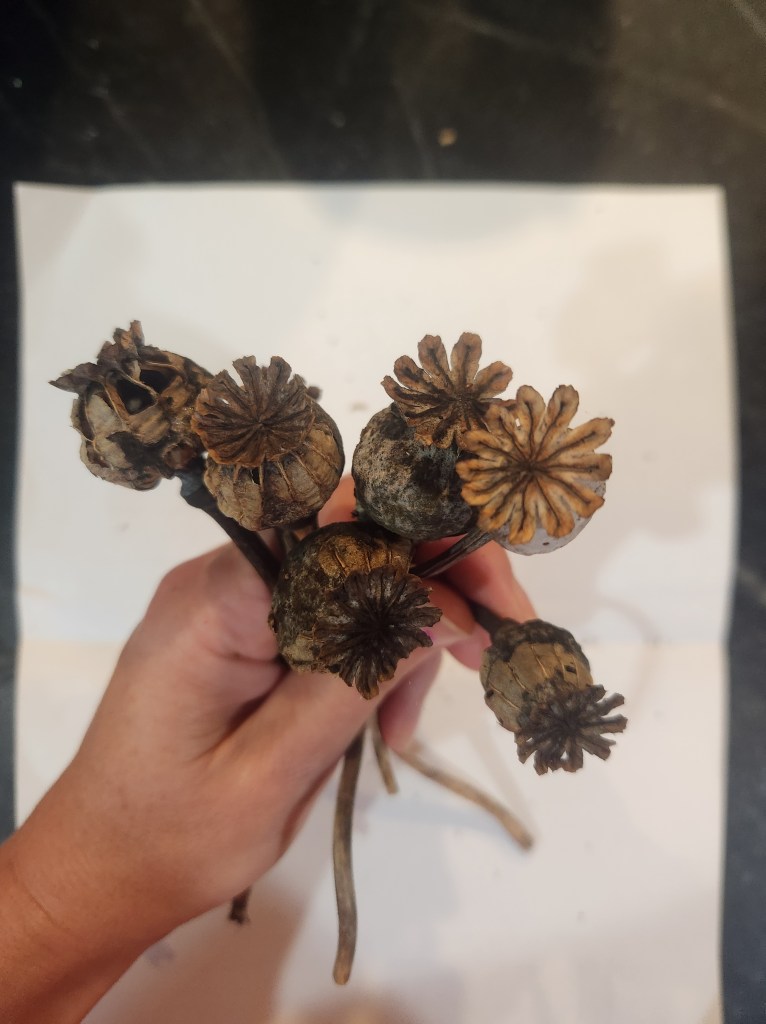
This is the first year I grew poppies in the Spring. I’ve always loved poppies and how delicately beautiful they are. I did absolutely zero maintenance, as seems to be the case with all of my efforts in the garden this year, and they were a raging success. I literally sprinkled two-year-old seeds on the ground in early April and walked away. The varieties were: falling in love, amazing grey, giant lilac pompom, jelly beans, purple peony, and Flemish antique.
One thing I’m trying to get better at each year is lowering my baseline costs. There’s probably a real financial term for this but basically, if I spent $35 on veggie seeds and $25 on flower seeds last year, I want to spend less this year. Or I somehow need to generate income to cover the cost, e.g. sell some veggies and/or flowers.
This year my goal was to be cost neutral in the garden. I had bought 5 flower buckets ($16), 100 count of kraft paper cut flower sleeves ($29), and 100 count of Chrysal water conditioner ($16). My plan had been to sell fifteen $10 bouquets to generate $150. That seemed very realistic. Well, it didn’t happen, but there’s always next year. When I stopped watering the garden after July 4, I couldn’t really hope for too much.
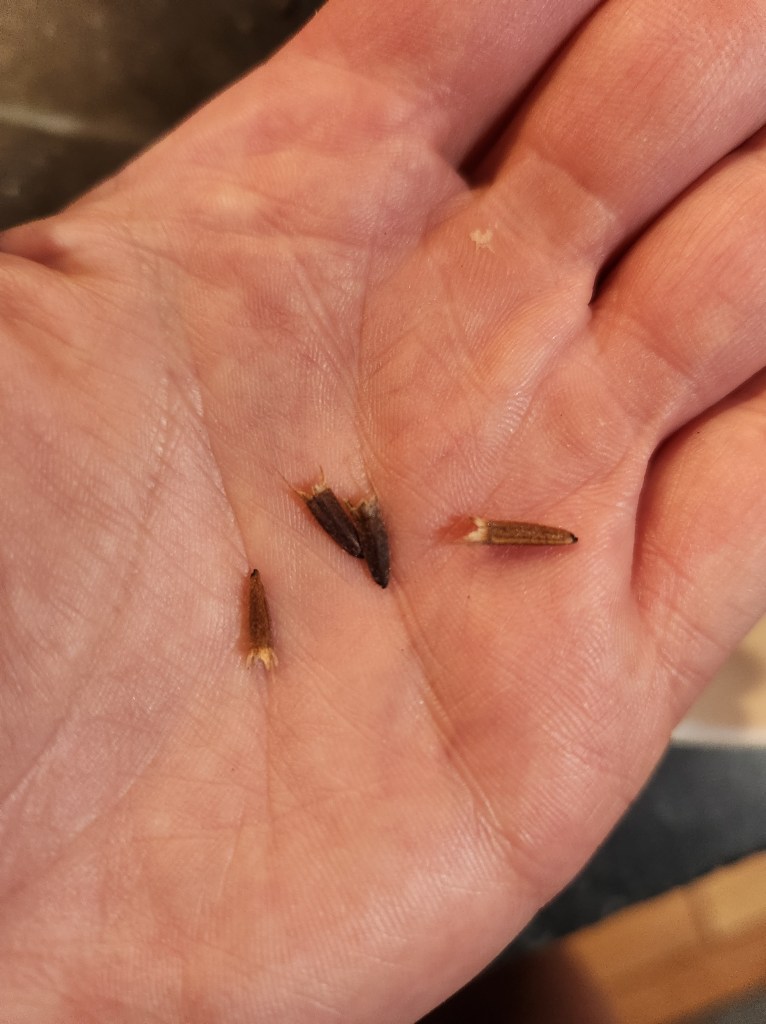
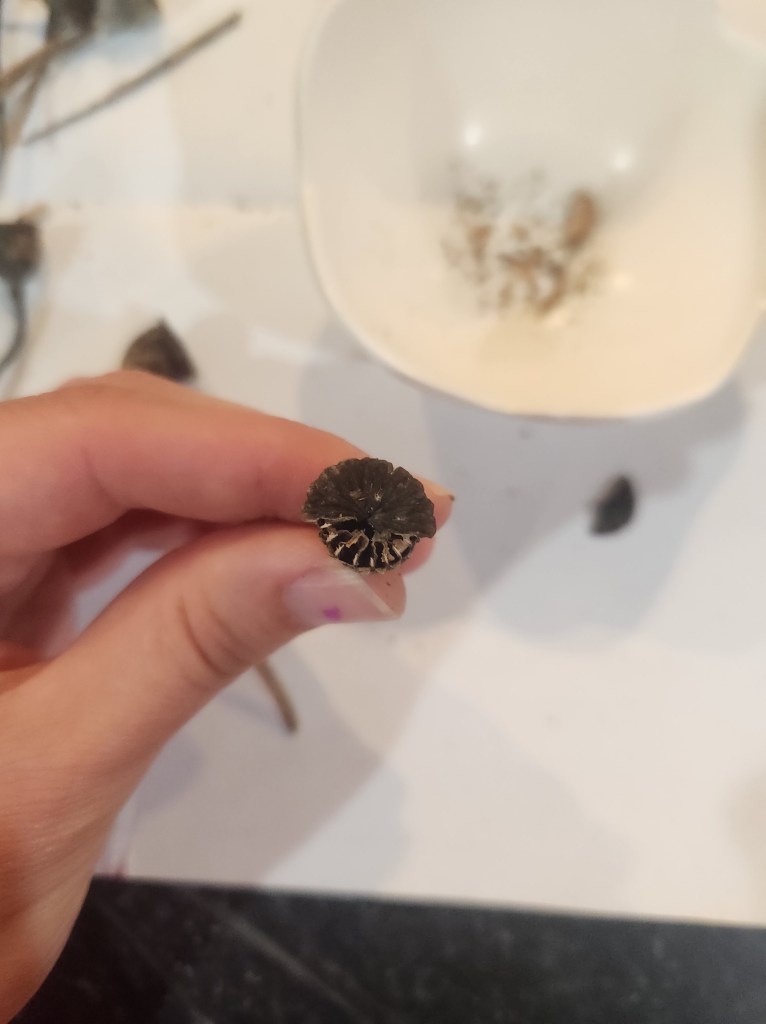
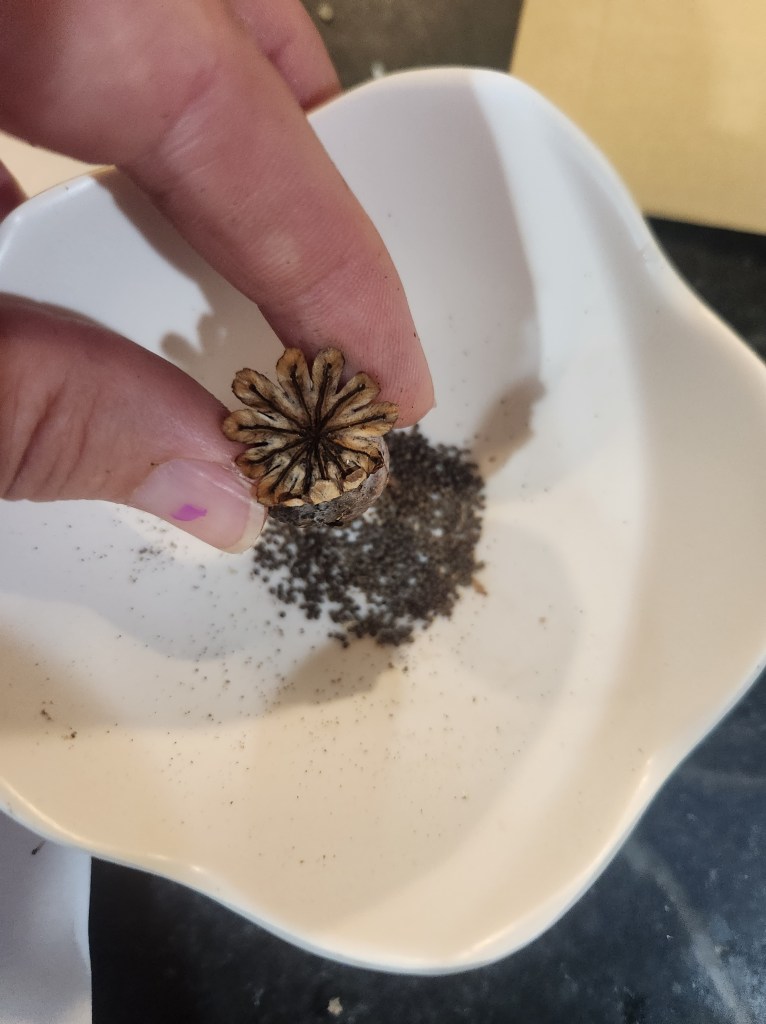
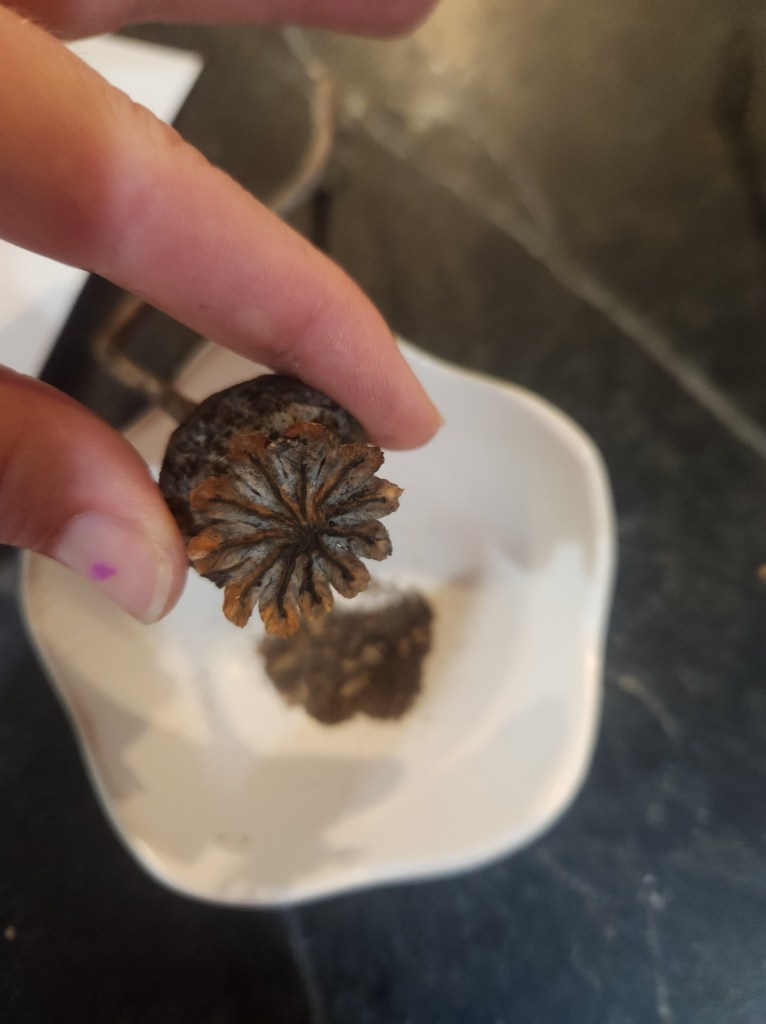
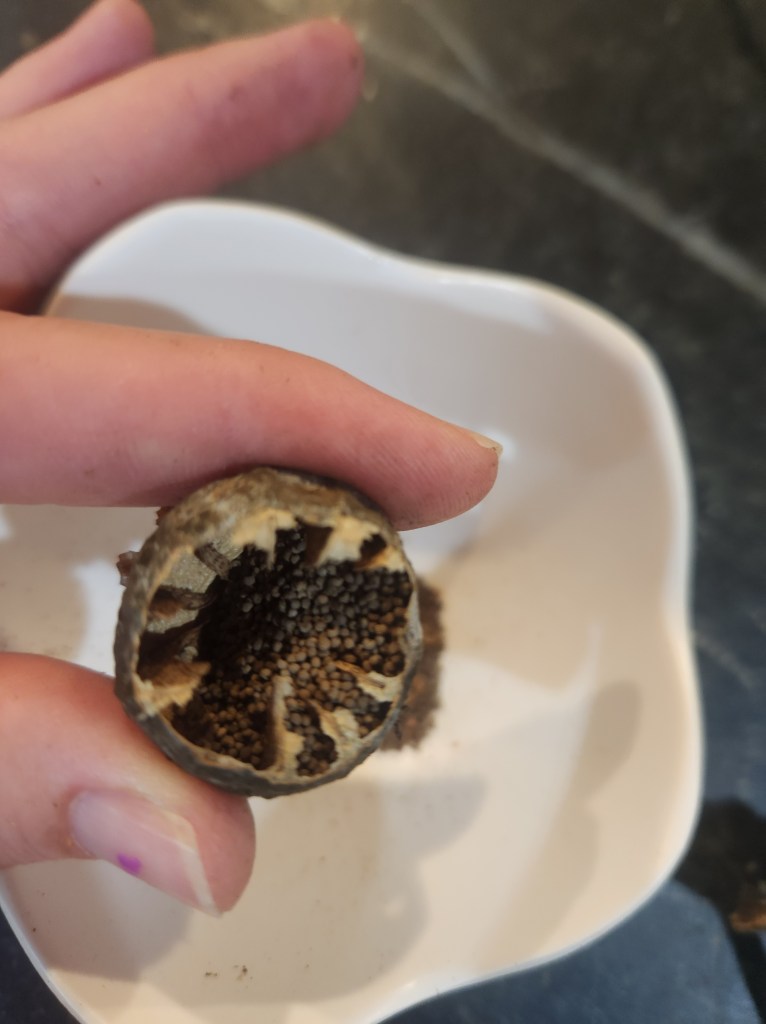
In preparation for next year, I’ll be ready with some amazing poppy seeds. Here’s how you can save flower seeds for the next season.
Fall is just so gorgeous that I hate to think of it as the end of something. Every season shines in its own way, and fall feels like the slow, gentle closing of the final chapter of a book that I really enjoyed. With the cool crops planted and some of the fast ones like lettuce, greens and radish nearly ready for harvest, my mind naturally meanders toward ideas and plans for what next year will look like. (Spoiler: my 2022 reflections will be the next post.)
Each year I try to figure out ways to simply, streamline, and build more sustainability into my gardening. Getting the timing down for seed starting, perfecting the numbers of plants of each crop I need to have enough to harvest and preserve, and minimizing weed and pest management are all important aspects. And seed saving is one of the biggest pieces.
Plants are natural reproducers. They want to go forth and multiply. And as fun as paging through seed catalogs is every December, I want to have my staple crops pretty well nailed down. There is always room to experiment and find new favorites (one of my favorite things about talking to other gardeners and volunteering on a farm), but it makes the most sense to have your seed bank naturally replenishing itself each season.
If you’re new to saving seeds, definitely start with the easy crops like green beans, peppers, and squash. Lettuces and greens are easy when they bolt in the spring. I’ll be honest in saying I haven’t yet tried to save tomato seeds but I plan to do this next year.
The main factor in saving seeds is letting one or two of the plants go to seed. This is the part I find challenging because when I’m ready to transition a bed from cool to warm or warm to cool, I just want to rip stuff out. However, that’s where a little planning pays off. This year, I did three long rows in each bed. The two outer rows were for the cool crops and the middle row was for the warm crops. This allowed me to let things bolt and stay longer than necessary because I wasn’t vying for the space. You can easily do this in smaller beds and containers as well.
Here are some tips for your seed saving endeavors:
Let your strongest plants go to seed. While growing, identify your best producers and take note that they are the chosen ones.
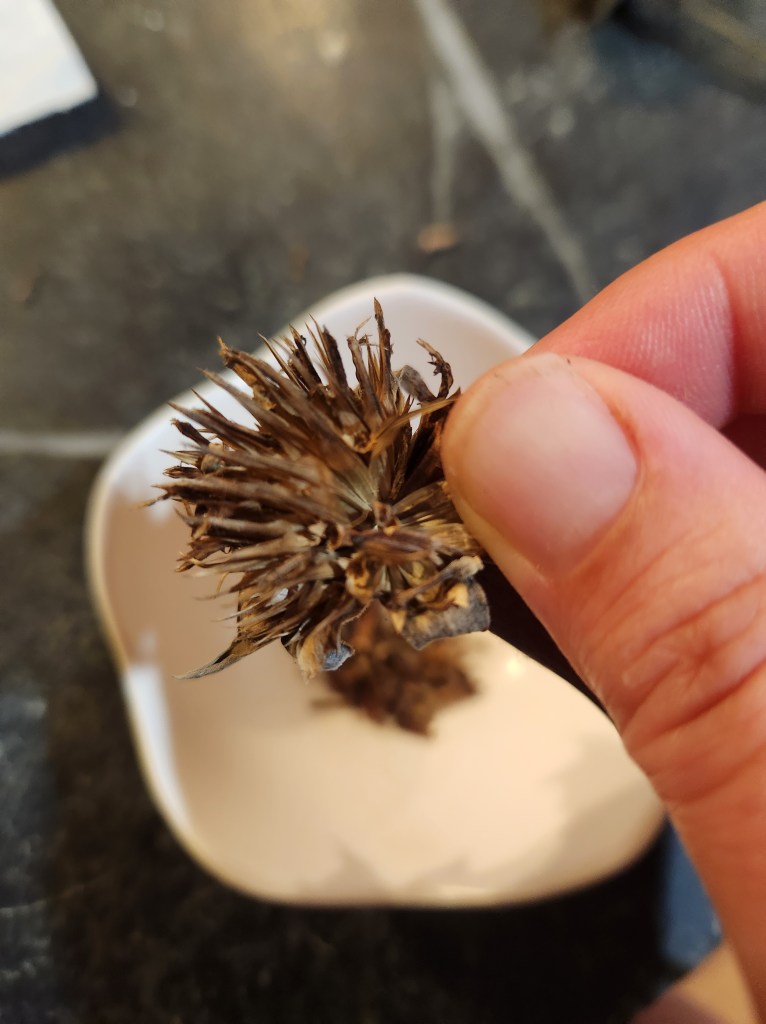
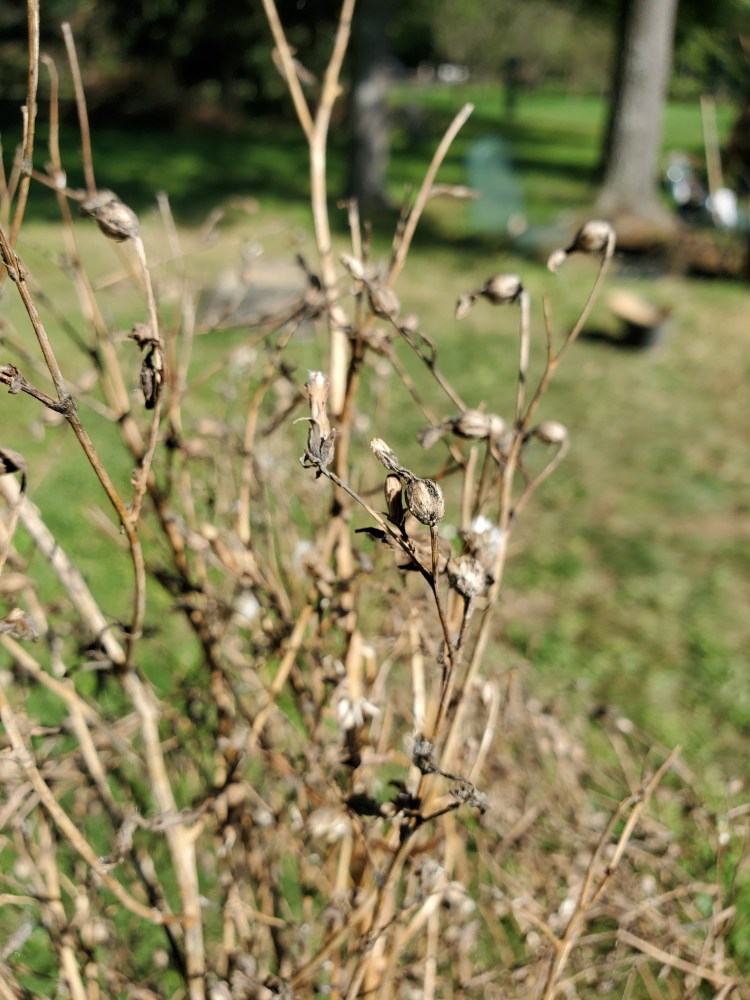
Pay attention for when they have created seed pods or seed heads (this applies to veggies and flowers).
Let the seed head/pod dry out completely. You can do this by leaving them on the plant for a week or two, but you run the risk of birds and other garden friends enjoying them and/or rain interfering. Or you can pick the seed pod/head and leave it in a cool place with decent air flow so that it dries out.
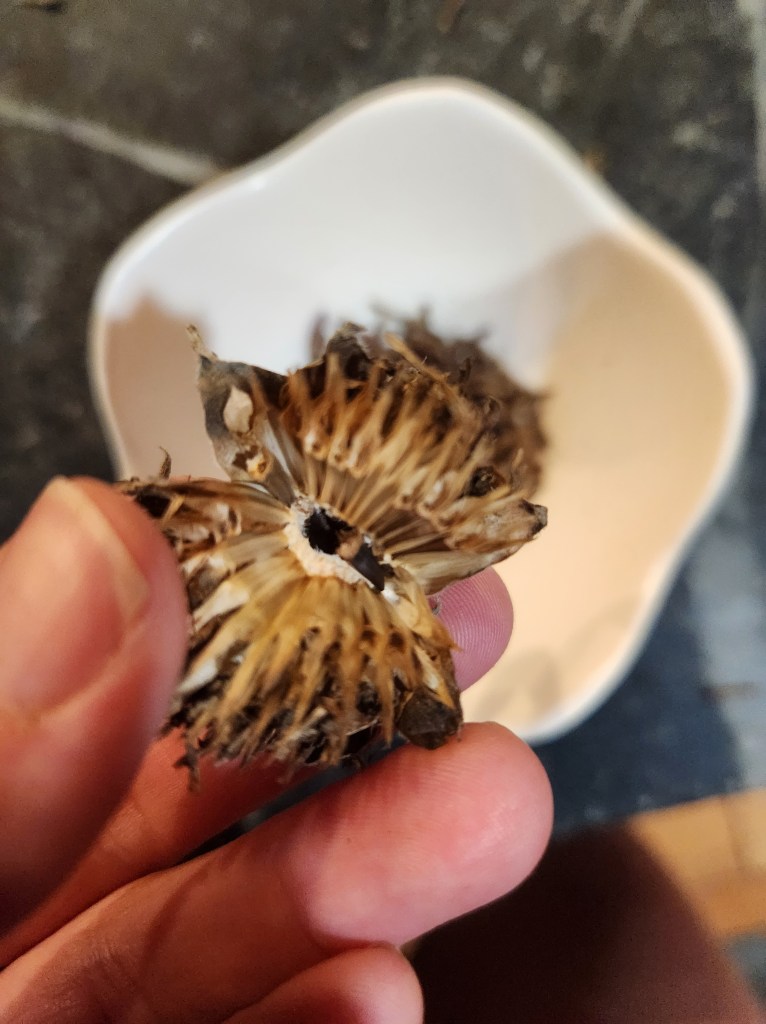
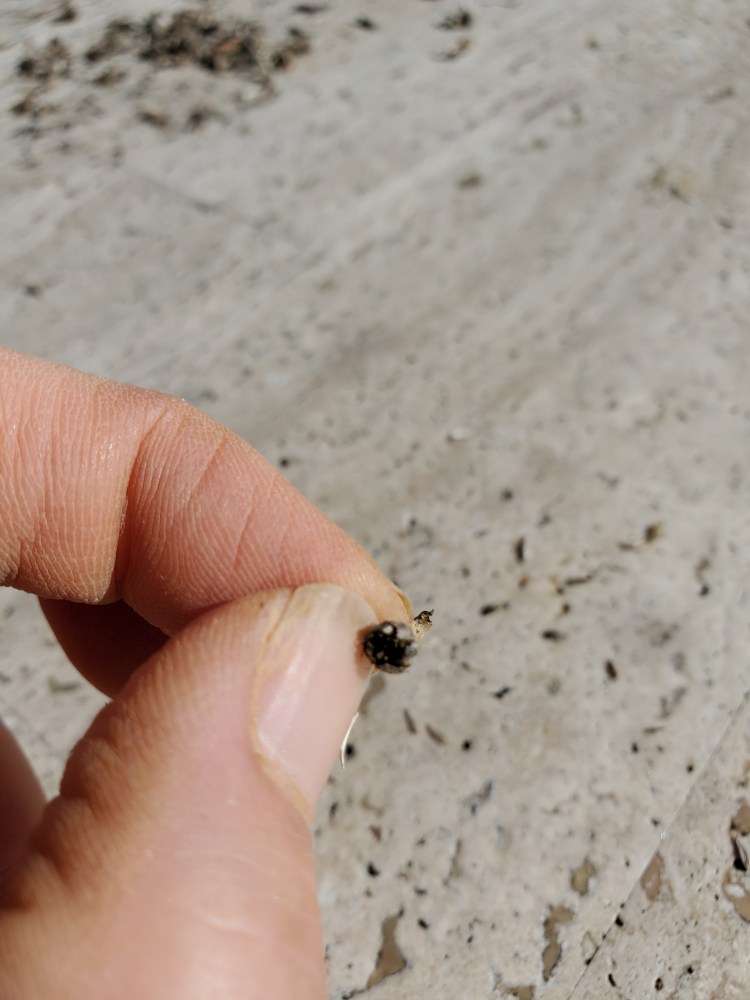
Then you go to work emptying the dried seeds from the pod or carefully breaking apart the seed head. I do this over a big piece of newspaper (the free one that shows up in my mailbox) and write on it with the name of the seed. Trust me, you think you’ll remember and you won’t.
Leave the seeds to dry on the piece of paper another 1-3 days.
Store the seeds in a paper envelope or other package where they will stay cool and dry and out of direct light until the next season.
What is your favorite seed to save? What tricks have made seed saving easier for you?
Anybody else ready to hibernate? I’m slowly putting things away and tidying up. It makes me happy to see that being a bit lazy has actually been to my benefit. I know some people will pull out their plants as soon as the last piece of fruit ripens or the first frost threatens. I’m a little more of the ‘wait and see’ mindset and like to see what happens. There is always a lesson to learn or observe.
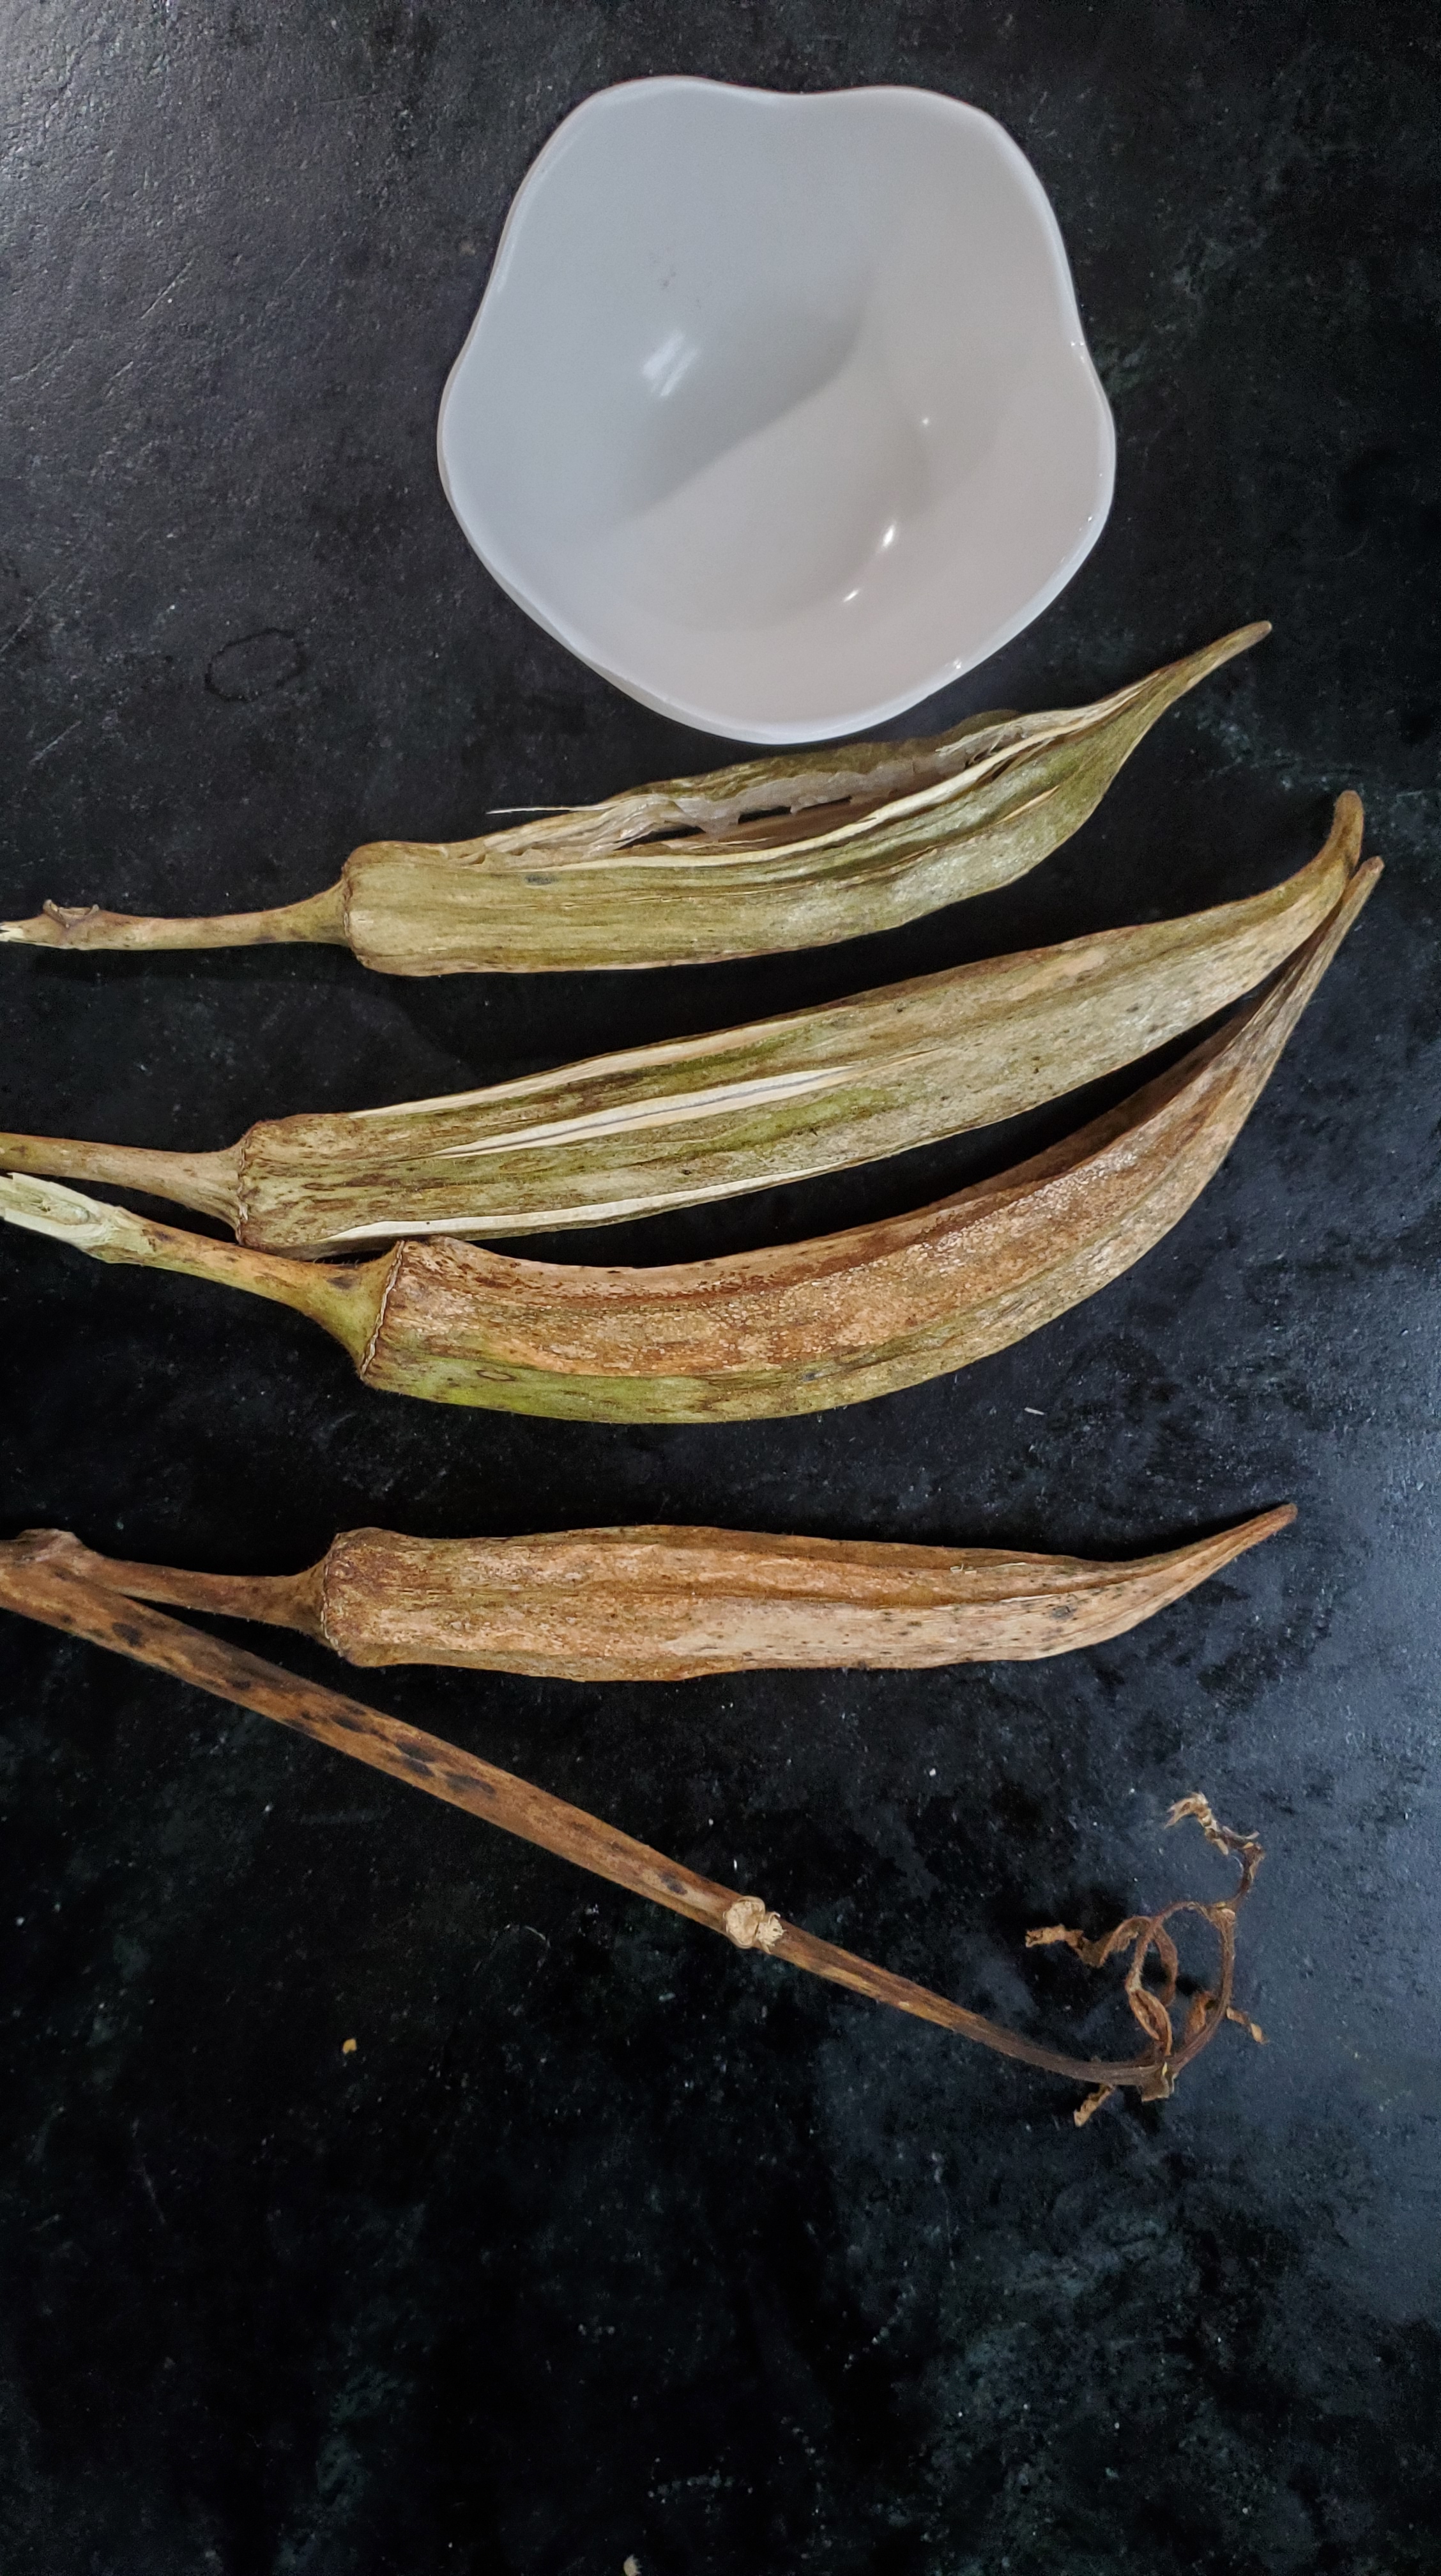
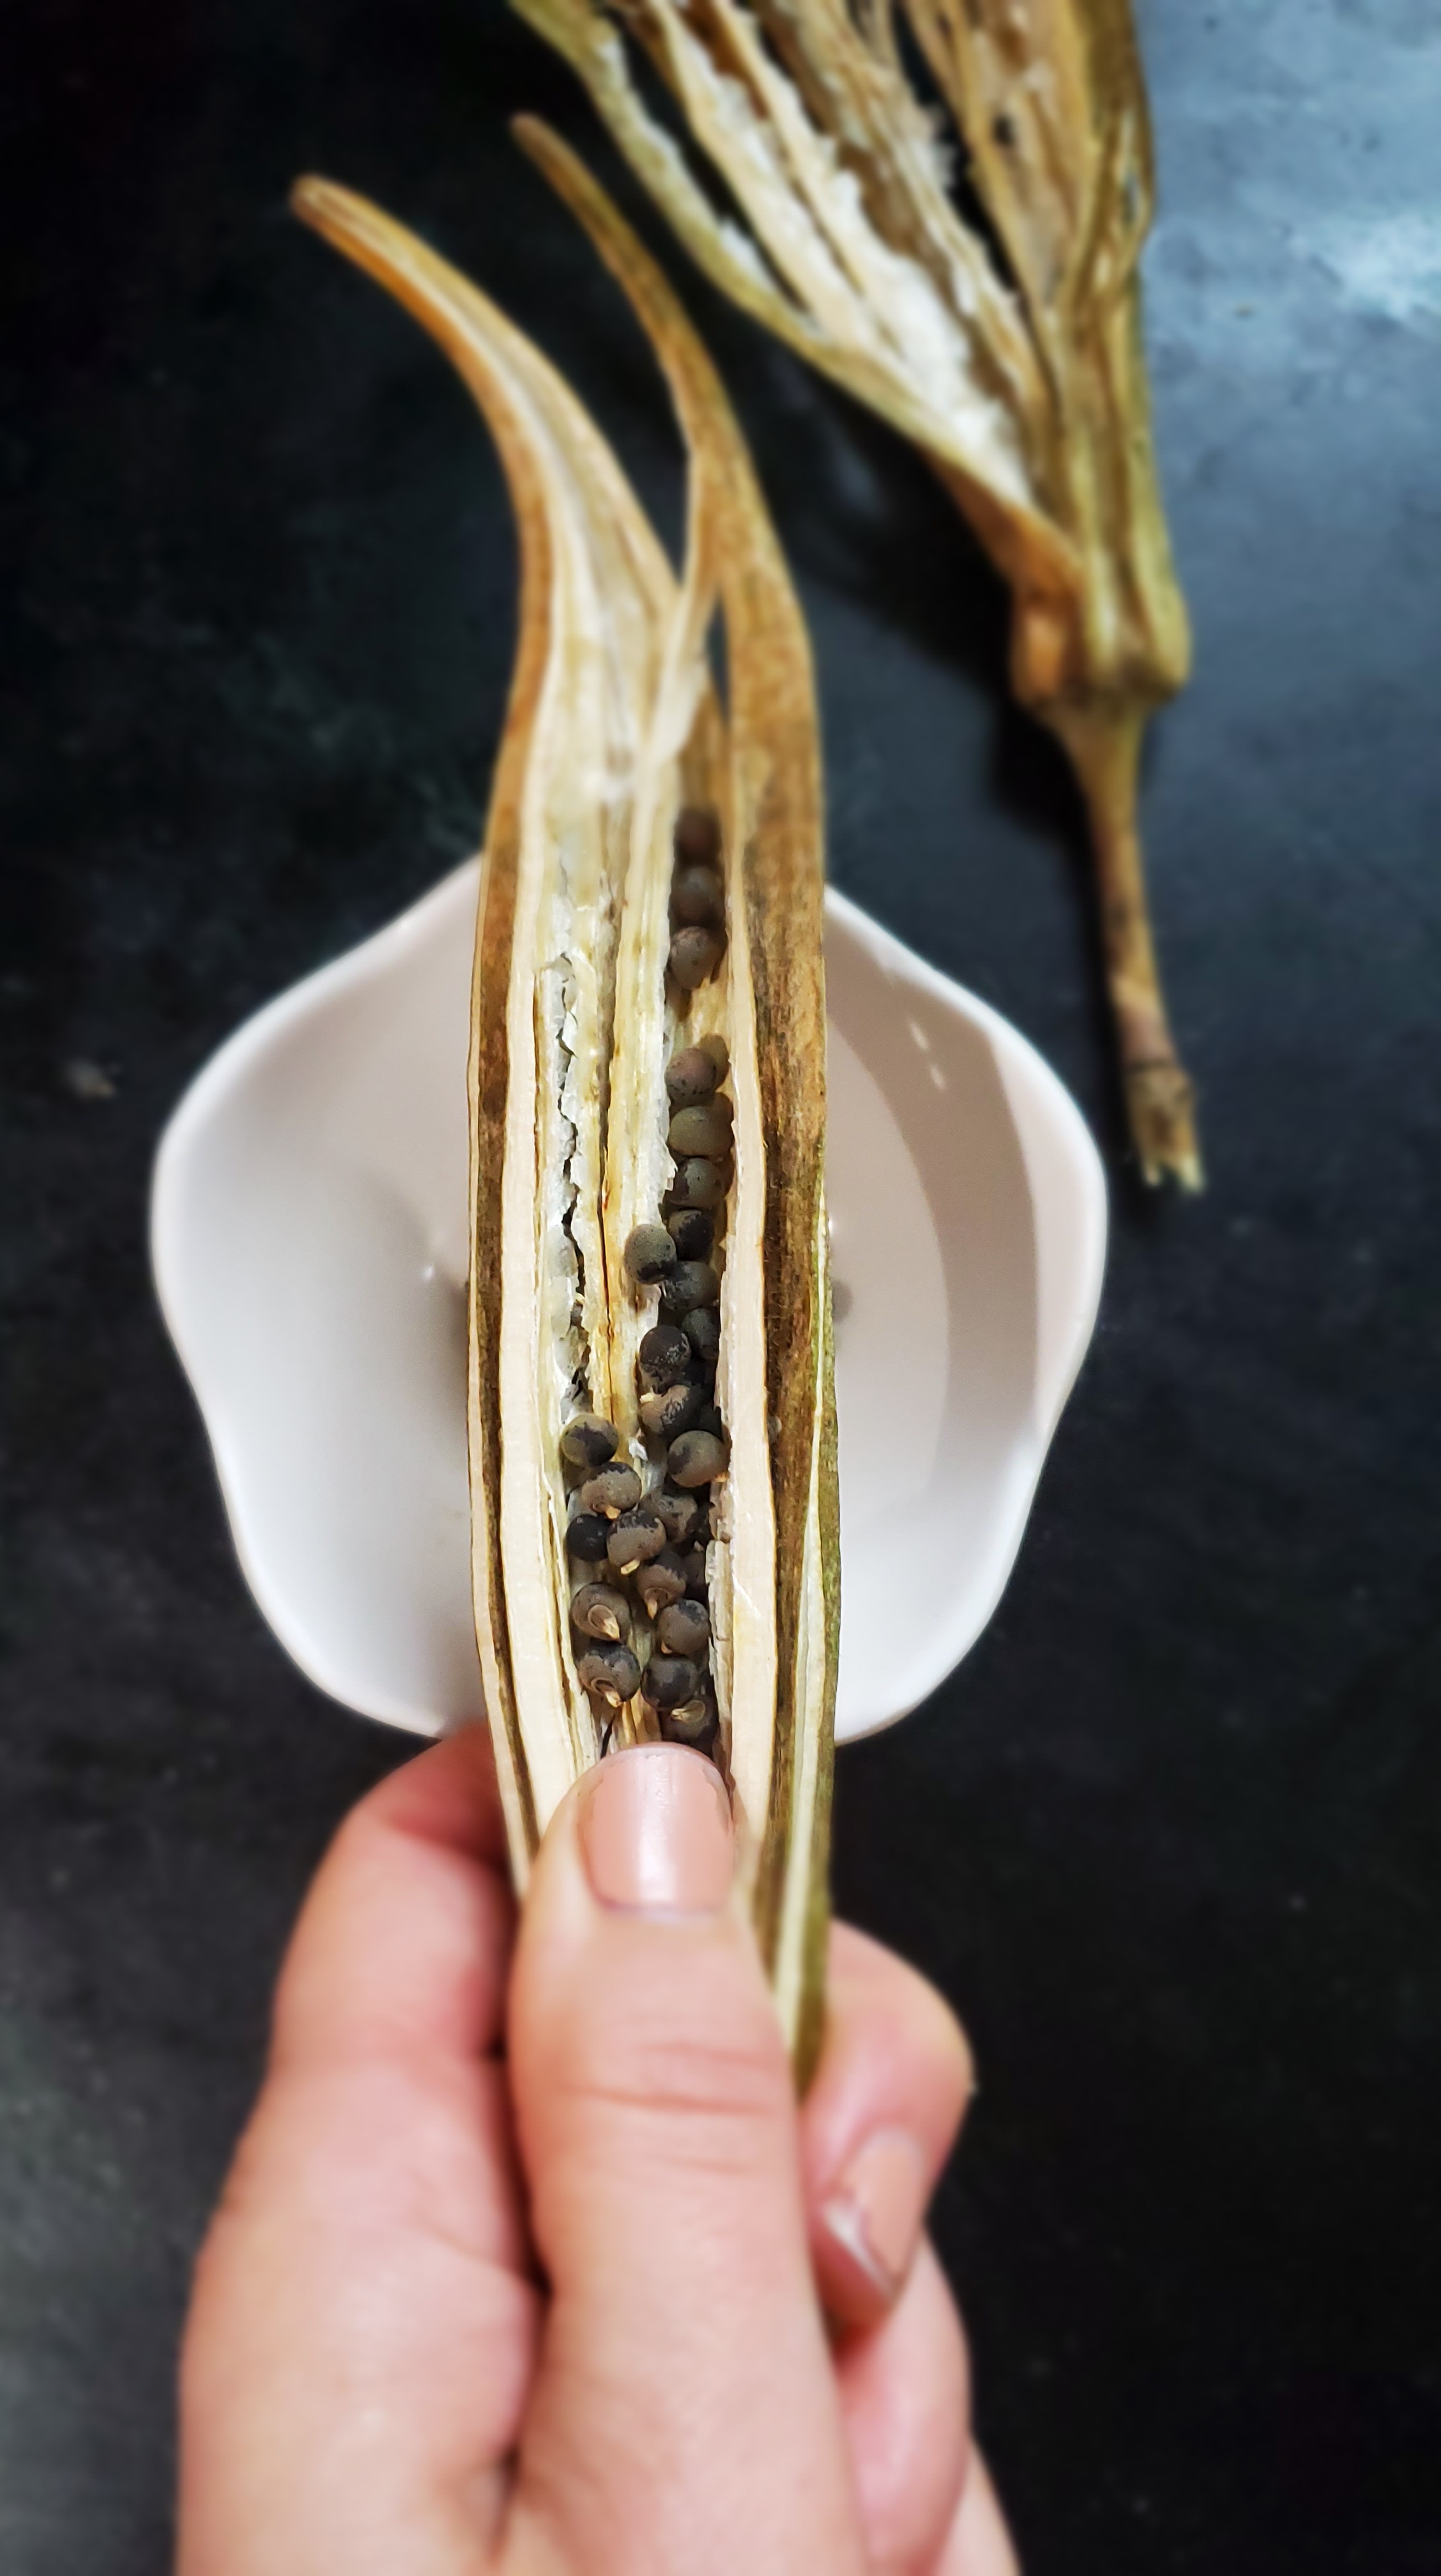
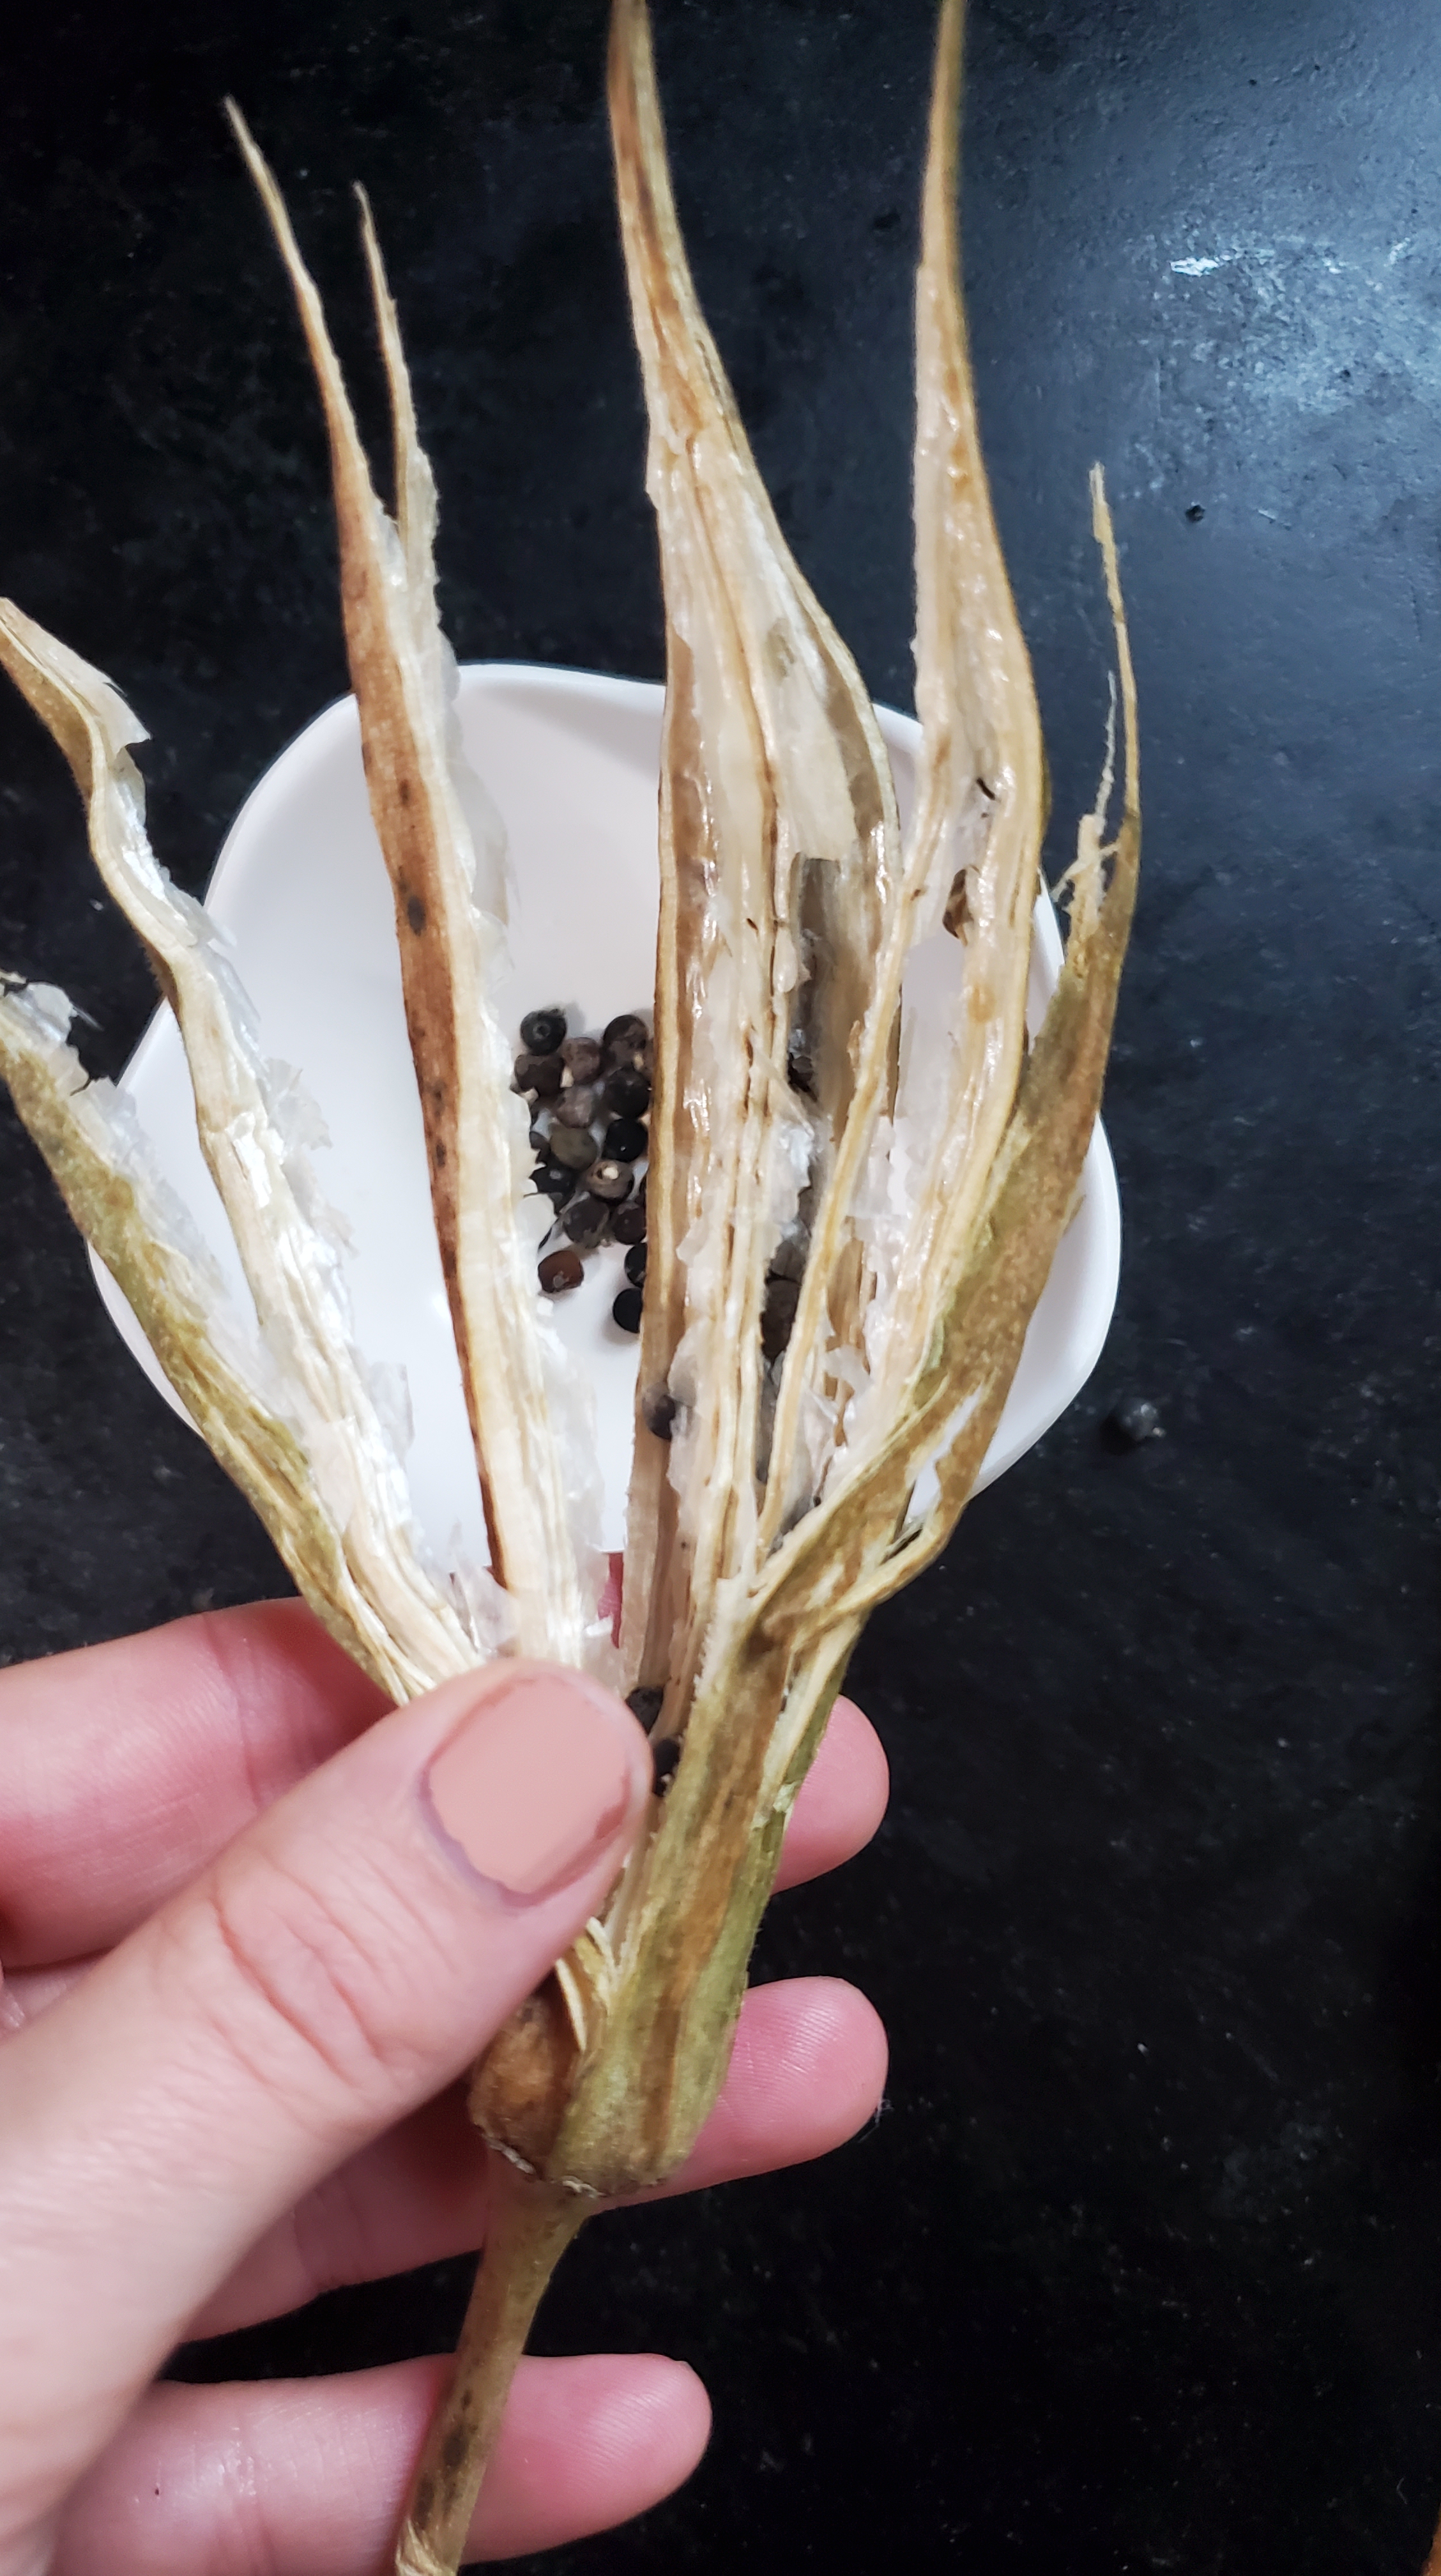
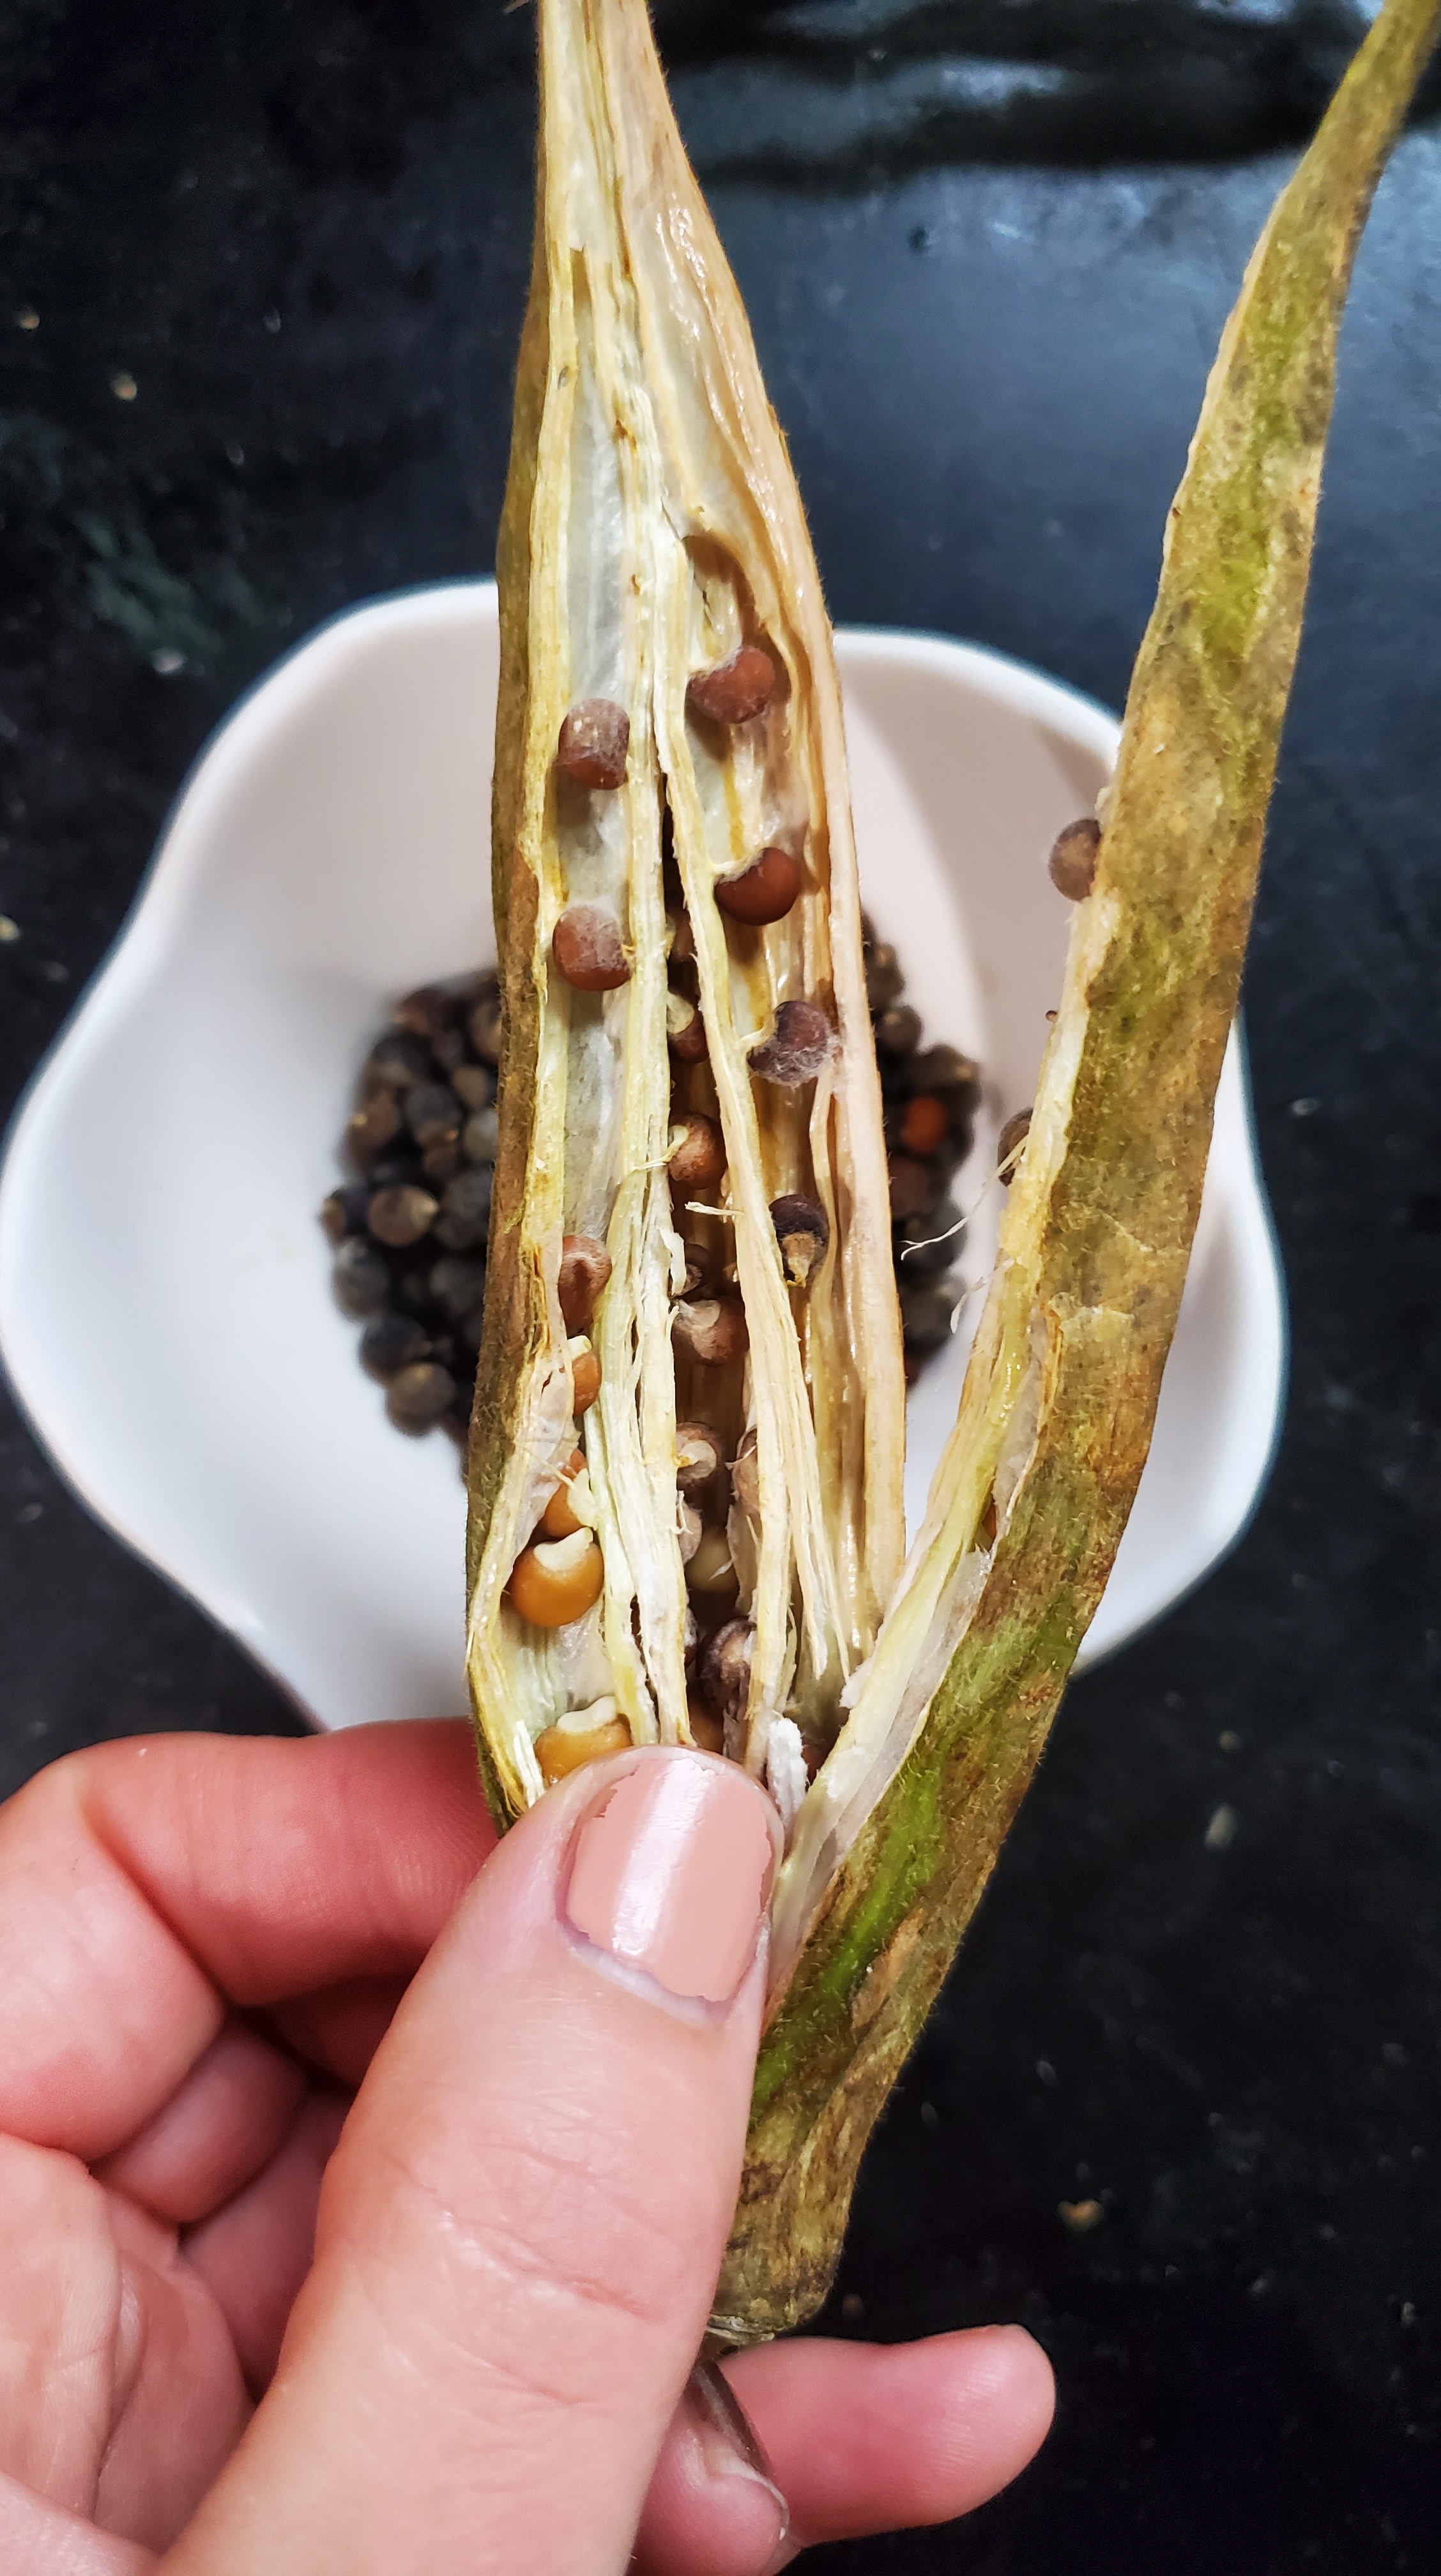
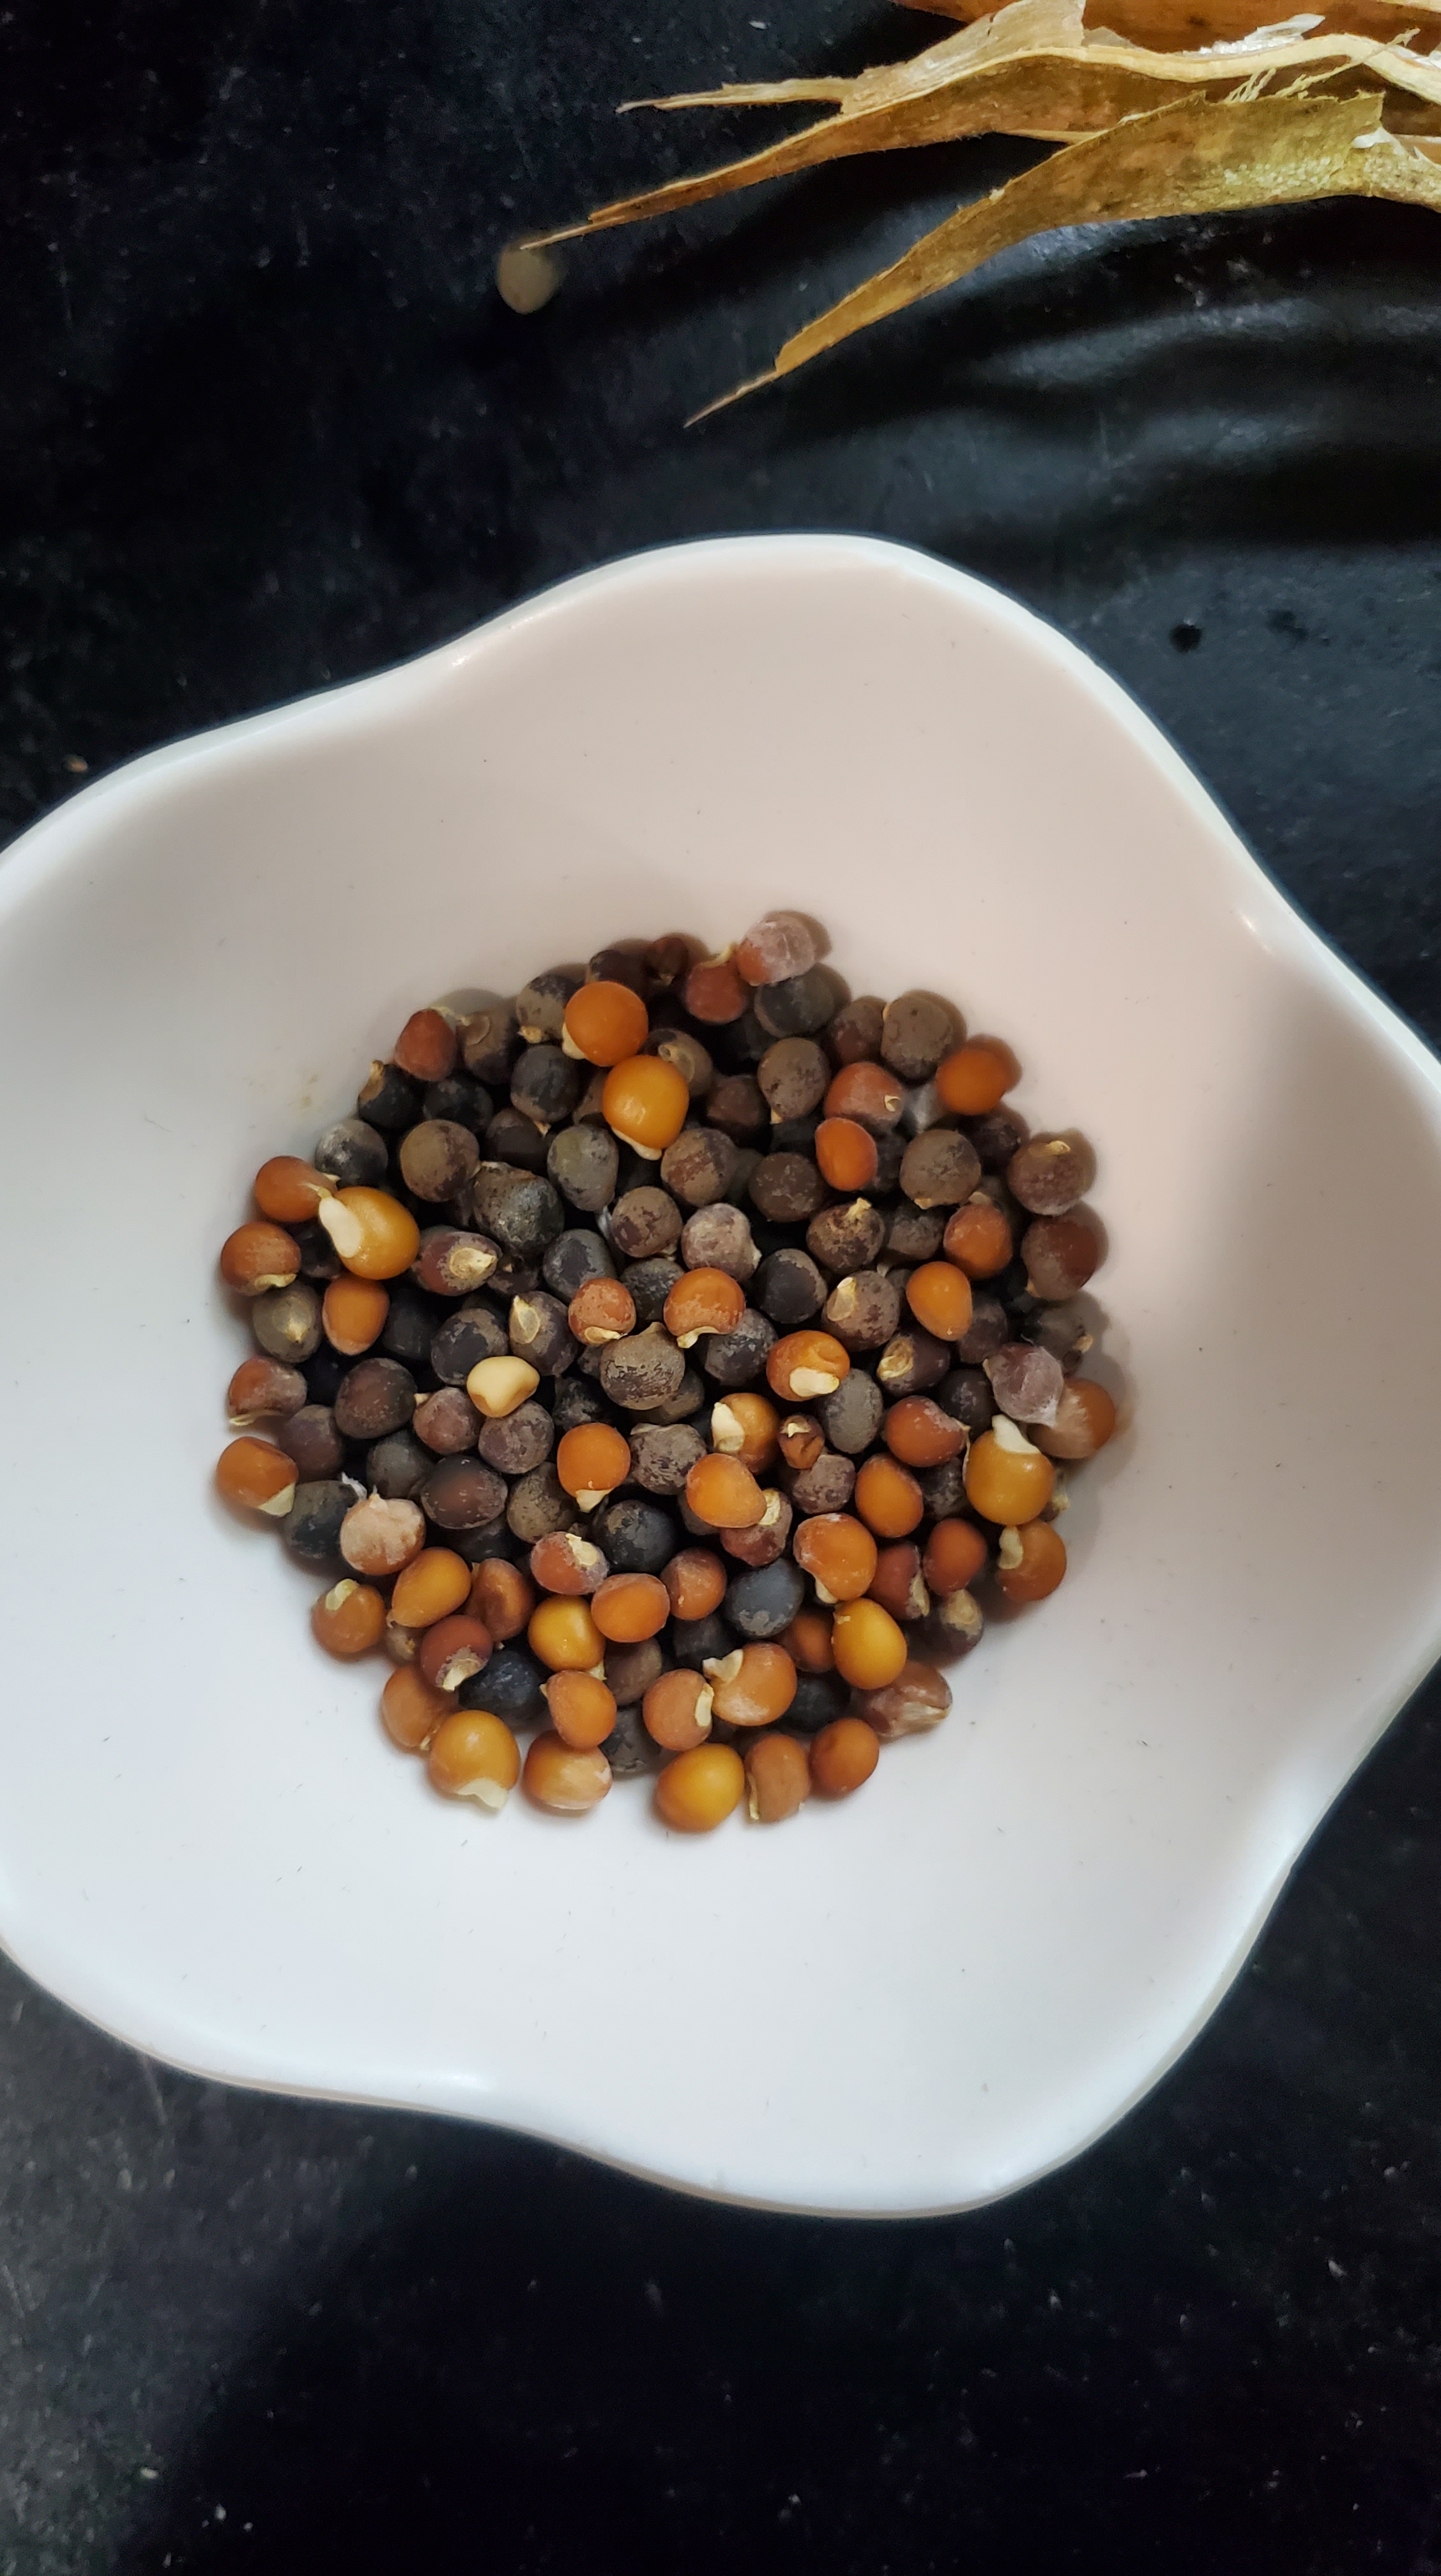
As I was meandering around this past weekend, I got another handful of jalapenos and saw my beautiful okra plants had gone to seed. A reminder that all seasons of life are beautiful and have purpose. It’s easy to focus on the flashy and exciting times, but the slow stillness is essential to a complete cycle. Yin and Yang. I guess the goal is to transition smoothly through these ups and downs.
As you’ll read in my 2021 lessons, okra is one of my unsuspecting MVPs. A beautiful plant, a surprising standout in the vegetable category, it creates the perfect canopy for shade loving lettuces and produces an immense harvest with very little effort.
Okay, here’s a few quick tips for seed saving okra (spoiler: it couldn’t be easier).
Let the husks get extremely dry. They should be starting to crack or split.
Select a few from the plants you deemed the best producers.
Gently break them open with a bowl nearby.
That’s it. Seriously. Perfect for a beginning attempt at seed saving.
As my summer garden is winding down – I’ve only got tomatoes and peppers left – there’s a little time to catch my breath from the chaos of summer (and virtual school – HALP!!!) and preserve some of the seeds I am hoping to use next year. This is my first attempt at seed saving so I am by no means an expert opinion but I figured it was worth trying.
In theory, it should be simple for most fruits and vegetables. Essentially, just let the plant “go to seed.” It’s not exactly that simple but sort of. Some things like butternut squash or peppers are super straightforward – I set the seeds aside after I’ve cut the vegetable, let them dry out completely for a few days, and then store.
So what does it mean for a plant to “go to seed”? As far as I understand, the plant needs to have gone through germination and sprouted, then it becomes a seedling, then it grows for a bit to get to the budding phase when flowers will appear. These flowers turn into fruit due to the handiwork of pollinators like birds, bees and butterflies (truly amazing and seemingly impossible when I think about it). Then, once the fruit/vegetable/leaf has been left long enough to become overripe, it can be picked for seed.
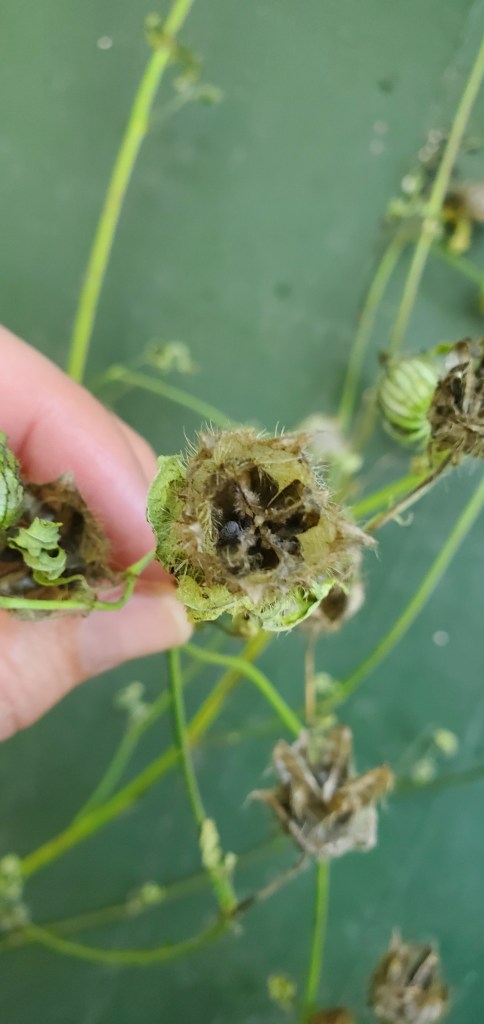
In this first attempt, I went for green beans and lettuce. Legumes in general are one of the easiest to seed save because you can just let the pod become dry and brown. Lettuce is fairly easy too because I just left it to bolt and flower, and then the little seed pods formed (pictured below).
Seed Saving Tips:
Plant extra plants to begin with (maybe 2 or 3 depending on how much seed you want to save) so you have what you need at the end of the season for saving.
Pick the best plants to seed save. This is a bit tricky because if it’s the best plant, you’ll likely want to eat the fruit, which you can’t do if you are letting it overripen.
Understand that it takes time to separate the seeds. For this first attempt, it took me about 30-45 minutes for each. That’s not too long, but it’s also not a 30-second task.
Make sure seeds are fully dry. Can’t stress this enough. Do not rush to store any seeds before they are fully dry because they will grow mold and be unusable the next year and all your hard work will be for naught.
One of the most critical pieces of seed saving is how you store them. Always in paper, never in plastic, and in a cool, dry place. You don’t want moisture encouraging any mold to grow.
Of course there will always be a little suspense until the next year when you are able to plant the seeds you saved. But start small and see how it goes. Gardening is trial and error all the way and this is part of it.