I have posted about starting peppers and tomatoes a few times over the last few years. It’s one of my favorite signs of spring after a long, dark, and cold winter. Like seeing the crocuses and daffodils pushing through the ground. You know brighter days are ahead.
Having successfully started my own plants for the last three years, I’ve learned a few tips and tricks and *seem* to have a pretty good system. I say that now… and next year will be an epic disaster I bet.
Seed Starting Tips and Tricks:
Wash your containers. Start with a clean slate. If anything was wonky last year with your plants, don’t let it carry over to this year.
Saturate your seed starting mix with boiling water. This helps protect against those pesky little gnats.
Start 3-4 seeds per cell if you are doing standard 6 packs. Don’t drop them all in one hole. Make a triangle or a diamond shape so you can get two or three strong plants per cell that aren’t on top of each other and can be more easily separated when it’s time to plant them outside.
Leave your starts alone for the first three days. Then give them 24 hours of light for four days (that’s Week 1). Give them 16 hours of light daily Week 2. And 12 hours of light daily for weeks 3 and 4.
Fertilize weakly every other week.
Now I’m going to write one massive disclaimer for all of this. What if you forget? What if your life is absolutely crazy and you don’t have time? What if you just don’t feel like starting and tending to pepper and tomato plants for three months in a part of your house that you’d rather designate for something else? What if you did start plants and all went to hell? TOTALLY FINE and UNDERSTANDABLE. Happens to ALL OF US. Go buy them instead. I’d just strongly encourage you to find high school doing a plant sale, a nature center doing a fundraiser, or the Mom and Pop nursery down the street and give them your money instead of a big box store.
I hope you appreciated the Spice Girls reference in this title. Who doesn’t miss a good 90s girl band? I recently had an opportunity to partake in some karaoke and not gonna lie, a Spice Girls song was on my list of contenders. Didn’t make the cut but it is a crowd pleaser. Alright, moving on…
I’ve posted so many times about starting peppers that I honestly don’t think I have anything novel to add. You can read here and here about the tips and process I follow. It’s also good to remember that spicy peppers are pretty much the official start of seed starting season for me in Zone 7. Then every 2-3 weeks or so there are another couple veggies to start. I made this simpler calendar to follow that may or may not be helpful. I just found all the charts that list “start 2-3 weeks before your last frost” were not that easy to actually apply on a weekly basis. I wanted to know in biweekly increments what I should start and not have to do a ton of math every time.
If I had to list my top 5 ‘Do’s’ for starting peppers, they would be:
Wash your supplies well in soapy water. You don’t want any remnants from last year’s plants.
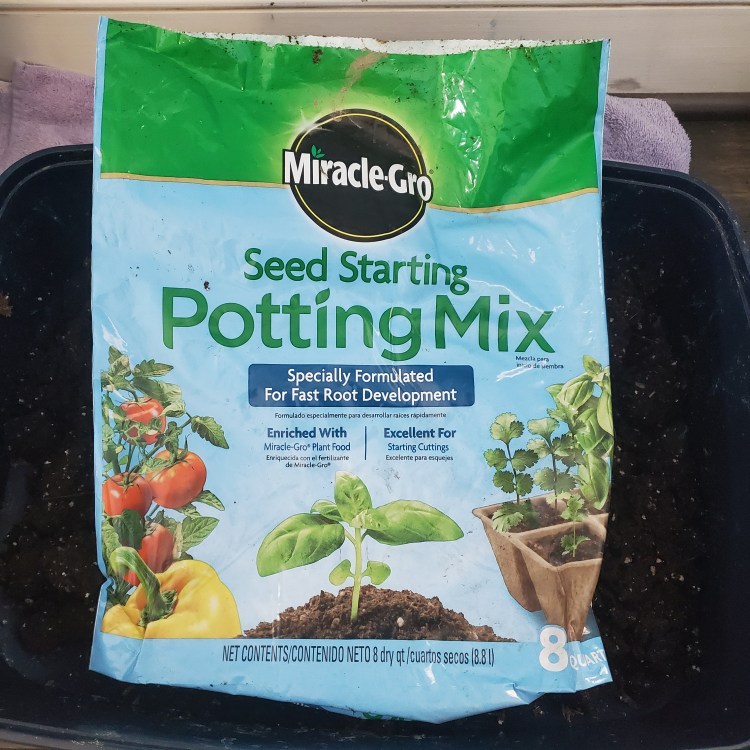
Pick a good seed starting mix. I had tons of gnats last year with the Burpee mix that were quite annoying in my home office. As much as it pains me to use the Miracle Gro mix, I’m using it.
Plant 3-4 seeds per cell to be sure you achieve your desired germination rate. It’s disappointing to plant two six packs because you want 12 jalapeno pepper plants and only 8 germinate. You can always thin them later.
After the first 2 weeks, I use a ‘feed weakly weekly’ approach. To keep track, I only fertilize on Fridays (lots of memory tricks here).
Don’t overwater. Wait for the soilless mix to be light brown before bottom watering. Fill your tray about 1/4 full and let the plants soak up as much as they can for 20 minutes.
Now that you’ve made your own (#MIM) seed starting mix, it’s time to start some seeds. Yippee!
I’m in Zone 7 and last year I started my spicy peppers about 12 weeks before my LSF (last spring frost) and my sweet peppers just about 8 weeks before my LSF. It all went super well and I could do it exactly the same way again this year but as a gardener, there is always something to test. It took what felt like a really long time to actually get bell peppers that I could harvest, like late July timeframe.
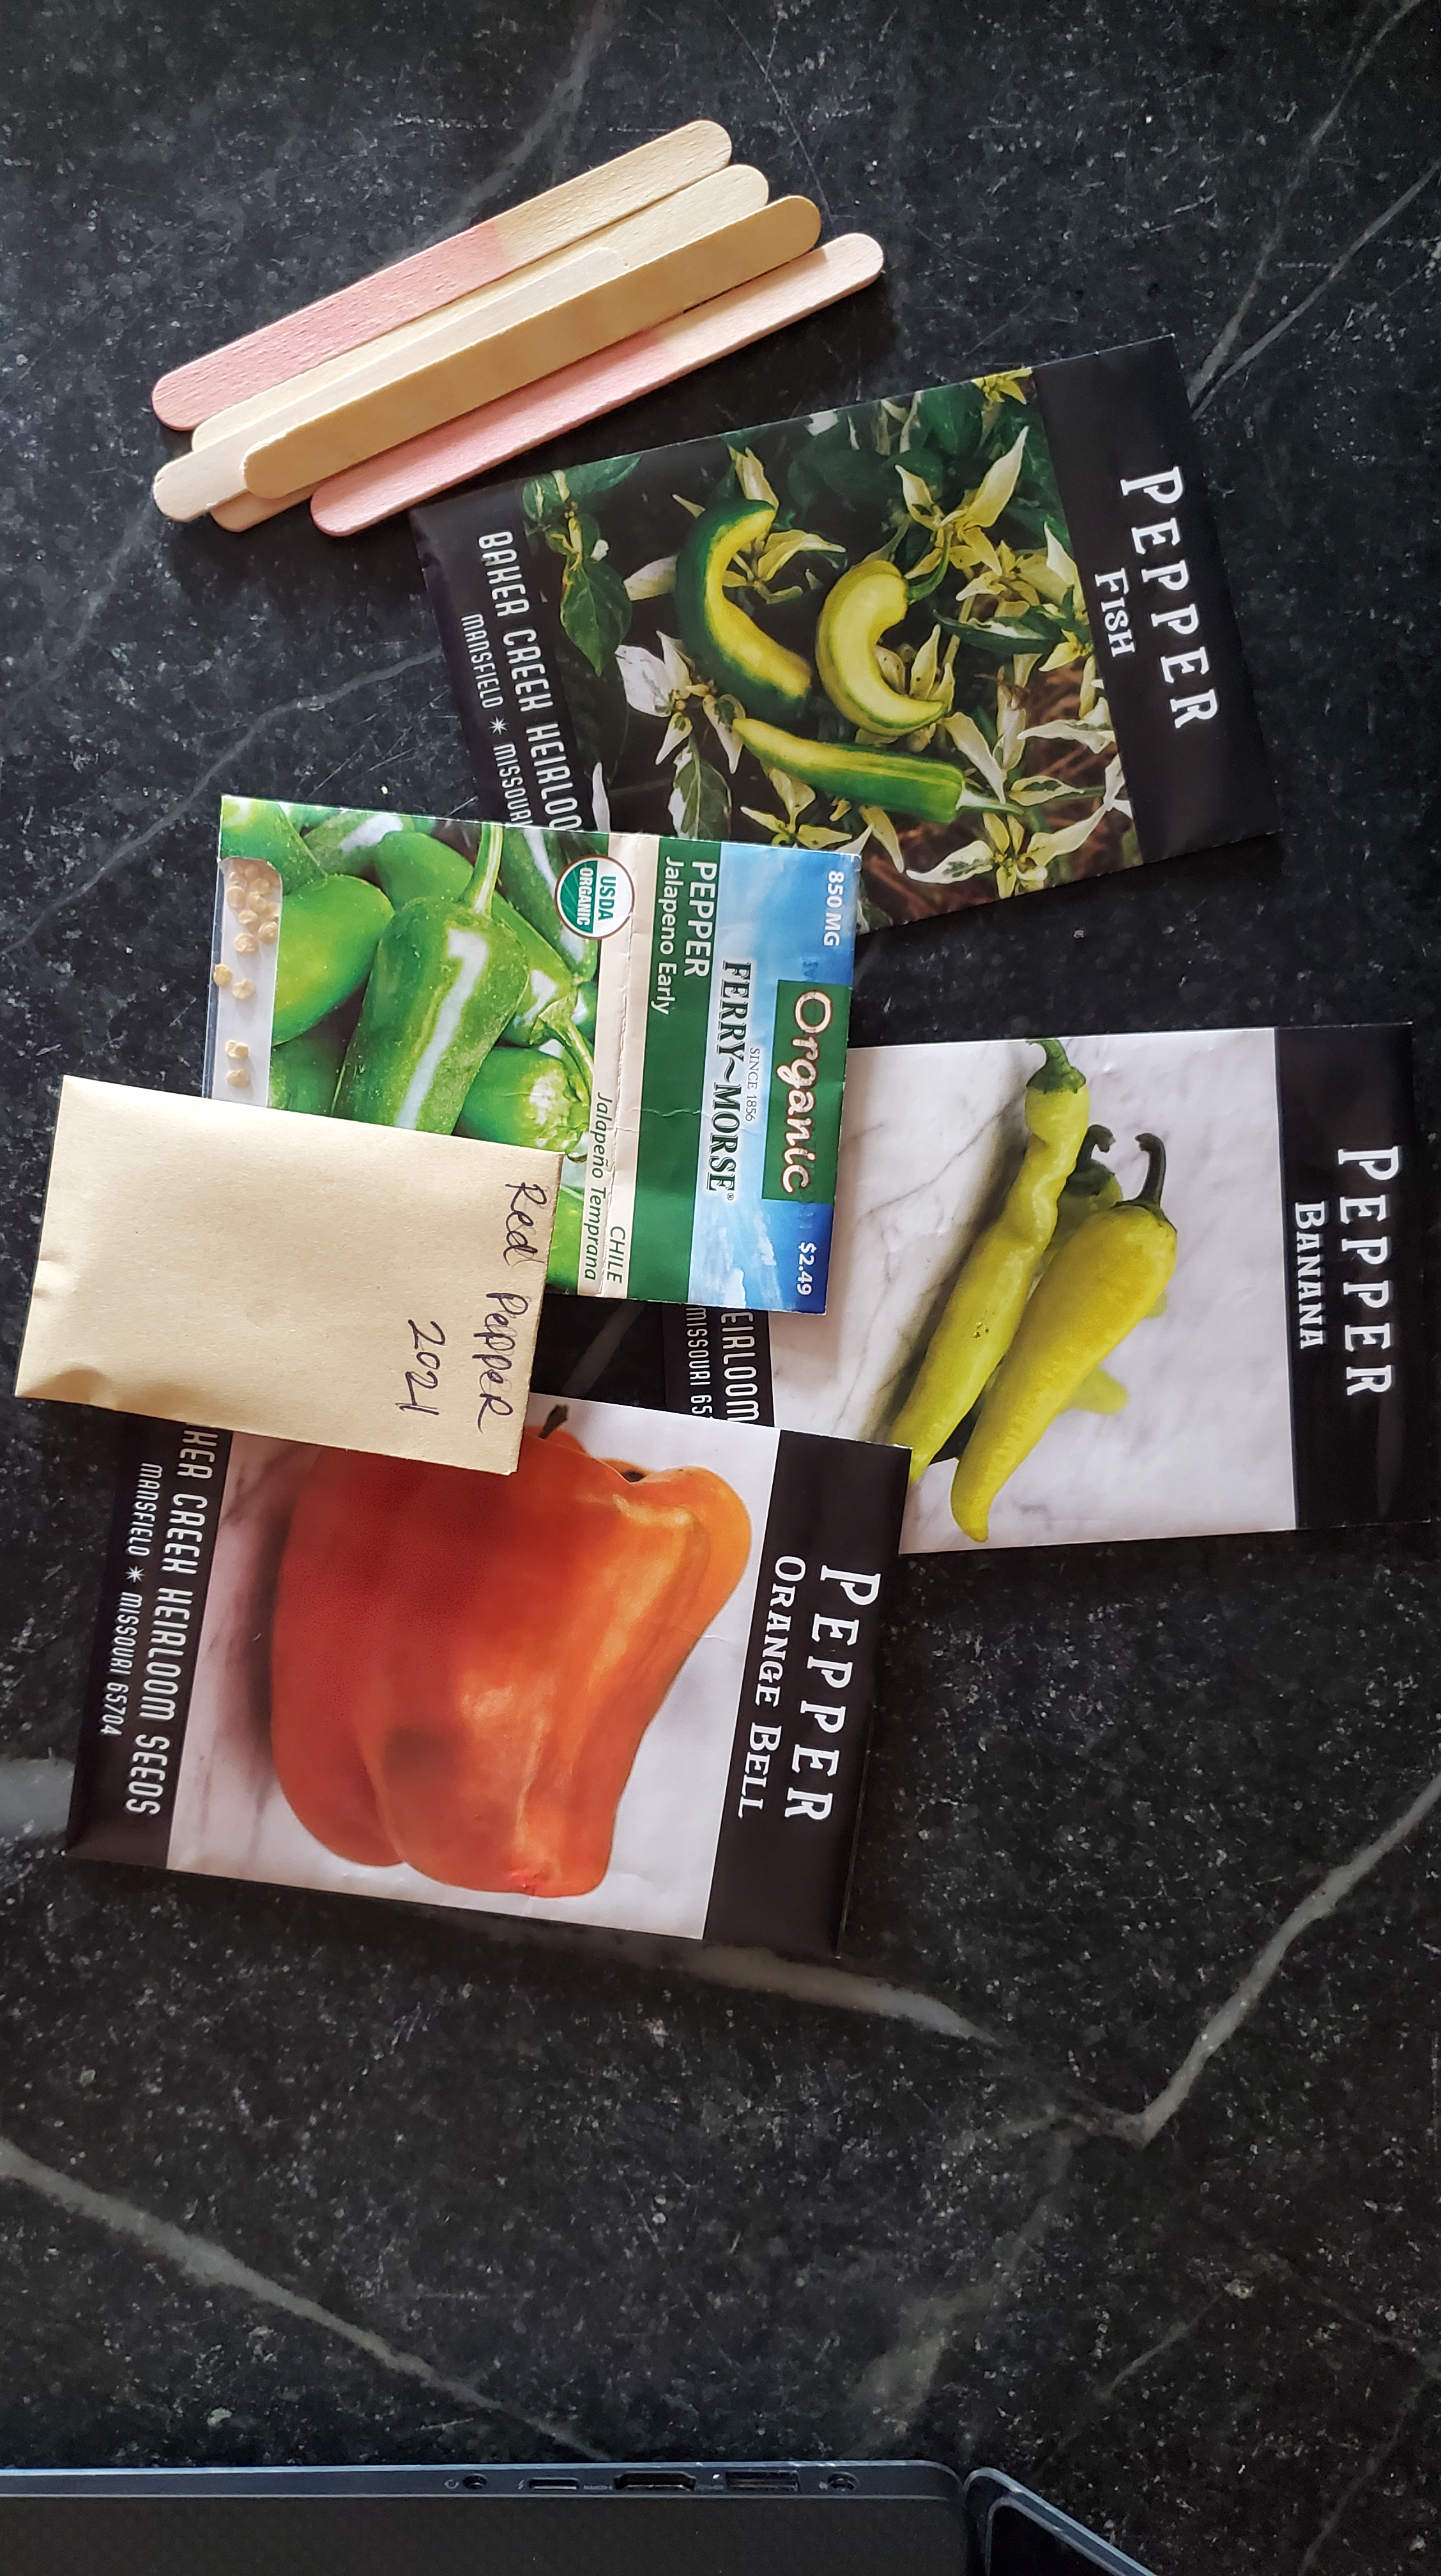
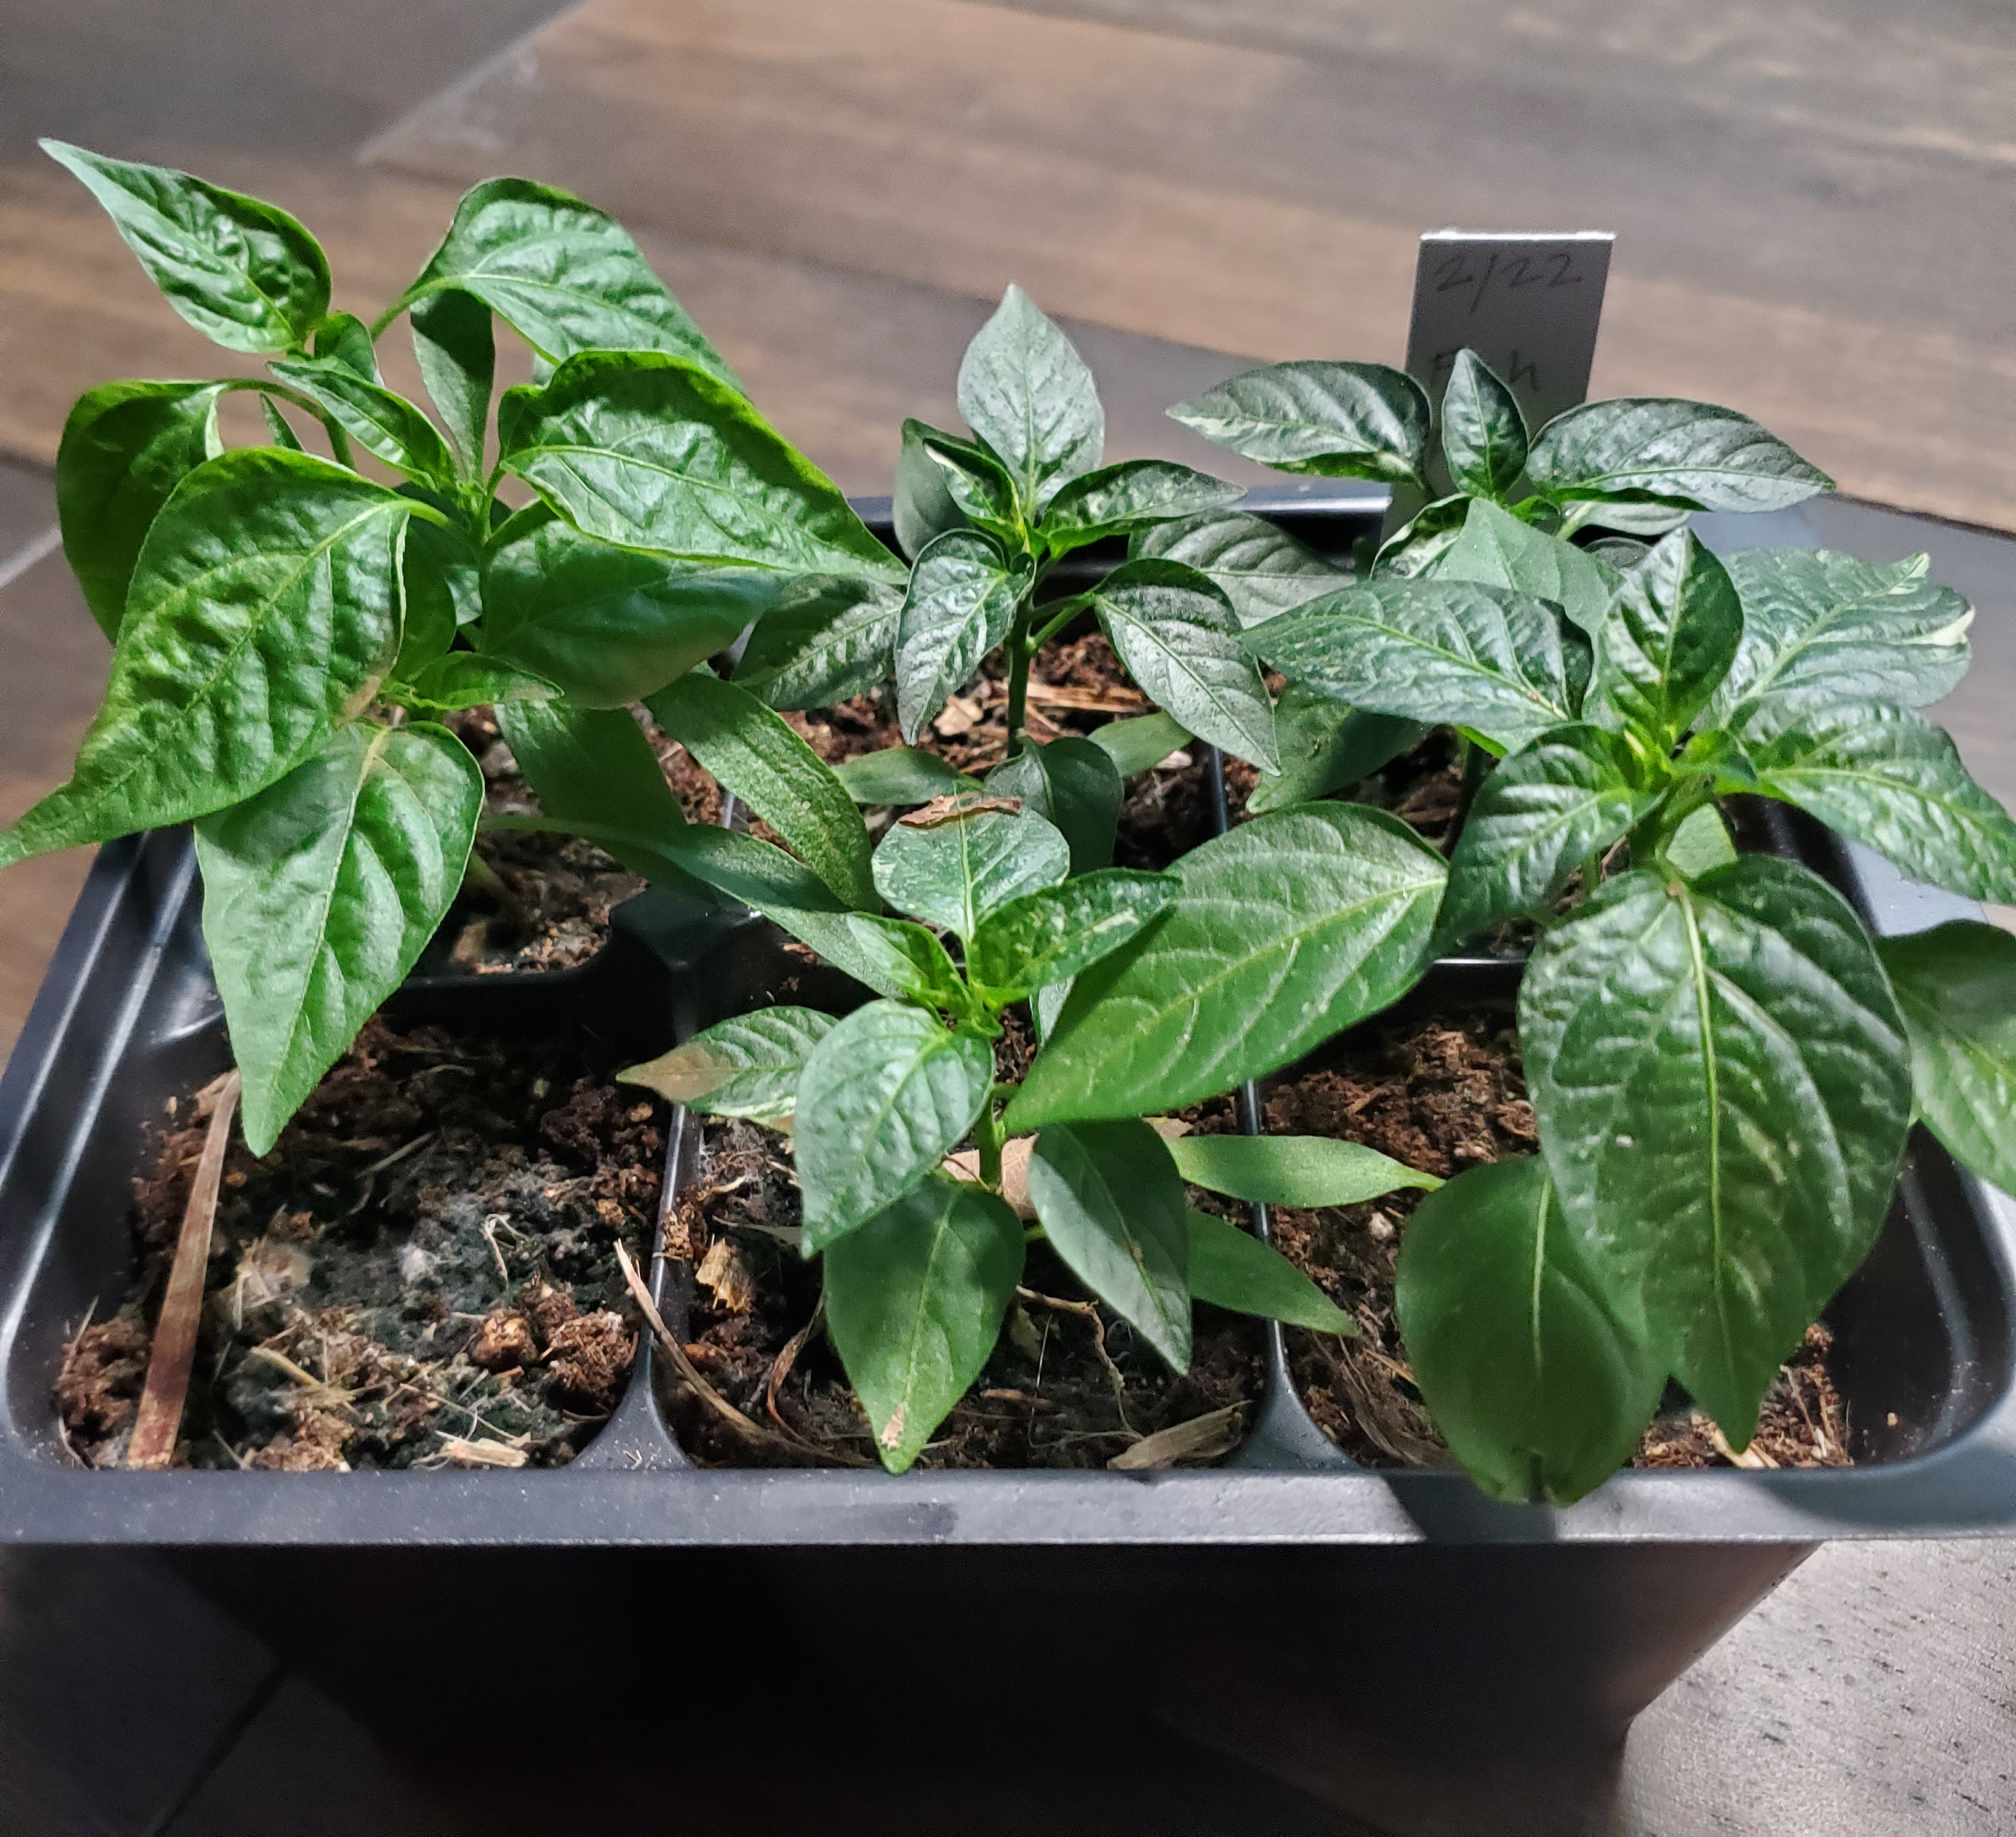
That being said, I’ve decided to start both my spicy and sweet peppers at the same time – about 10 weeks before my LSF. I’m doing the same varieties as last year: jalapeno, fish, banana and bell. Maybe I’ll score some others with a well-timed trip to Home Depot and find loads of free plants in the parking lot like I did last year. And if not, I’m good with what I’ve got.
Here’s the steps to get your seedlings started:
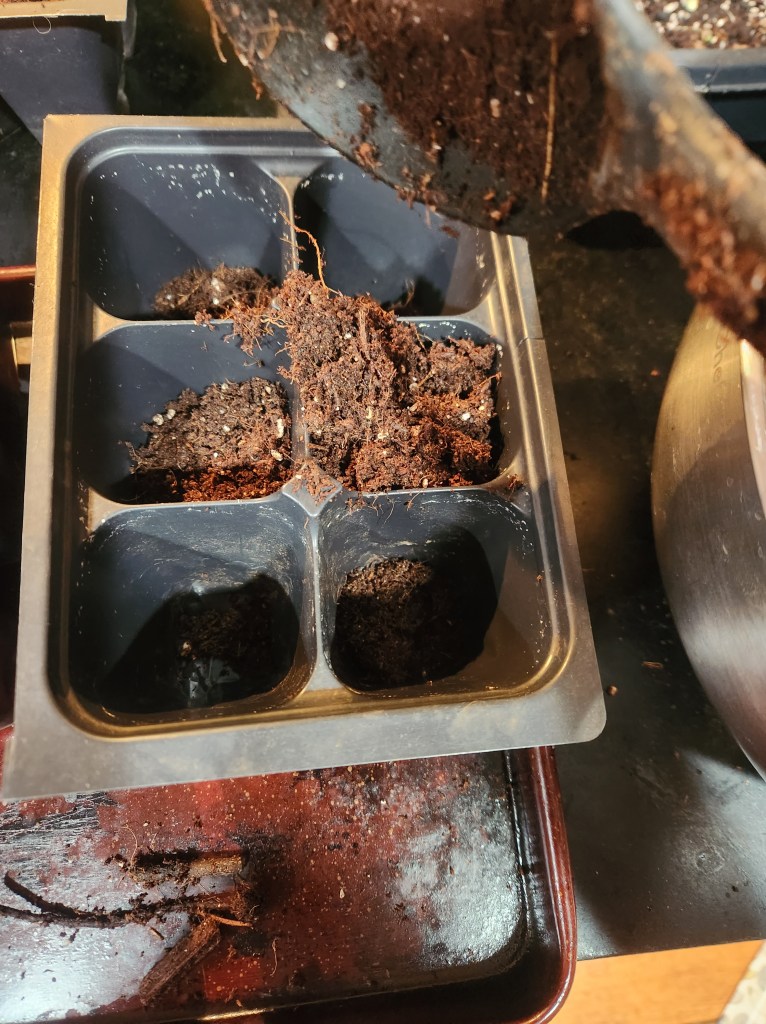
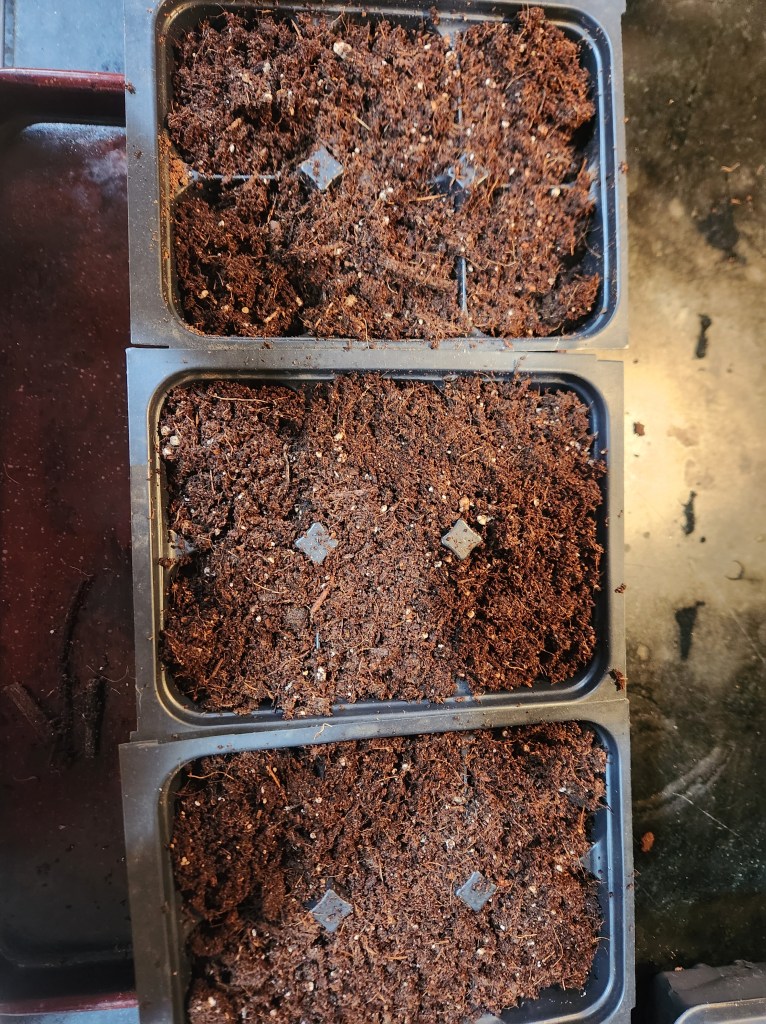
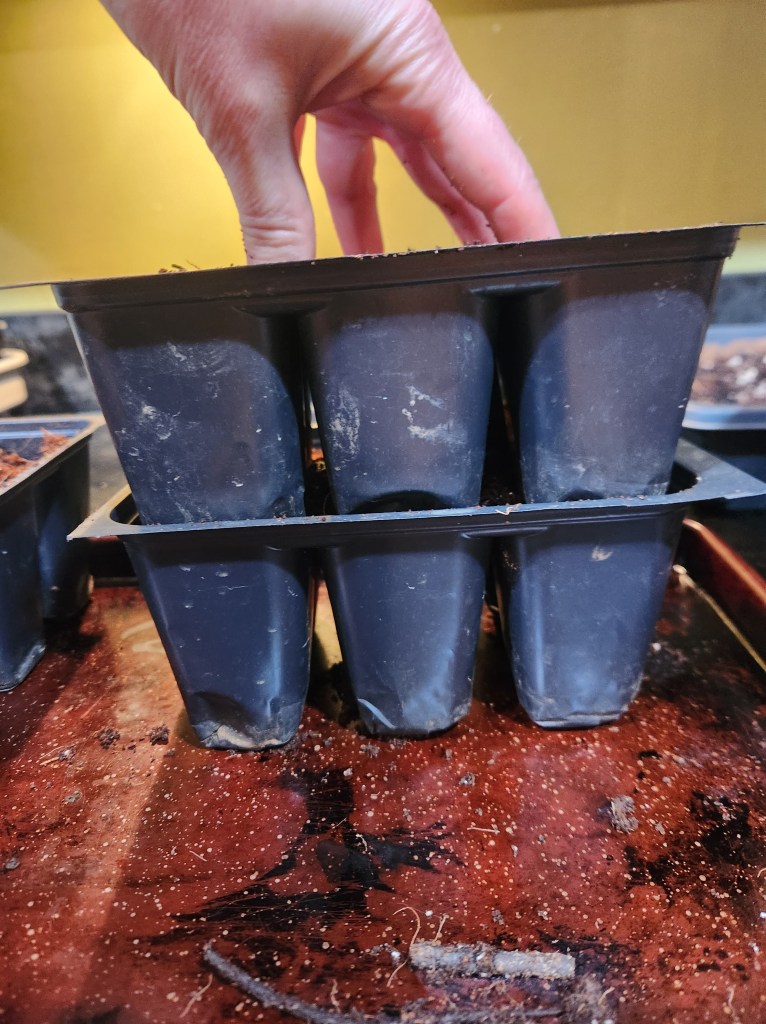
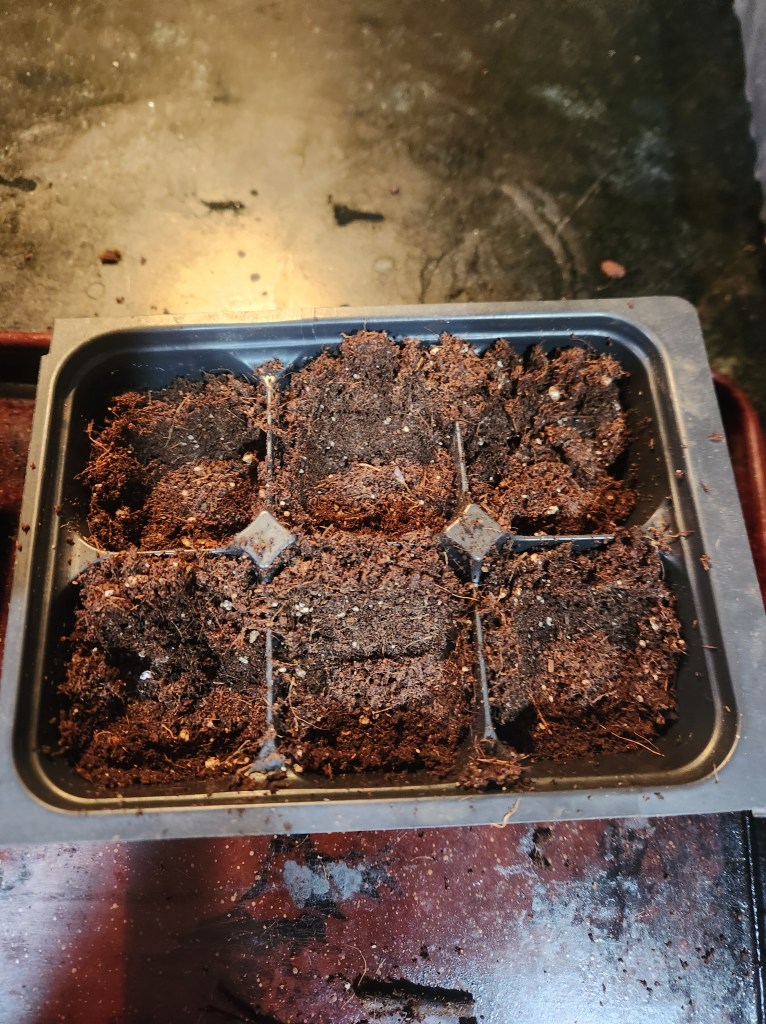
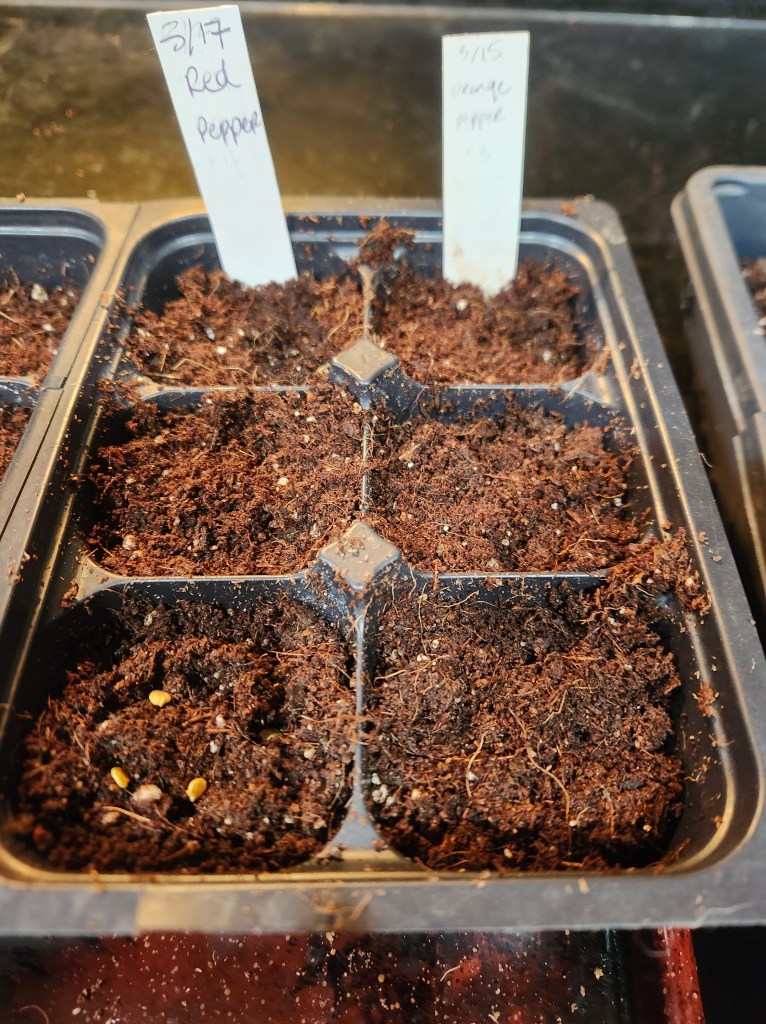
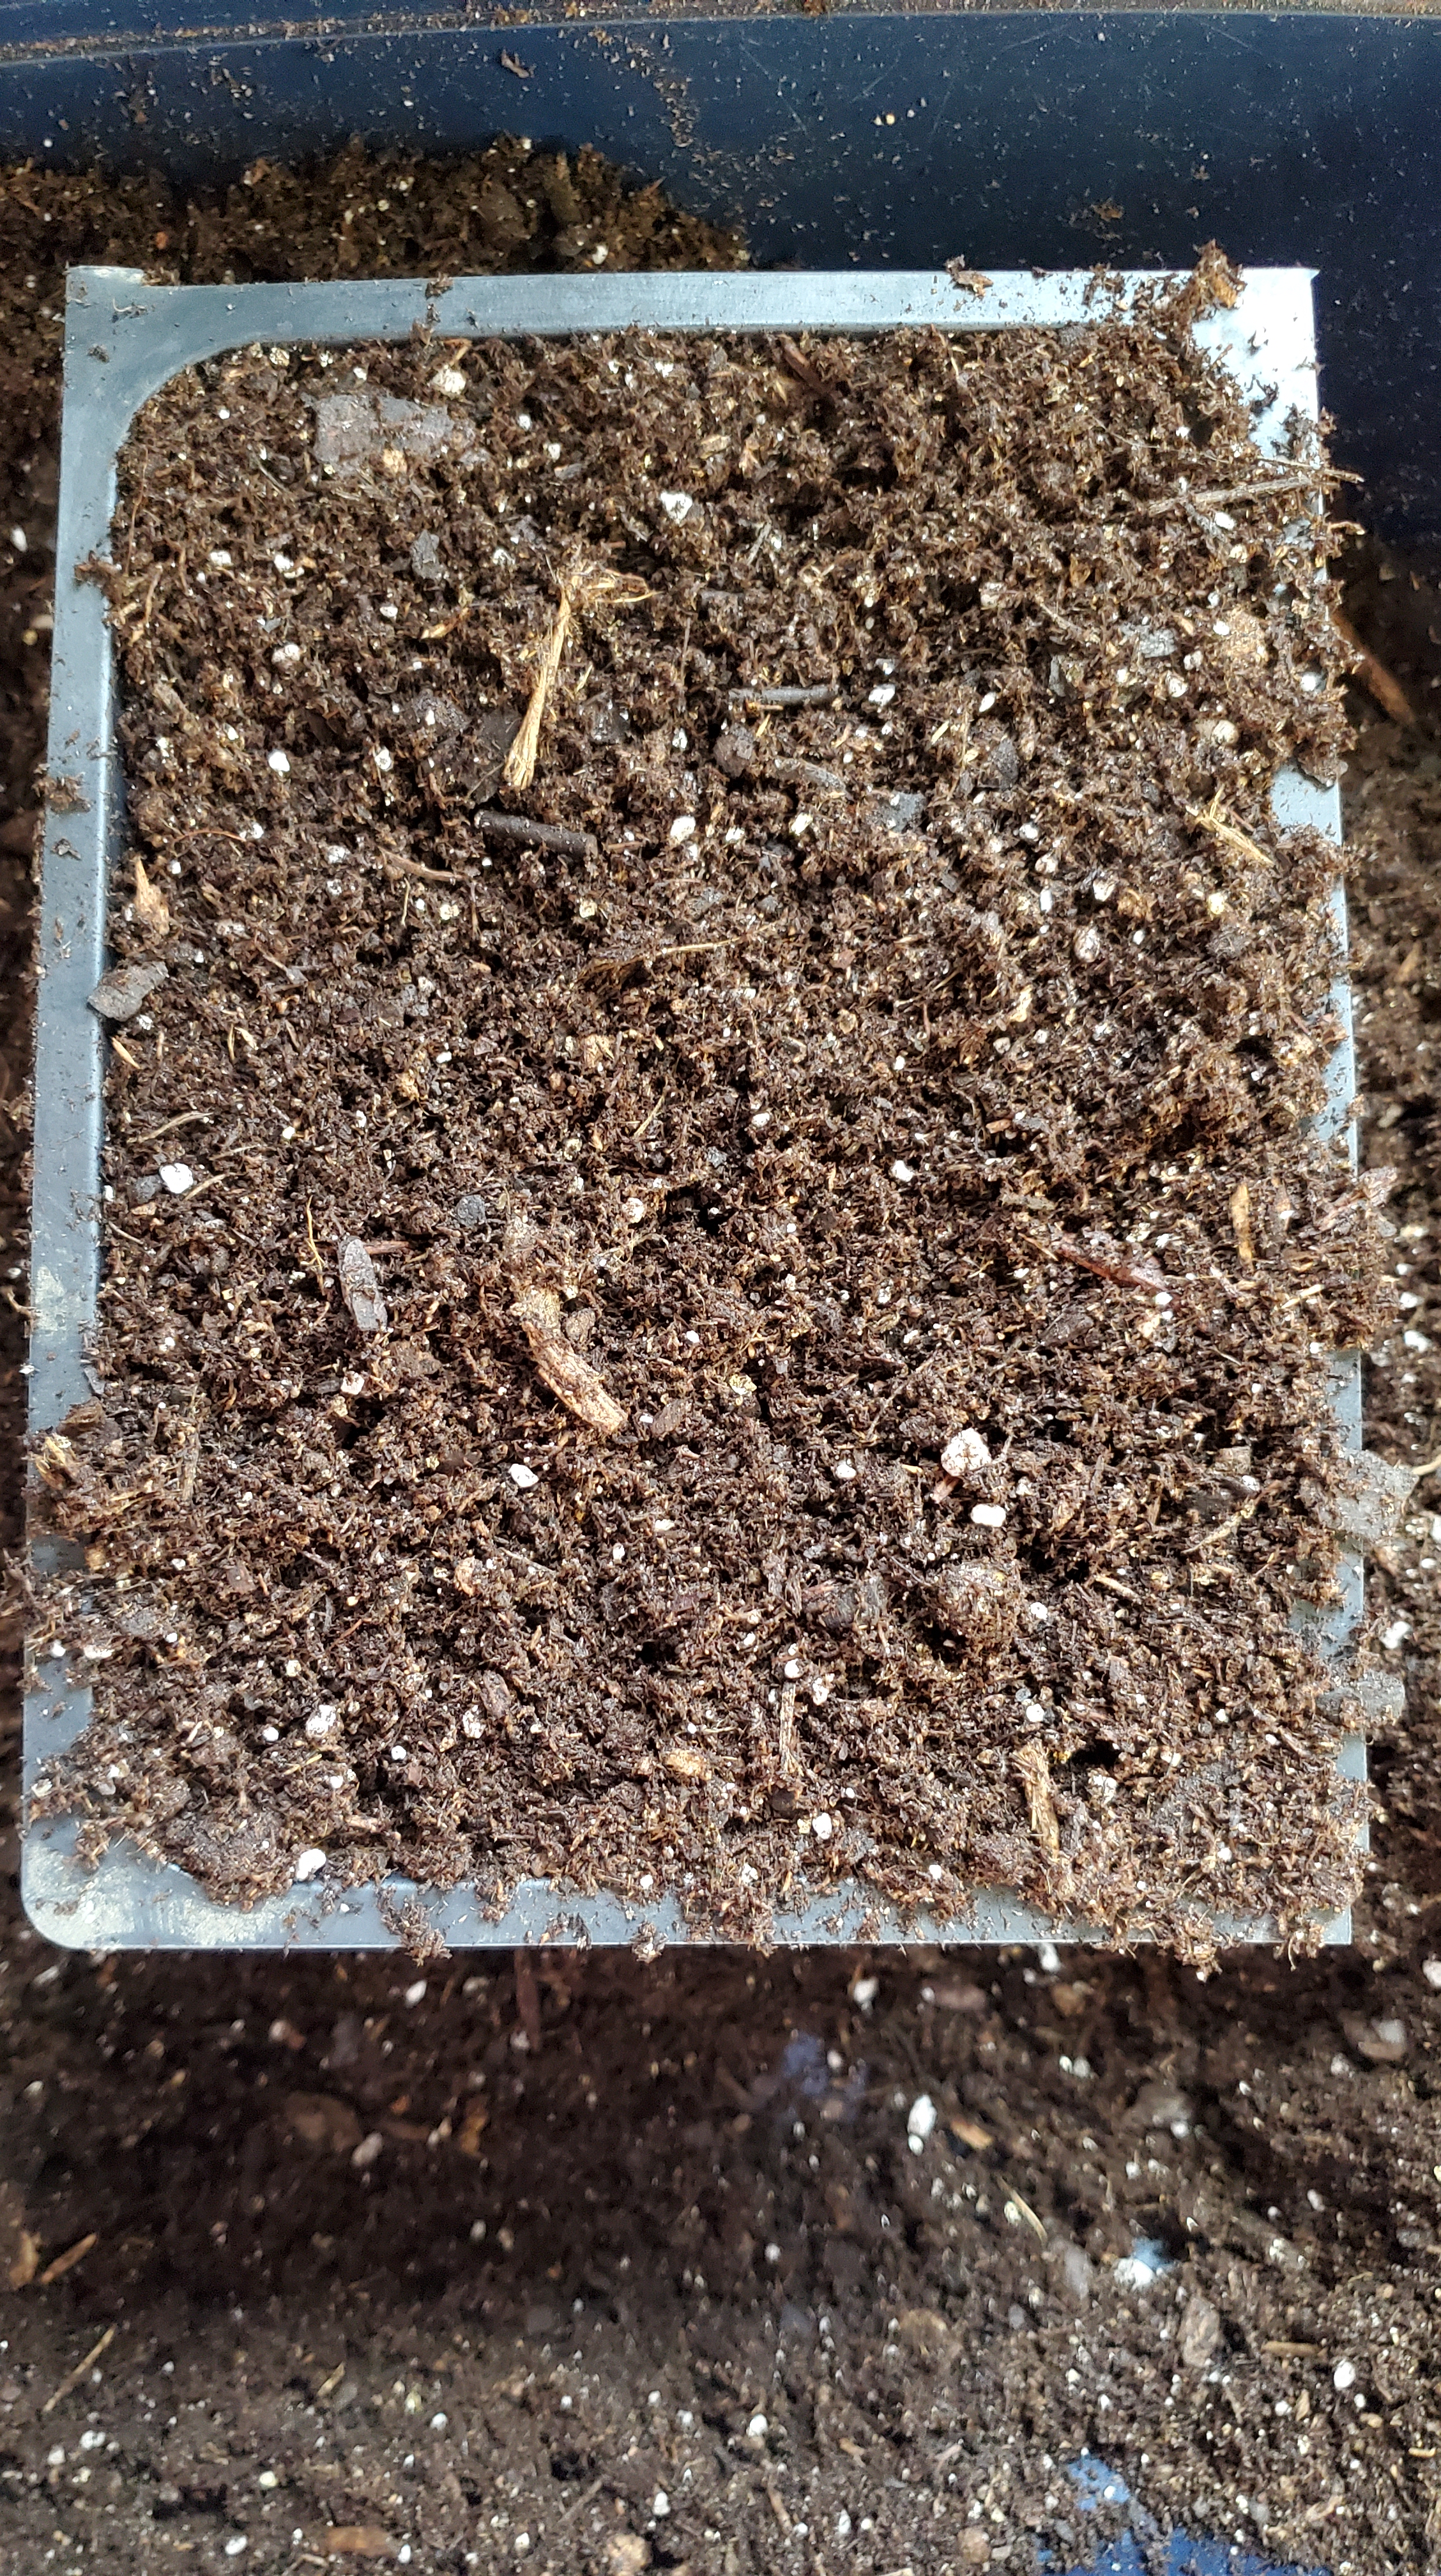
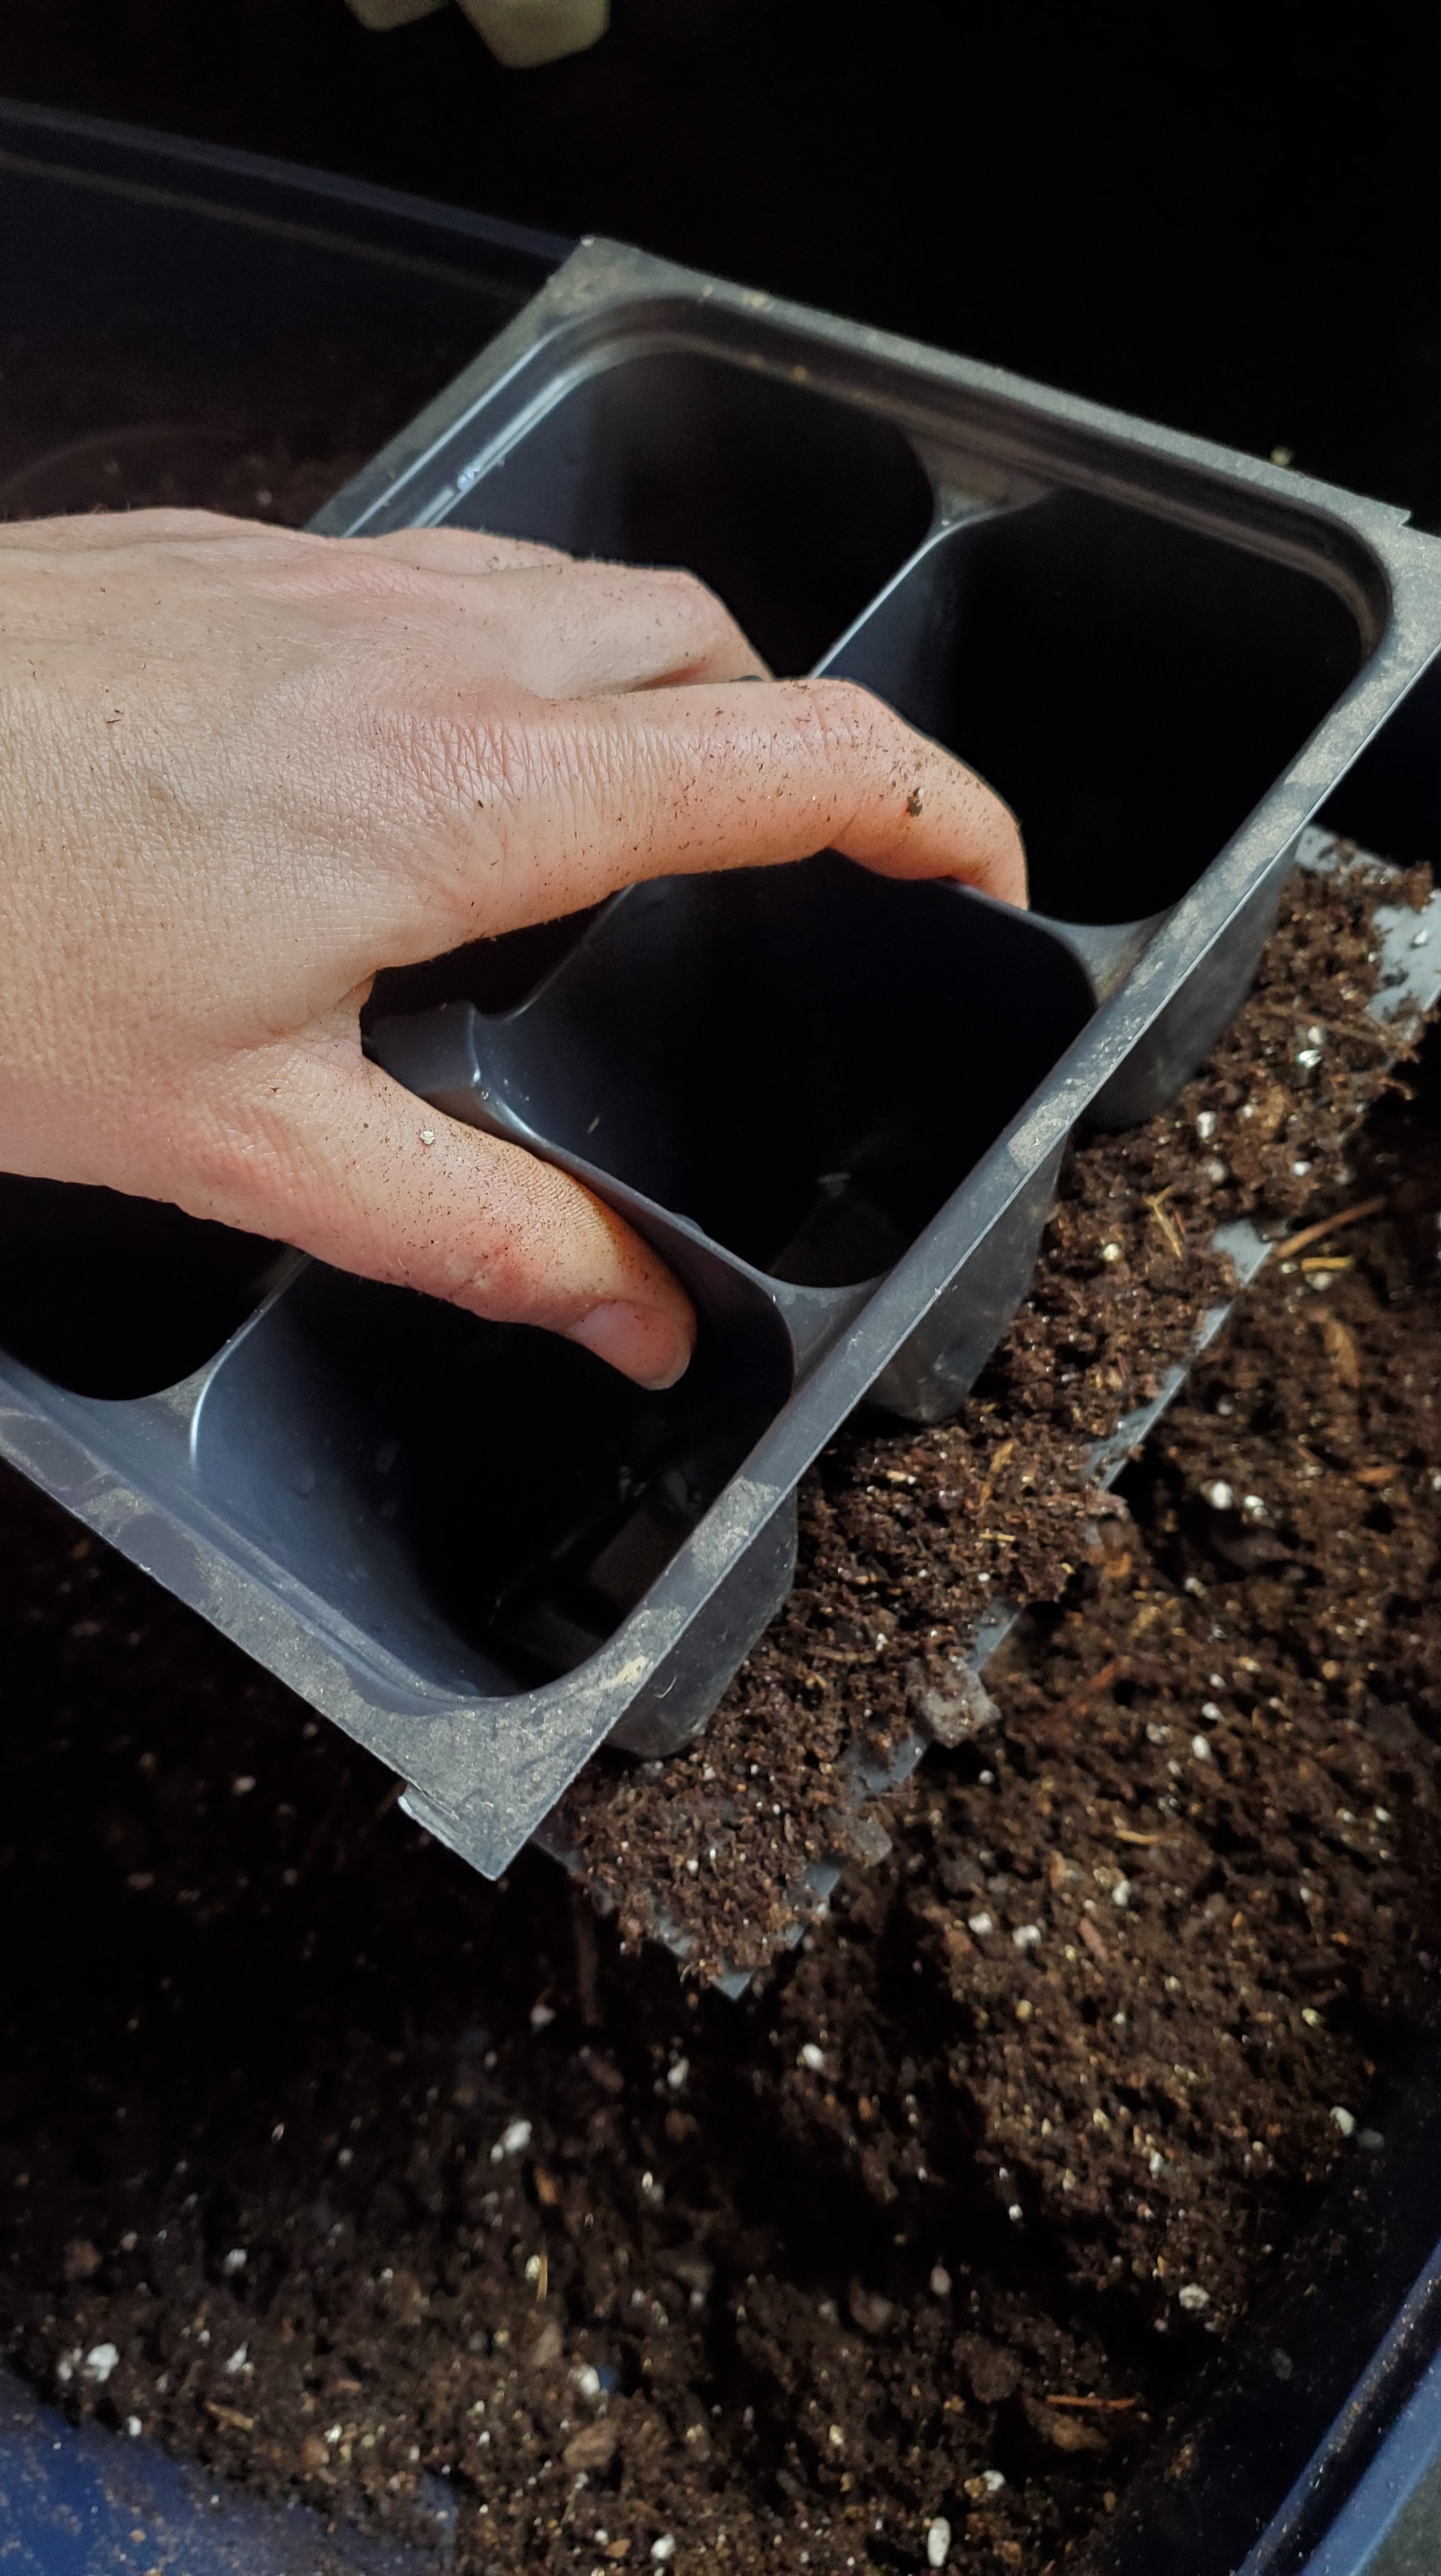
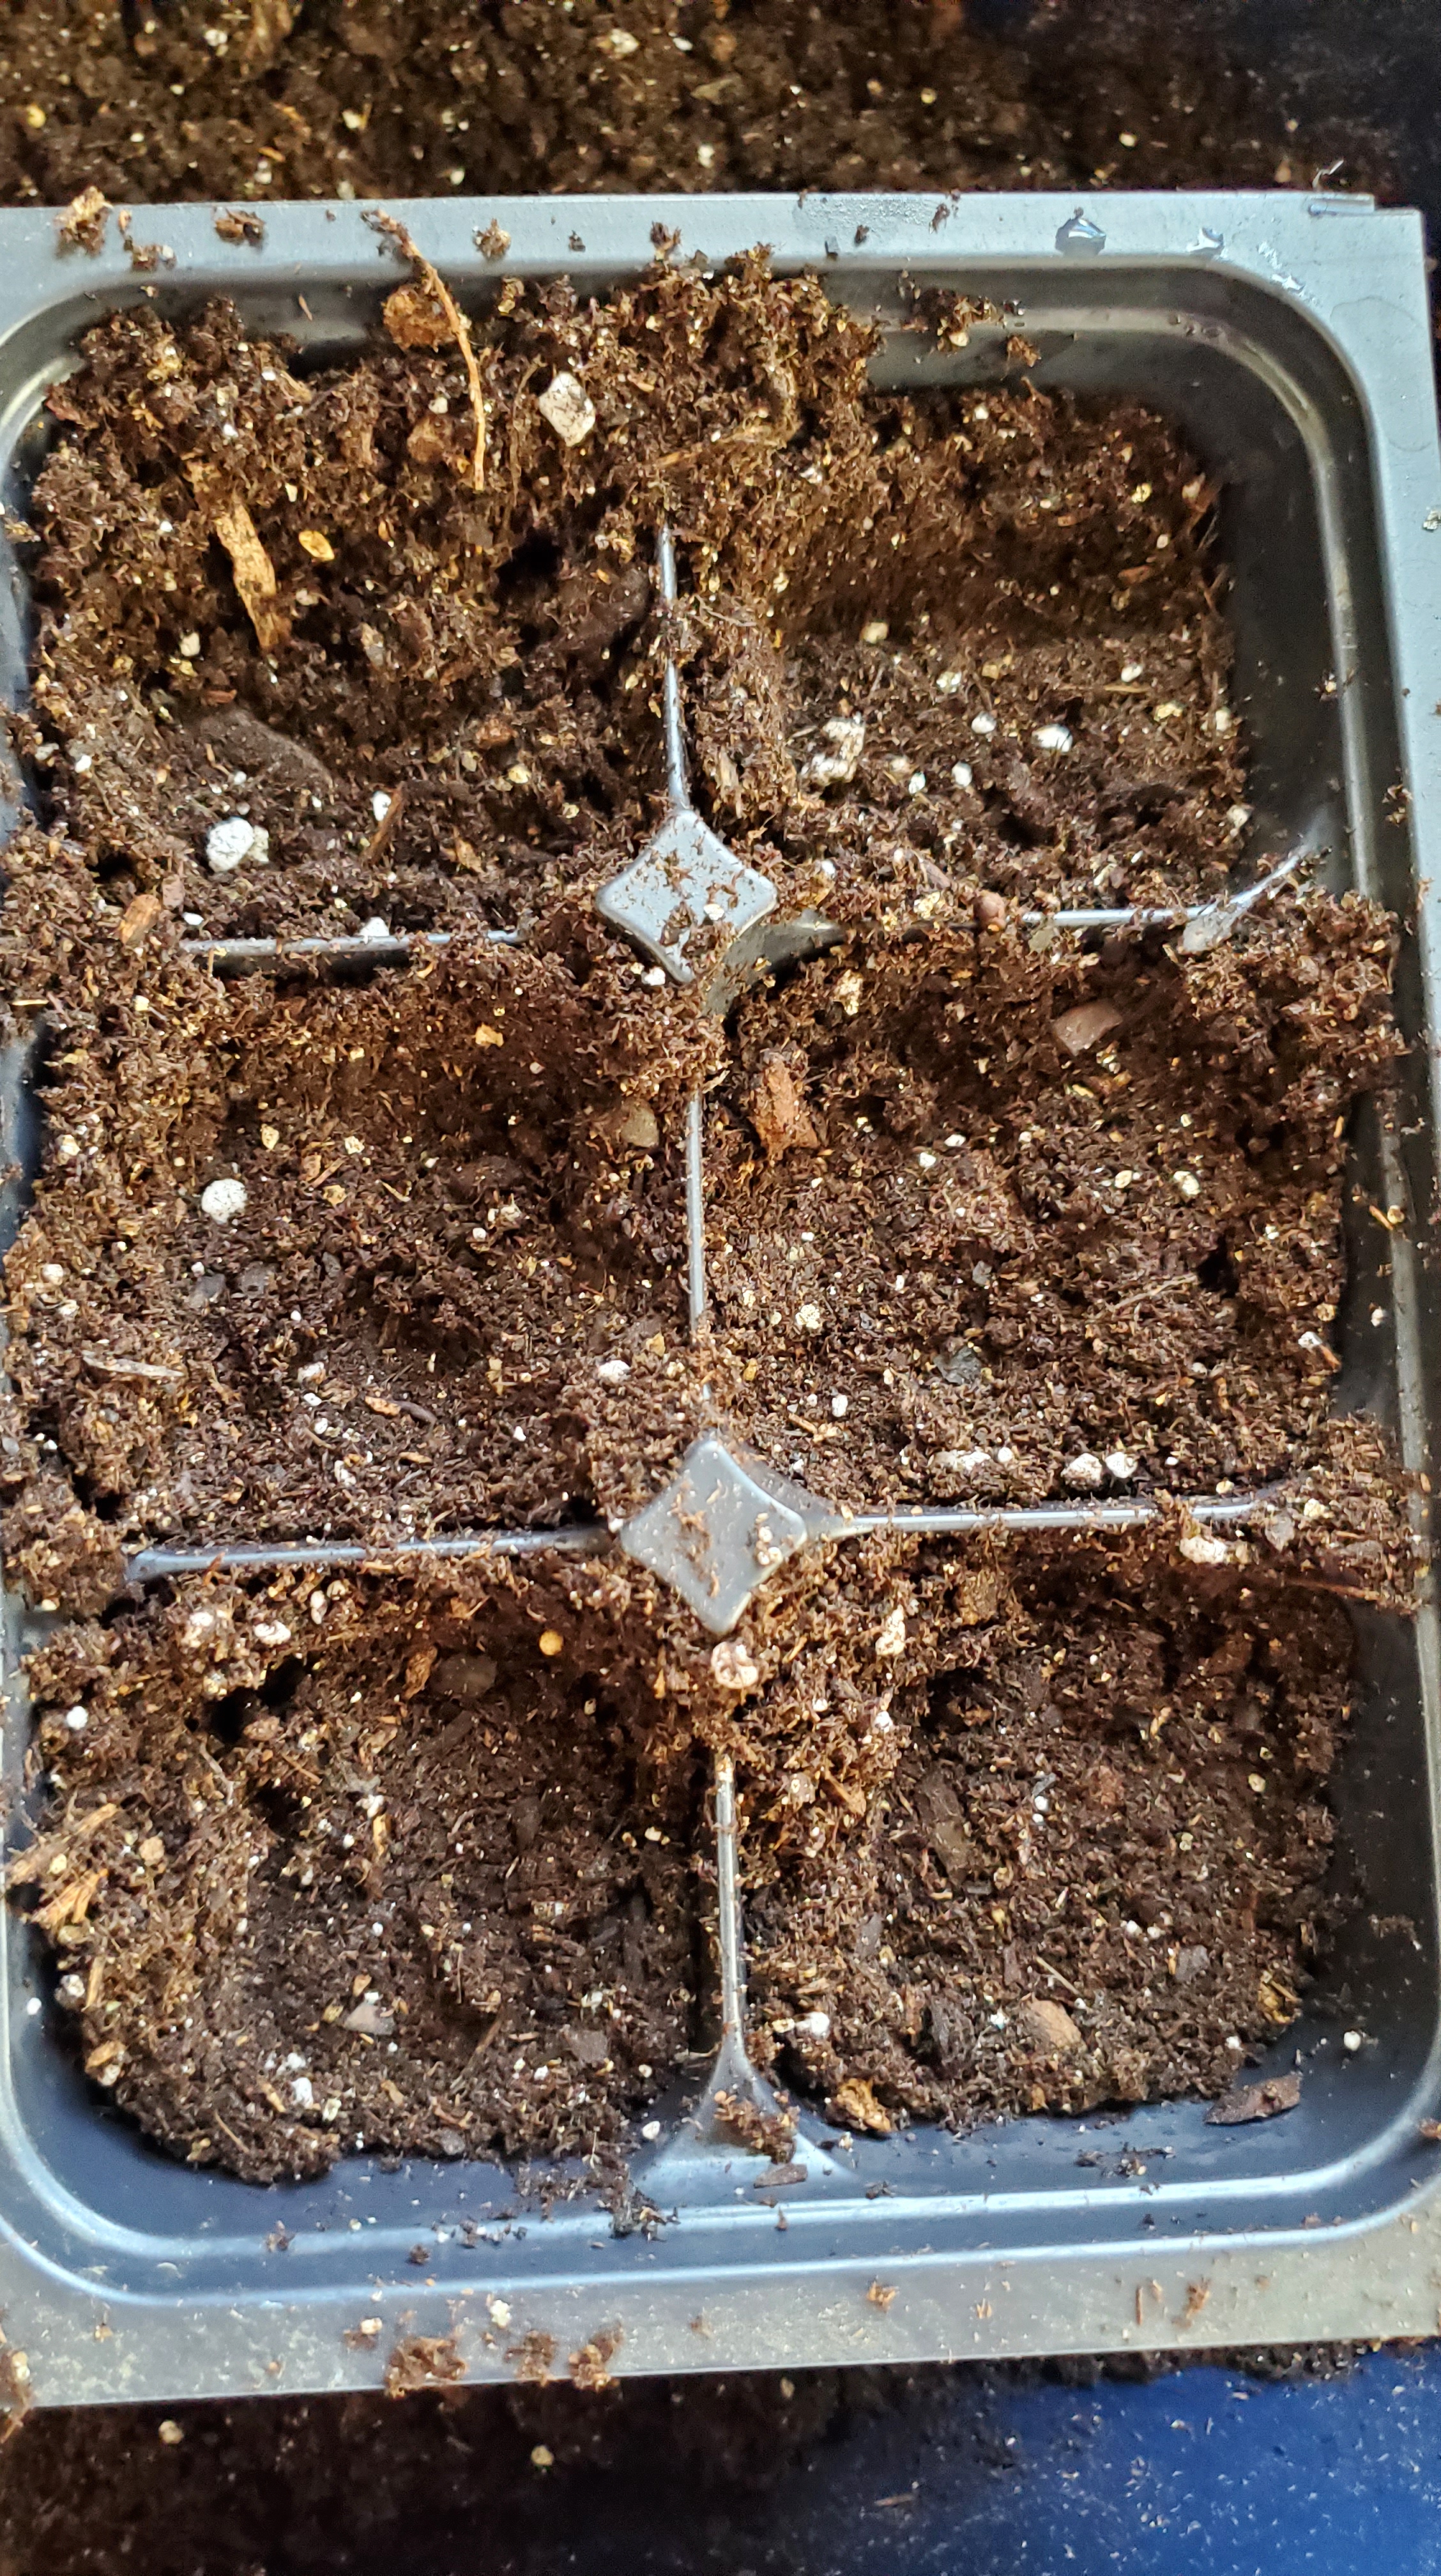
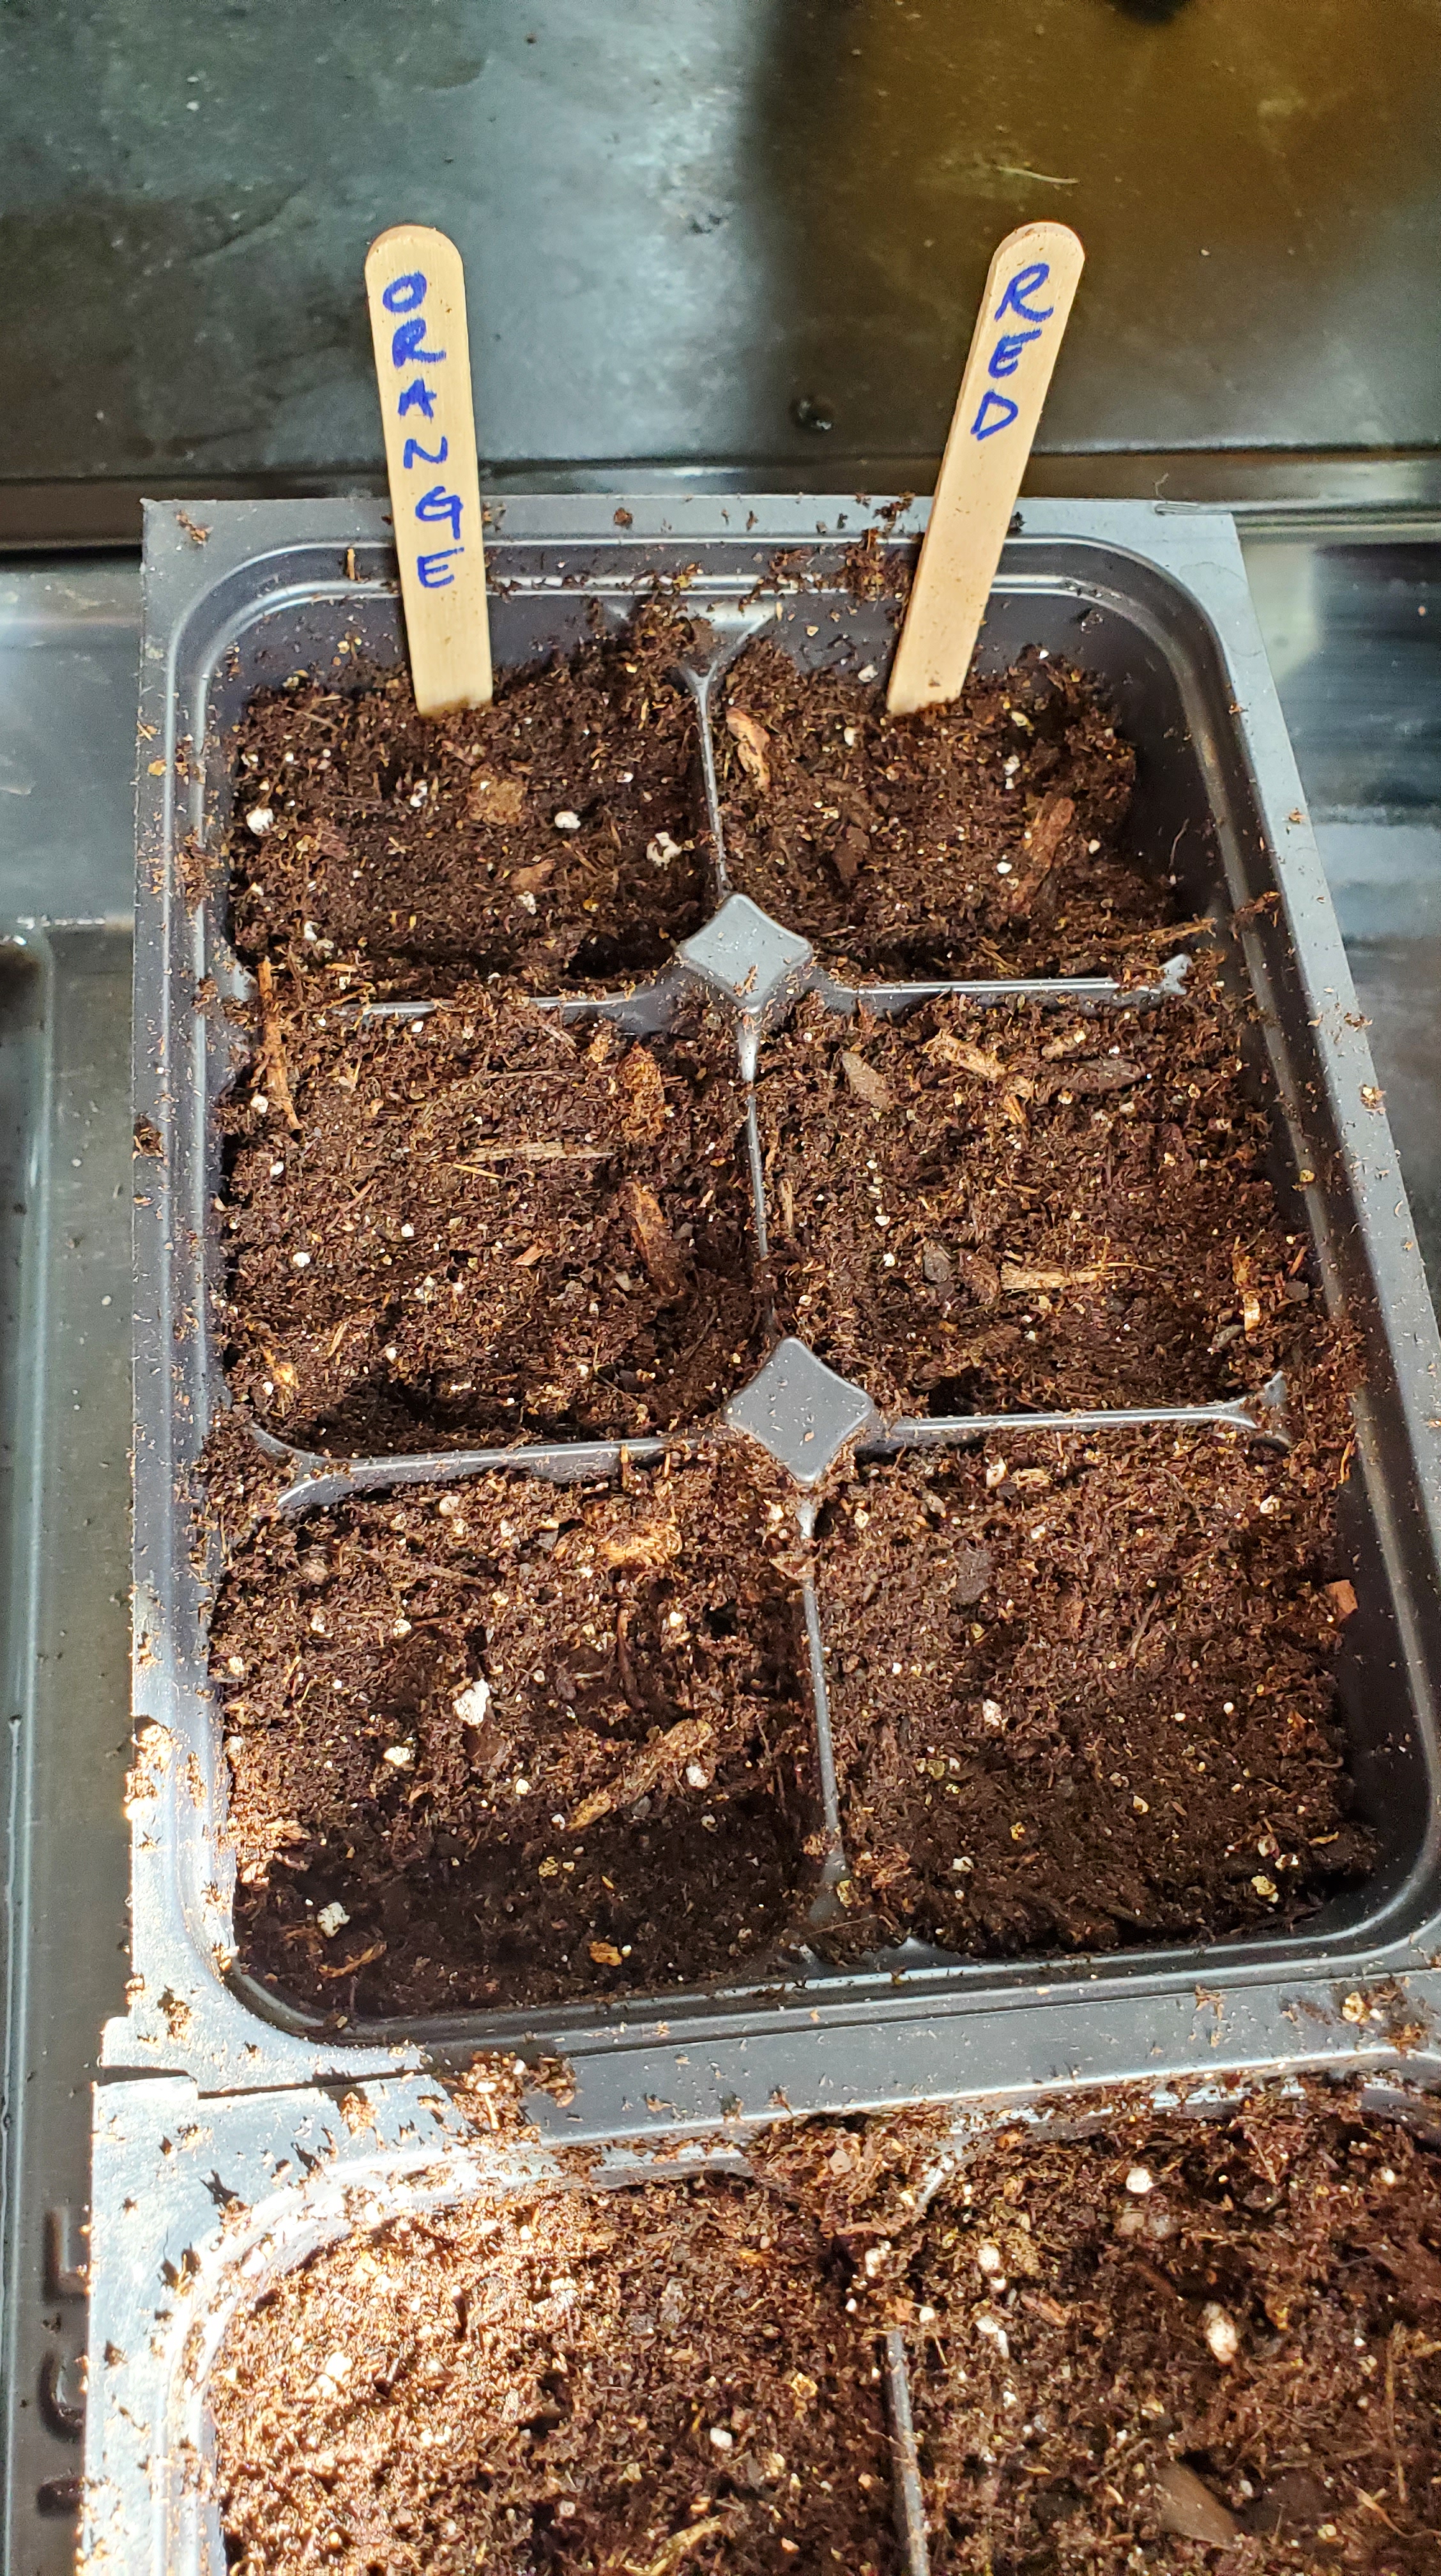
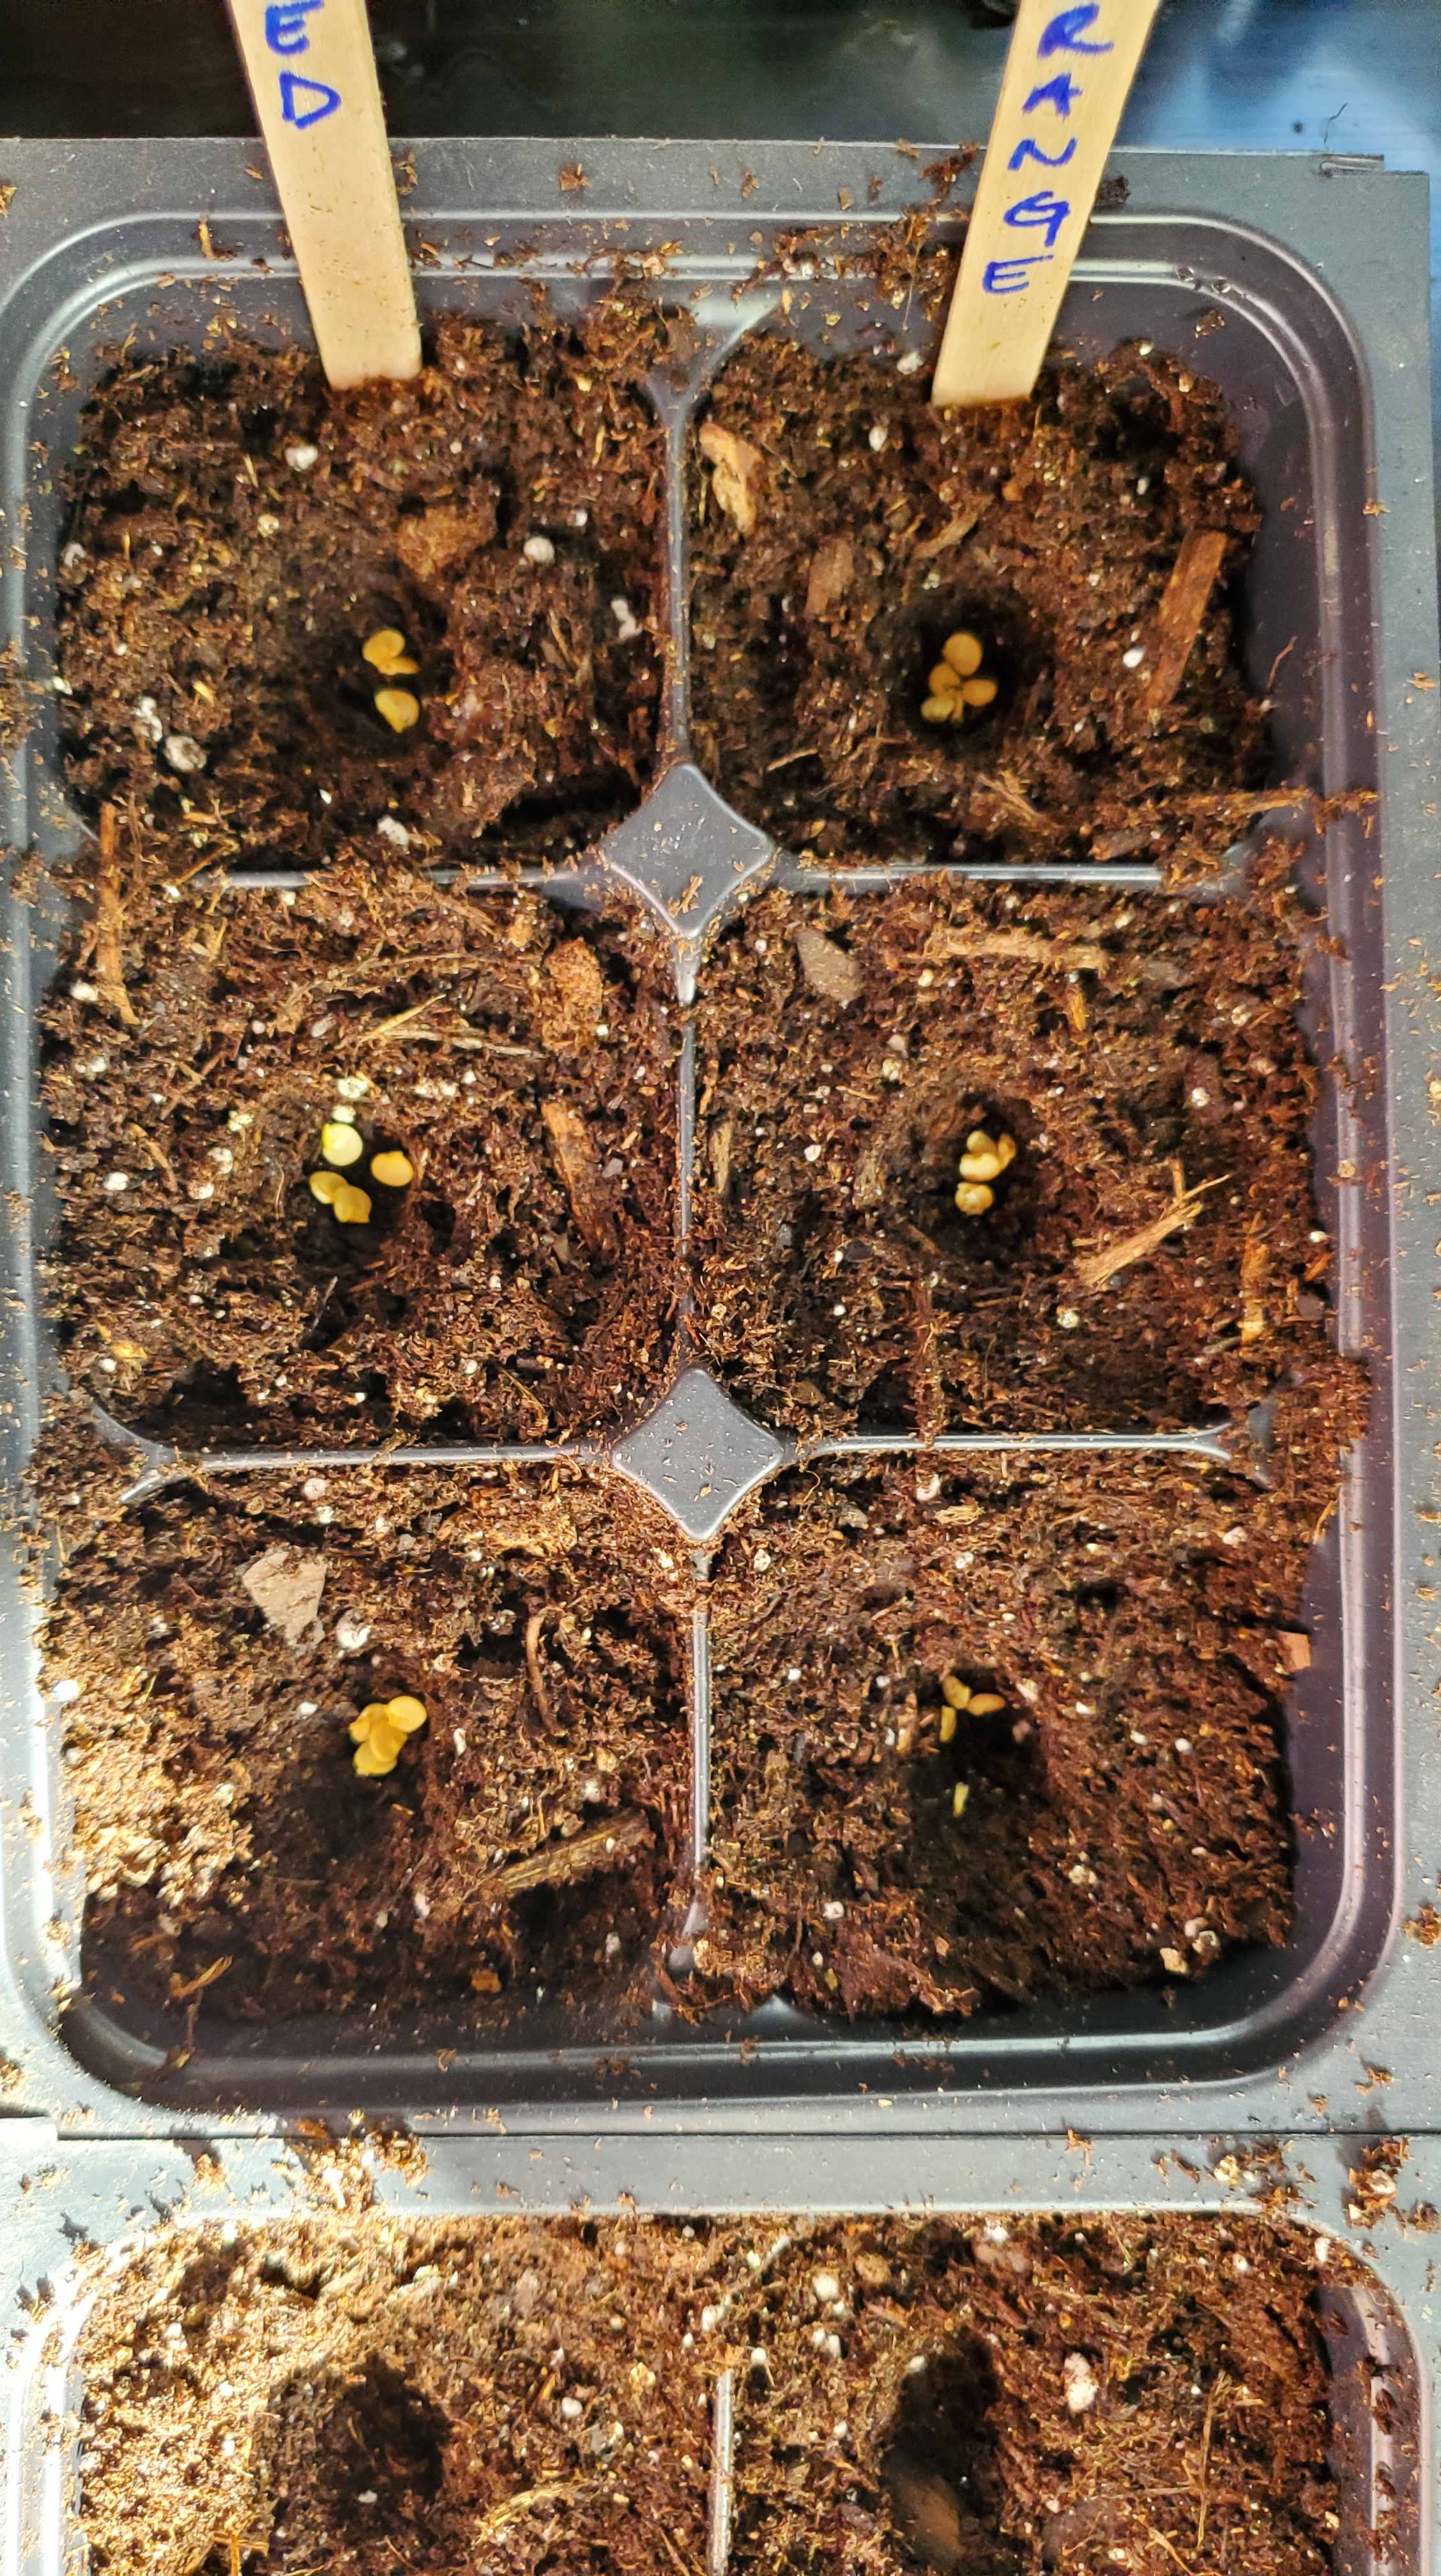
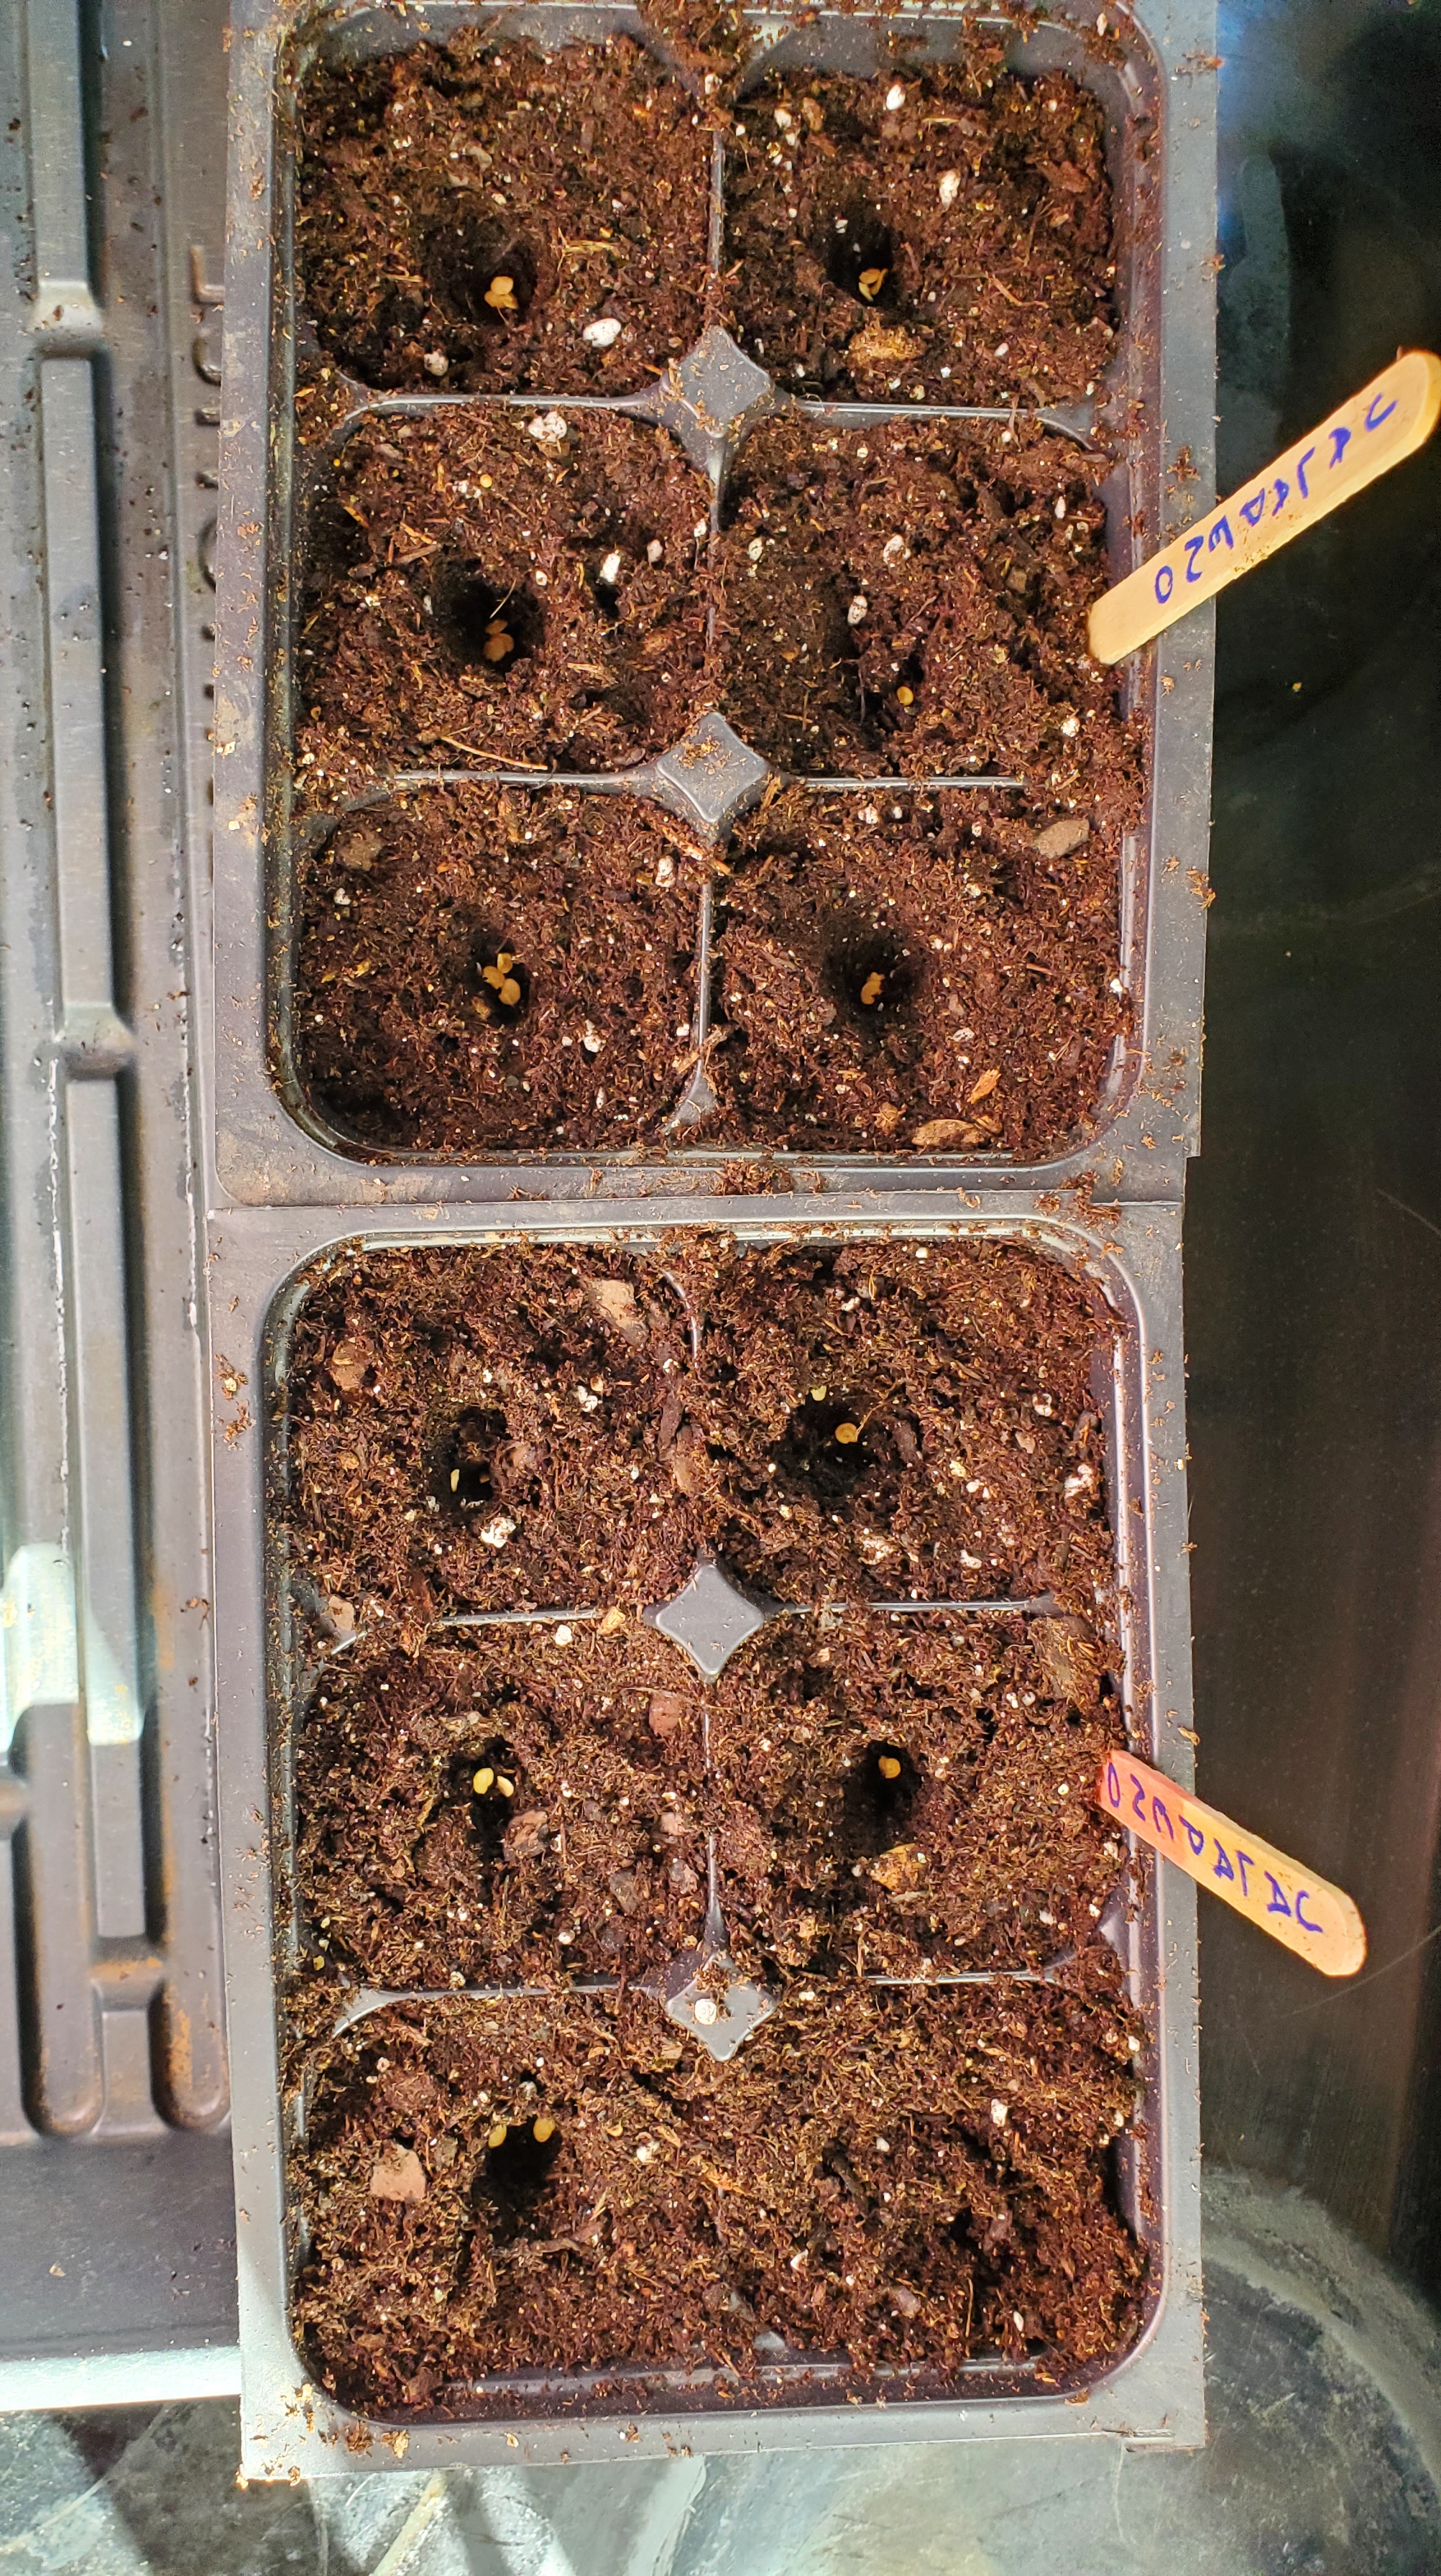
The pepper varieties I am planting in 2022.Fill your 6 cell tray to the top with seed starting mix.Using one 6 cell tray to pack another 6 cell trayThe packed tray. Now you can sprinkle a little more mix on top.Put your labels in first. I promise, you can thank me later. Once you get going and drop seeds into a bunch of trays, you will not remember what you planted where.Since pepper seeds are quite big, I put about 20 in my palm and then drop them two at a time in each cell. Some people prefer to just tap them out of the seed packet. Whatever you choose.I make little holes using my ring or pinky finger. Then just drop 2-3 seeds in each hole. You only need to plant them two times as deep as the size of the seed. Don’t make the seed work too hard to get to the surface.I make little holes using my ring or pinky finger. Then just drop 2-3 seeds in each hole. You only need to plant them two times as deep as the size of the seed. Don’t make the seed work too hard to get to the surface.
Once you are ready to start some seedlings, I recommend keeping a notebook nearby and creating 6 columns on the page like so:
Crop/Quantity
Start Date
Germination
Phase 1
Phase 2
Phase 3
Jalapeno – 12
2/15
??
2/18-2/21
2/22-3/7
3/8-
You’ll want track when you started your seeds, how many, when they germinated, and the different phases of lighting
Phase 1 is days 4-7: 24 hours of light
Phase 2 is days 8-21: 16 hours of light
Phase 3 is day 22 and beyond: 12 hours of light
A couple other tips:
Your seedlings need to be in a warm place. I’ve not invested in a heat mat so as long as your seeds are indoors and your house stays around 67 degrees or warmer, you should be good.
Place seedlings in a location you will frequent daily. You’ll want to regularly check the soil moisture, lighting, and sing to them (ha!). If you put them in a closet or guest bedroom or hallway you never use, congrats on having a ginormous house but that likely means you are going to forget about them. They are babies. They need your constant care and attention.
The soil needs to stay moist until the seeds germinate. Not soaking wet but certainly damp. Then water regularly when the soil has turned entirely light brown.
Have trays under your seed cells. It’s best to water from the bottom so it’s a lot easier to just fill about an inch of water in the bottom of a tray (use a 9×13 casserole dish or a cookie sheets with a rim if you didn’t buy a whole fancy seed starting set) and let the seedling soak it up for about 20 minutes.
Your lights need to always be about 2-3 inches above your plants. If the light is too close, you can dry out your plants and even burn them. If the light is too far, the plants will get leggy from stretching toward it.
Don’t stress. It may feel like a lot of work and babysitting this first or second go around but you’ll get the hang of it. I mess with my seedlings about 5-10 minutes a day. Well worth it for not having to buy them at the store. But if you do kill them, hey, you can always buy them at the store 😊
It’s nearly seed starting time! Can you feel the excitement in the air? Oh Joy 😊 It’s so fun to be thinking about and planning this year’s garden. Each year it gets a little easier as some things become more habitual and I figure out little tricks to challenges I encountered before.
Something I wanted to do this year as a little test was make my own seed starting mix (#makeitmyself, #MIM). Last year I used the Miracle Gro® seed starting potting mix and it turned out really well. And that might lead one to say “Well, if it ain’t broke, don’t fix it.” But, I’m not entirely sure what is in the mix and I like to know what I’m growing my vegetables in.
Before I go further, there is one important point about seed starting to remember. You can’t just go outside and shovel a bunch of dirt into a bucket and bring that in your house. I know, this didn’t make much sense to me either when I learned it. Afterall, when I direct sow, I’m not creating a bunch of little holes of different ingredients before I sow the seed. But typical soil is going to be too dense, likely have a bunch of weed seeds, of course pests, and possibly disease. That’s just a much harder start than your little baby seedlings need.
Instead, it’s important to use a seed starting mix that is light and well aerated to allow you to control the moisture levels and drainage, sterile meaning there is no fungus, mold or viruses, and ensures strong root development for proper nutrient absorption.
Ingredients to Use:
You may find lists of 7-10 ingredients that go into seed starting mix. From the numerous articles I’ve read, there are really only three items common to all recipes so that’s what I’ve chosen to use. It’s the “no frills” version and it works just fine.
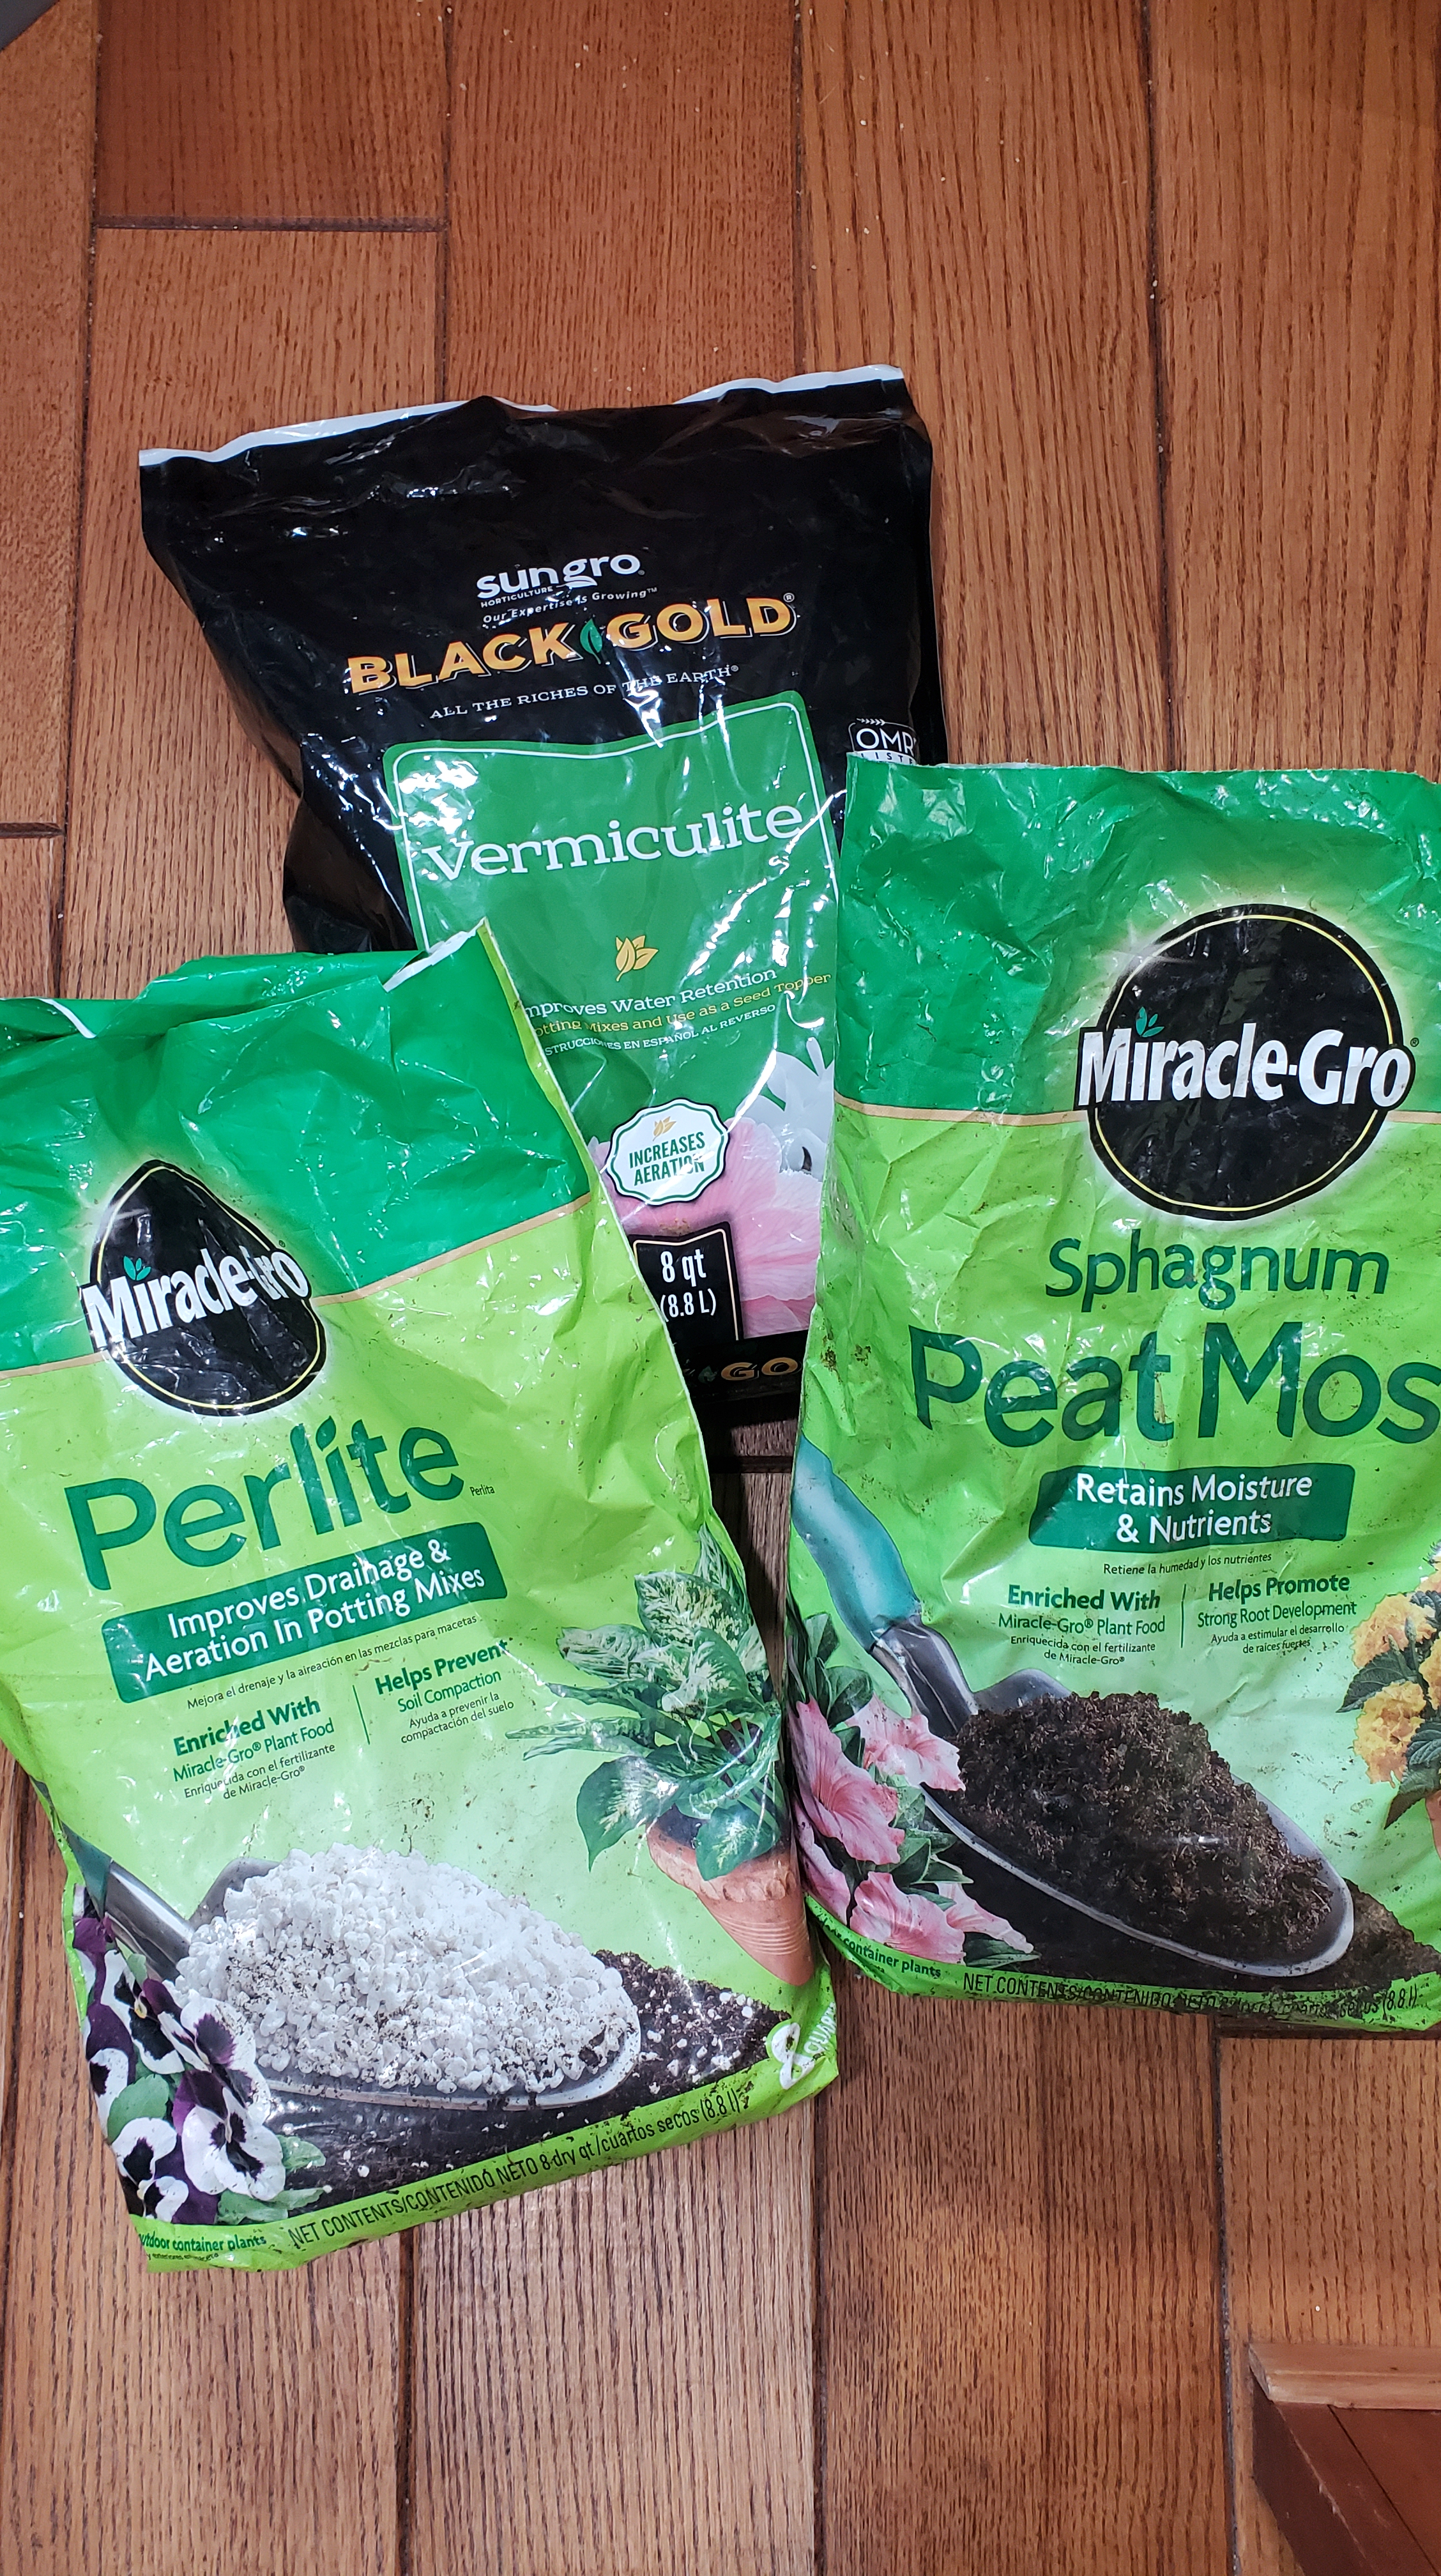
Peat Moss OR Coco Coir – peat moss comes from peat bogs whereas cooc coir made from the husks of coconuts and is a much more sustainable alternative to peat moss. From a price standpoint, they are pretty comparable so I don’t see any reason to not use it. I had leftover peat moss from last year and will only be buying coco coir going forward.
Perlite – a volcanic glass that helps your soil stay light, prevents compaction, and promotes moisture retention.
Vermiculite – a mineral that is highly absorbent, improves aeration and moisture levels, and will help your little seedling absorb nutrients.
Steps to Follow:
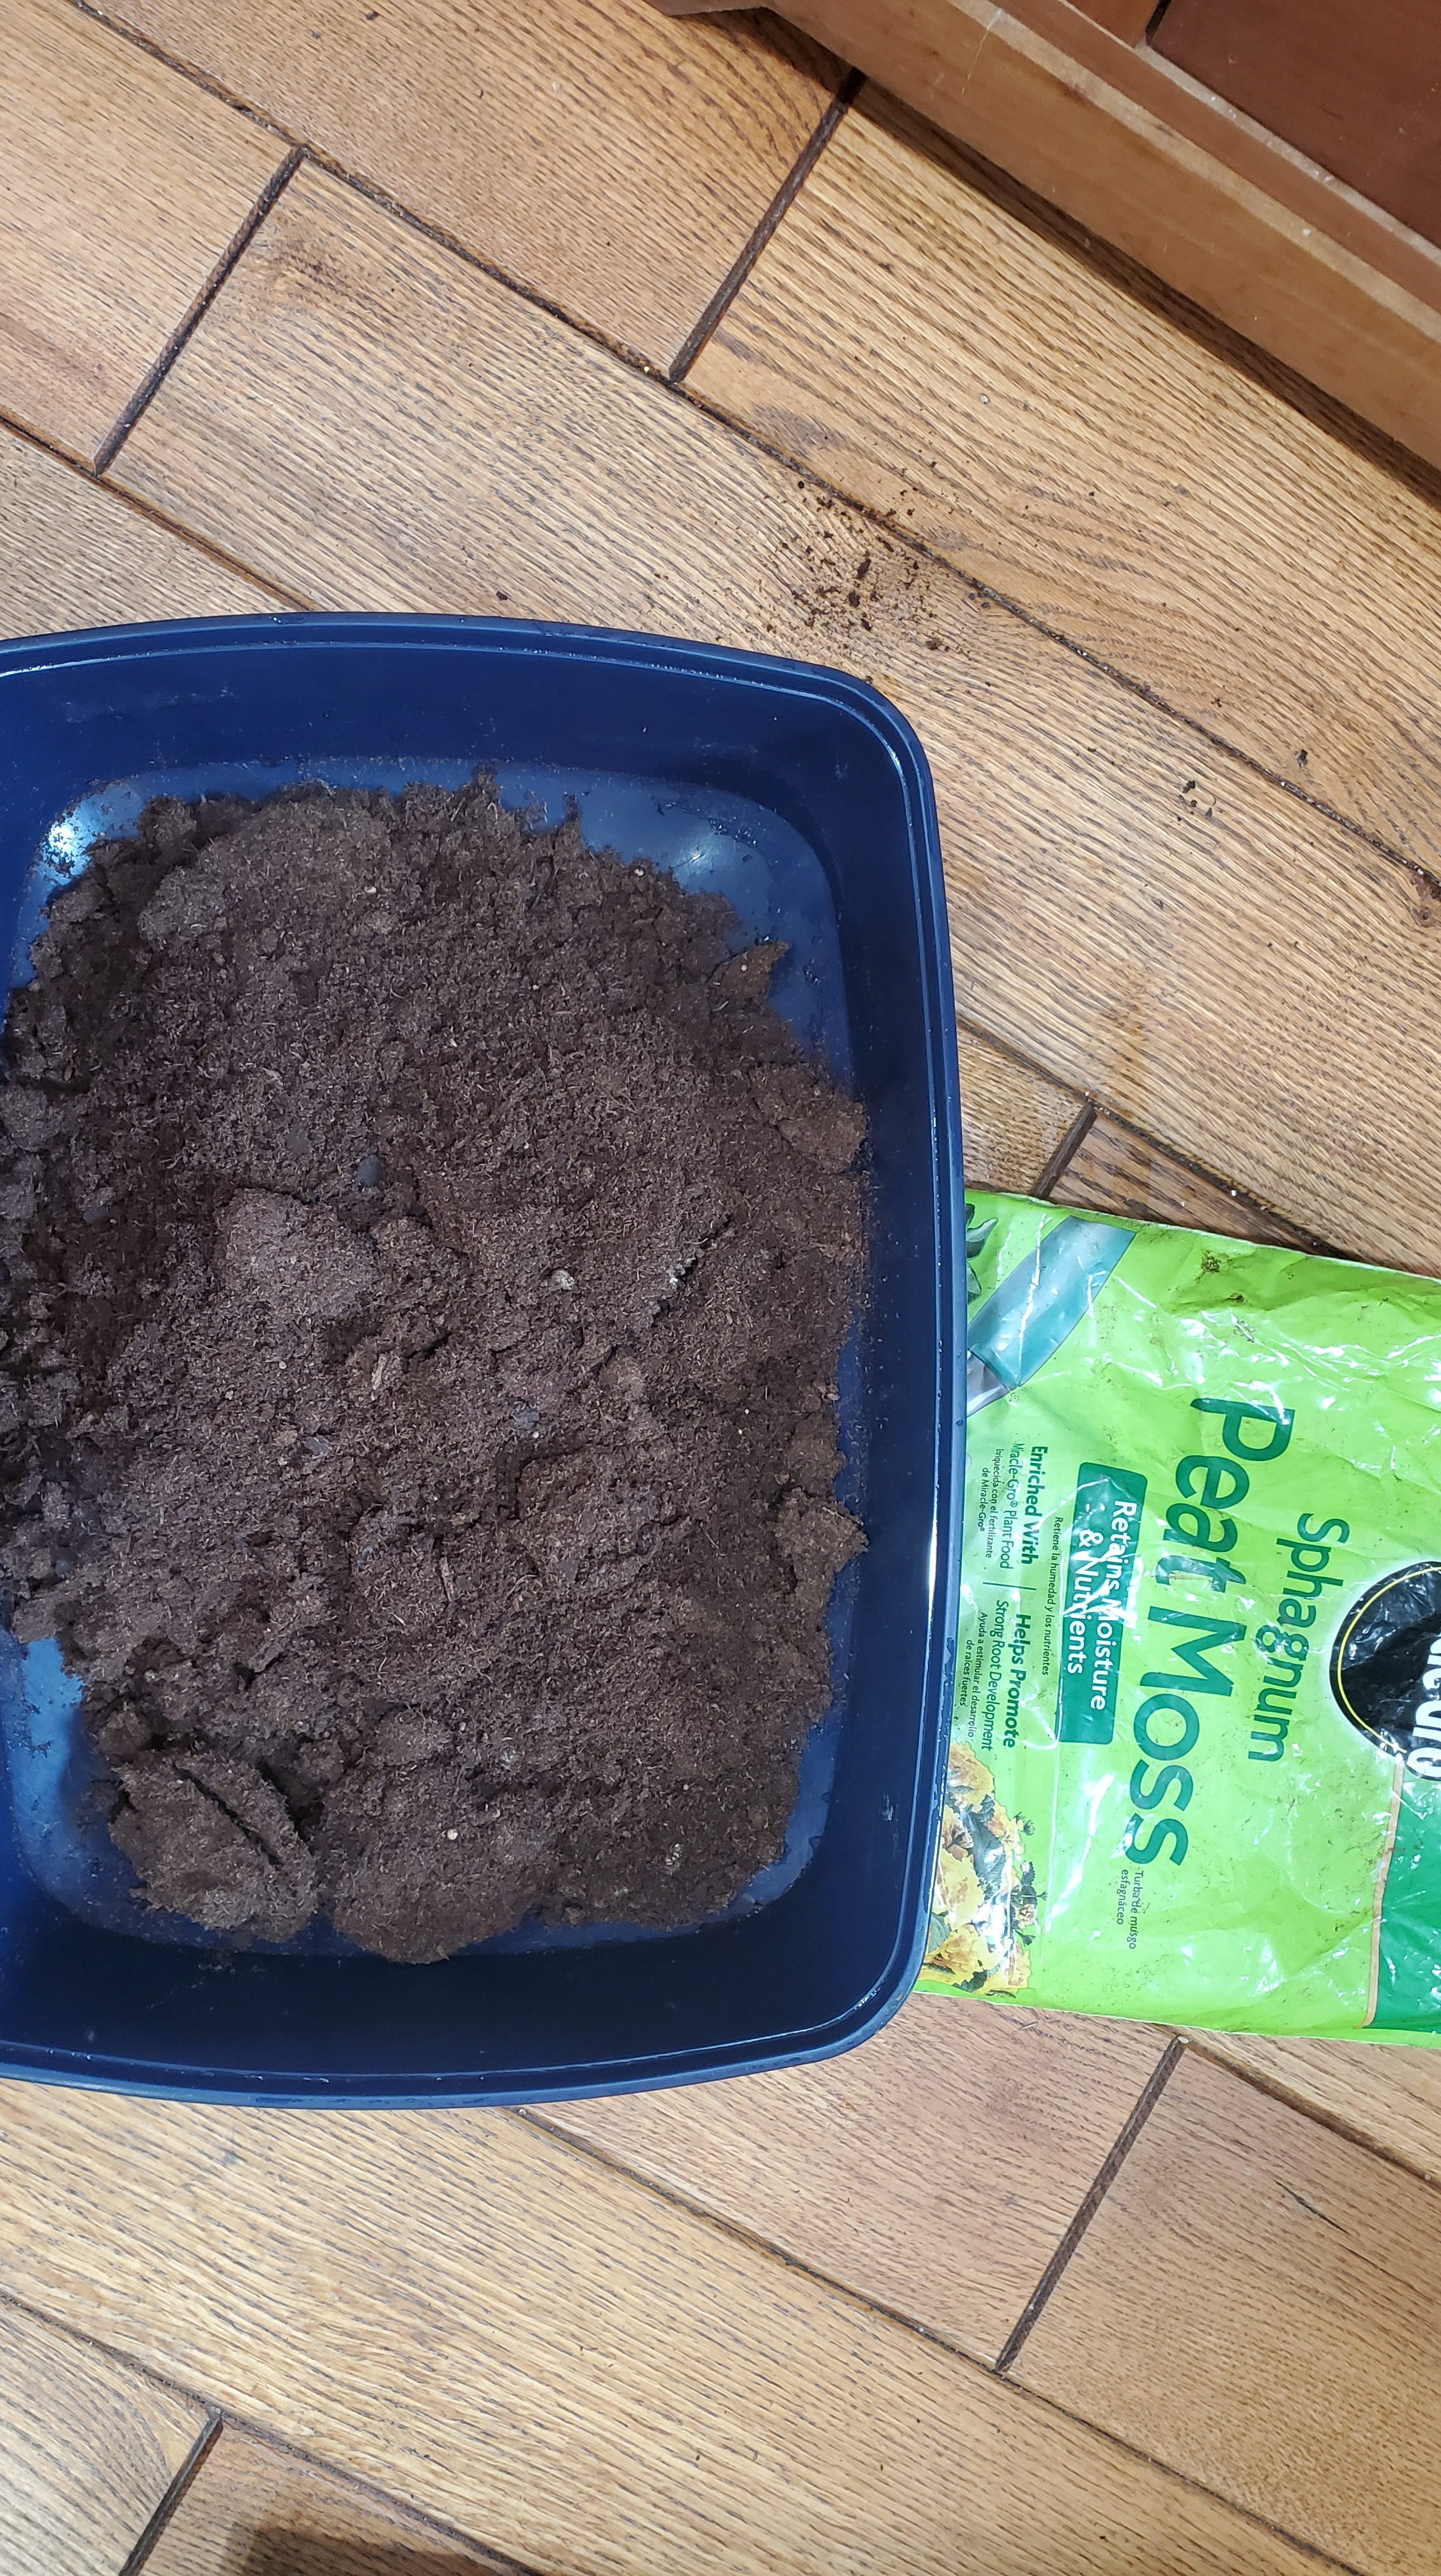
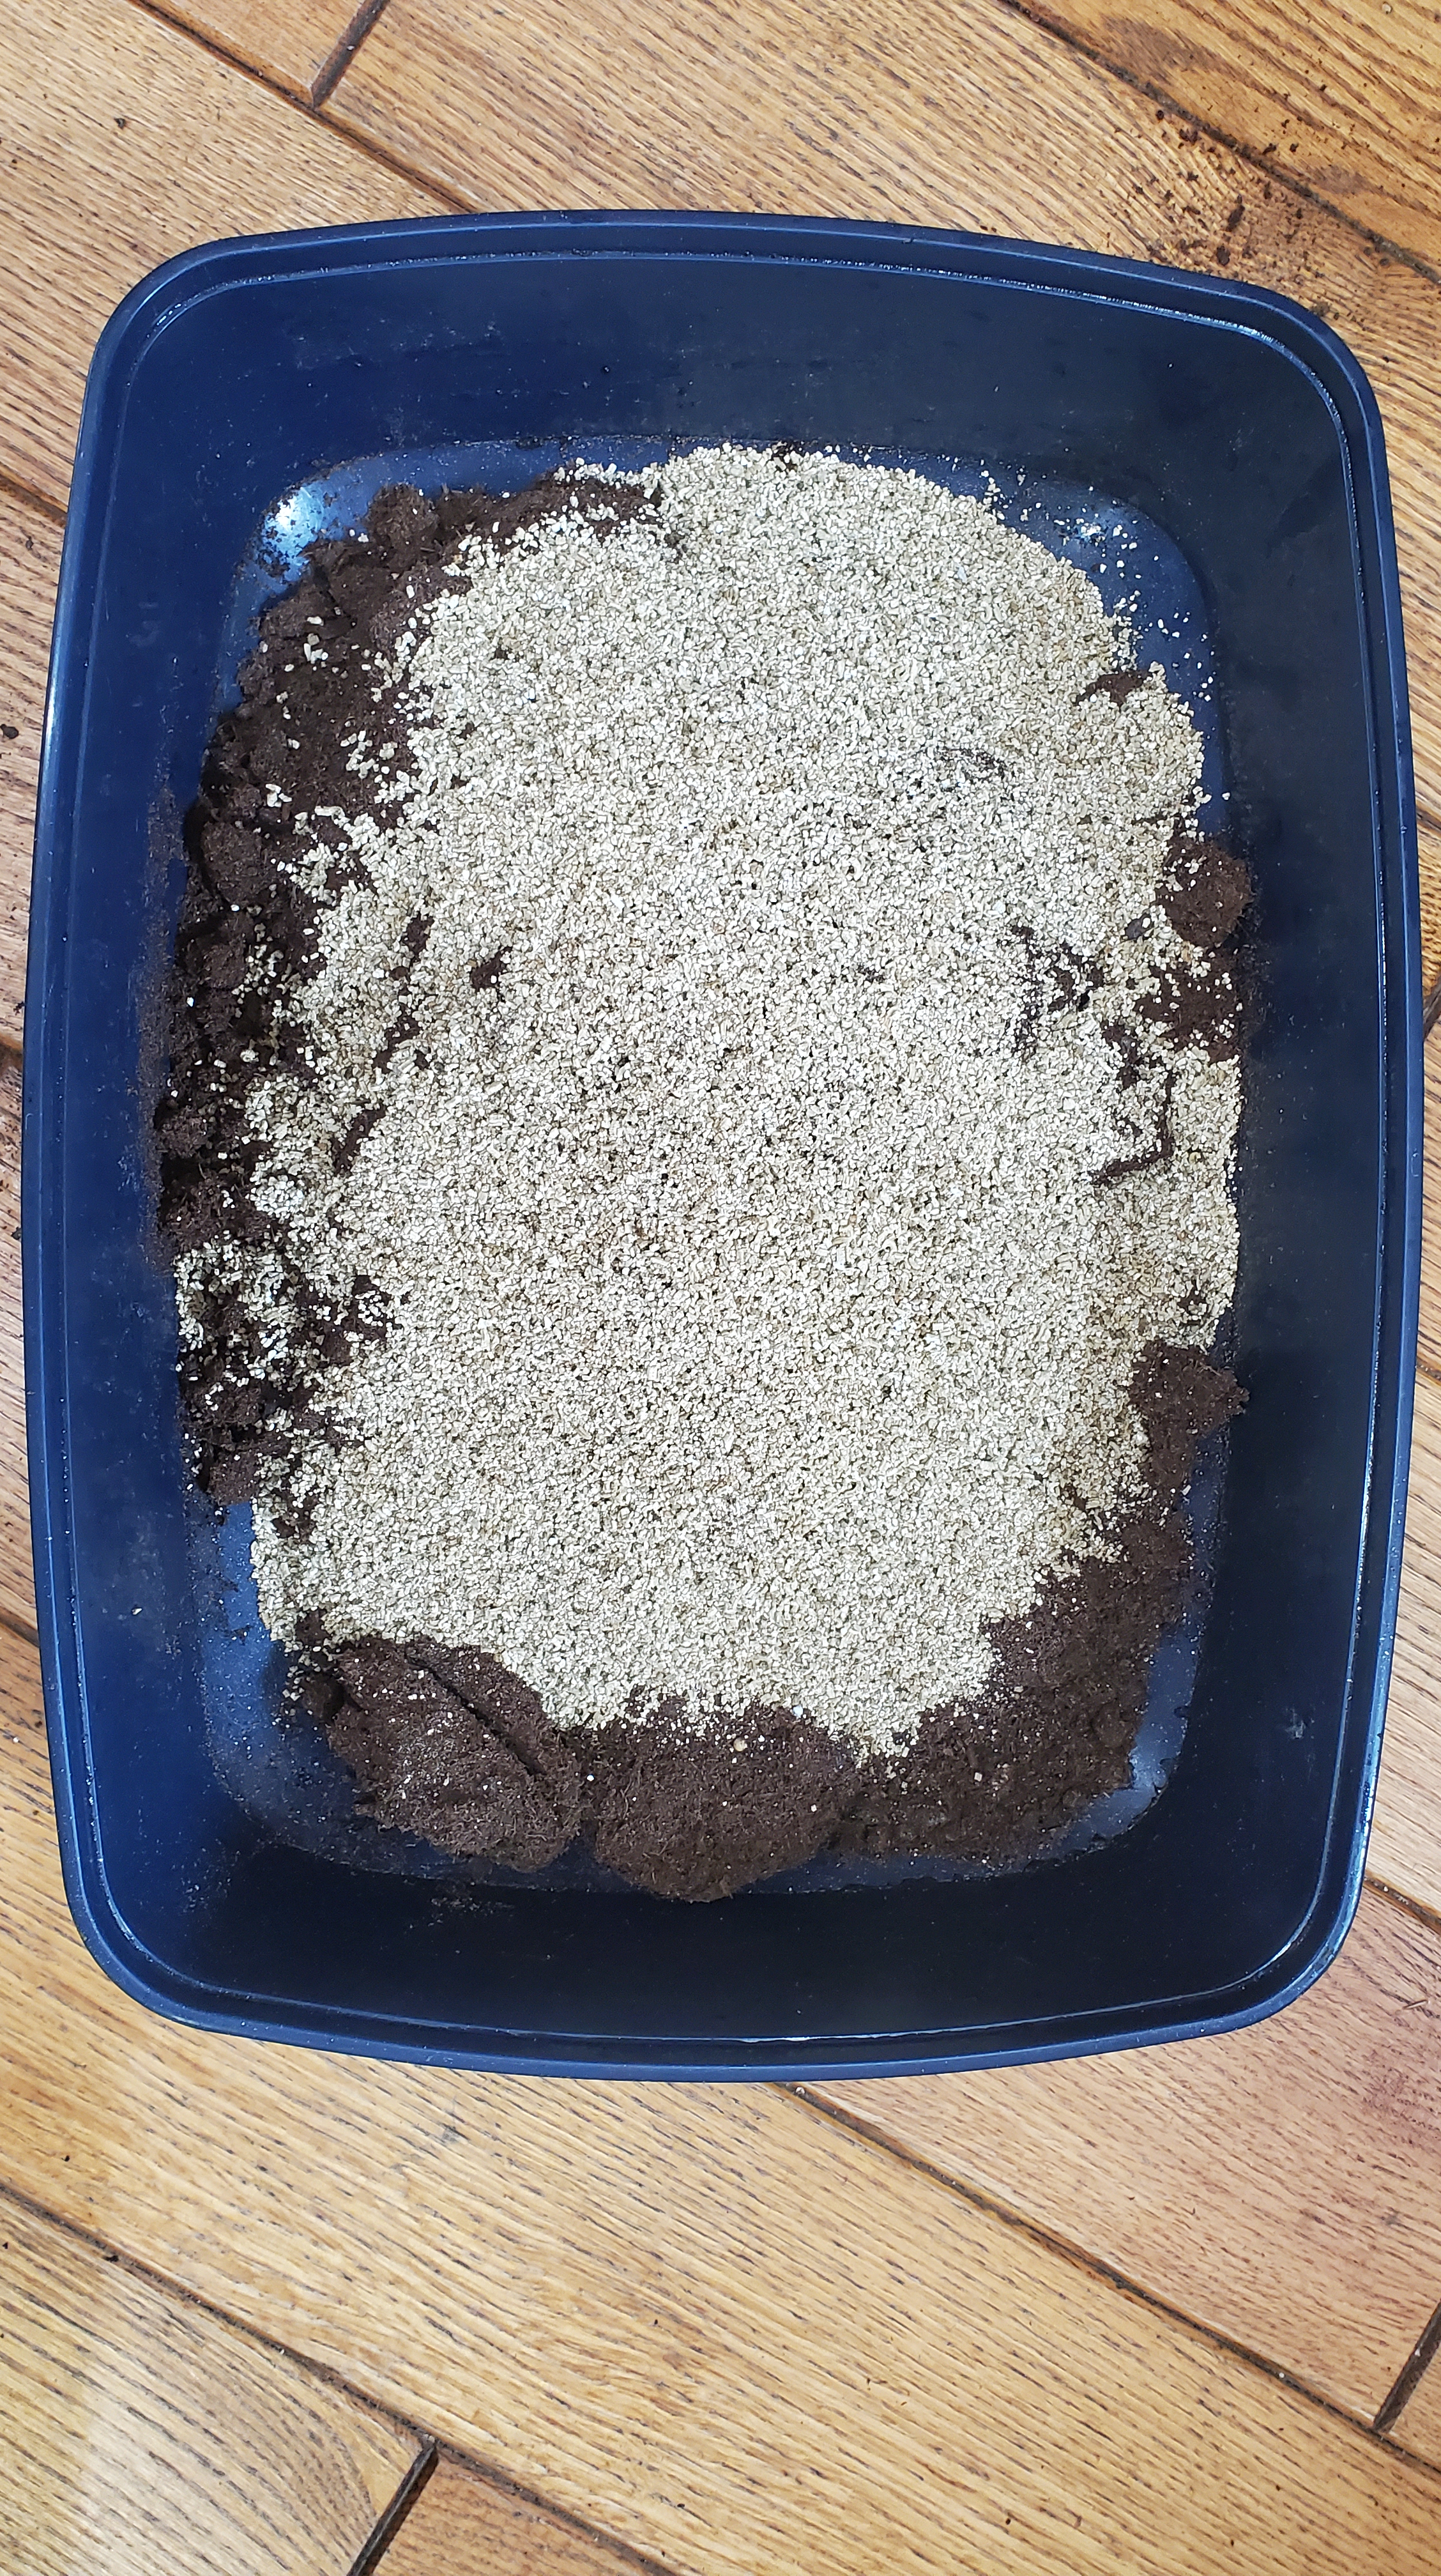
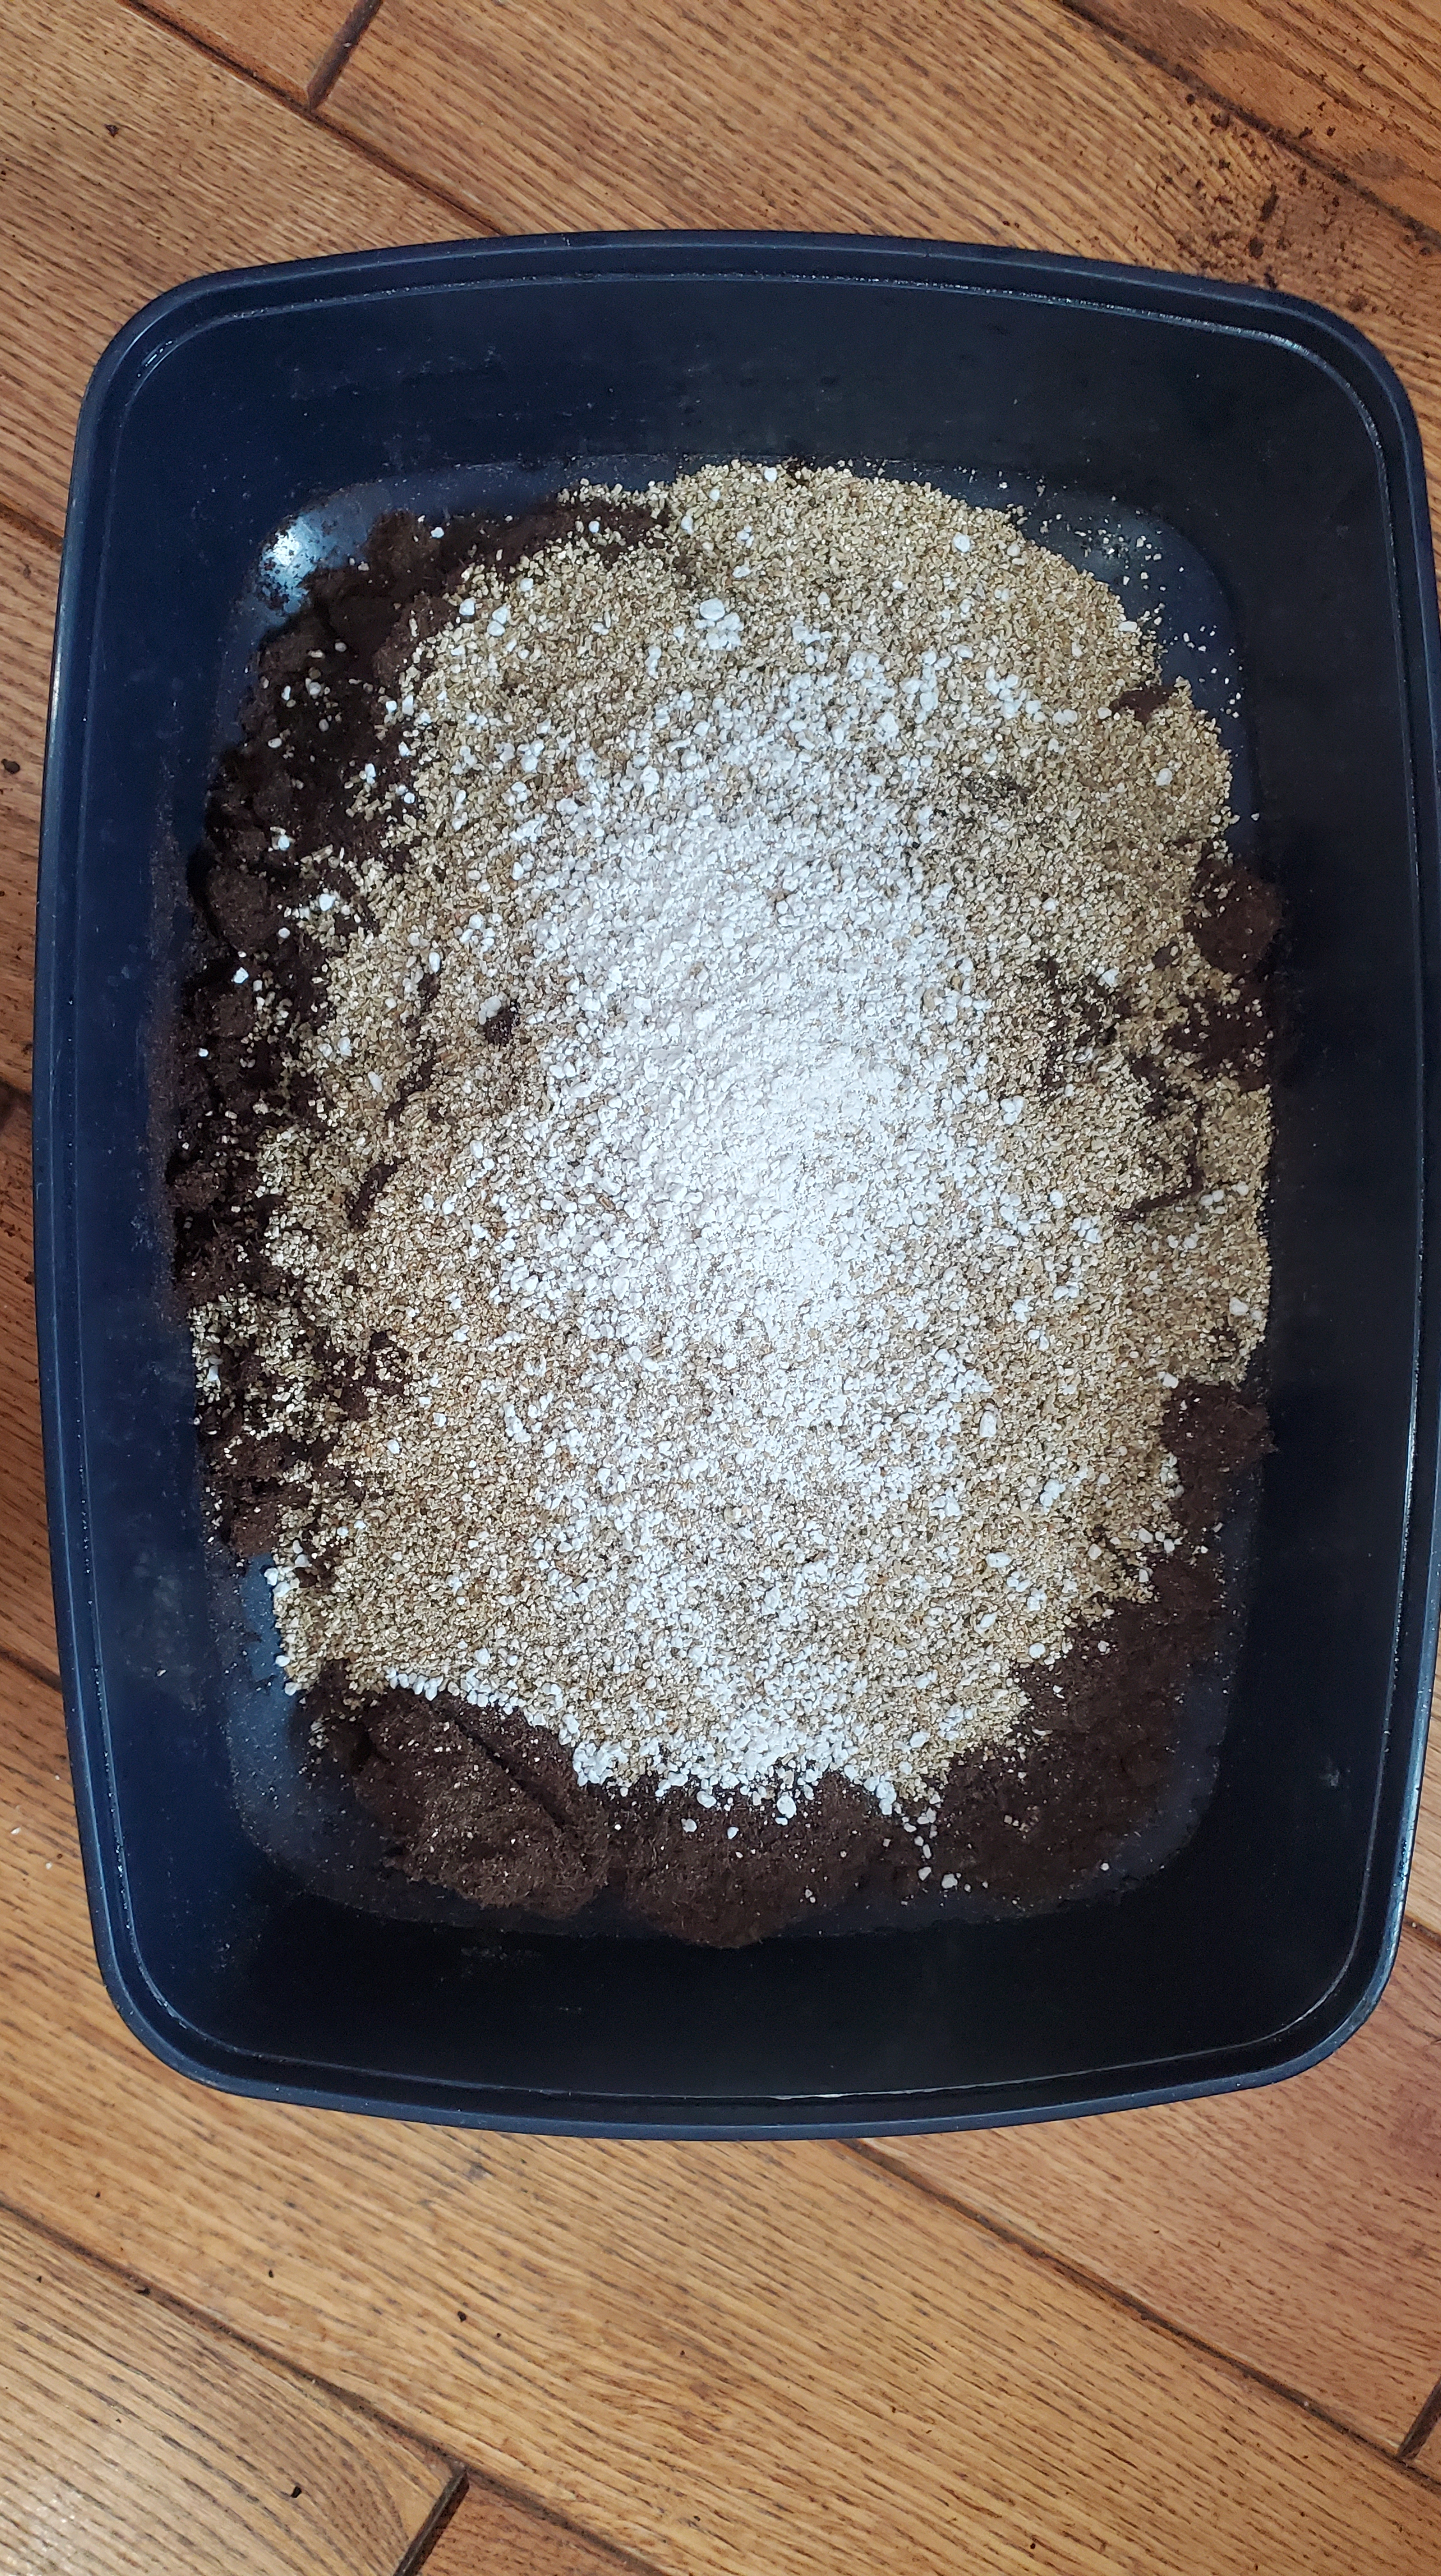
Your ratios are 6 parts coco coir to 2 parts perlite and vermiculite (6:2:2). As an example, if you took 1 coffee mug from your cabinet and filled it 6 times with coco coir, you would then fill it 2 times with perlite and 2 times with vermiculite.
Mix it up well with your hands in a bucket or plastic storage bin.
Then add enough boiling water to thoroughly wet the whole mix, and then let it cool to room temperature. Caution: it will be hot when you add the boiling water so wear garden or kitchen gloves.
Then just fill your seed trays or pots that you plan to use with the mix.
The big win from starting your own seeds and making your mix is you have complete control over everything that goes into the process and don’t have to rely on whatever your garden store offers.
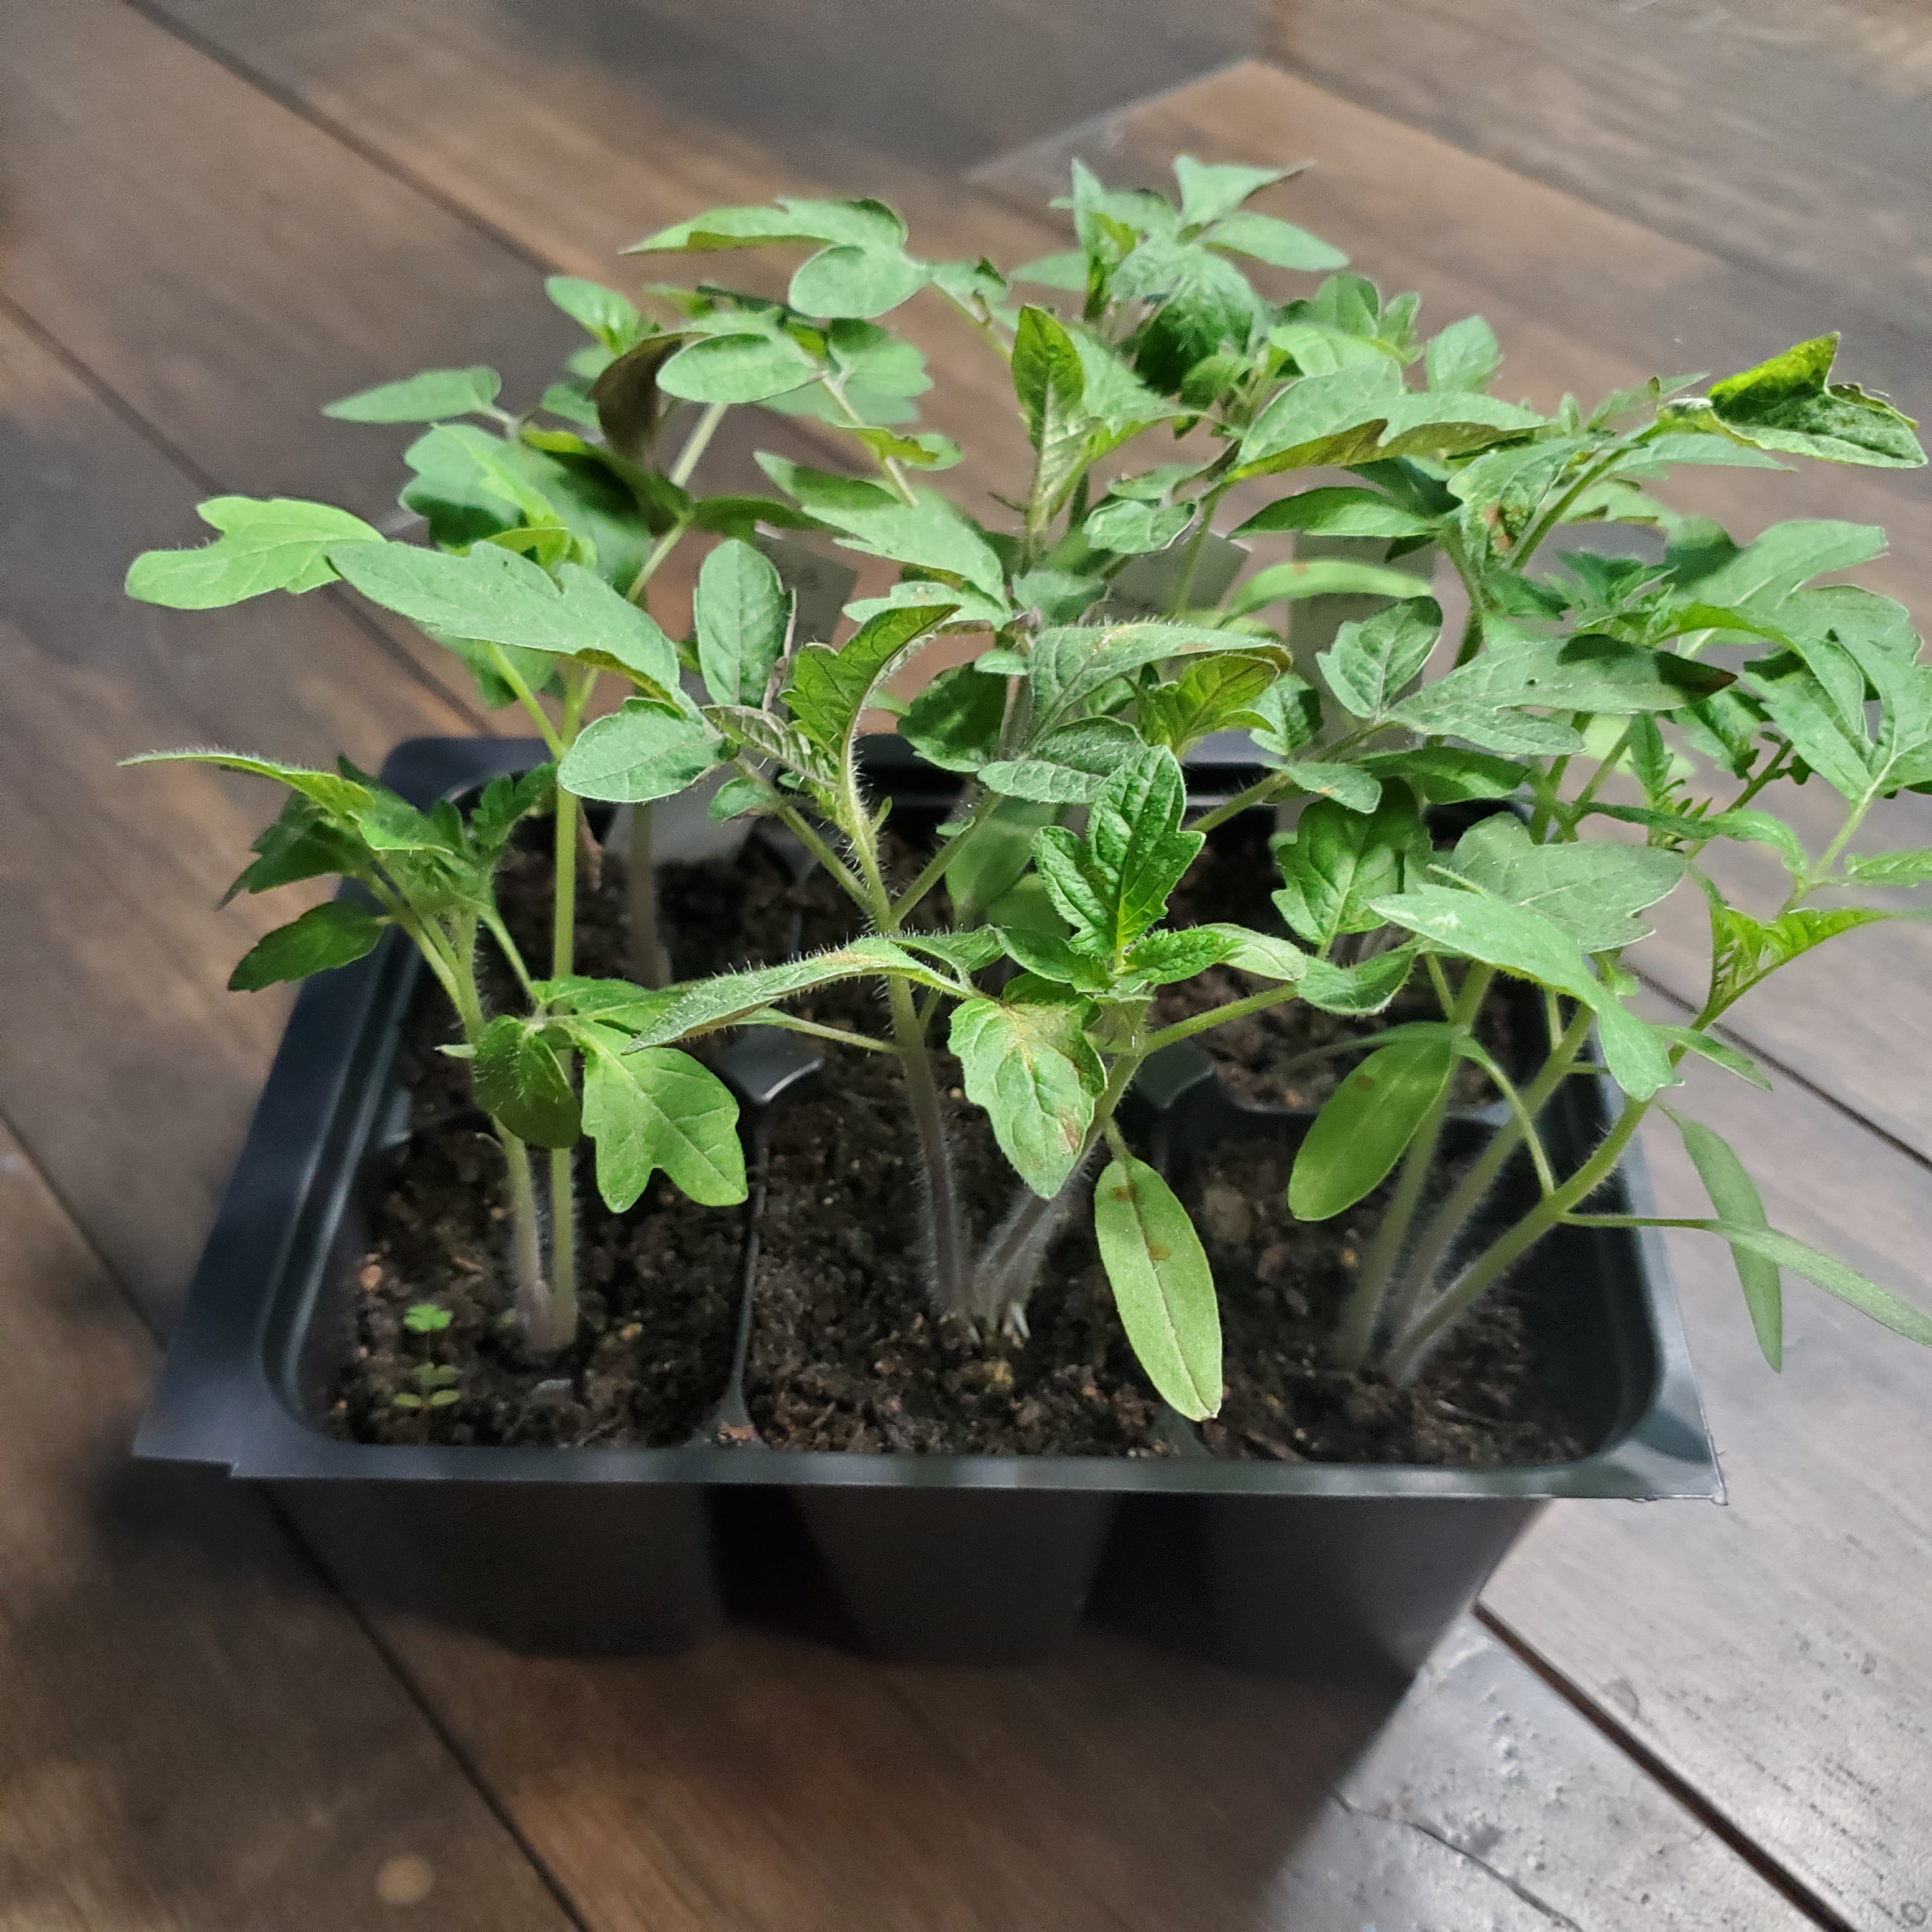
It’s finally here! The time we’ve all been waiting for (I feel like Anna in Frozen). The time to start your peppers and tomatoes. Not exactly sure why there is so much excitement around tomatoes and peppers (I’m personally more of a green bean and squash kind of girl) but I’m guessing because we are all so ready to be outside in our gardens and this is a tell-tale sign that we are getting closer to Spring. Yipppeeee!
I’m not going to walk you through how to start seedlings – there are a gajillion videos you can watch that detail every step (here’s a good one from The Rusted Garden). What I am going to share are a few of the tips and tricks I wish I had known my first two years.
Supplies:
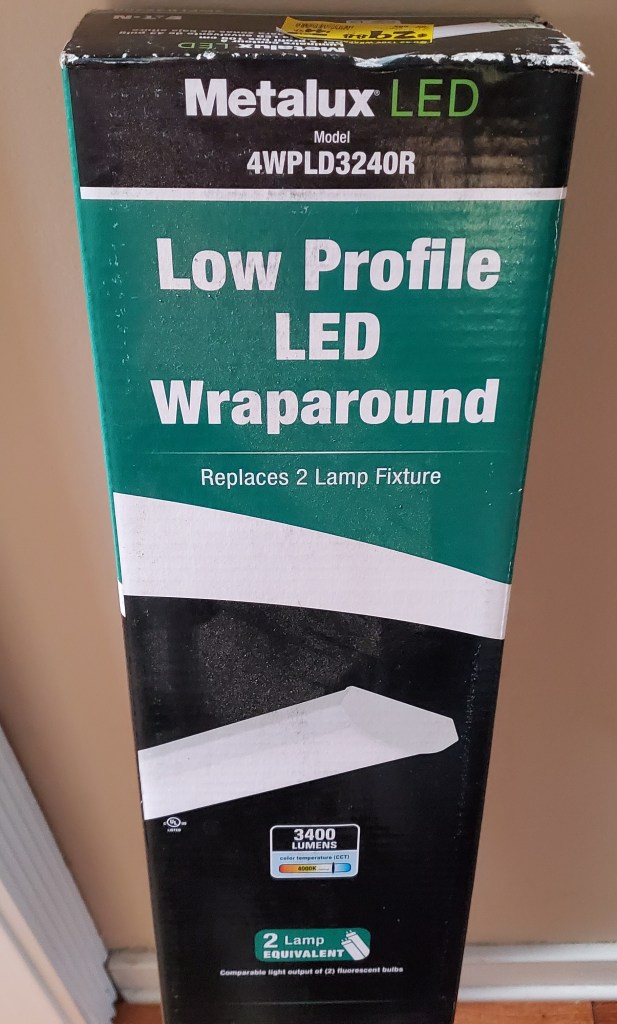
Grow lights – 3000-5000 Lumens and you want them to be ‘daylight’ (These should cost you no more than $20-40 and will last many, many years. You can see the sale sticker on mine from home depot.)
Growing medium –
Cells or containers – recycle something if you can, e.g. clamshells, egg trays, plastic cups.
Labels – popsicle sticks, toothpicks with a post it, paint stirrers
Timing: Don’t be like me and start everything in February (depending on your growing zone) and then lose steam by early April so that you end up having to buy starts at your local nursery. Slow and steady wins this race. And by staggering your start you give yourself time to work out any kinks in your setup – like lighting, watering, feeding, etc.
Hot peppers need to be started 10-12 weeks before your last frost date.
Sweet peppers need to be started 8-10 weeks before your last frost date.
Tomatoes can be started 6-8 weeks before your last frost date.
Start:
Get a growing mix that is a mix of peat moss, perlite and vermiculite. This means there is no organic material in it and you must use a fertilizer within a few weeks. (I did not do this in the past and after about 4-5 weeks I never understood why mine became leggy and withered. Shocker!)
Moisten and pack the mix into your containers or cells.
Put 2-3 seeds in each cell or container.
Label what you planted with the date.
Leave the containers in a warm spot for Days 1-3.
Germinate:
Days 4-7: give them 24 hours of light
Days 8-14 (week 2): give them 16 hours of daylight. Most if not all should have sprouted by the end of the second week.
Maintain:
Week 3 and beyond: give them 12 hours of daylight.
Water weekly when you notice the growing medium has become a very light brown and is dry to the touch.
Feed weekly at a very diluted ratio, as close to 1:1:1 (N-P-K) as you can get.
Watering and feeding are not the same, but you may do them simultaneously. Do NOT overwater and have constantly soaking wet soil. You are going to get mold. Water from the bottom so the roots can soak up. Similarly do not overfeed thinking you’ll get super human plants. Too much of a good thing is not good 😊
Have a fan in the room to create some air flow to avoid the above mentioned mold issue and to help your starts get stronger.
That’s all folks. It’s not rocket science but you do need a few essentials to get started and then Va-Va-Voila! Vegetables in your backyard.
I don’t know about you but February is fierce. Maybe it’s the length of time we’ve been living in isolation plus the combination of cold/snowy/icy/gray weather that we keep getting, but I’m getting restless. I can feel that we are on the brink of a new season and rhythm and the anticipation is making me excited. But the lesson I am always trying to learn in life is to enjoy what’s in front of me. Not try to rush to the next chapter.
For this reason, February feels like the perfect month to hibernate. It’s only four weeks. It may be the last chance to justifiably stay inside all weekend before longer days and nicer weather arrive. So, in that vein I’ve been working on my garden plan, getting more detailed with when I’m going to seed start and sow each crop, when I’ll harvest, and what I’ll plant next. As mentioned in the cool/warm post, I’m trying to get the most out of my space by rotating through three cycles: Spring (cool) –> Summer (warm) –> Fall (cool). This isn’t something I’ve done before and probably would have been overwhelmed by last year but I’m stepping up my game due to the increased ‘at home’ time the pandemic has afforded. When life gives you lemons… right.
The first thing I needed to seed start is onions. Last year I used onion sets so this is an experiment. I will likely do onion sets in March also but figured why not get my shelves and lights set up in February so I am ready to go when I need to start tomatoes and peppers in March.
Here’s what I did nice and simple –
I bought two 8-quart bags of MiracleGro seed starting mix for $4.99 each (egads! Sacreligious, I know but let me explain). I’m going to use this for half of my seed starts and a regular mix from Fox Farms to see what the difference is. Since I want my garden to be 100% non-GMO and pesticide free, this shouldn’t matter because seed starting mix should be devoid of organisms anyway.
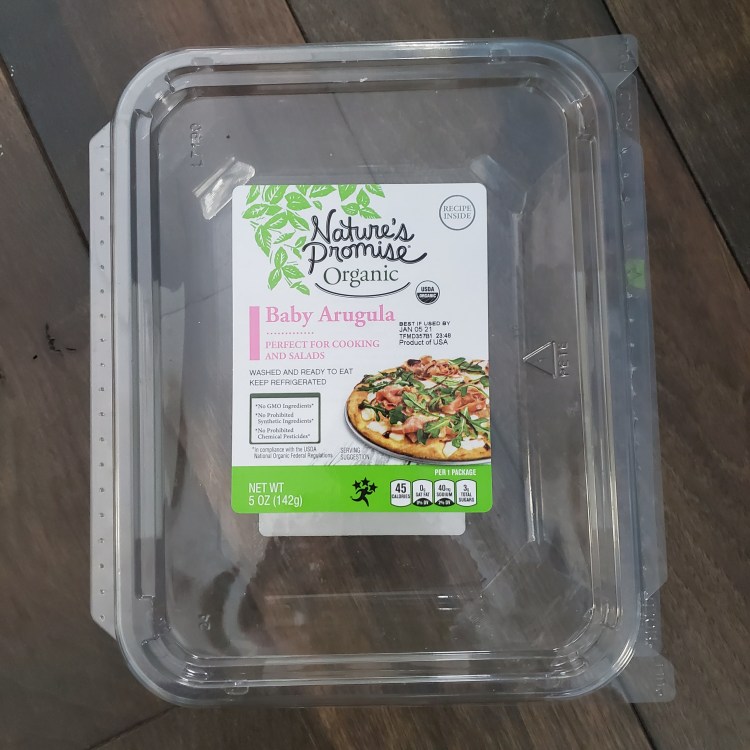
Filled my 5 oz arugula clamshell with about 2 inches of potting mix.
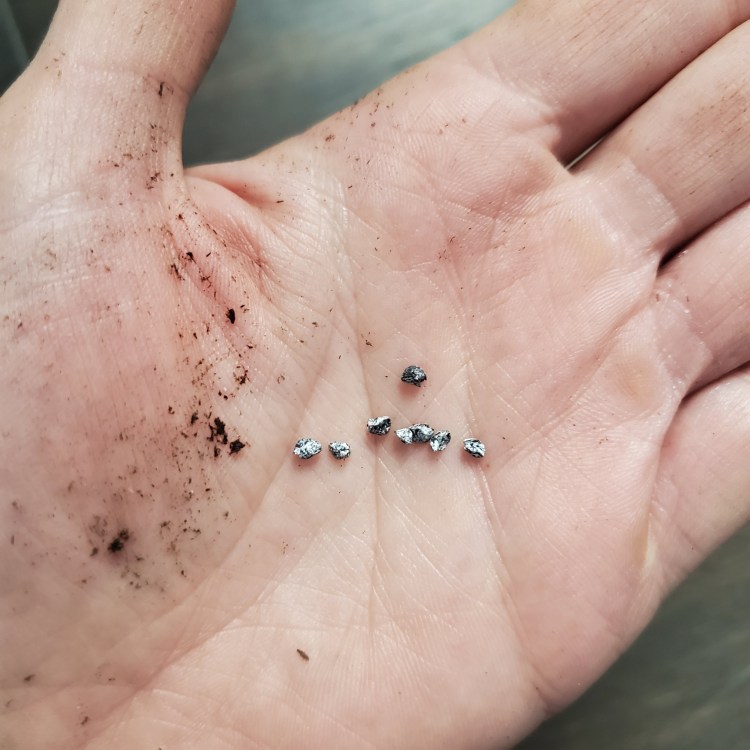
Sprinkled aboutanother cup of potting mix on top of the seeds.
I misted the potting mix with a little sprayer and then closed the lid so it would stay warm and become like a greenhouse inside.
The seeds should germinate in 7-10 days but I’ve also read to just leave them alone and keep the soil moist and they’ll germinate when the time is right.
What are you seed starting in February? Next on my list are hot peppers and cauliflower.
It’s the most wonderful time of the year (you know the tune). We’ve spent the majority of our days indoors for the last few months, with more darkness than light. And it wasn’t even a harsh winter in the Mid-Atlantic. Nevertheless, I think our bodies follow the seasons to some degree (or would if we listened to them!) so I am ready for the re-awakening that Spring represents. Grasses growing, leaves budding, flowers blooming.
Early March is when I need to start seeds for a few of the crops that need 6-10 weeks of lead time before going outdoors into the ground after the danger of frost has passed. You don’t need to do this for everything, and if you live in the warmer zones 8 and 9 of the country you likely don’t need to do this at all lucky ducks.
How do you know if you need to seed start? If you google your last and first average frost dates that will give you the length of your outdoor growing season. For example, if your last frost date is May 1 and your first frost date is October 1, you have about 150 days in your growing season which could limit the crops you can grow that need 90-120 days of warm weather or cool crops that you want to get a harvest from in the spring and fall. For that reason, it’s pretty common to seed start the following:
Broccoli – 6-8 weeks before last frost
Cabbage – 6-8 weeks before last frost
Cauliflower – 6-8 weeks before last frost
Onions – 10-12 weeks before last frost
Peas – 8 weeks before last frost
Peppers – 8 weeks before last frost
Tomatoes – 8 weeks before last frost
Growing medium to use for seed starting: it is recommended to not just go out in your yard and get a bucket of dirt. You don’t know what bugs and bacteria you may be bringing into your home. This is the time to buy a bag of organic potting soil for veggies. You can make your own using 1/3 each of compost, vermiculite and peat moss but I personally have never done that. You should also pasteurize the soil by baking it. Not gonna lie, I skipped the pasteurizing step this year so I will let you know what happens.
Containers to use for seed starting: There are tons of options for containers that you likely have on hand (I always try to re-use something):
Egg cartons – any paper or plastic egg carton will work well. There are pros and cons for each. The paper carton can be cut up and you can plant the seedling right in the ground when the time comes, but it doesn’t have a lid that light can get through. Plastic cartons essentially create their own greenhouse and are reusable. The plastic cartons will also keep moisture better than the cardboard. I used cardboard last year and will again this year.
Toilet paper rolls – since everyone ran to the store to get TP due to COVID-19 you likely have a ton of toilet paper and what better use for the empty rolls than some seed starting. Just line them up vertically in a tray and fill with your growing medium. Check out Preparedness Mama for her demo.
Berry containers – similar to the egg carton situation in that the container will create its own greenhouse effect. The only difference is that you don’t have the separate sections for each seed.
Be creative! My goal is to always reuse something. Some empty tissue boxes, a clamshell tray that figs came in, a baby wipe container, or the little cartons that mushrooms come in.
Sunlight needs: your little babies need at least 12-14 hours of sunlight. If there is a sunny window in your house that gets southern exposure for the majority of the day and isn’t too drafty, then you’re golden. If not, you probably need to get a grow light. This being my second year starting seeds, I have not invested in a big light setup. I have used a standard lamp with an adjustable neck so that I can move it closer to begin with (4-6”) and then a little further away as they get bigger (6-10”).
Now that you’re all set up, enjoy starting your seeds and get excited for the bounty to come!