Plant sale? Do it!

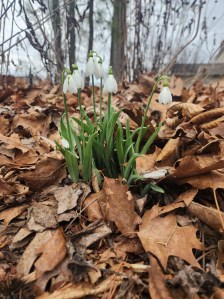
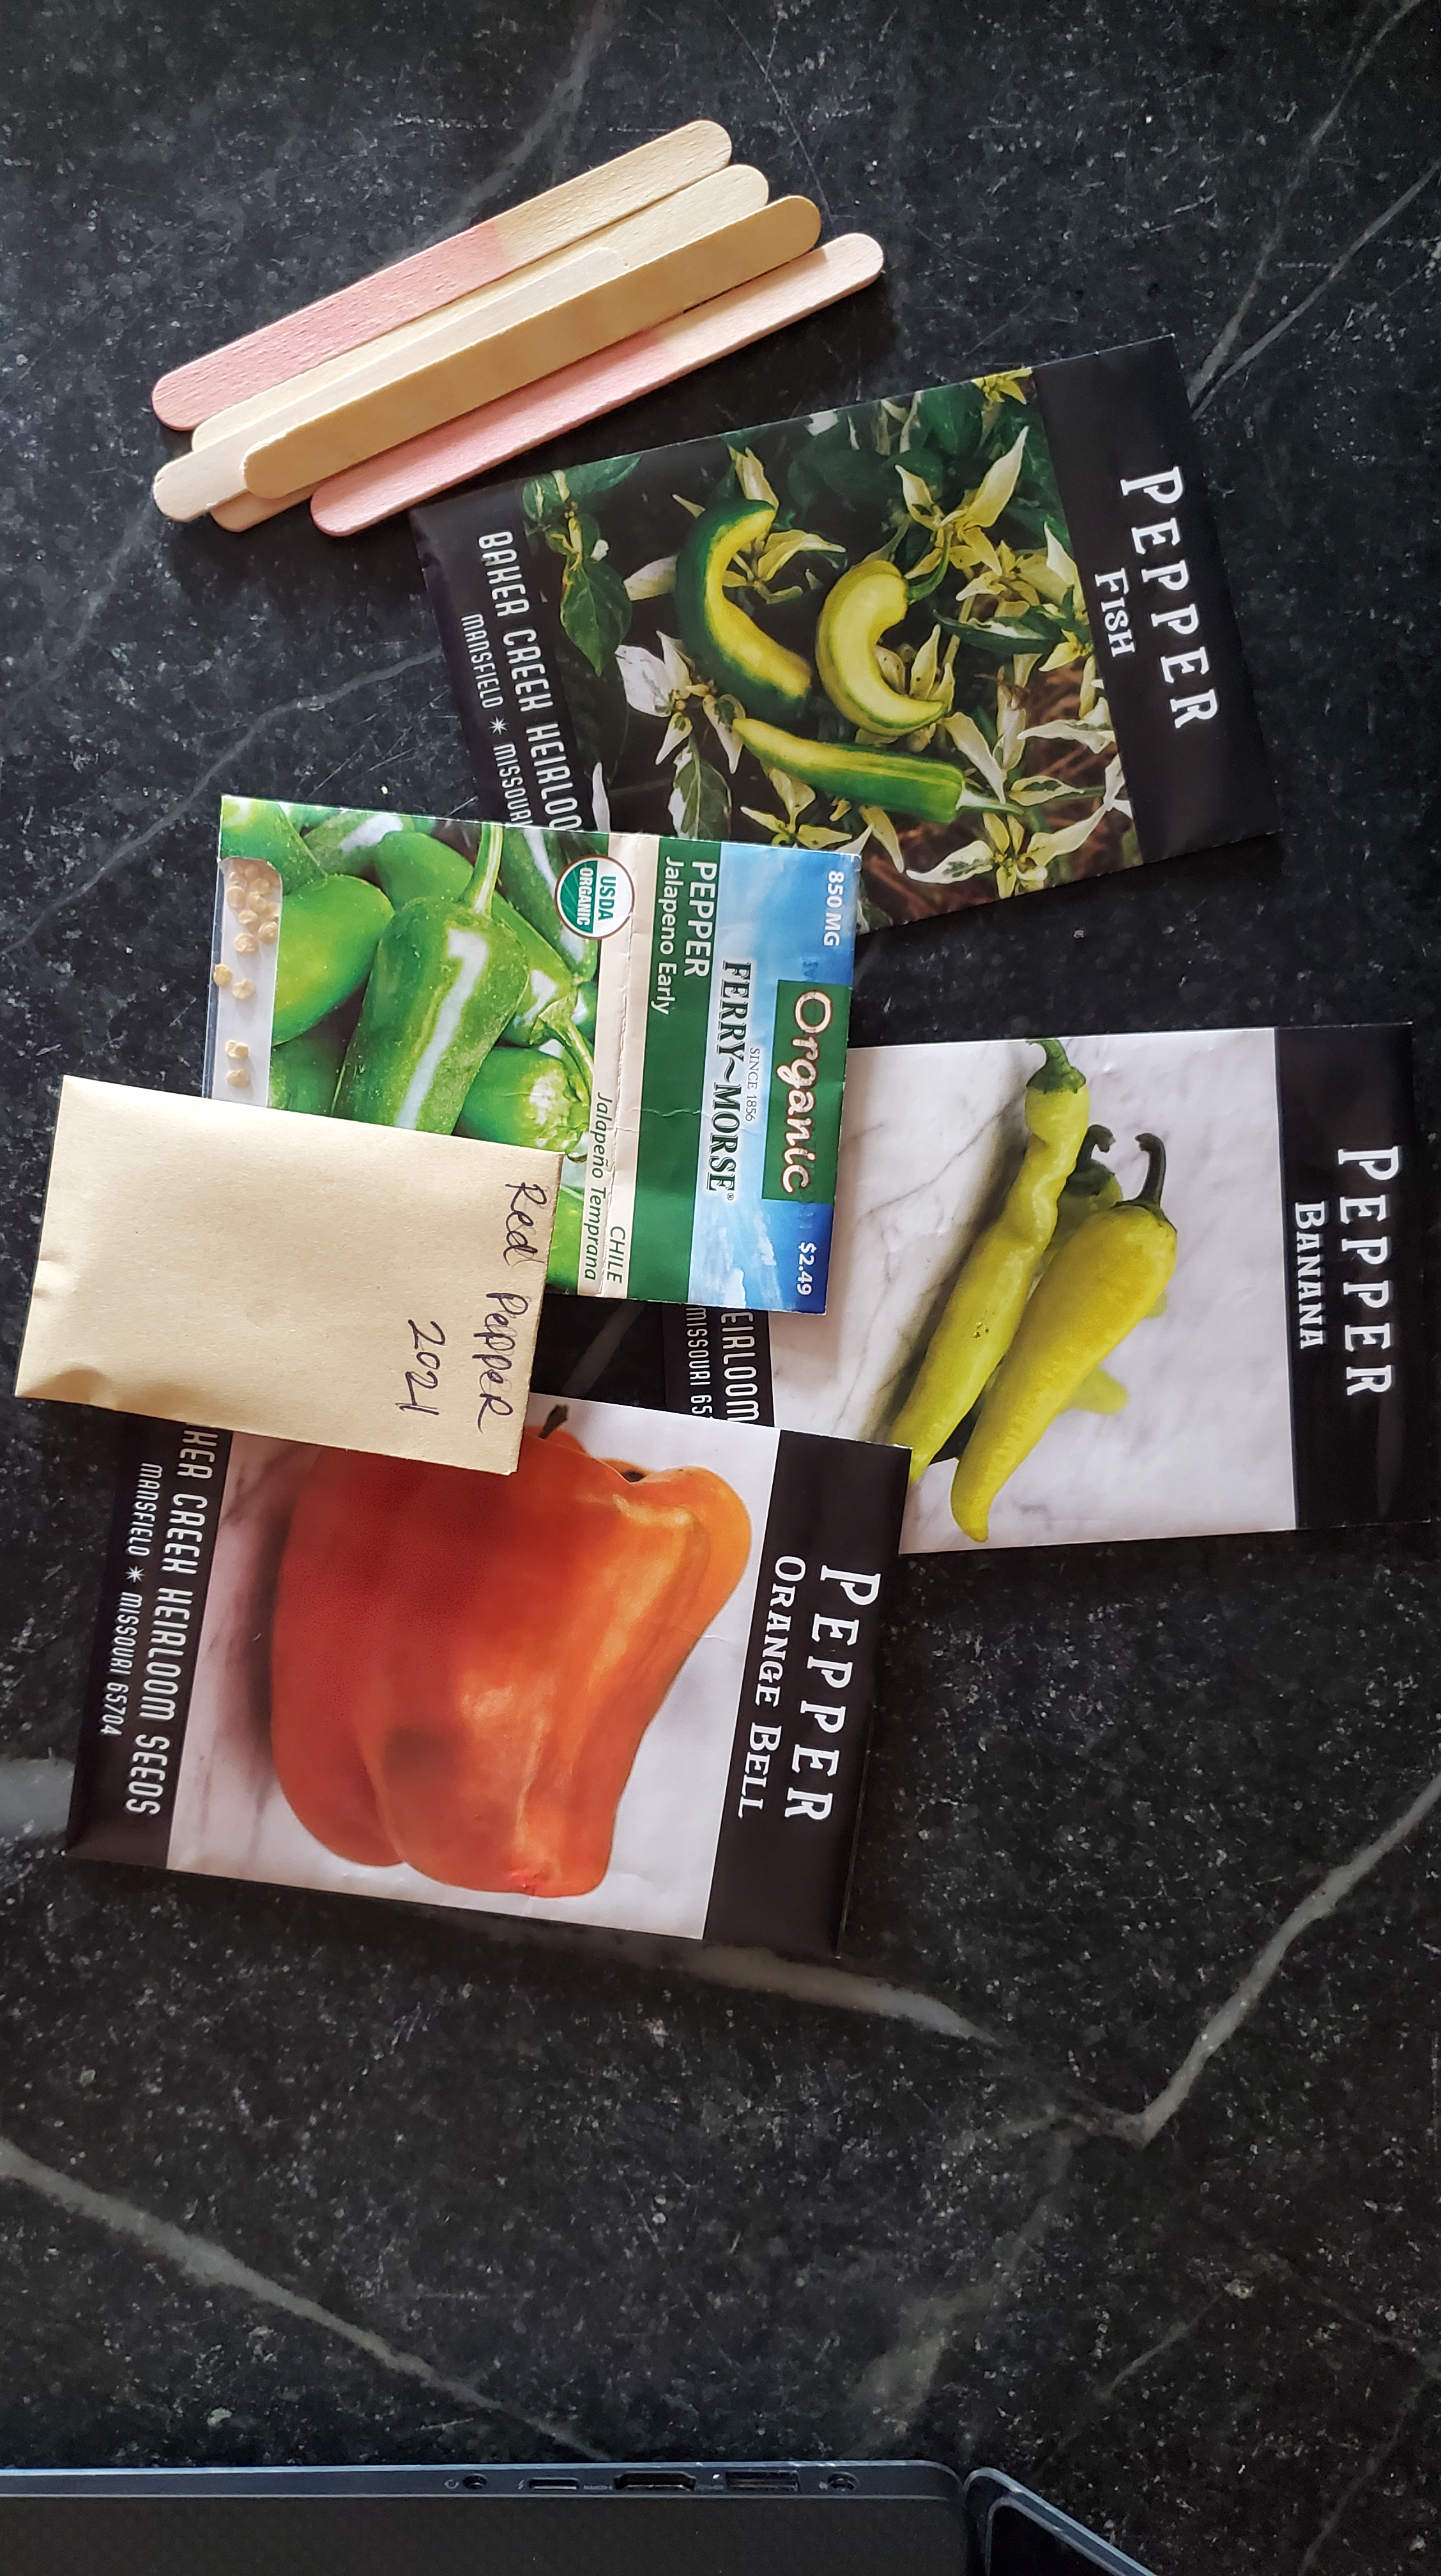
I have posted about starting peppers and tomatoes a few times over the last few years. It’s one of my favorite signs of spring after a long, dark, and cold winter. Like seeing the crocuses and daffodils pushing through the ground. You know brighter days are ahead.

Having successfully started my own plants for the last three years, I’ve learned a few tips and tricks and *seem* to have a pretty good system.  I say that now… and next year will be an epic disaster I bet.

Seed Starting Tips and Tricks:

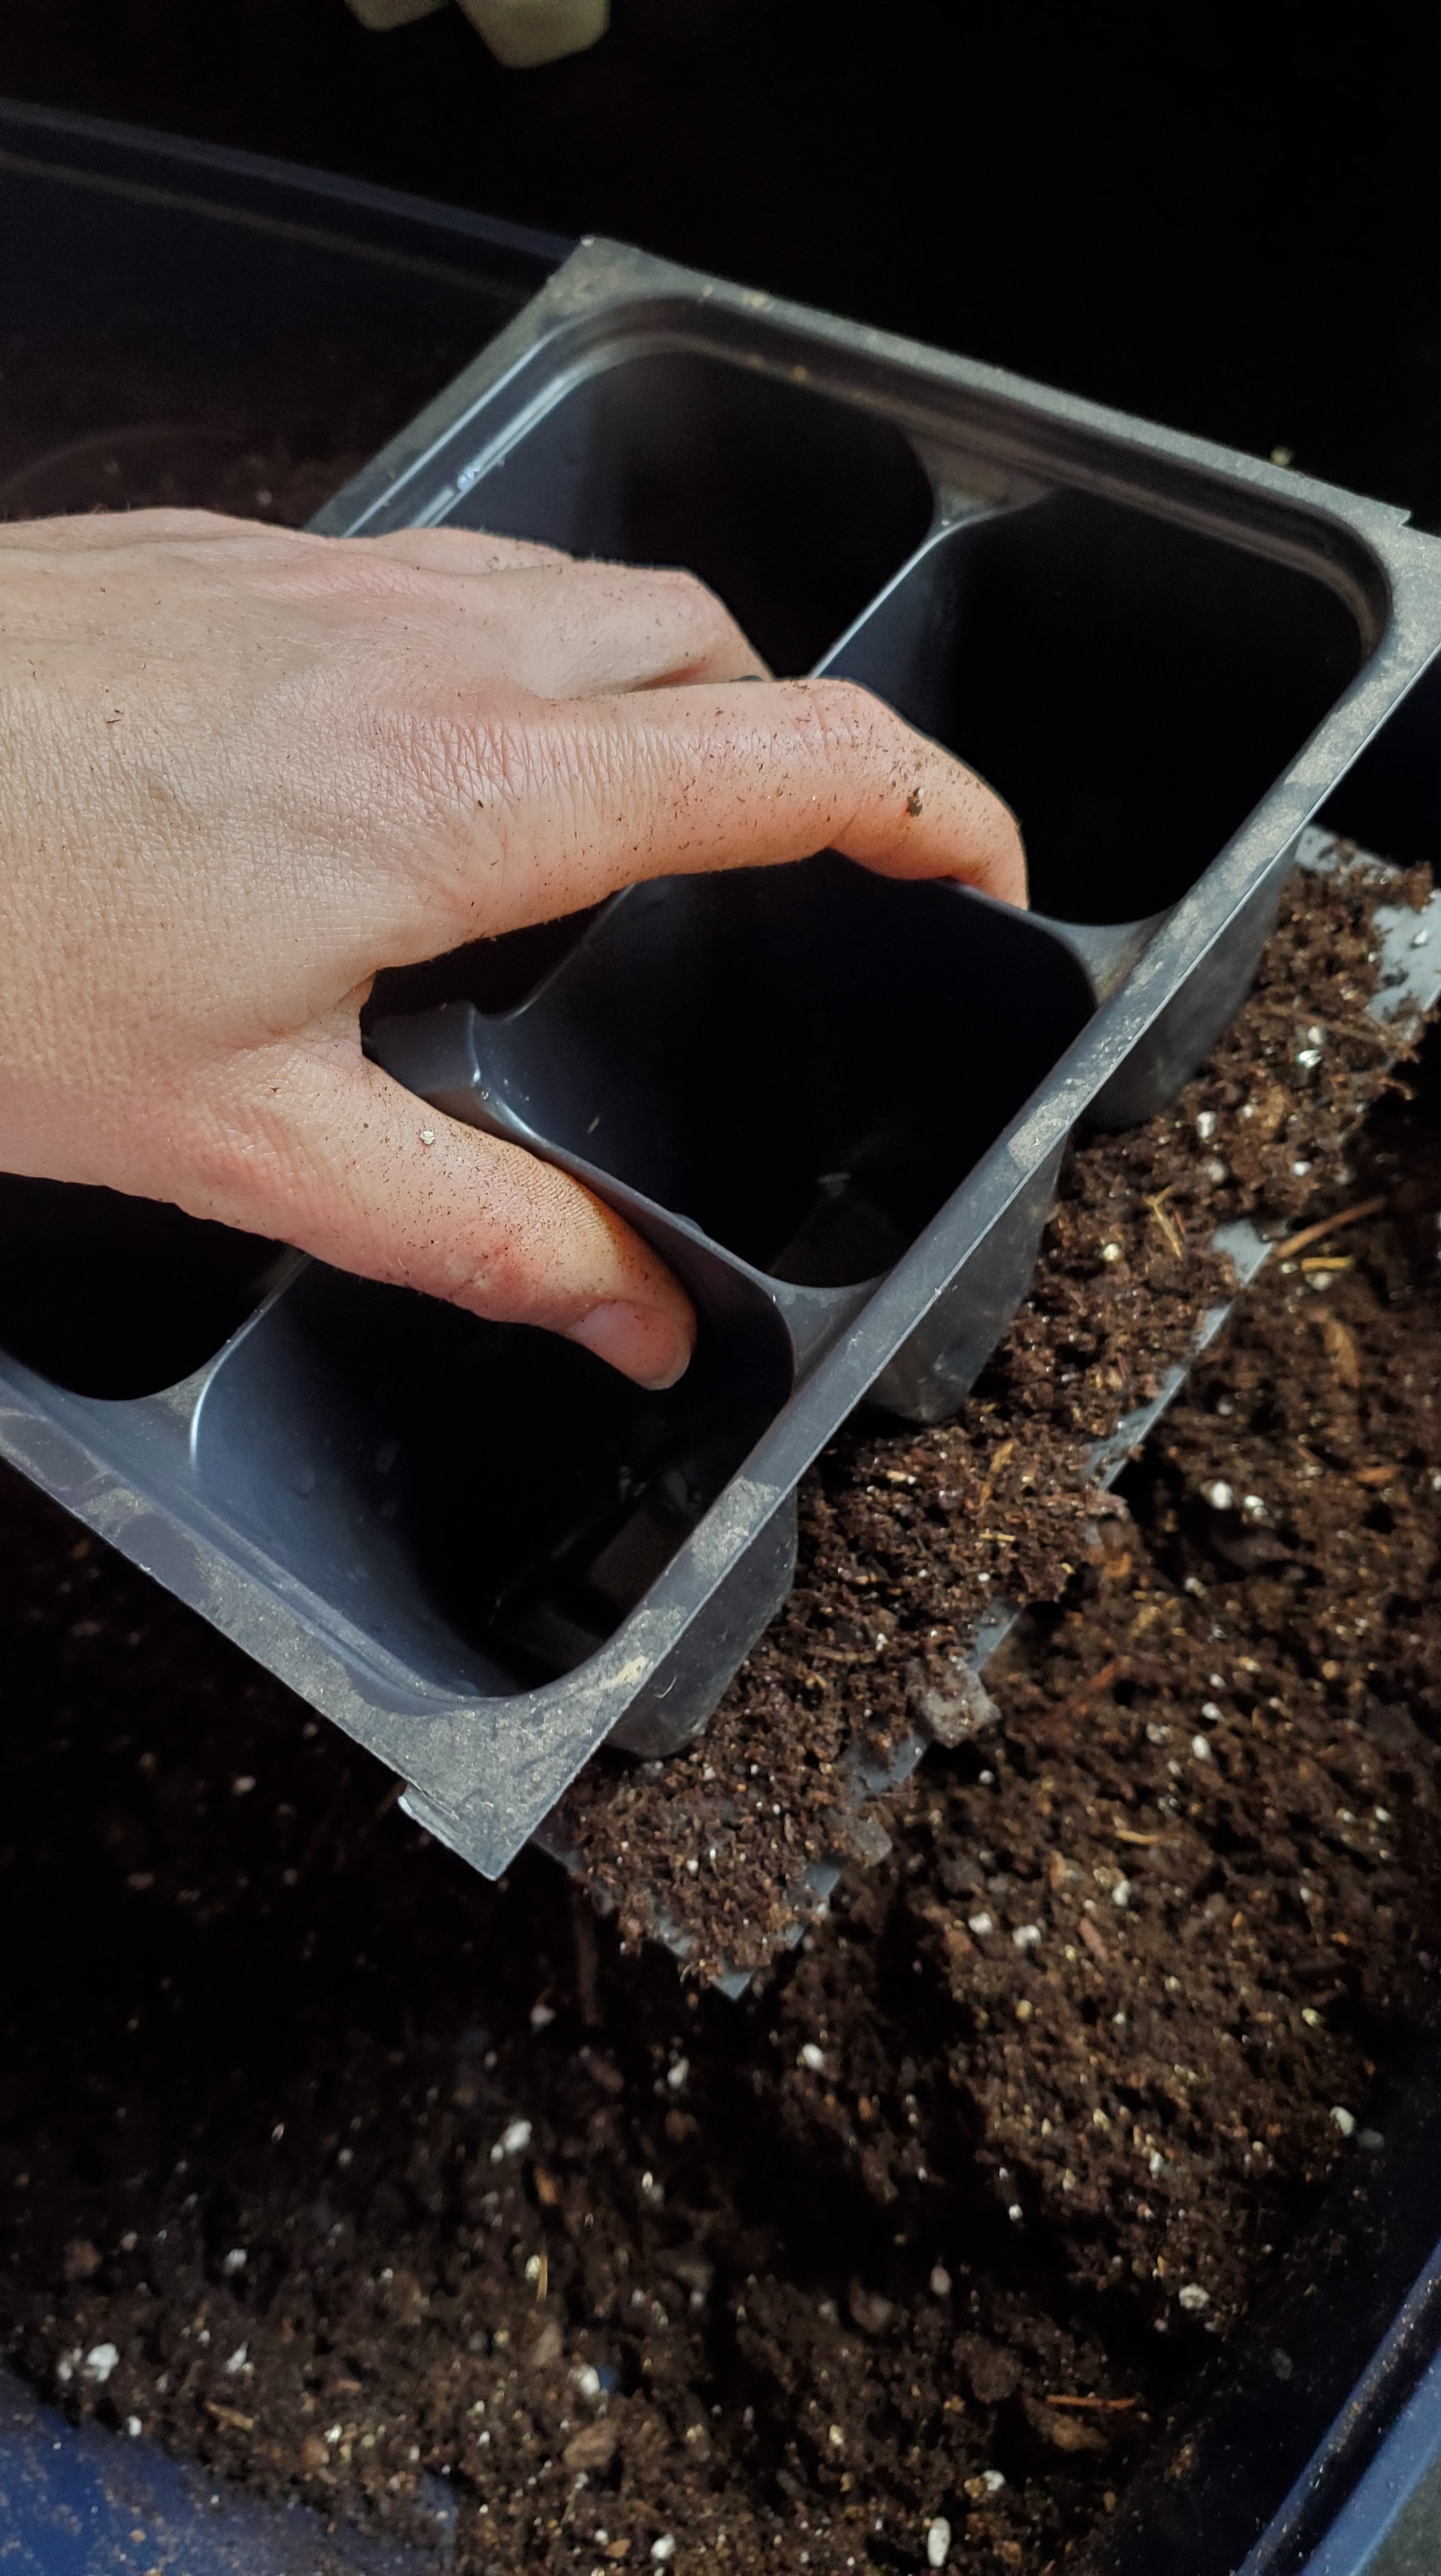
  1. Wash your containers. Start with a clean slate. If anything was wonky last year with your plants, don’t let it carry over to this year.
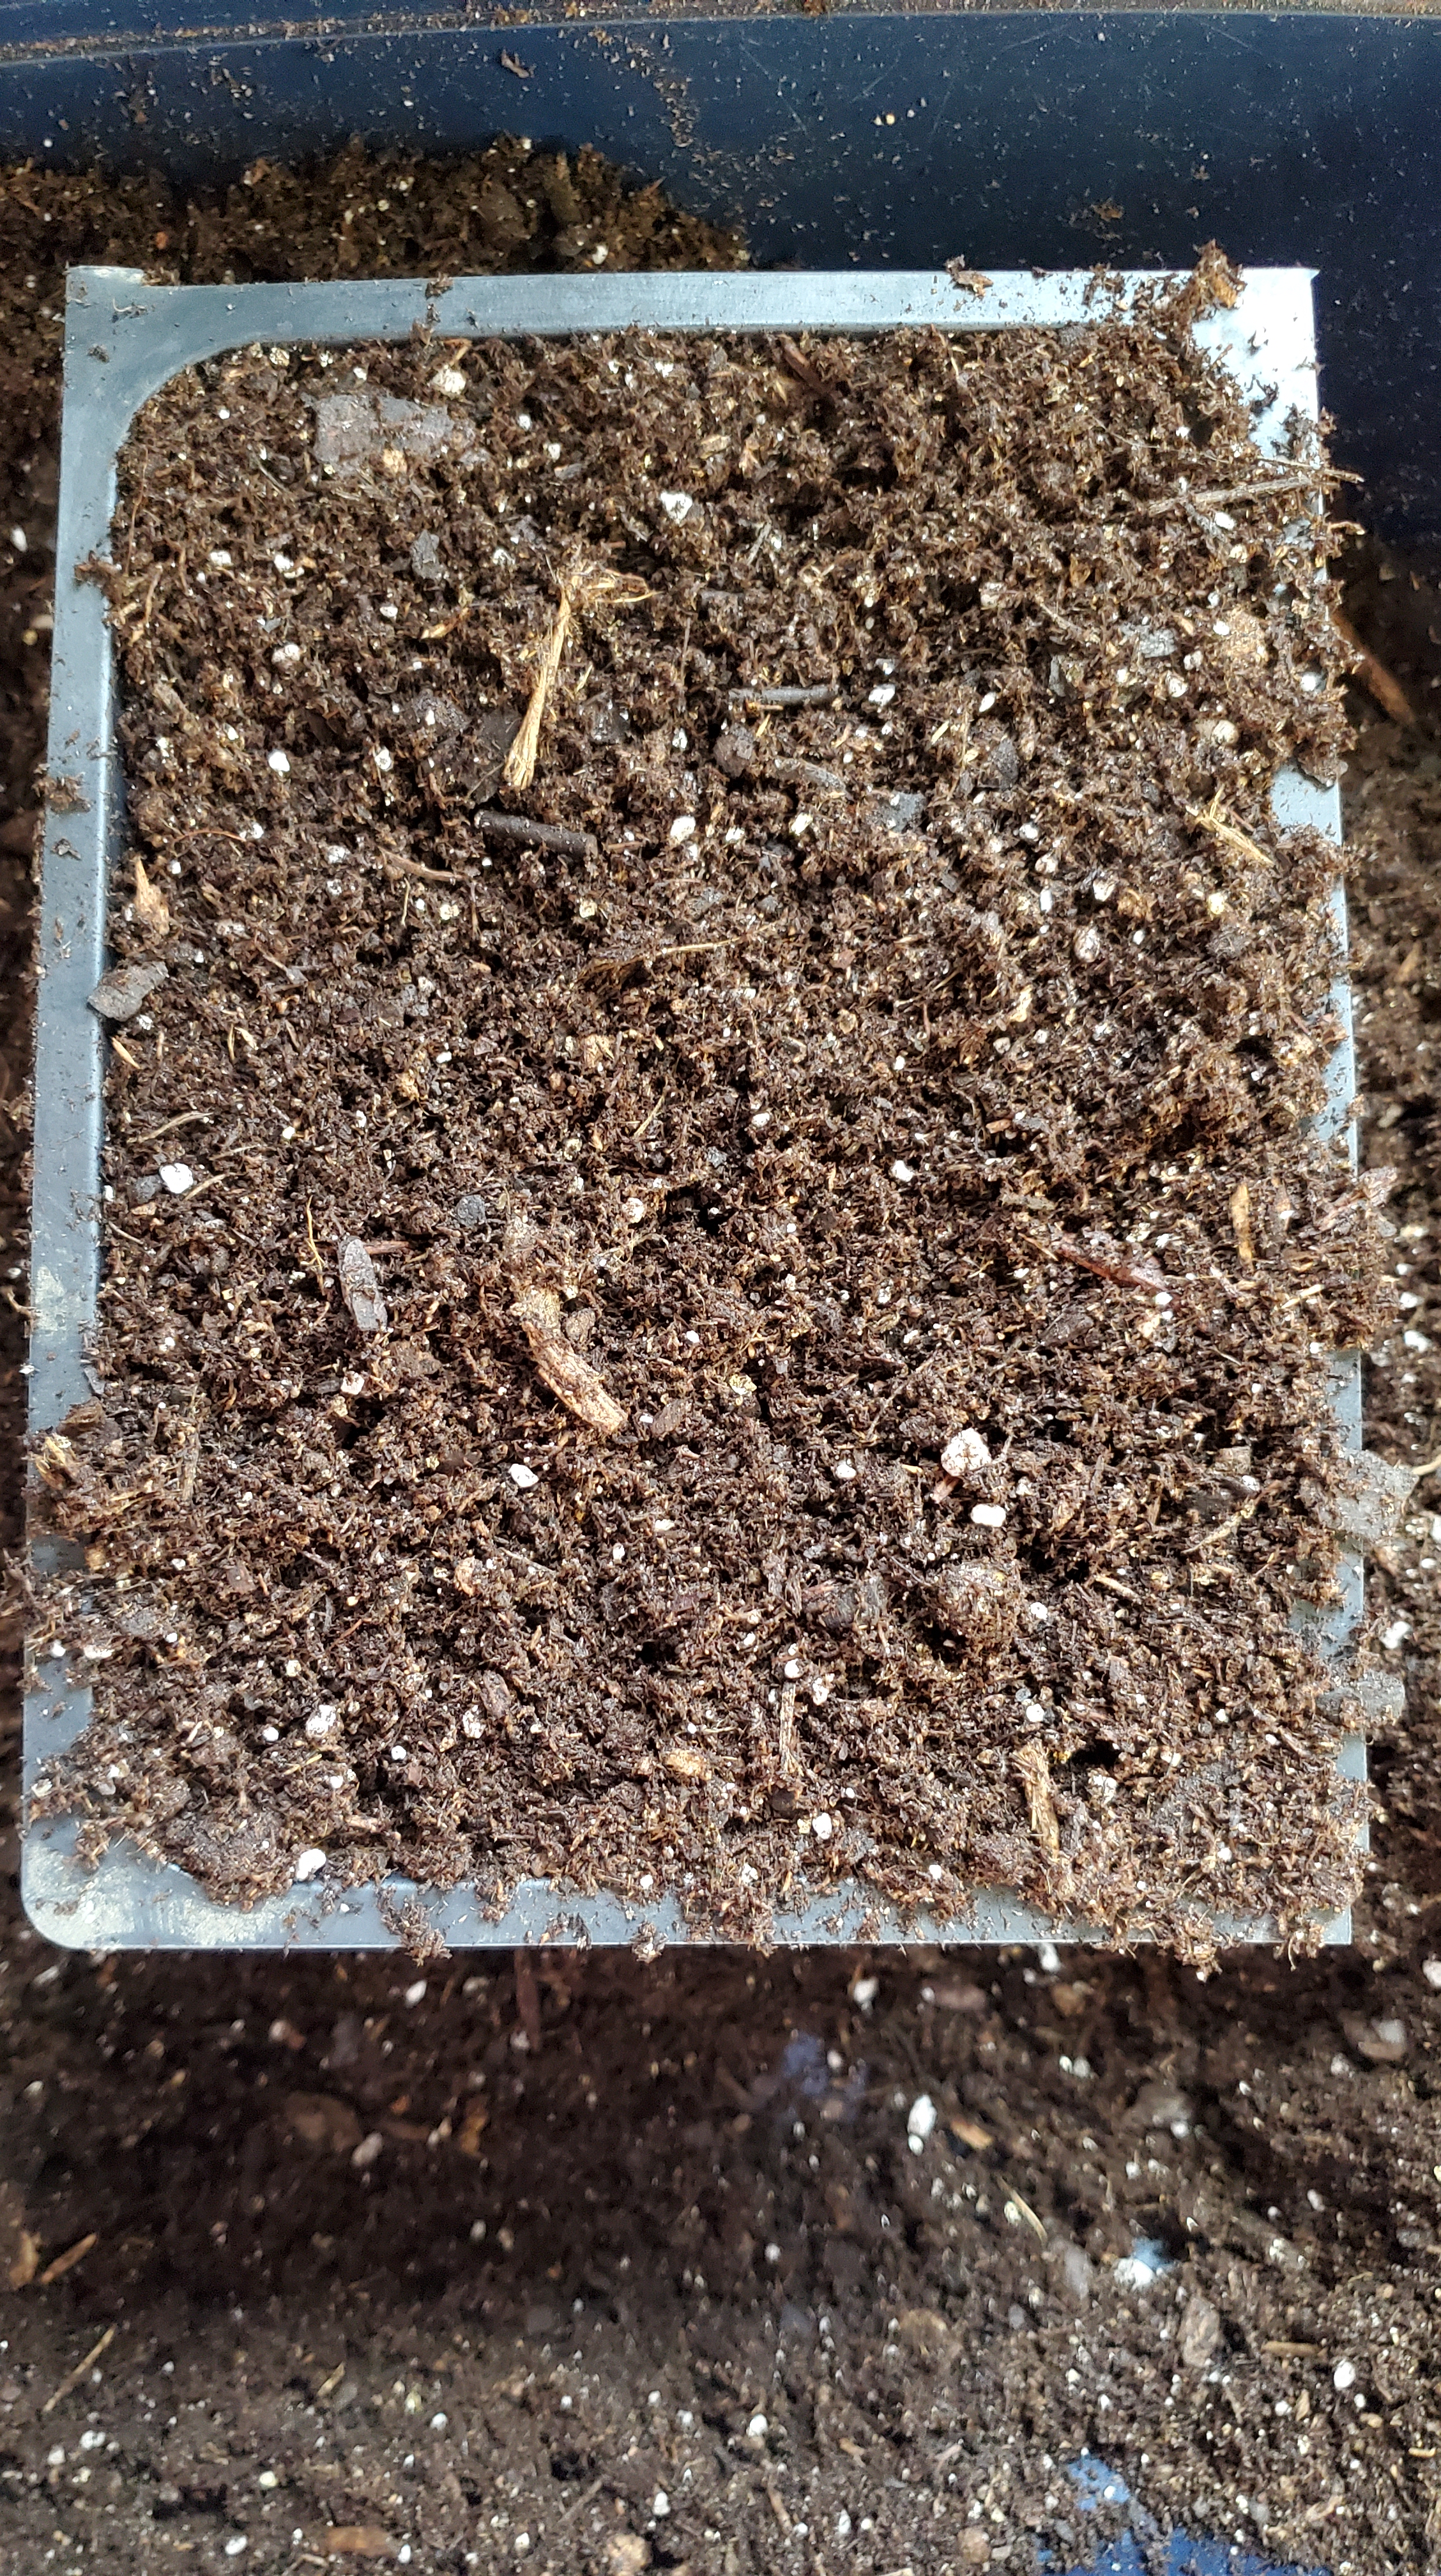
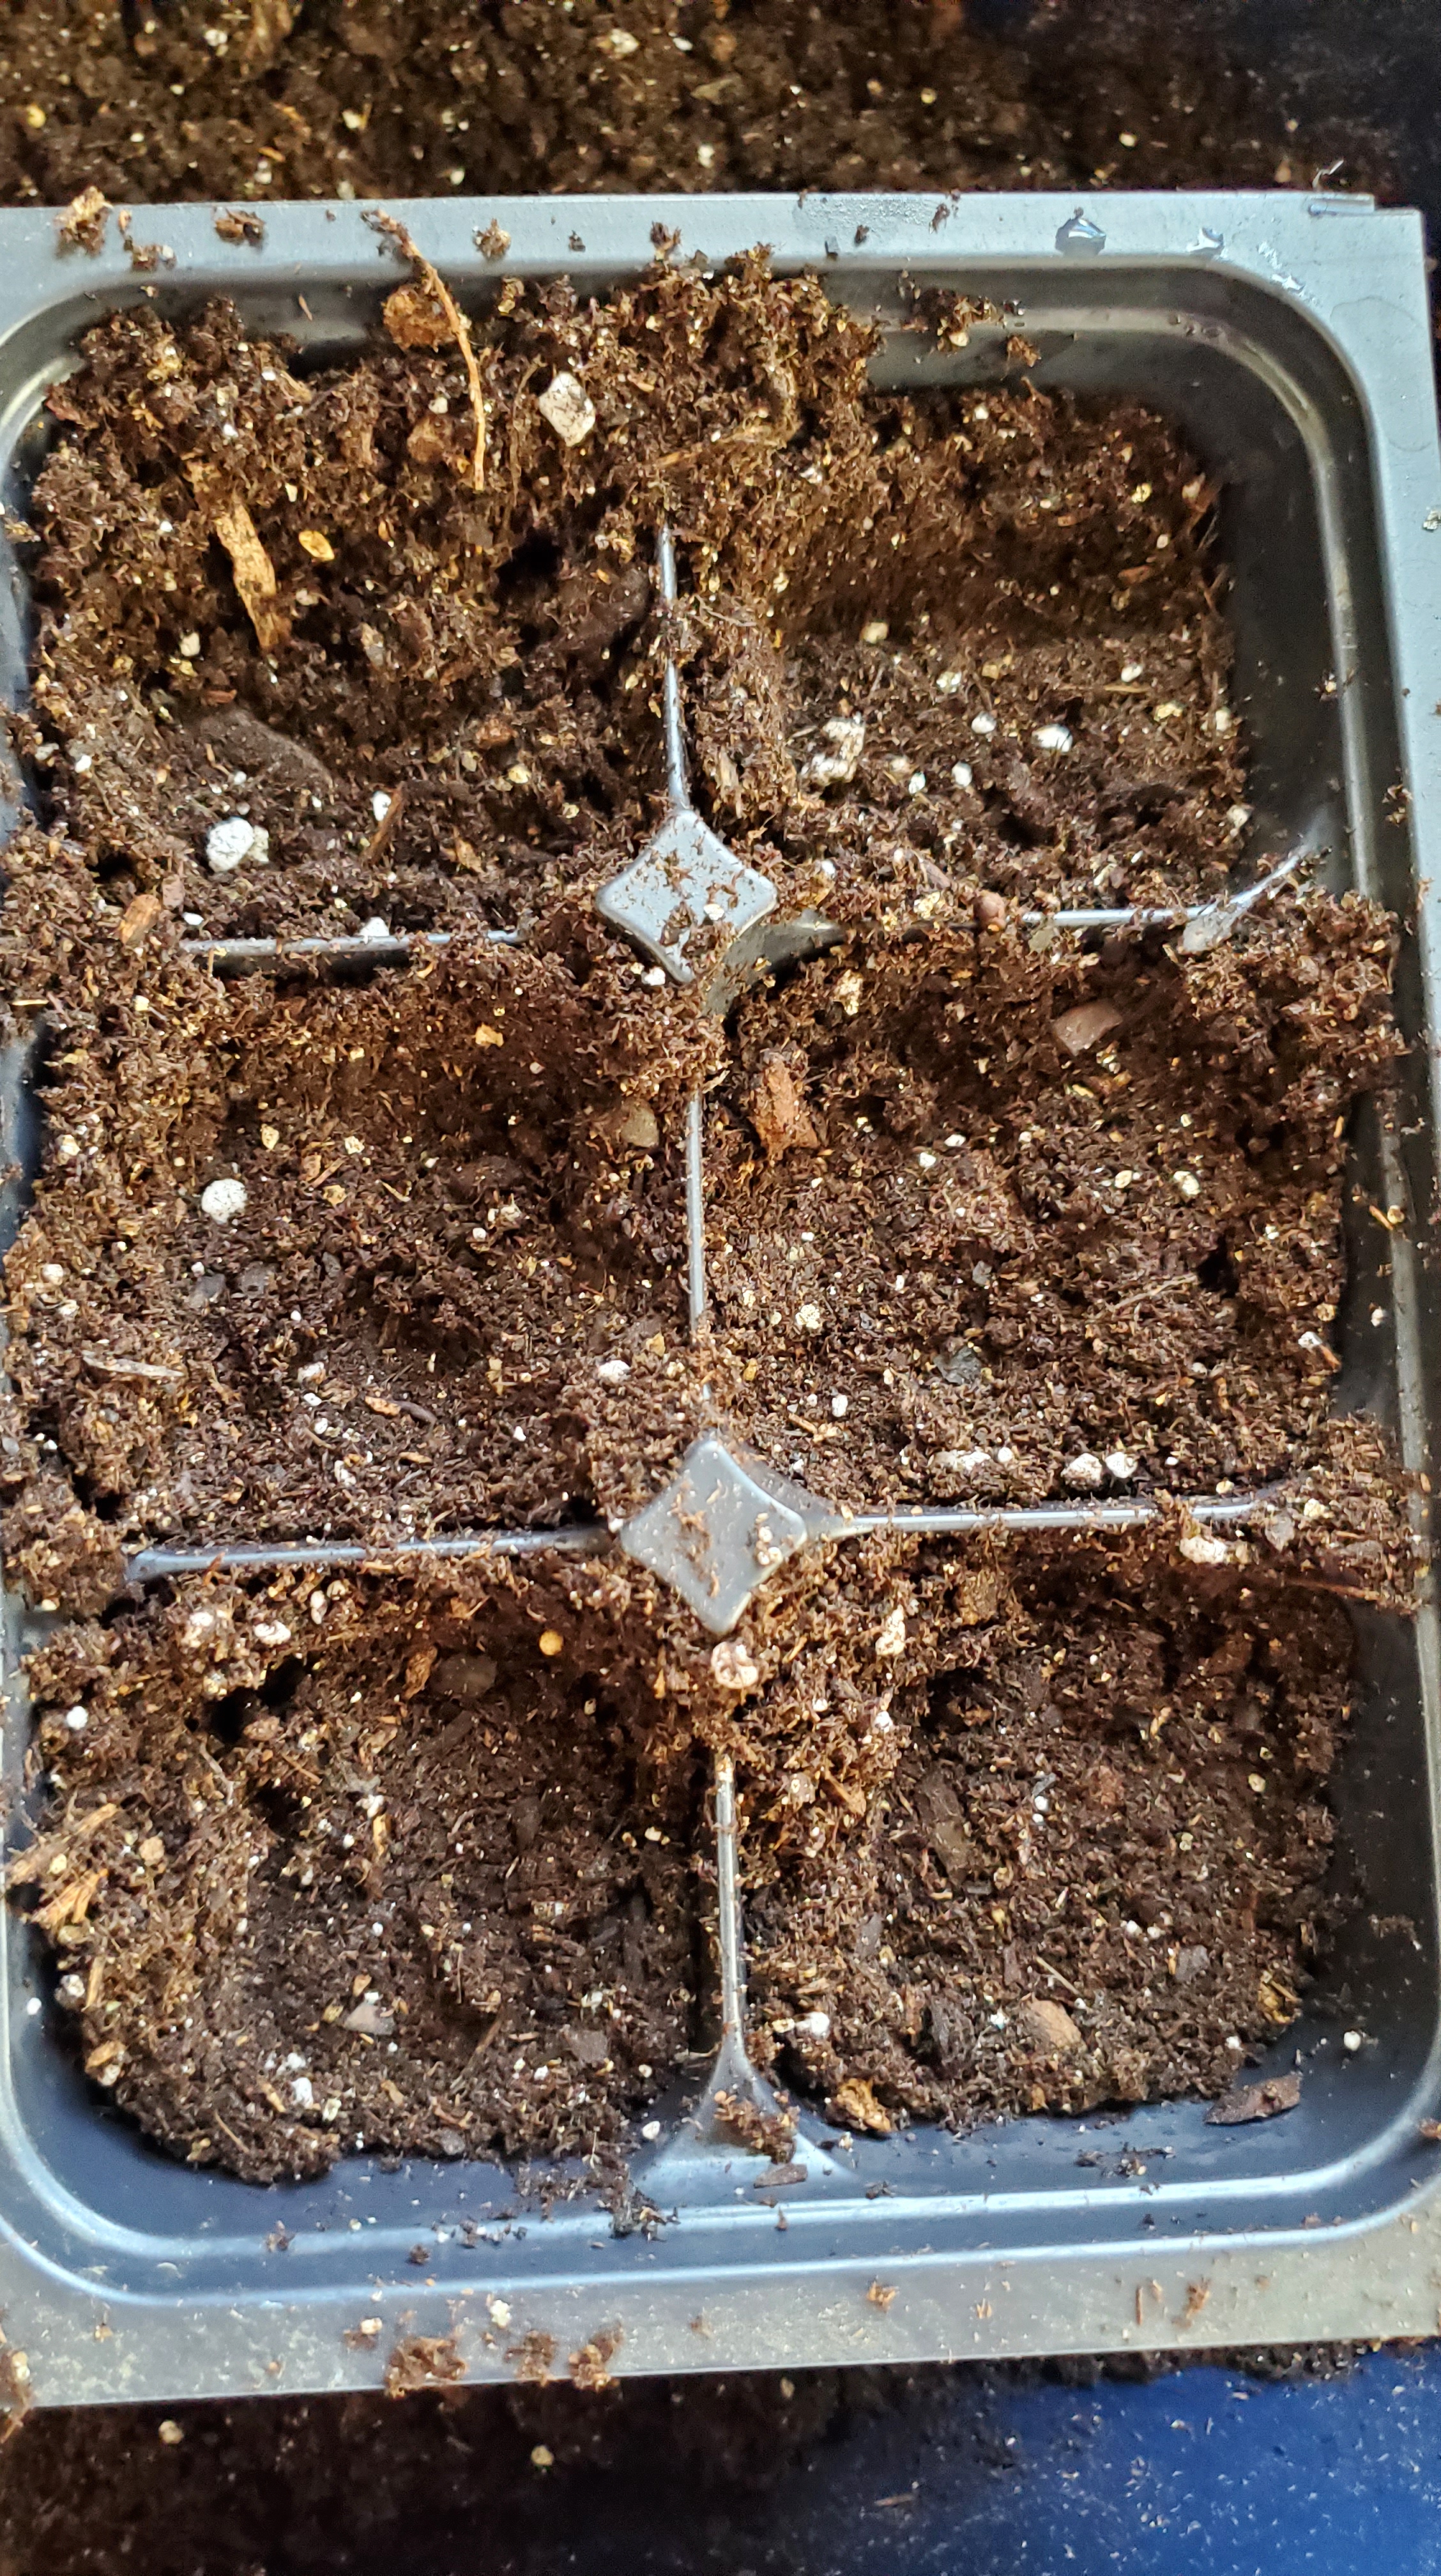
  2. Saturate your seed starting mix with boiling water. This helps protect against those pesky little gnats.
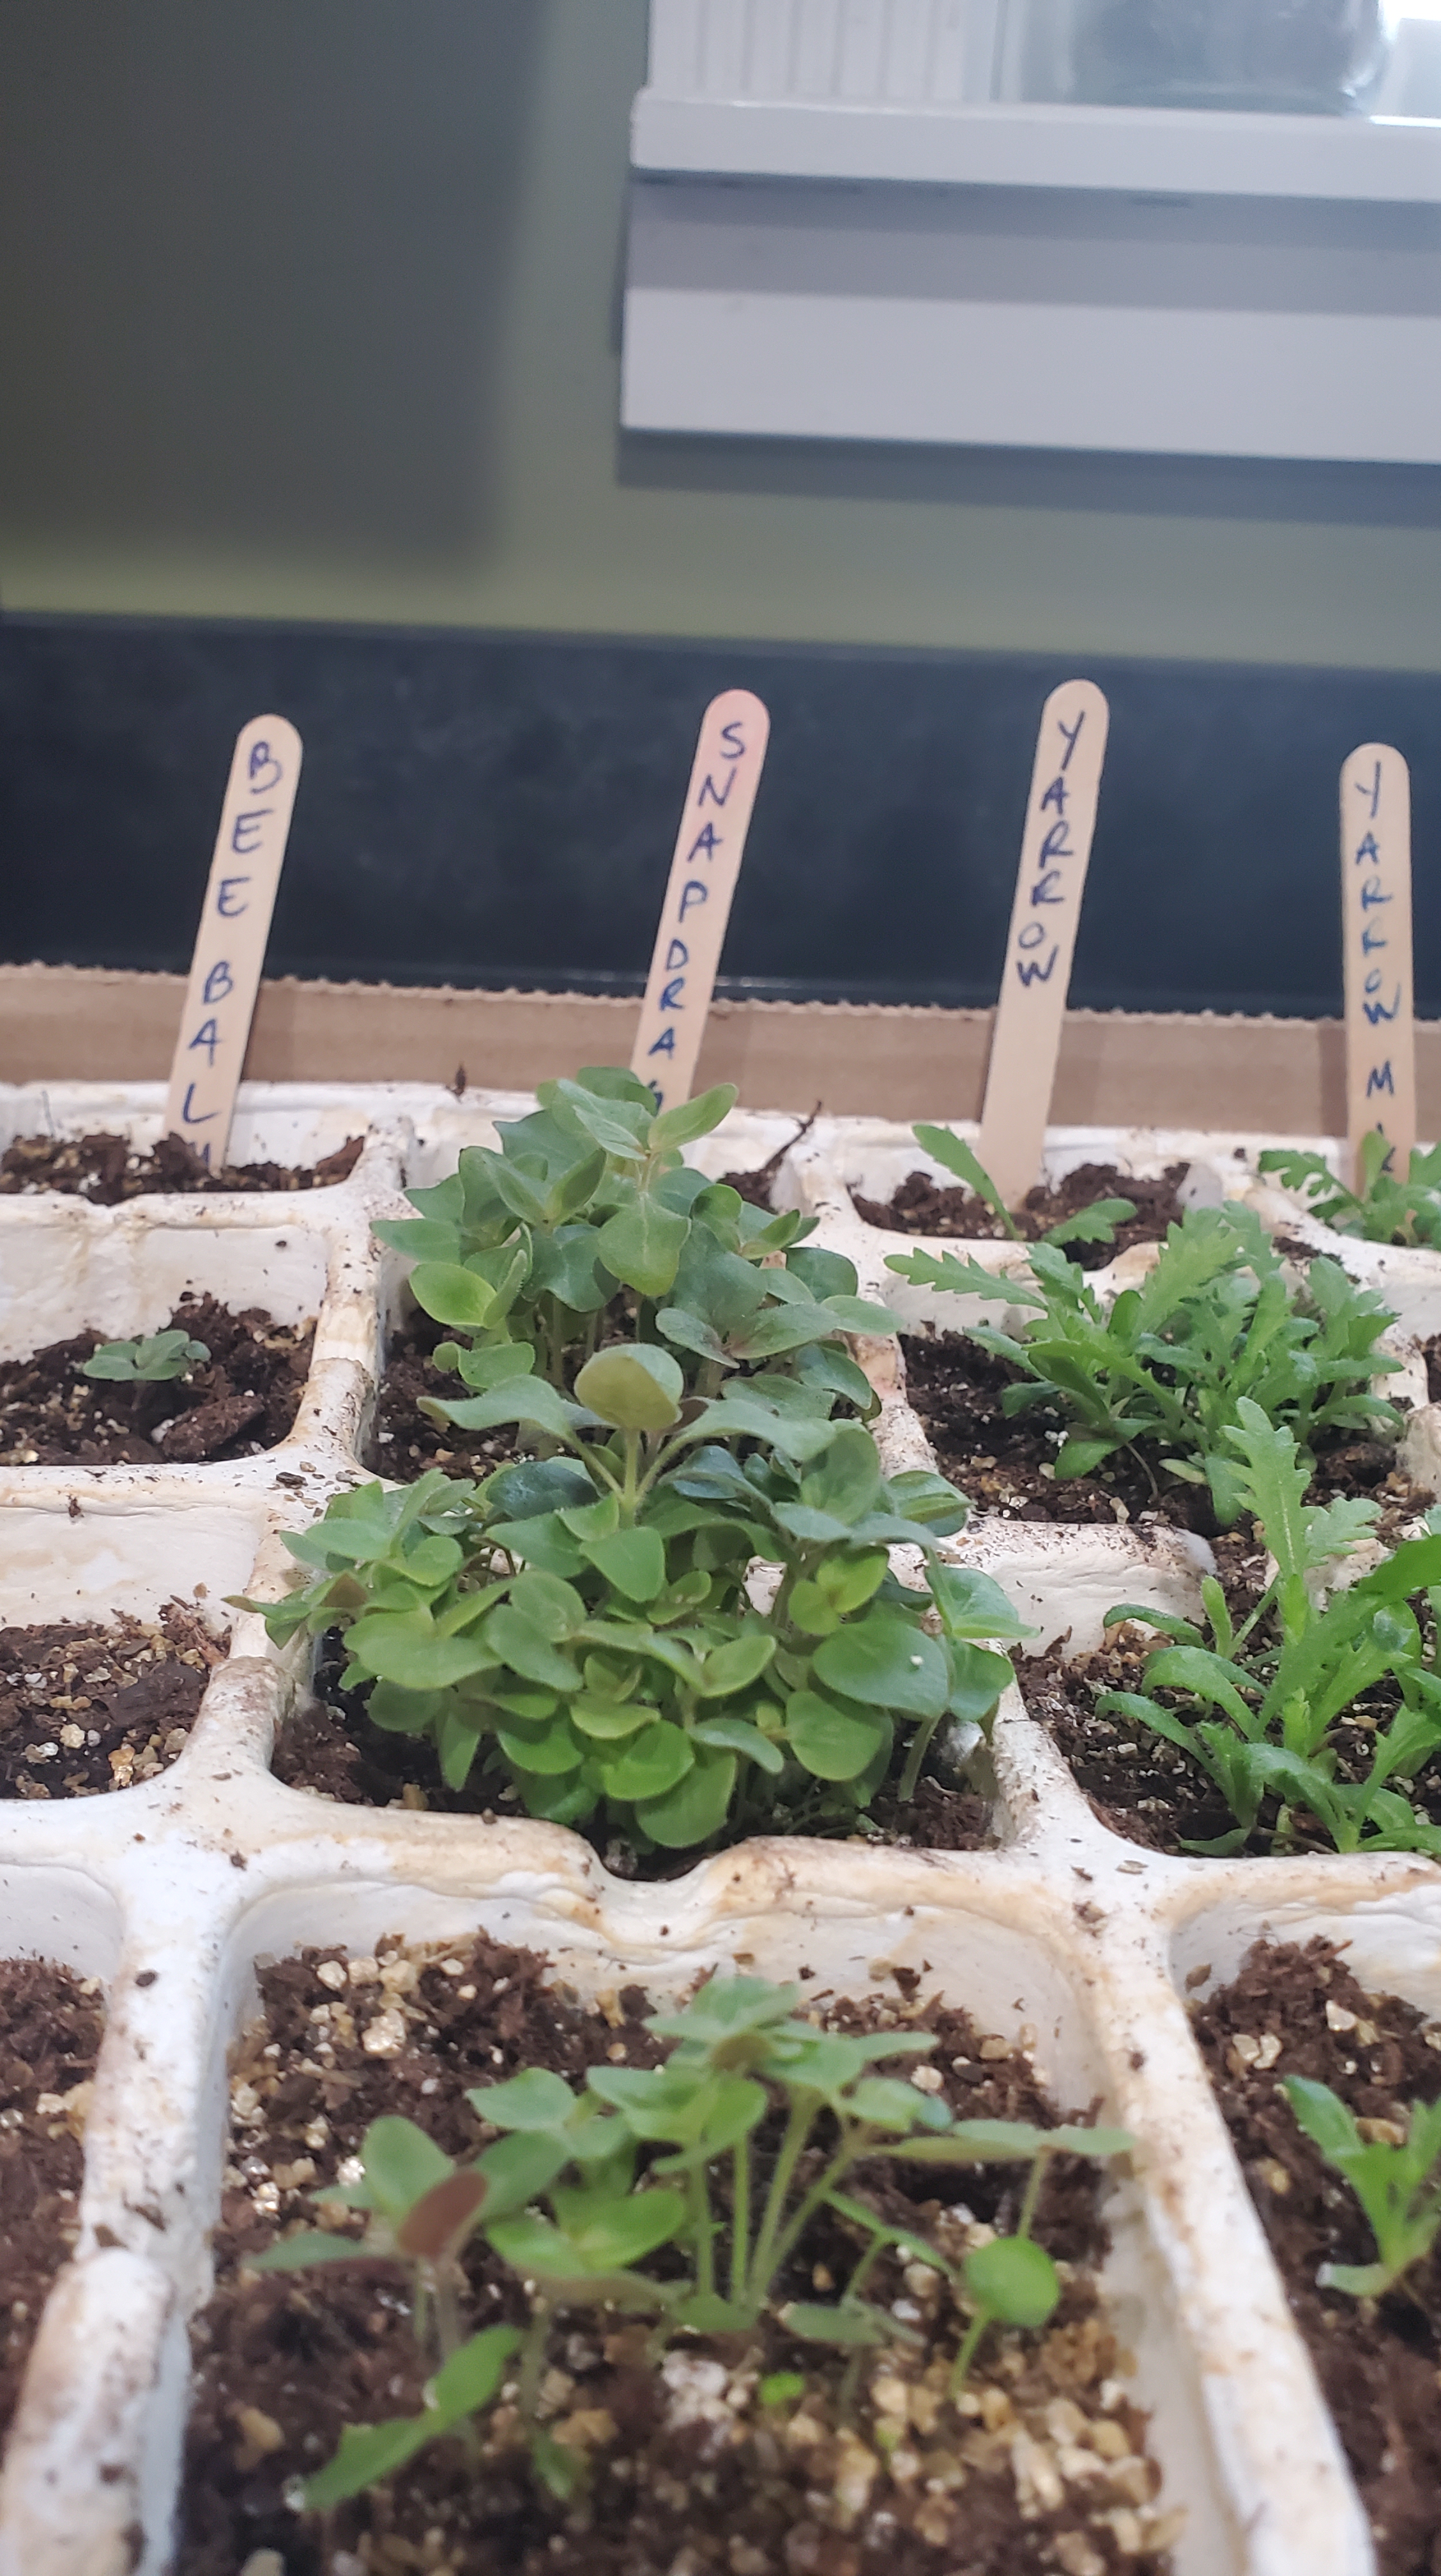
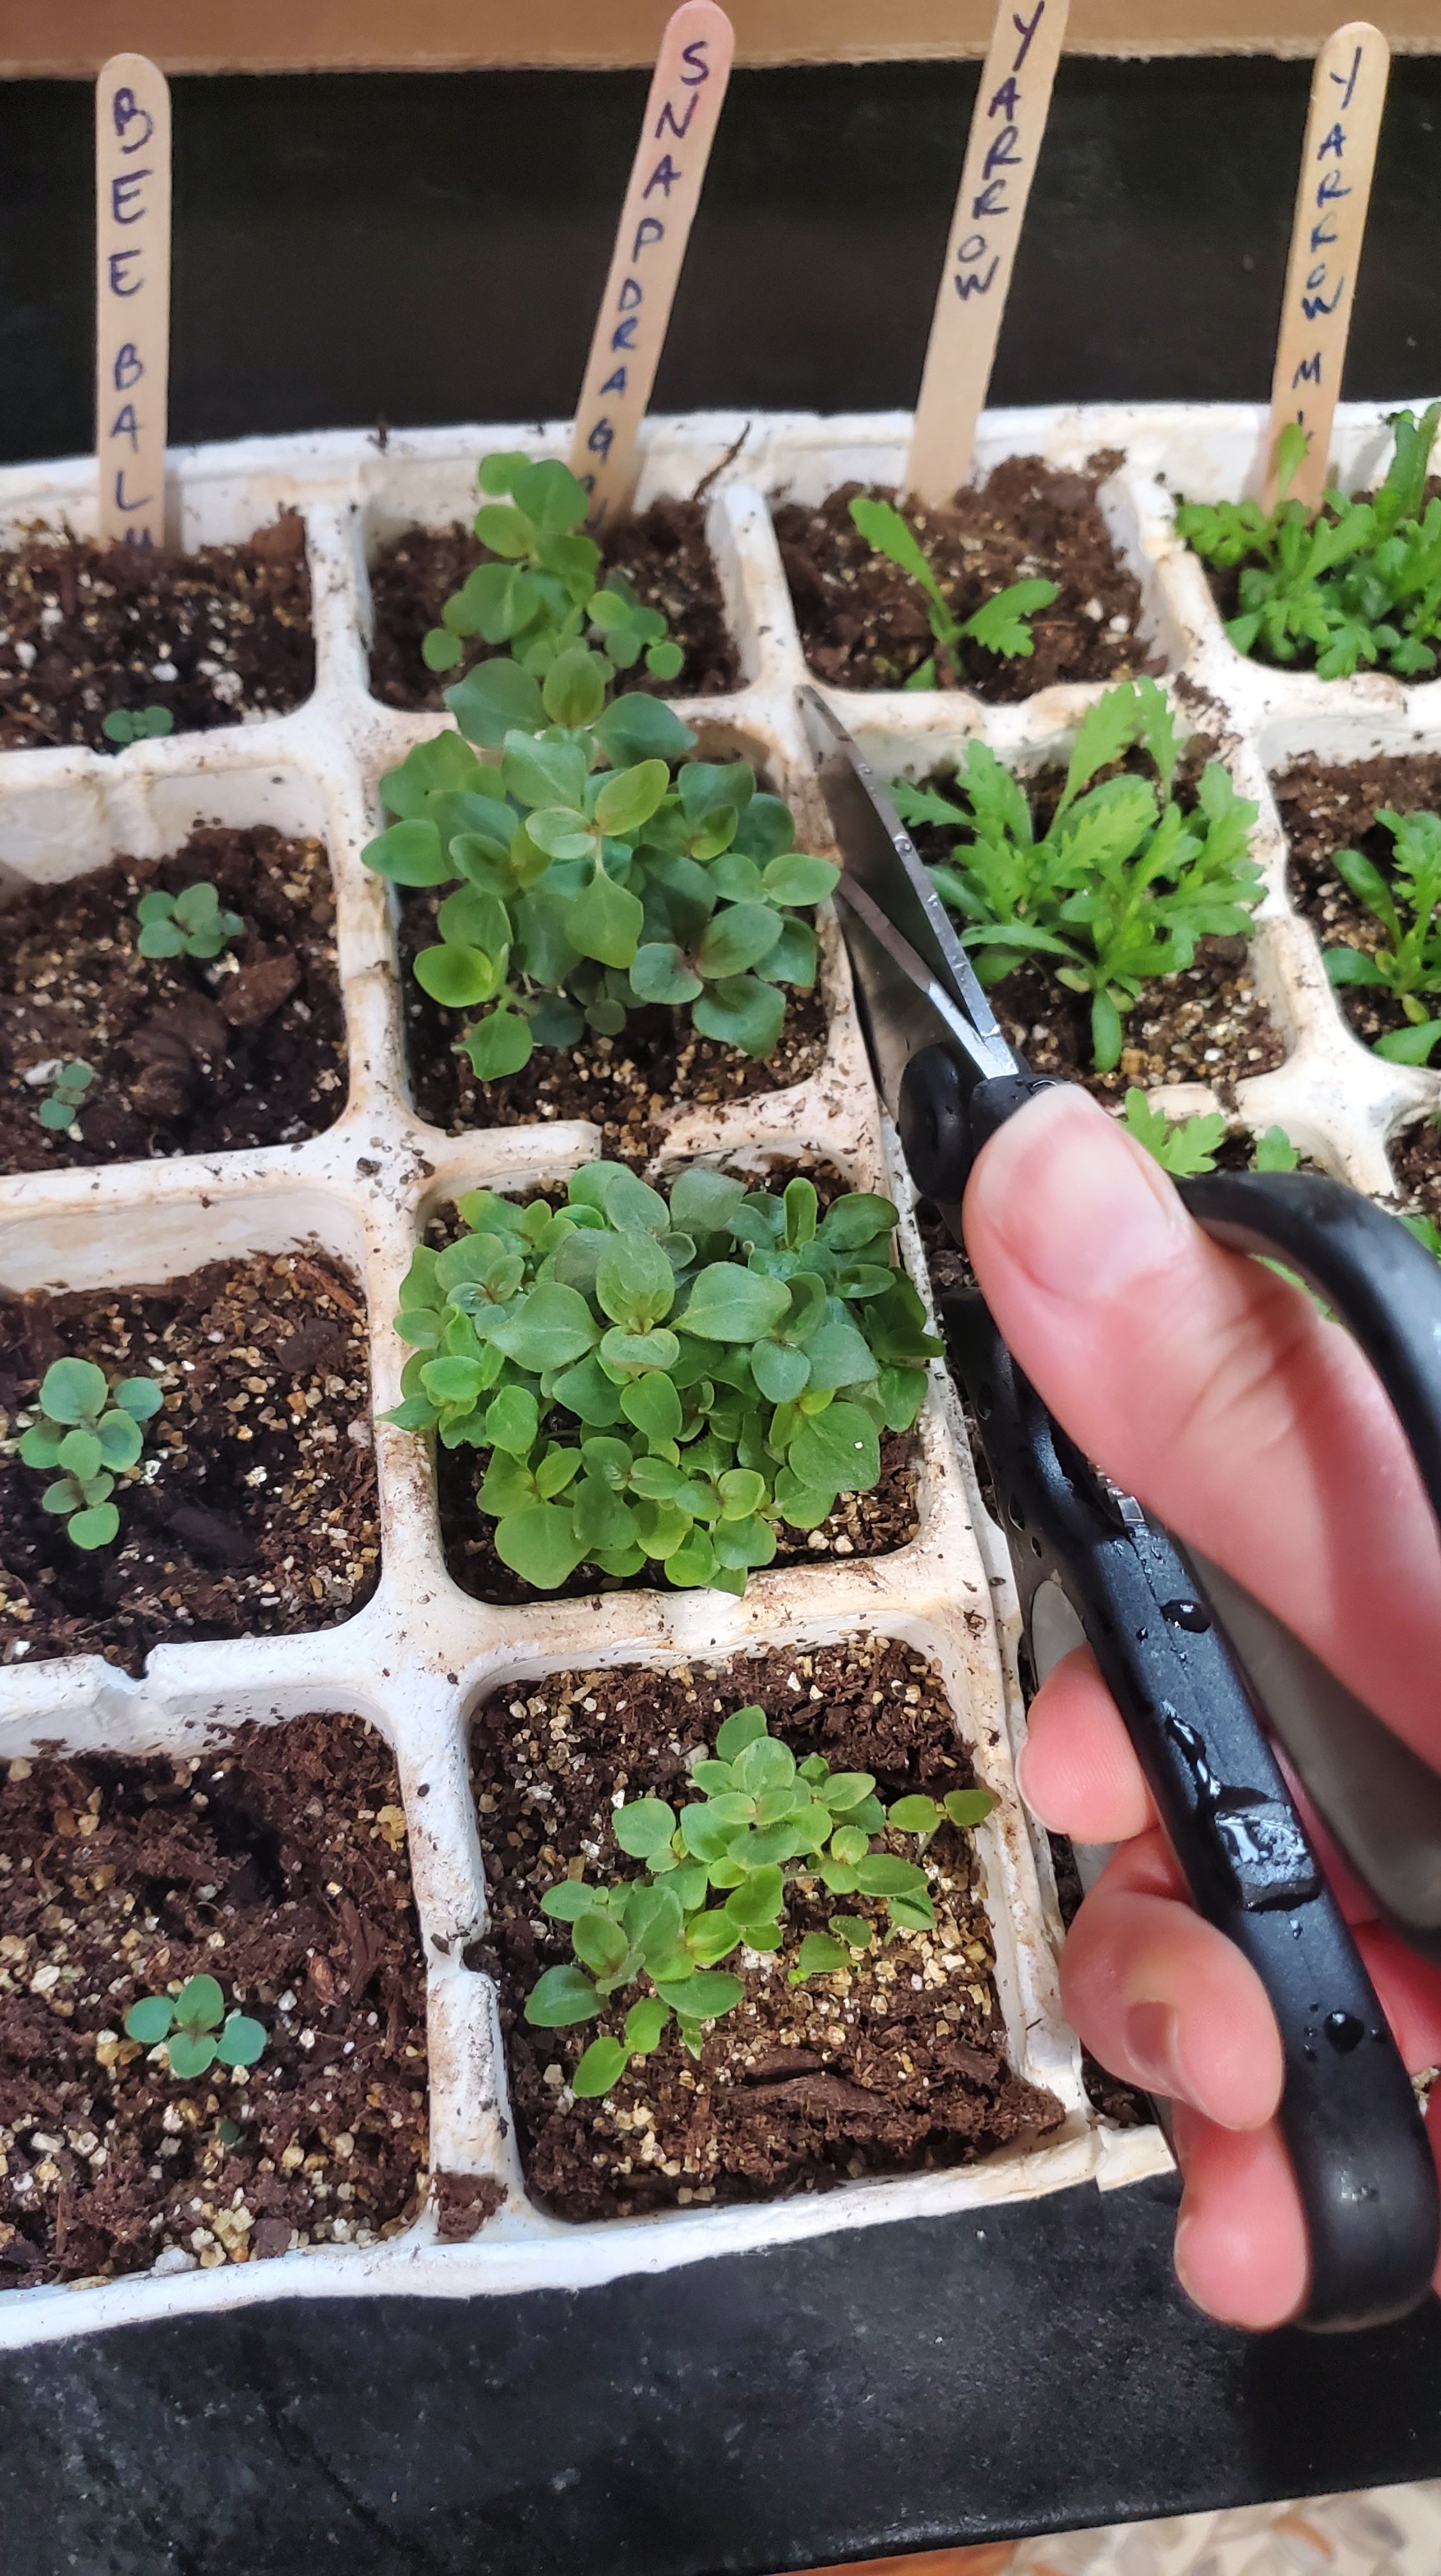
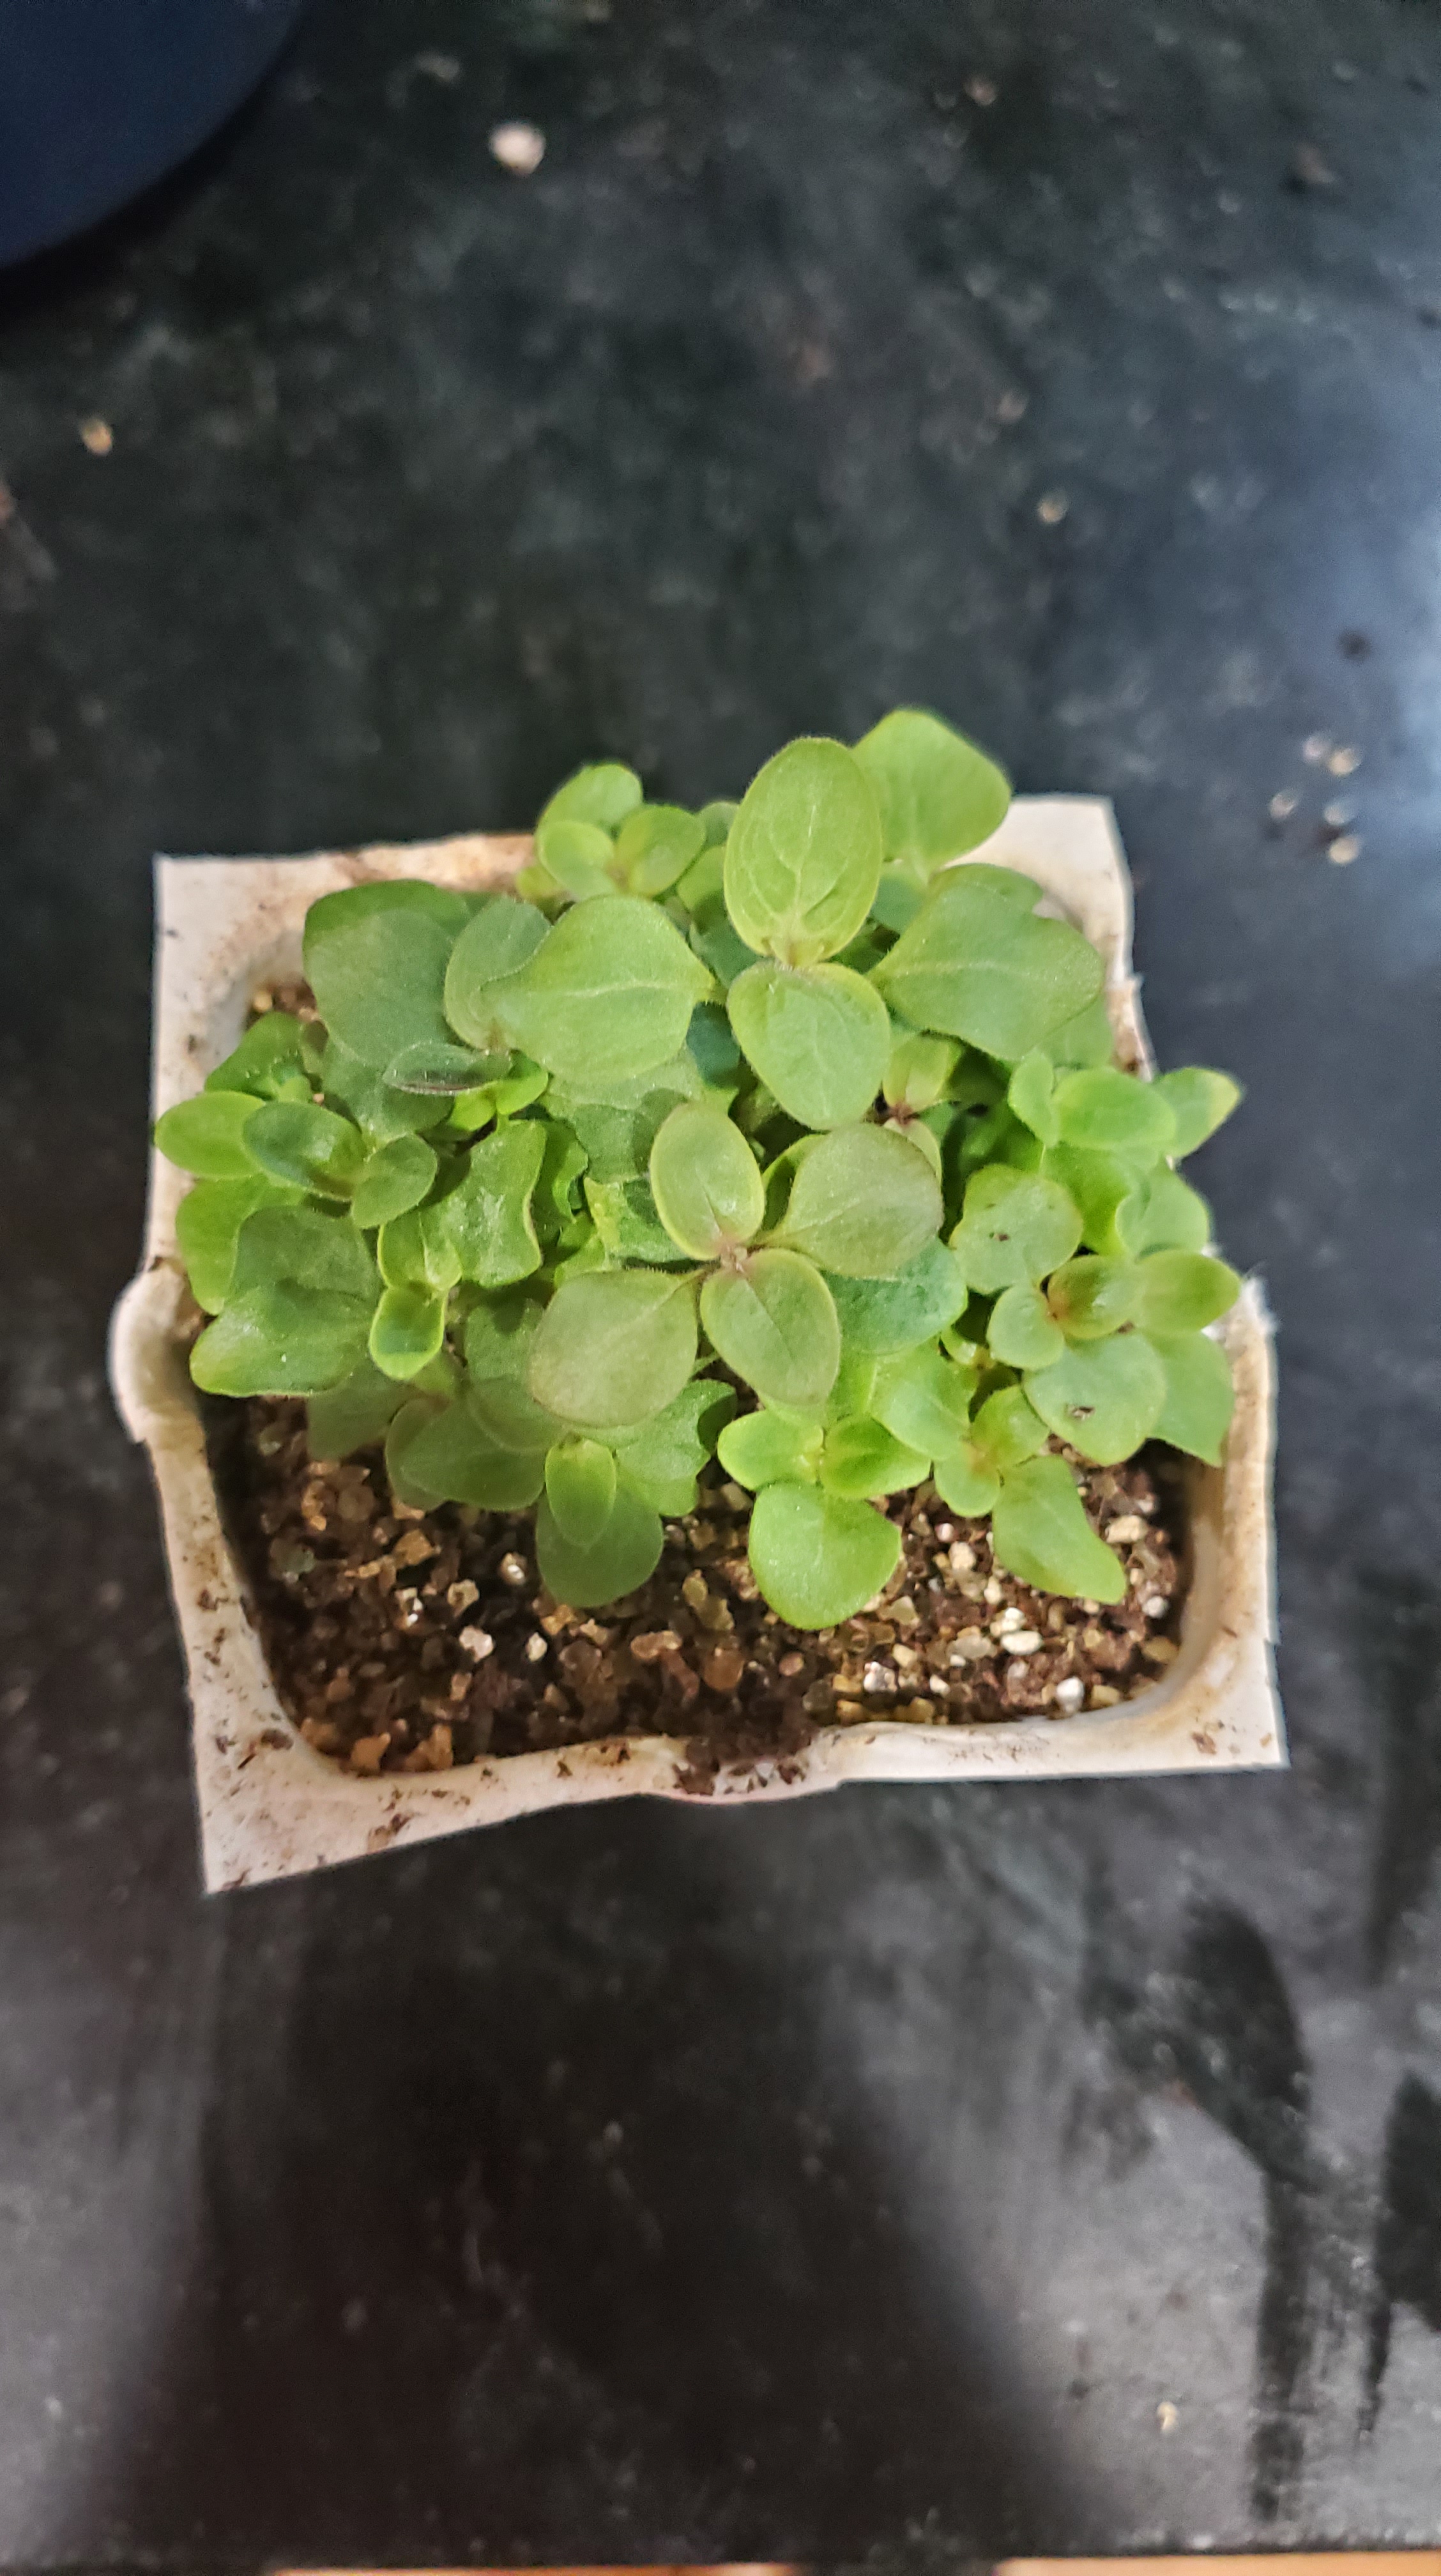
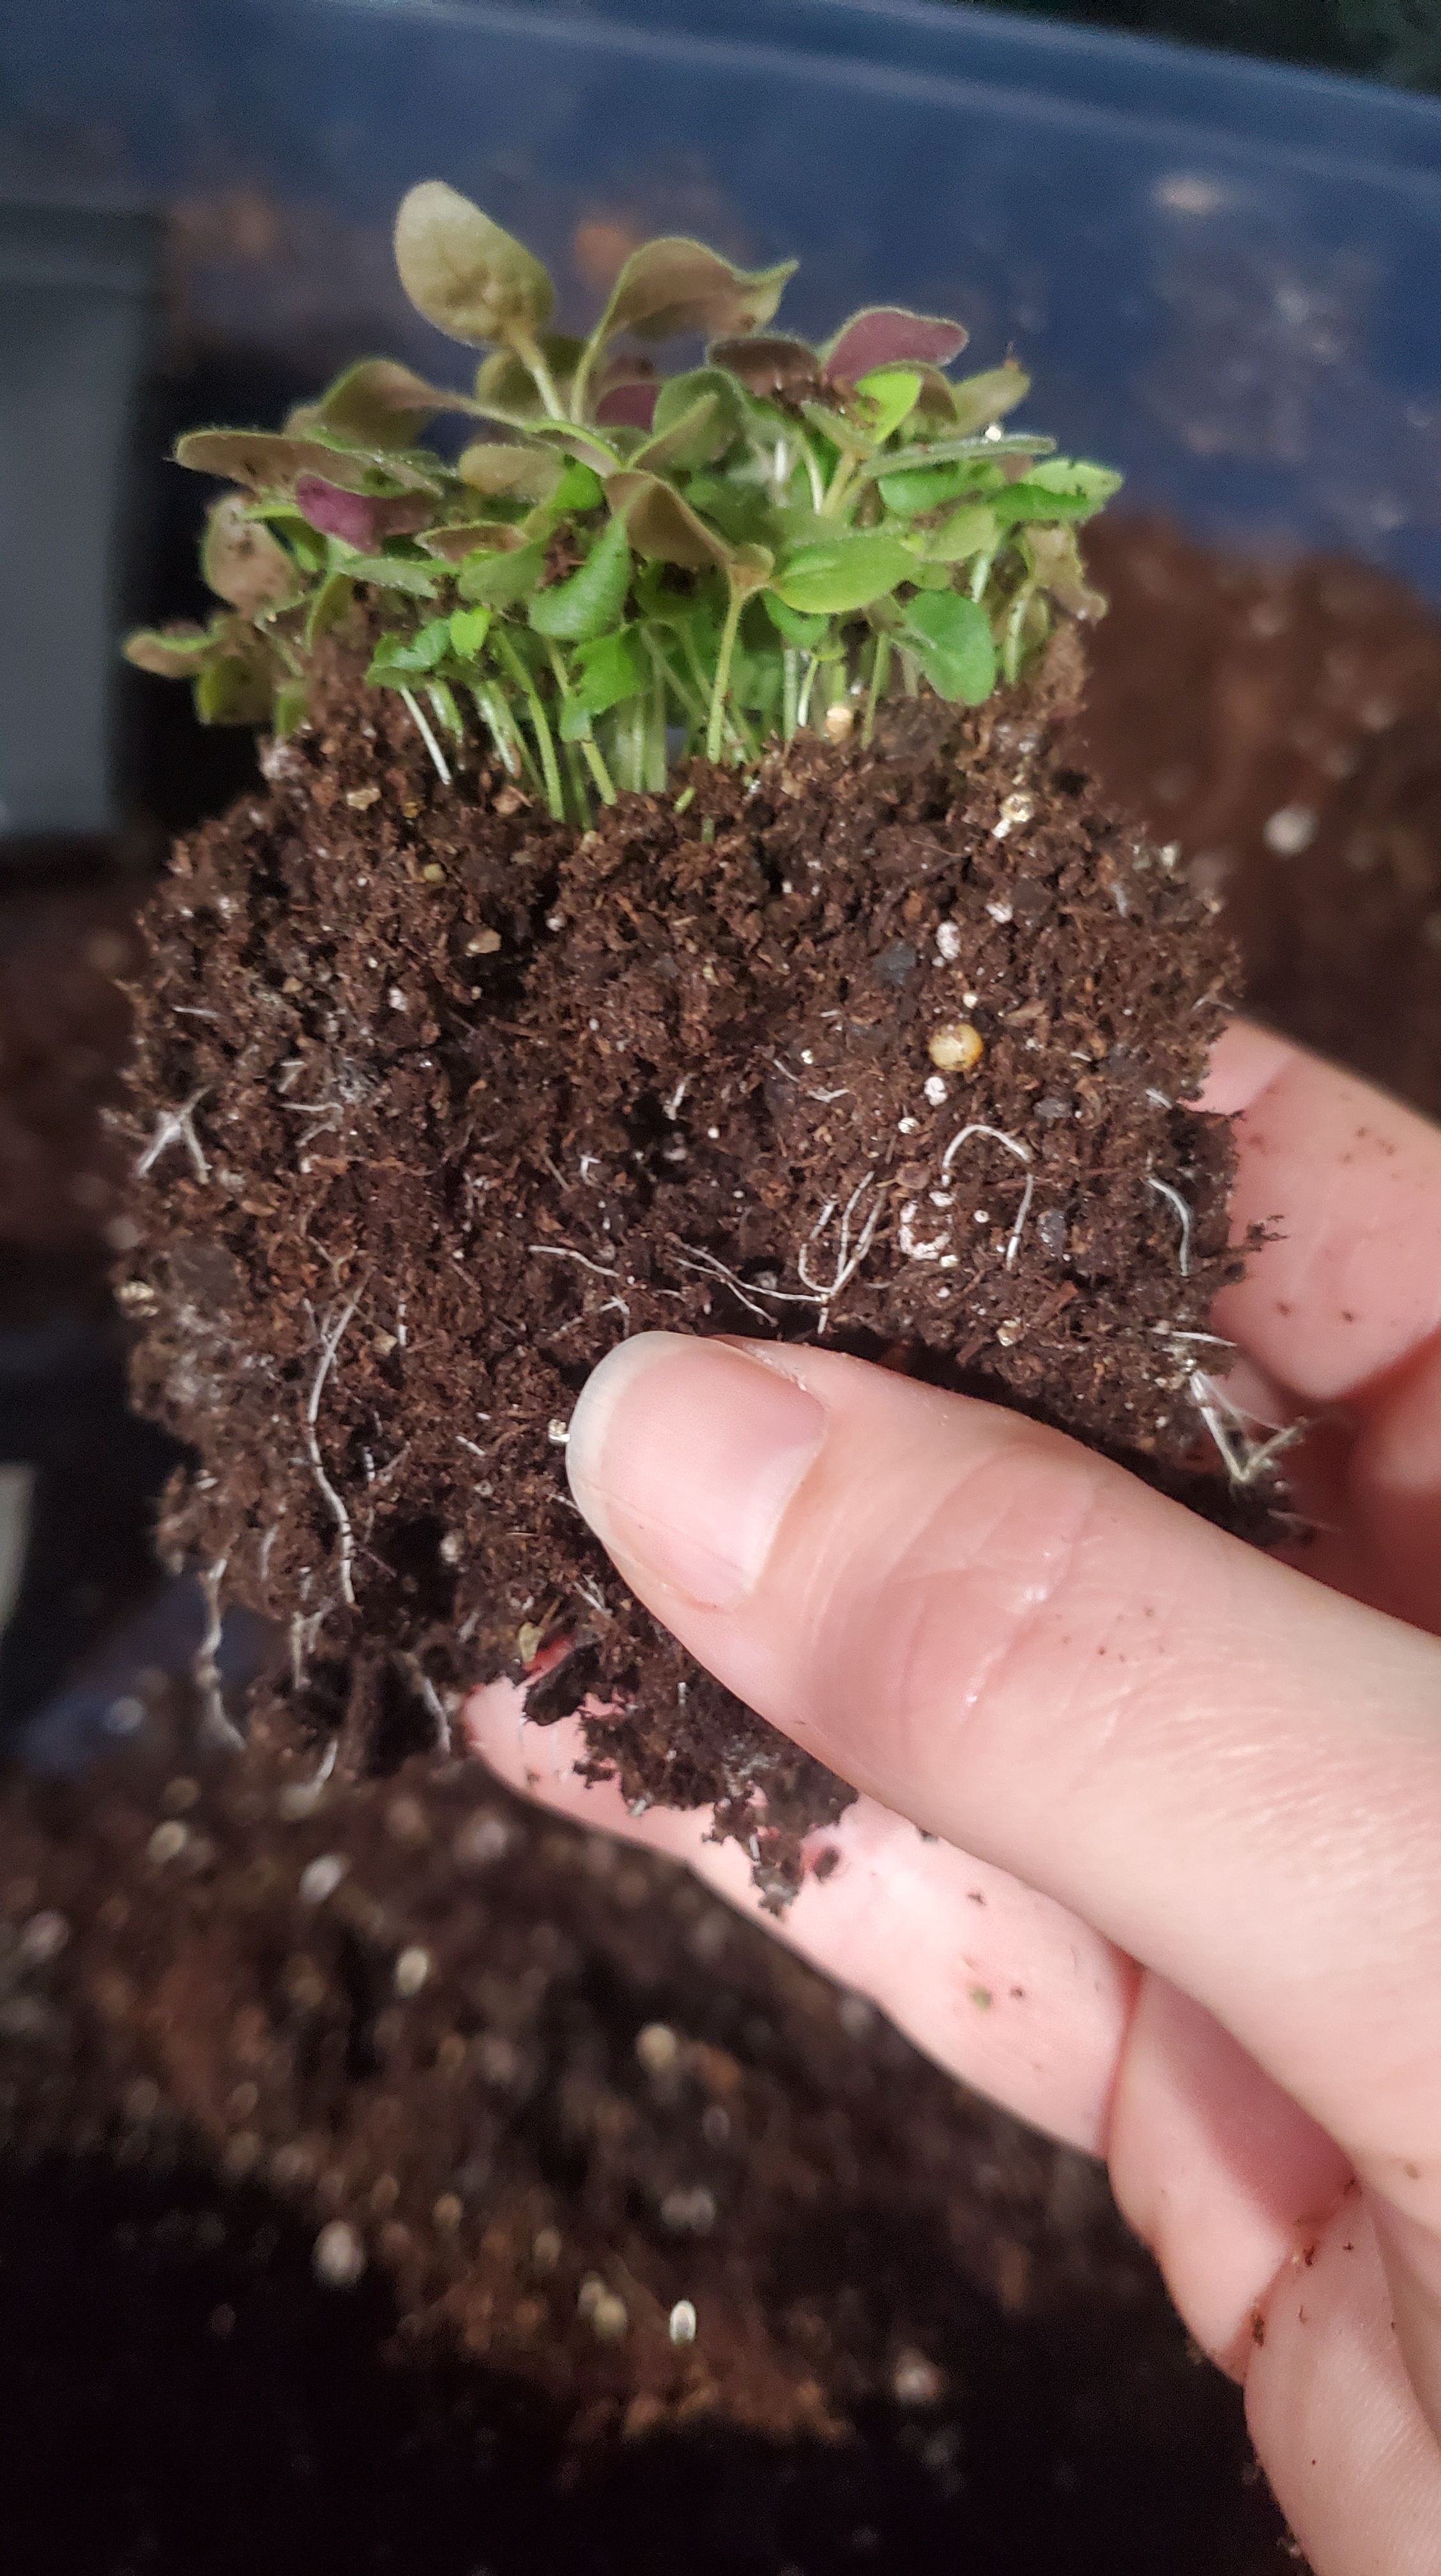
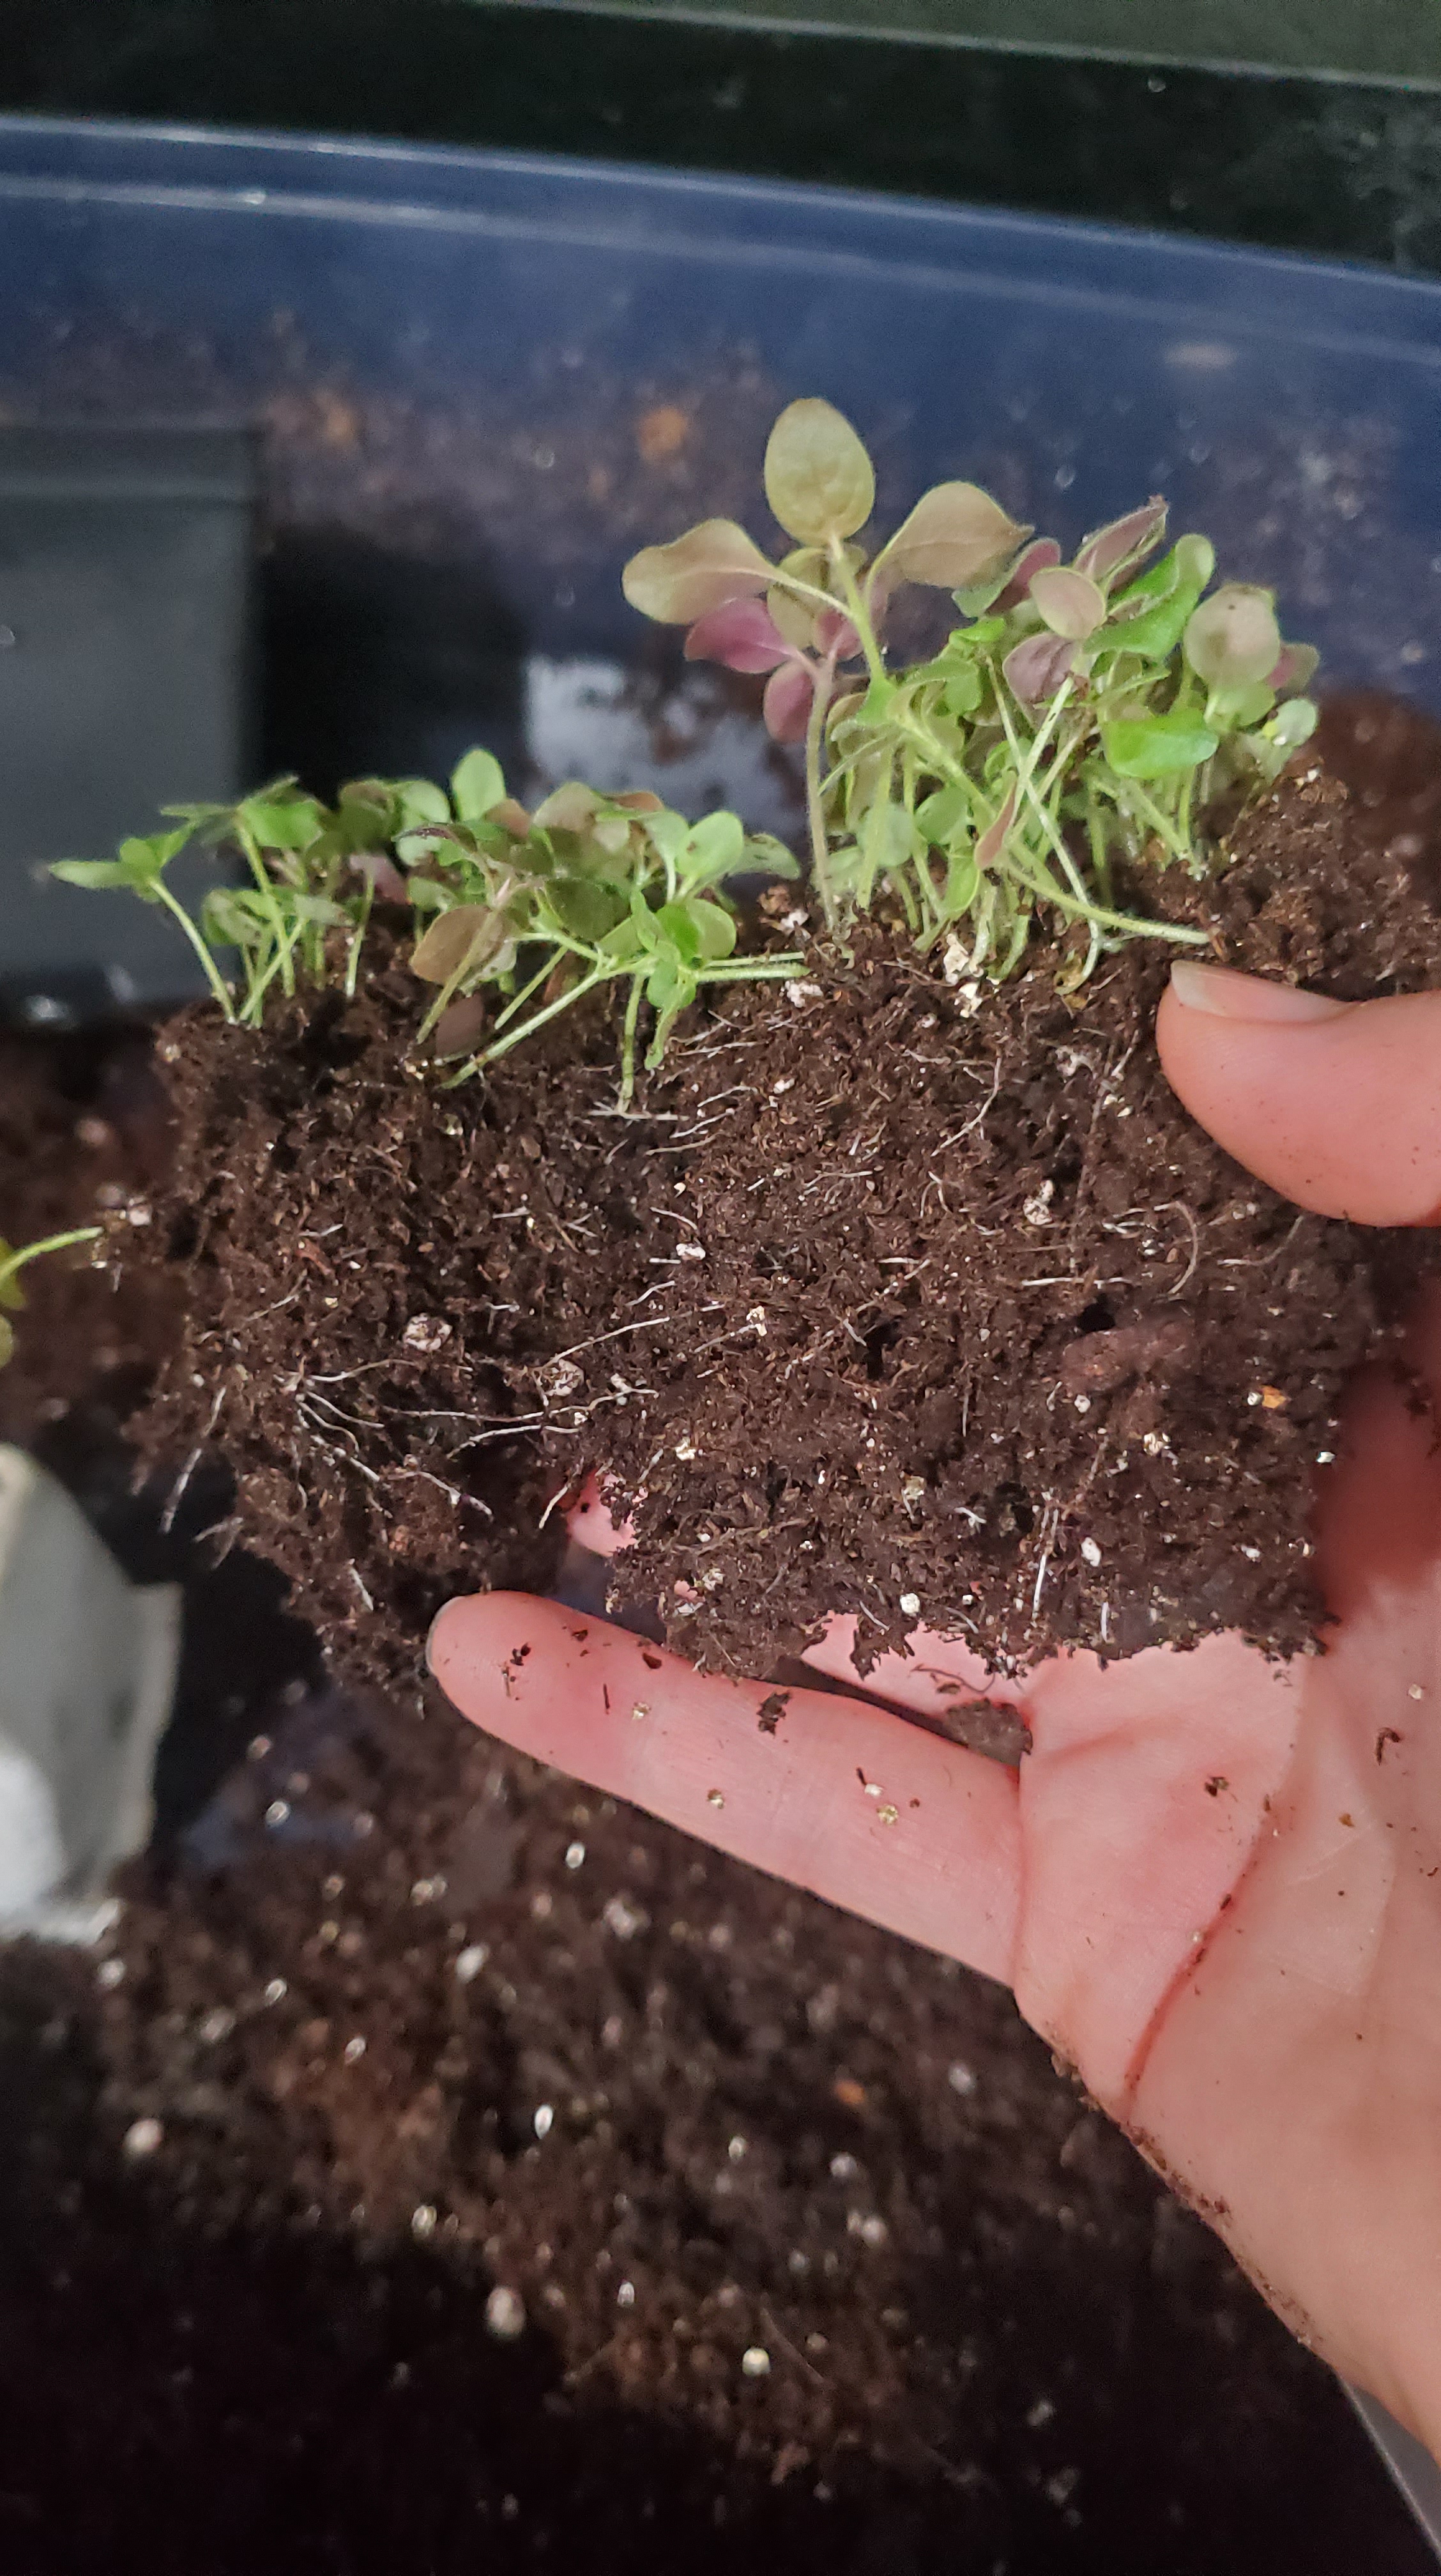
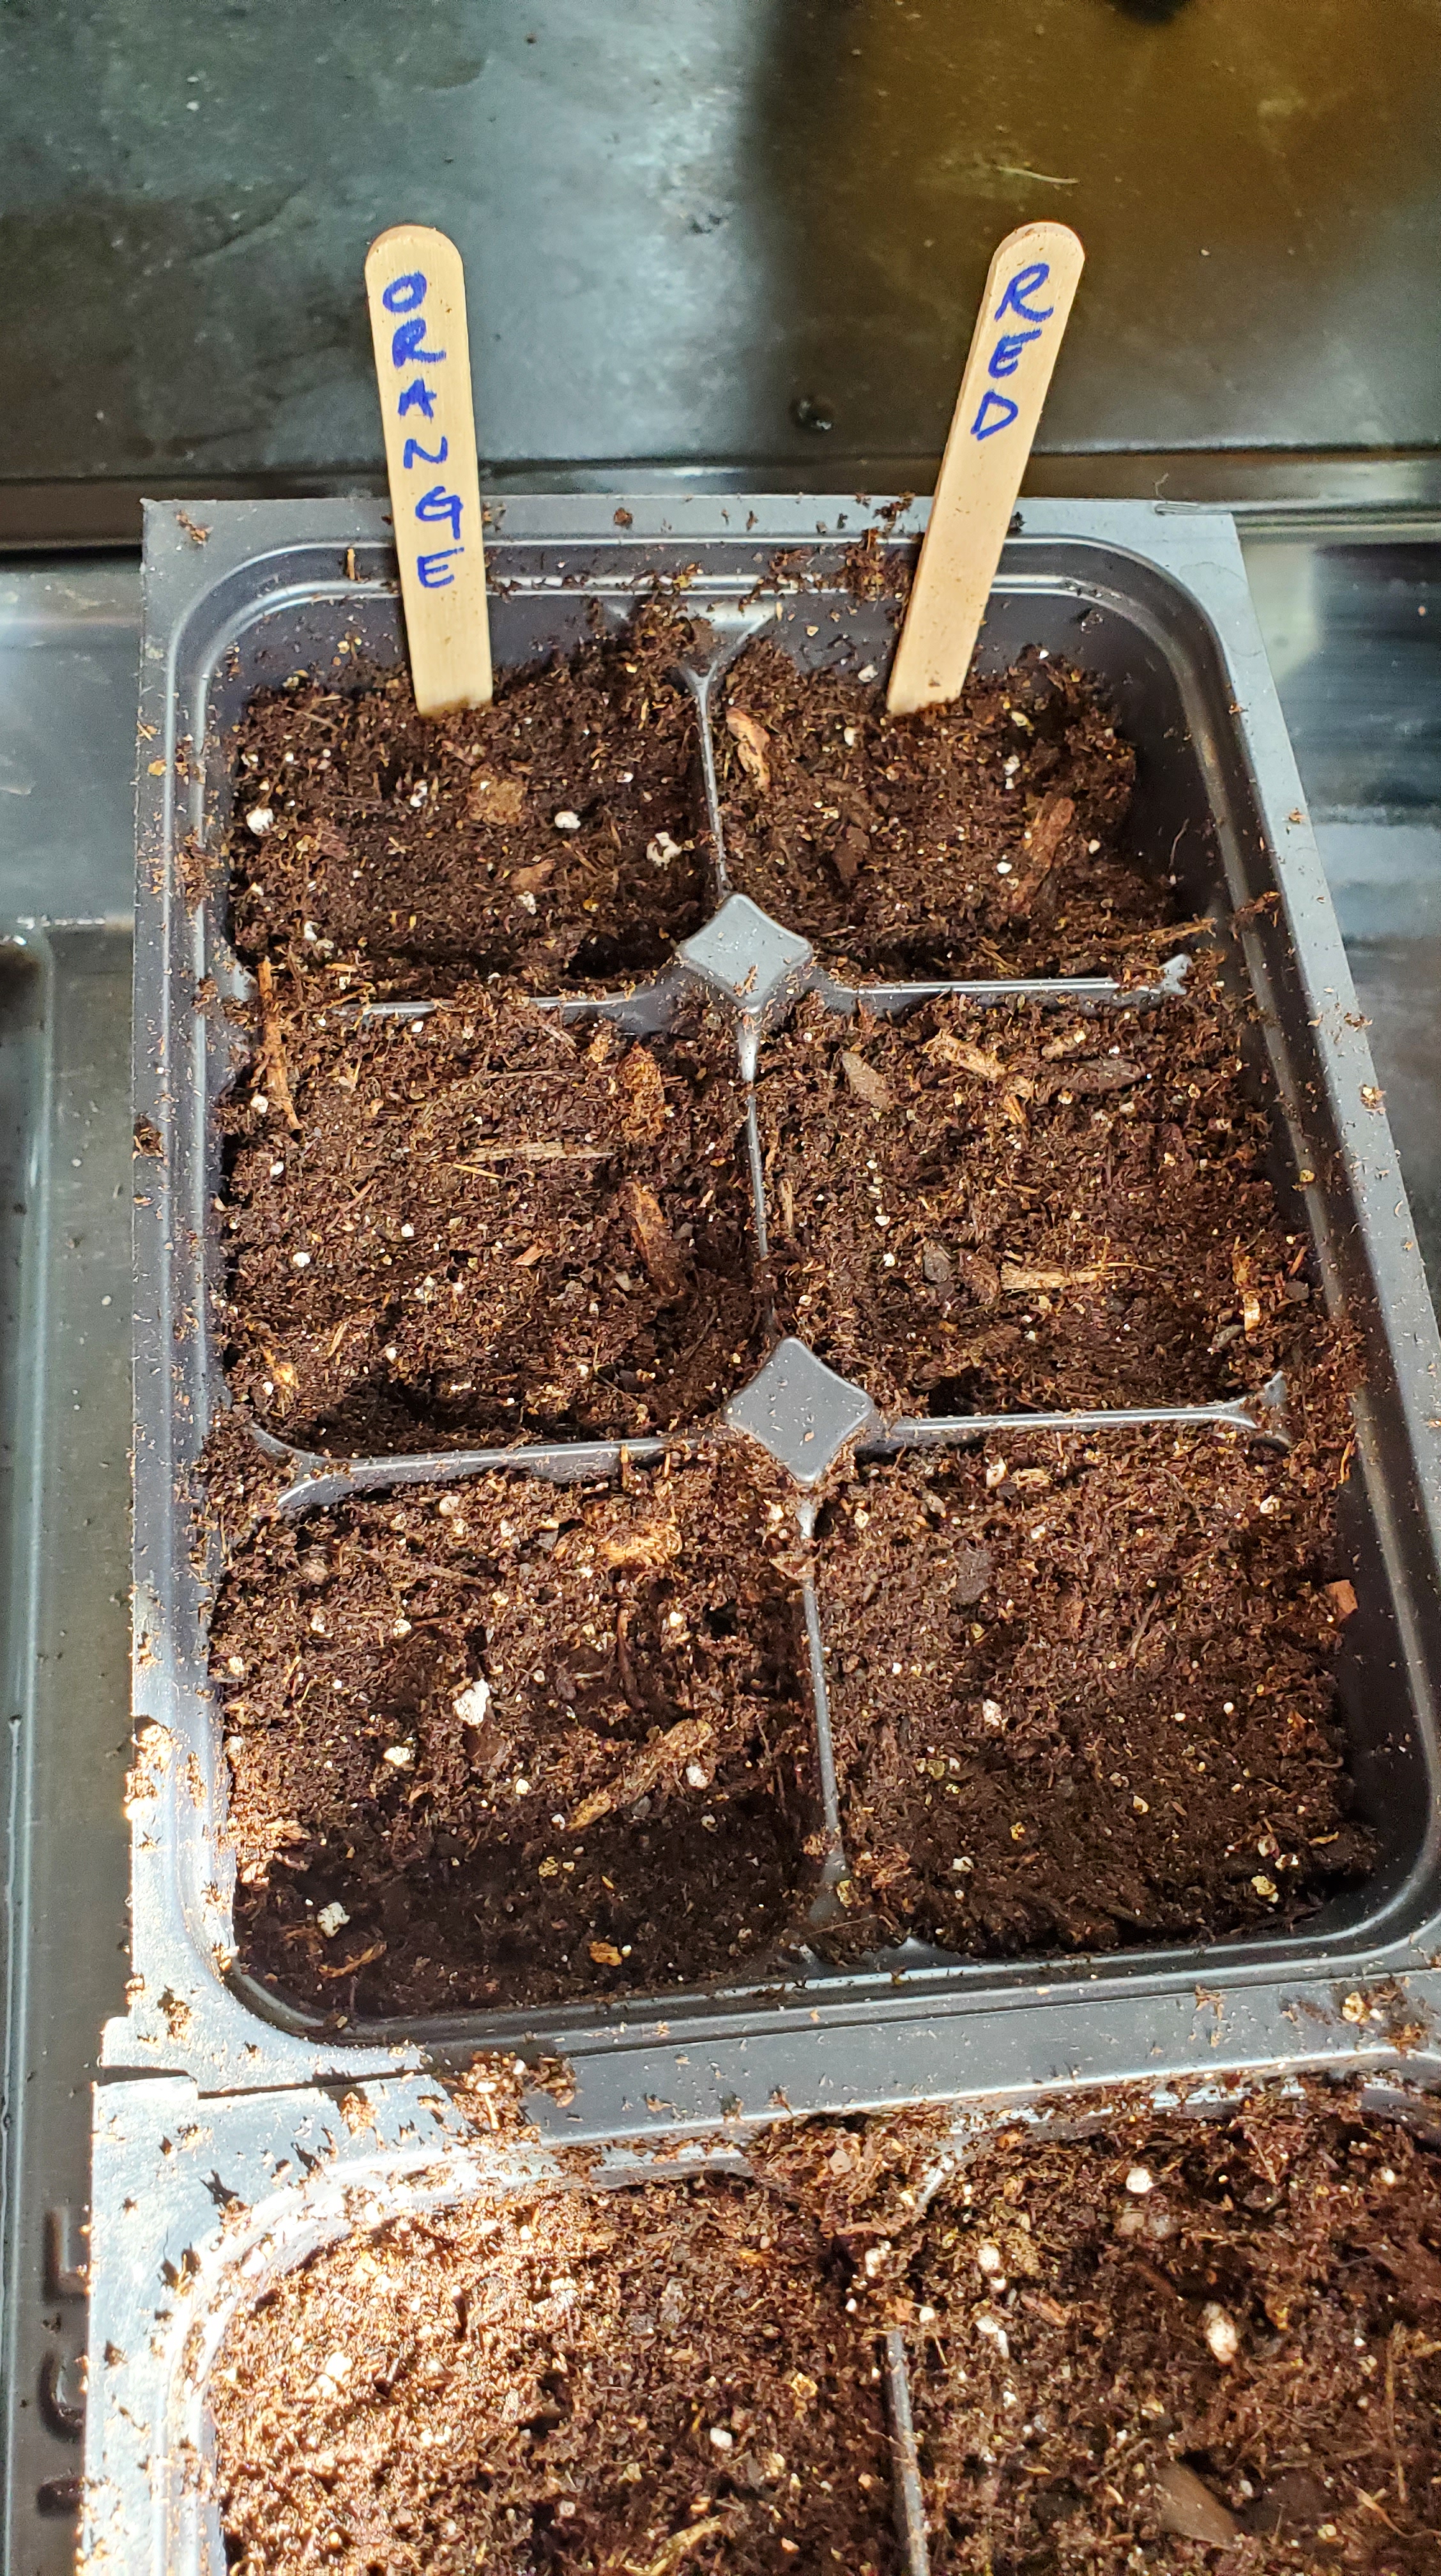
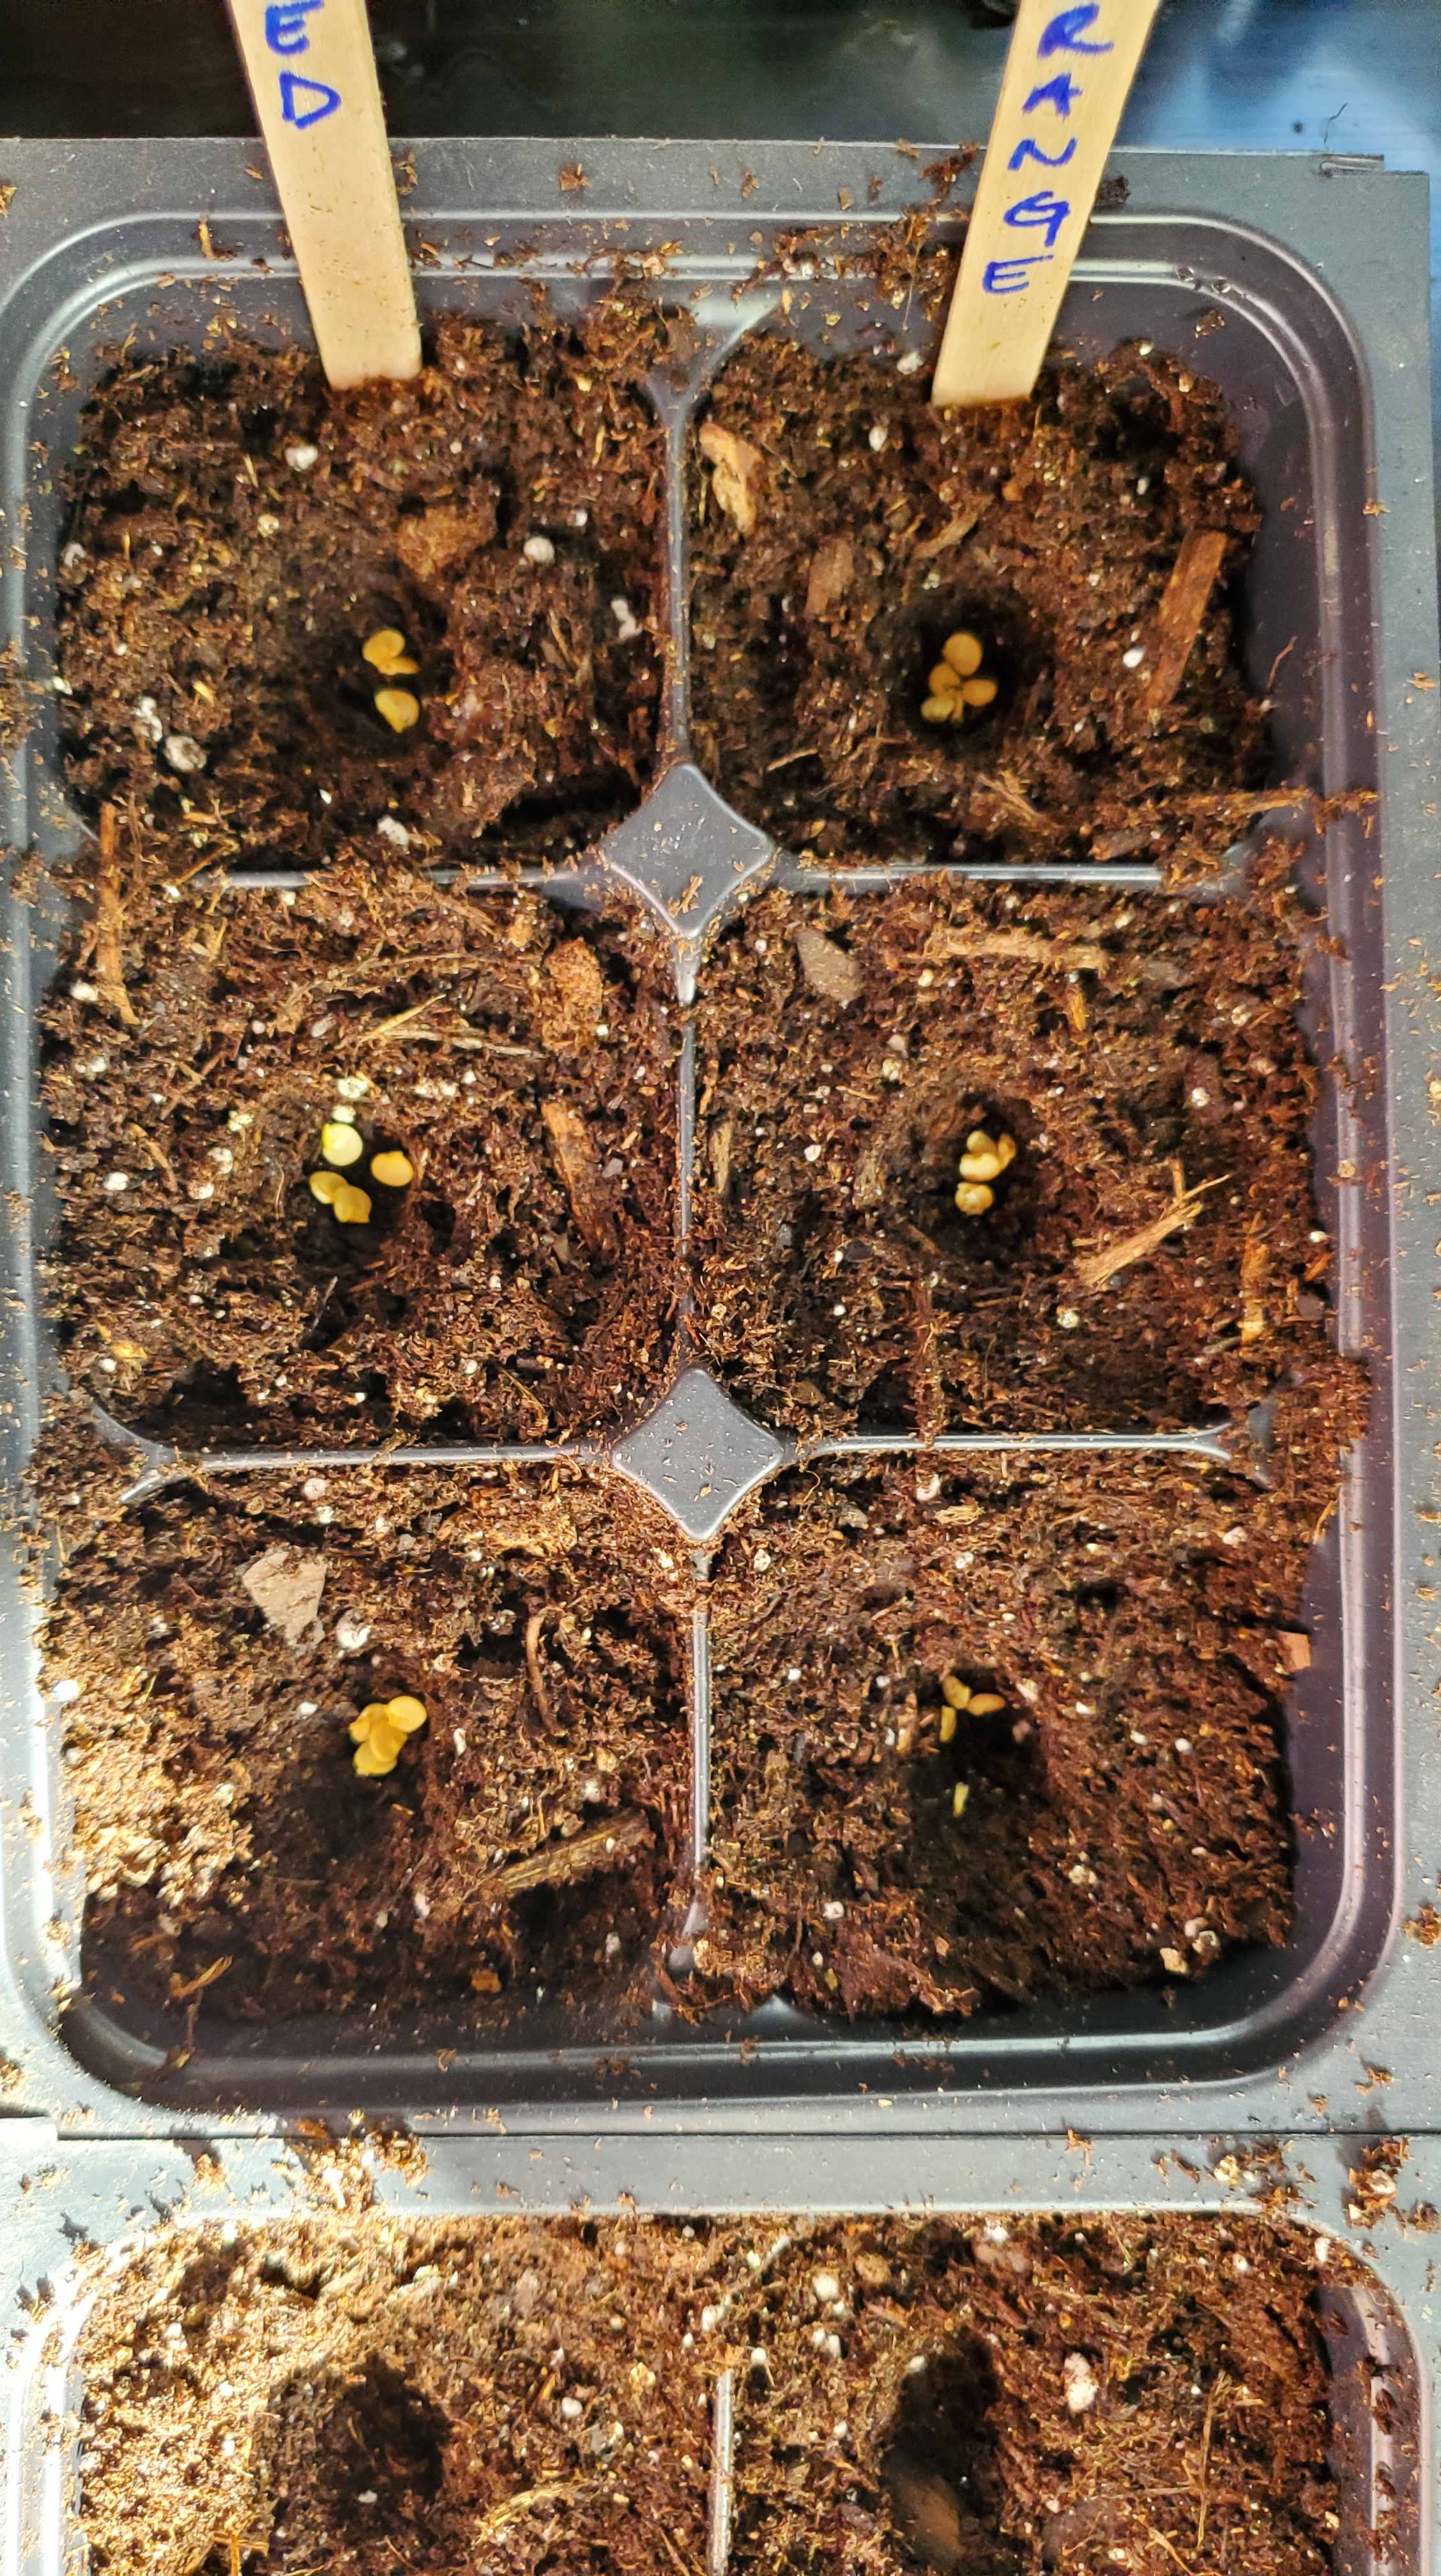
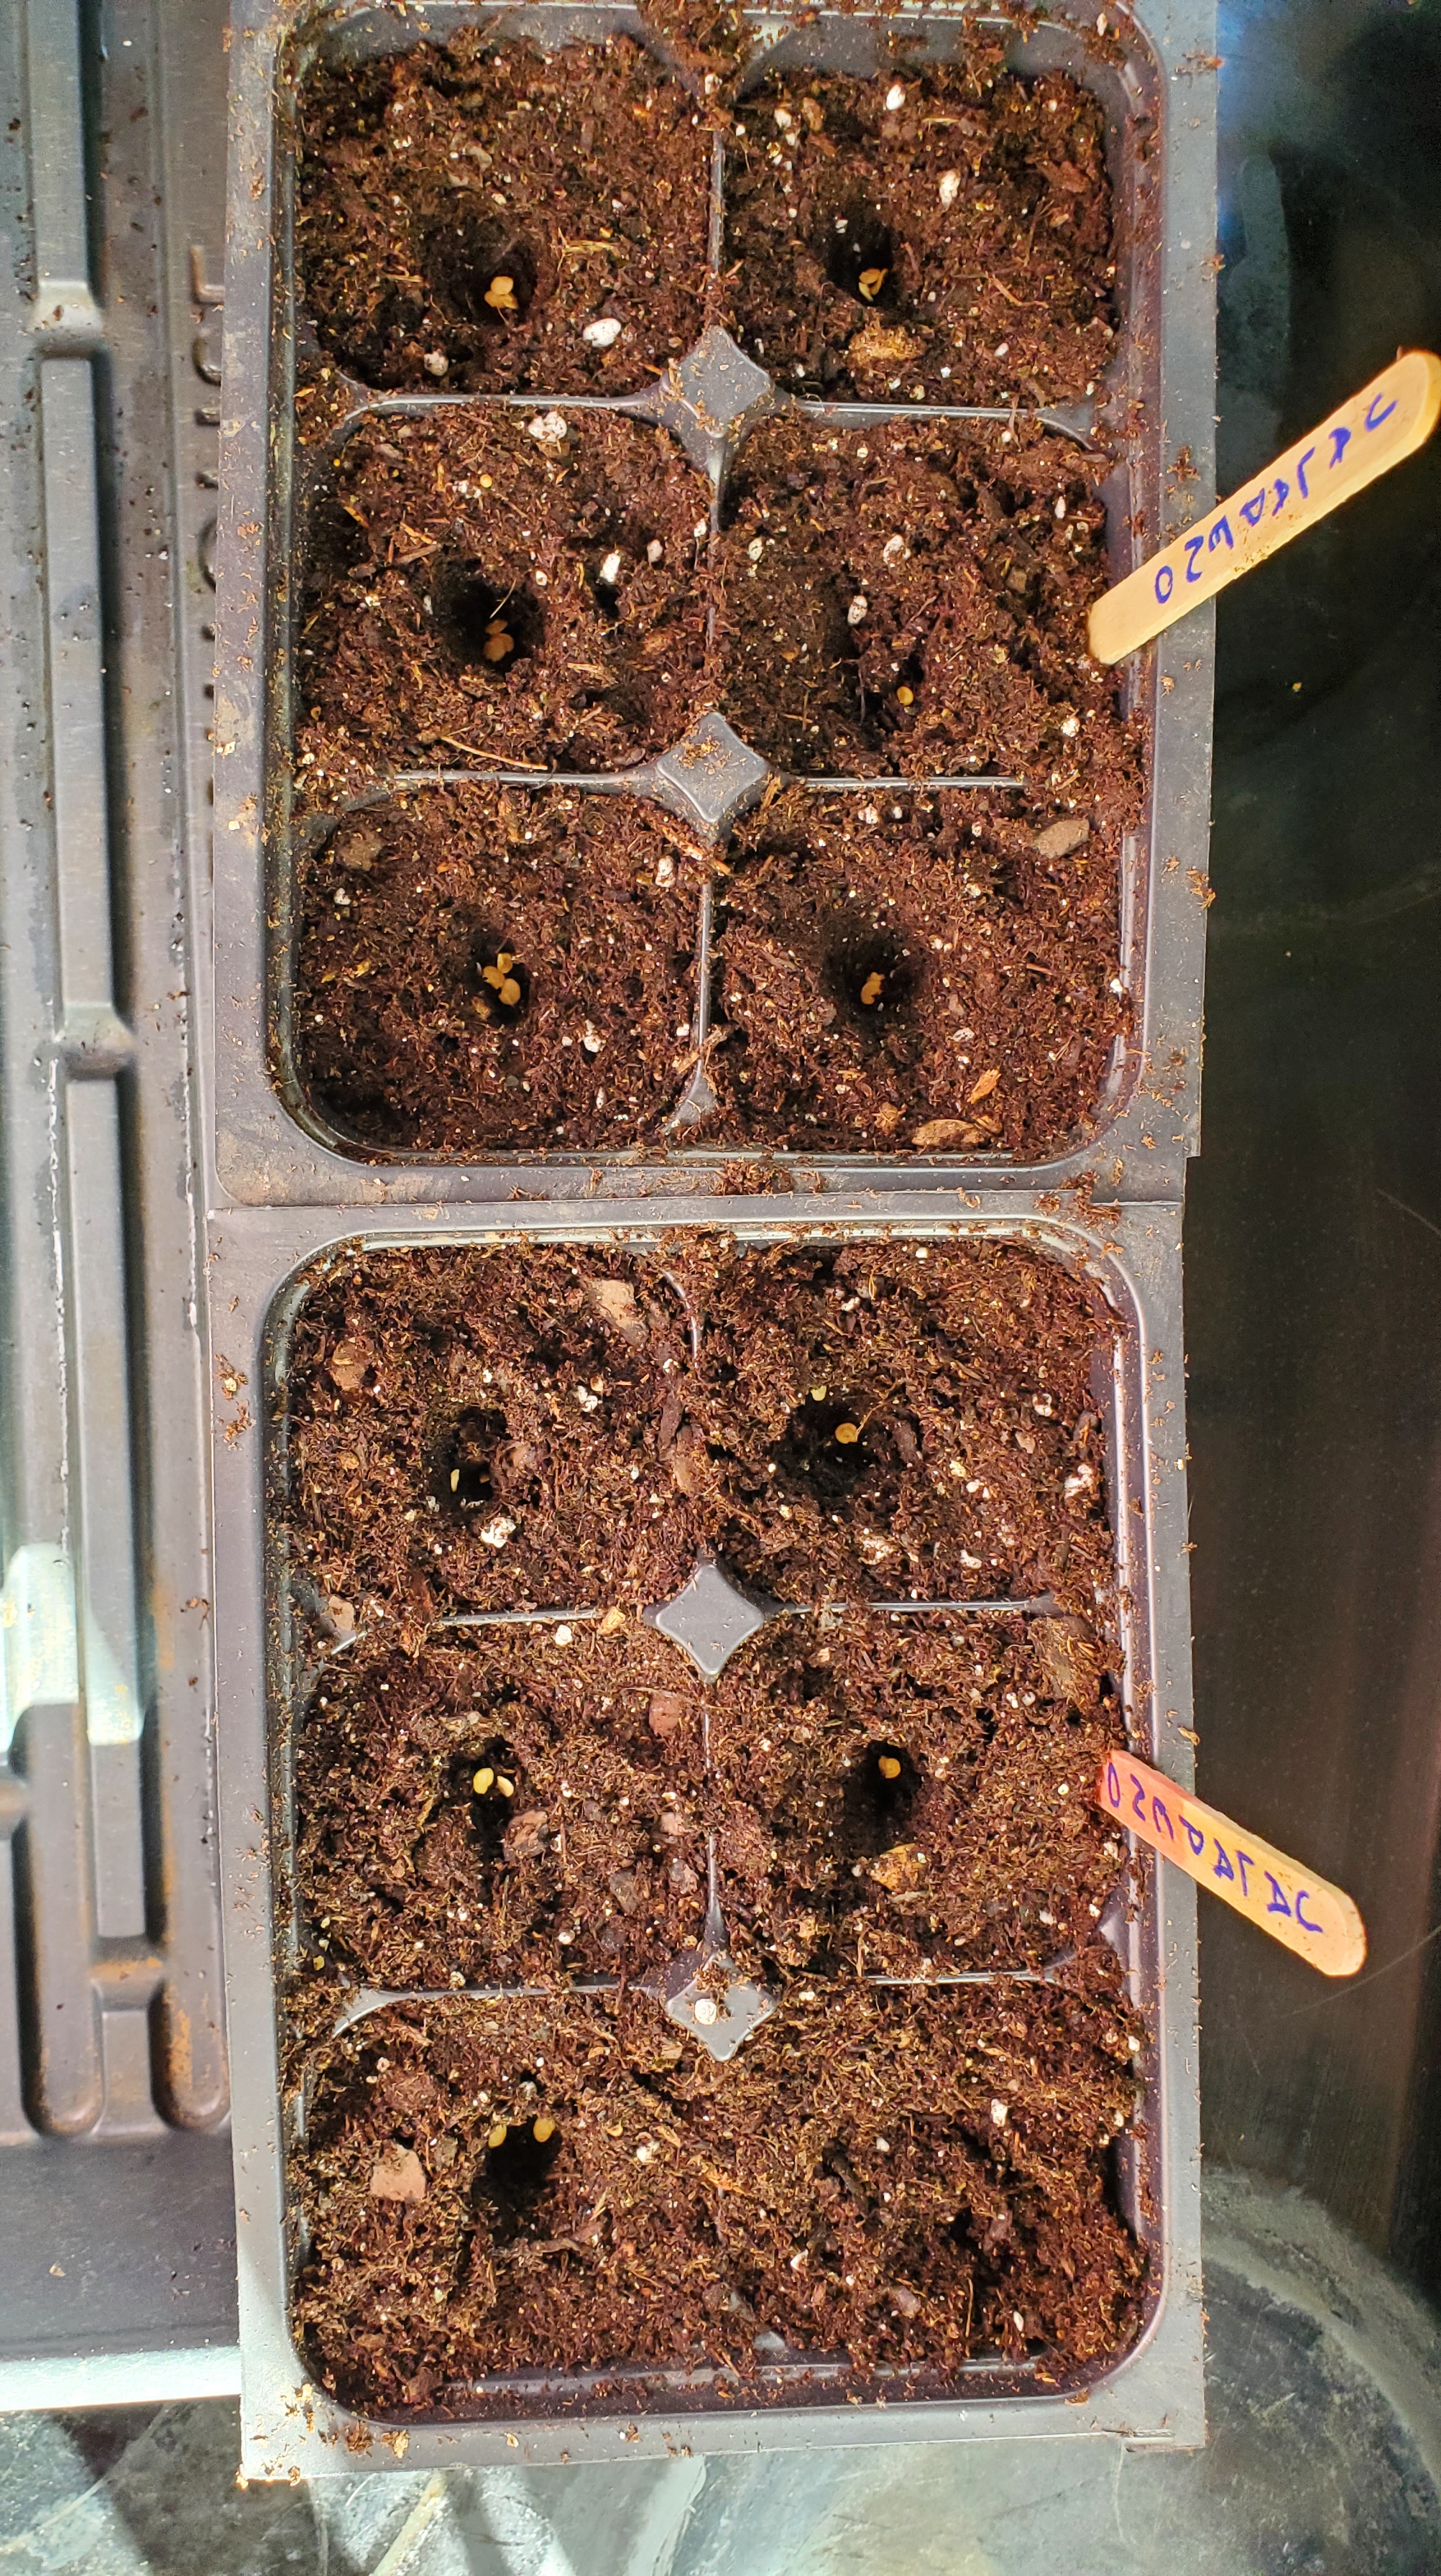
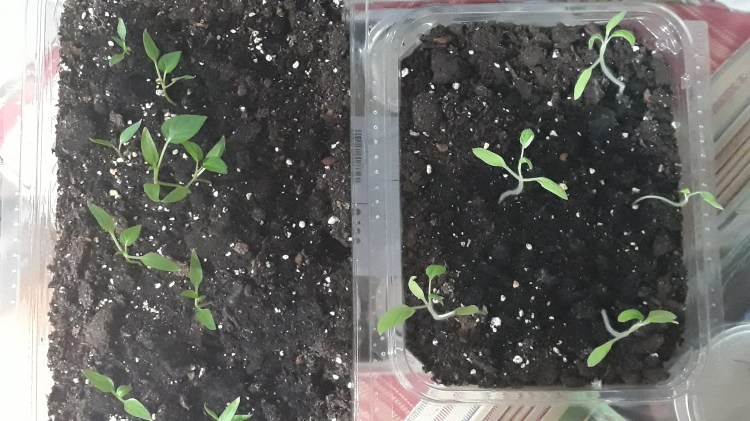
  3. Start 3-4 seeds per cell if you are doing standard 6 packs. Don’t drop them all in one hole. Make a triangle or a diamond shape so you can get two or three strong plants per cell that aren’t on top of each other and can be more easily separated when it’s time to plant them outside.
  4. Leave your starts alone for the first three days. Then give them 24 hours of light for four days (that’s Week 1). Give them 16 hours of light daily Week 2. And 12 hours of light daily for weeks 3 and 4. 
  5. Fertilize weakly every other week.

Now I’m going to write one massive disclaimer for all of this. What if you forget? What if your life is absolutely crazy and you don’t have time? What if you just don’t feel like starting and tending to pepper and tomato plants for three months in a part of your house that you’d rather designate for something else? What if you did start plants and all went to hell? TOTALLY FINE and UNDERSTANDABLE. Happens to ALL OF US. Go buy them instead. I’d just strongly encourage you to find high school doing a plant sale, a nature center doing a fundraiser, or the Mom and Pop nursery down the street and give them your money instead of a big box store.

Seed Season

It’s seed season. January can be a bit blah from a weather standpoint. Gray days, whipping winds, dark mornings. But thinking about and planning your seedlings can bring a little sunshine.

white fritillaria sprouting in January surrounded by brown leaves

This year I’ve had the most catalogs show up in my mailbox. Ordinarily, I can’t pass up the temptation to order at least a few packs from each supplier. The glossy pages and photos are just too beautiful to pass up. But I’m pretty proud of how sensible I have stayed on the veggie front (flowers are another story so don’t ask).

While this is mostly an exciting process, it can be a bit overwhelming to start thinking about what you need to start in February and March to get the harvest you want later in the year.

To avoid the overwhelm, here are a few tips.

  1. Take inventory of the seeds you already have. If you aren’t keeping them organized in a photo album, binder with plastic sheet protectors, or one of these storage boxes, you aren’t doing yourself any favors. There are many different ways to organize your seeds so do whatever makes sense to you – alphabetical, cool vs warm, etc. The key here is to just do it.
  2. Discard the seeds in your compost that were a flop last year.  Flop is loosely defined in my book – didn’t germinate well, took too much effort to grow, didn’t like the taste, or any combination.
  3. Think about what produce you buy most often at the grocery store each week and over the course of a month. Could you grow any of this yourself and make a dent in your spending? My suggestion would be salad ingredients, like cherry tomatoes, cucumbers, carrots and lettuces.  You can’t go wrong with green beans, fresh herbs and leafy greens either.
  4. Try something new to challenge yourself. Go with something that should work well in your growing zone – a spicy pepper, a wonky eggplant, a crazy crucifer. It’s all learning and you may find a new favorite.
  5. Most importantly, don’t go crazy. If it helps to rein yourself in, I’d go with 5-7 cool crops and 5-7 warm crops. You want to enjoy going out to the garden every day, not dread it.

Lastly, don’t forget the flowers. You won’t regret a boarder of sunflowers, zinnias at your entrance, or some celosia as book ends on one of your beds. And the impact on your harvest will be noticeable.

For more thoughts on this, check out other suggestions and considerations to keep in mind.

Make the Most of your Seed Starts

It seems winter is finally bidding us farewell. The flowers have all broken through and each morning is a lovely serenade of birds singing. And the daylight, oh the daylight. It feels like the winter cocoon of darkness is molting away.

My pepper and tomato seedlings are going strong. Also, many of my flowers starts are doing quite well. About this time, thinning becomes essential so that a stronger plant can emerge. If you have too many plants on top of each other, they are competing for space, nutrients, and light. But it’s always painful to just snip away what are perfectly fine growing plants. And if you are anything like me, you were perhaps a bit heavy handed in sprinkling seeds and have as many as 3-4 solid seedlings in a cell. Oh the gardener’s dilemma – to cut or not to cut?

Instead, this year I am taking a slightly different approach for two reasons.  1) I don’t always know exactly how many plants I’ll have room for out in the garden. I have a pretty close estimate but it’s not perfect. 2) There could always be an unfortunate event between now and transplanting them outside that means I lose a few plants.

I would be kicking myself if I “overly thinned” my plants and then needed a few extra later on. Best case scenario – I have a few extra seedlings that I don’t have room for and can give away to a friend or neighbor.  Who wouldn’t be pumped about that?

Here’s how I recommend getting the most out of your seedling starts.

  1. Examine your plants to determine how many seem strong and healthy.
  2. Look to see if any are noticeably set apart.  Pro Tip: when starting seedlings back in February and March, drop 3 to 4 seeds in each cell but not right on top of each other. Place them in the three points of a triangle or four points of a square.
  3. When you can see an obvious break or separation between plants, that’s your opportunity to gently wiggle them apart. Be patient with this and be willing to stop if the roots are too entwined which could jeopardize all your plants. It’s not worth it.
  4. Place your newly separated starts into different containers so they can keep growing.

Above I separated my snapdragon seedlings and will do the same for my tomatoes and peppers. How did this go for you?

Seed Starting Peppers

A six cell tray with two popsicle stick labels.

Now that you’ve made your own (#MIM) seed starting mix, it’s time to start some seeds. Yippee!

I’m in Zone 7 and last year I started my spicy peppers about 12 weeks before my LSF (last spring frost) and my sweet peppers just about 8 weeks before my LSF. It all went super well and I could do it exactly the same way again this year but as a gardener, there is always something to test. It took what felt like a really long time to actually get bell peppers that I could harvest, like late July timeframe.

That being said, I’ve decided to start both my spicy and sweet peppers at the same time – about 10 weeks before my LSF. I’m doing the same varieties as last year: jalapeno, fish, banana and bell. Maybe I’ll score some others with a well-timed trip to Home Depot and find loads of free plants in the parking lot like I did last year. And if not, I’m good with what I’ve got.

Here’s the steps to get your seedlings started:

Once you are ready to start some seedlings, I recommend keeping a notebook nearby and creating 6 columns on the page like so:

Crop/QuantityStart DateGerminationPhase 1Phase 2Phase 3
Jalapeno – 122/15 ??2/18-2/212/22-3/73/8-

You’ll want track when you started your seeds, how many, when they germinated, and the different phases of lighting

  • Phase 1 is days 4-7: 24 hours of light
  • Phase 2 is days 8-21: 16 hours of light
  • Phase 3 is day 22 and beyond: 12 hours of light

A couple other tips:

  • Your seedlings need to be in a warm place. I’ve not invested in a heat mat so as long as your seeds are indoors and your house stays around 67 degrees or warmer, you should be good.
  • Place seedlings in a location you will frequent daily. You’ll want to regularly check the soil moisture, lighting, and sing to them (ha!). If you put them in a closet or guest bedroom or hallway you never use, congrats on having a ginormous house but that likely means you are going to forget about them. They are babies. They need your constant care and attention.
  • The soil needs to stay moist until the seeds germinate. Not soaking wet but certainly damp. Then water regularly when the soil has turned entirely light brown.
  • Have trays under your seed cells. It’s best to water from the bottom so it’s a lot easier to just fill about an inch of water in the bottom of a tray (use a 9×13 casserole dish or a cookie sheets with a rim if you didn’t buy a whole fancy seed starting set) and let the seedling soak it up for about 20 minutes.
  • Your lights need to always be about 2-3 inches above your plants. If the light is too close, you can dry out your plants and even burn them. If the light is too far, the plants will get leggy from stretching toward it.

Don’t stress. It may feel like a lot of work and babysitting this first or second go around but you’ll get the hang of it. I mess with my seedlings about 5-10 minutes a day. Well worth it for not having to buy them at the store. But if you do kill them, hey, you can always buy them at the store 😊

Keeping Busy, Staying Sane

Well this is not how I pictured April panning out.  I’m not one to plan out my life weeks in advance, but not leaving my house for four weeks straight was certainly not my ideal scenario, or yours I’m guessing.  Regardless, I hope you are healthy and safe wherever you are.  I hope you have food to eat and loved ones to check in with.  As many negatives as this situation is presenting, there are definitely some significant positives.  However, I’m not about to sugar coat it.  Lots of ups and downs in our household.  Thankfully more ups.  I don’t have any answers or solutions but I can say Cactus and I do infinitely better on the days when we each get an hour of ‘me’ time.  Preferably outside, with some fresh air, doing something active.  It clears my head, helps me slow down the thoughts that were starting to go on over drive, and gives me the mental re-boot to make the rest of the day more enjoyable.

Besides checking the calendar to remind myself what day it is, here’s what I’ve been up.

Nursing my seedlings. I’d say about 50% of my seedlings are going strong.  The peppers are on fire.  A bunch of my tomatoes and peas fizzled out and I think I’m to blame. I put them out on a really warm day for some fresh air and I think it shocked them.  If you are approaching your last frost date, be sure you do the hardening off gradually.  Like 2 hours one day, then 3 hours, then 5 hours, then 6 hours, etc.  It takes a little more attention but it’s worth it to not kill the plants you were just babying for the last 8 weeks.

Pepper and tomato seedlings that are strong healthy
8 week old pepper (left) and tomato (right) seedlings doing just fine…
Pea, pepper and tomato seedlings that are struggling
8 week old pepper (top) and pea (bottom) seedlings doing less than fine (there was not that much space between them – I’ve lost about 10 plants).

Planted my cool crops.  I sowed my kale, onions, carrots, beets, cauliflower and broccoli directly in the ground in the beginning of April.  Last year, I didn’t attempt a Spring garden so I’m curious to see if they take hold.  I had a great kale and beet harvest, but I did them in the Summer just a single time with no succession planting for the Fall.  I’m hoping that my rotation and all the manure and compost I’ve added make a difference.  Even though I have read about 100 times that soil testing is a must, I have not yet done it.  I am promising myself I will do it at the end of the season this year so I can amend as needed for next year.

Homemade teepee trellis. I experimented making a teepee trellis with some old blackberry canes.  I’m not sure how sturdy this will be.  I really want to use bamboo and I see walls of bamboo in yards when I drive around town, but I haven’t had the courage to knock on someone’s door and ask “Can I cut a few of your bamboo stalks?”

Blackberry canes lying on the ground
Some blackberry canes that I pruned for a potential teepee.
Four blackberry canes standing up to be secured as a teepee trellis
Four blackberry canes standing up for a teepee trellis.
Teepee trellis made out of four blackberry canes
Securing the four blackberry canes with twine.
Teepee trellis made out of four blackberry canes
Blackberry cane teepee trellis secured – wahoo!

Chick wrangling. Our four chicks (2 Isa Browns and 2 Gold Leaf Wyandottes) are alive and well in the bathtub.  They are getting pretty big and almost all of their fluffy down is gone so we’ll be ready to take them out and introduce them to the rest of the flock in the next two weeks I think.  I’m a little disheartened that two appear to be roosters.  I could be wrong *fingers crossed*.

One month old 2 Isa Brown and 2 Gold Leaf Wyandottes chicks in white bath tub
Look at the comb coming in so strong on the dark one in the back – grrrrr. You better not be a rooster!

Seed Start Now for Your Summer Garden

It’s the most wonderful time of the year (you know the tune).  We’ve spent the majority of our days indoors for the last few months, with more darkness than light.  And it wasn’t even a harsh winter in the Mid-Atlantic.  Nevertheless, I think our bodies follow the seasons to some degree (or would if we listened to them!) so I am ready for the re-awakening that Spring represents.  Grasses growing, leaves budding, flowers blooming.

Early March is when I need to start seeds for a few of the crops that need 6-10 weeks of lead time before going outdoors into the ground after the danger of frost has passed.  You don’t need to do this for everything, and if you live in the warmer zones 8 and 9 of the country you likely don’t need to do this at all lucky ducks. 

How do you know if you need to seed start?  If you google your last and first average frost dates that will give you the length of your outdoor growing season.  For example, if your last frost date is May 1 and your first frost date is October 1, you have about 150 days in your growing season which could limit the crops you can grow that need 90-120 days of warm weather or cool crops that you want to get a harvest from in the spring and fall.  For that reason, it’s pretty common to seed start the following:

  • Broccoli – 6-8 weeks before last frost
  • Cabbage – 6-8 weeks before last frost
  • Cauliflower – 6-8 weeks before last frost
  • Onions – 10-12 weeks before last frost
  • Peas – 8 weeks before last frost
  • Peppers – 8 weeks before last frost
  • Tomatoes – 8 weeks before last frost

Growing medium to use for seed starting: it is recommended to not just go out in your yard and get a bucket of dirt.  You don’t know what bugs and bacteria you may be bringing into your home.  This is the time to buy a bag of organic potting soil for veggies.  You can make your own using 1/3 each of compost, vermiculite and peat moss but I personally have never done that.  You should also pasteurize the soil by baking it.  Not gonna lie, I skipped the pasteurizing step this year so I will let you know what happens.

Containers to use for seed starting:  There are tons of options for containers that you likely have on hand (I always try to re-use something):

  • Egg cartons – any paper or plastic egg carton will work well.  There are pros and cons for each.  The paper carton can be cut up and you can plant the seedling right in the ground when the time comes, but it doesn’t have a lid that light can get through.  Plastic cartons essentially create their own greenhouse and are reusable. The plastic cartons will also keep moisture better than the cardboard.  I used cardboard last year and will again this year.
  • Toilet paper rolls – since everyone ran to the store to get TP due to COVID-19 you likely have a ton of toilet paper and what better use for the empty rolls than some seed starting.  Just line them up vertically in a tray and fill with your growing medium.  Check out Preparedness Mama for her demo.
  • Berry containers – similar to the egg carton situation in that the container will create its own greenhouse effect.  The only difference is that you don’t have the separate sections for each seed.
  • Be creative!  My goal is to always reuse something.  Some empty tissue boxes, a clamshell tray that figs came in, a baby wipe container, or the little cartons that mushrooms come in.
Starting my seeds in an egg carton.

Sunlight needs: your little babies need at least 12-14 hours of sunlight.  If there is a sunny window in your house that gets southern exposure for the majority of the day and isn’t too drafty, then you’re golden.  If not, you probably need to get a grow light.  This being my second year starting seeds, I have not invested in a big light setup.  I have used a standard lamp with an adjustable neck so that I can move it closer to begin with (4-6”) and then a little further away as they get bigger (6-10”). 

Now that you’re all set up, enjoy starting your seeds and get excited for the bounty to come!

Starting seeds

One of the things I am most excited to be able to do now that we have a bigger yard is garden.  Previously, living in a town home, I would say I dabbled in gardening. I’ve read dozens of articles on container gardening and truly believe it’s possible to have quite a fruitful output with window boxes and pots or whatever you can construct out of a pallet, but that never happened for me.  The plants would grow, mostly tomatoes and lettuce and a few peppers, but after picking a few fruits or veggies that was pretty much the end of my harvest. Squirrels and bunnies seemed to have a hay day with my efforts and those were the only creatures who benefited.

So now, I’m hoping to make a much more valiant effort and see a slightly more gratifying result.  For the past few weeks I saved seeds from some of the typical veggies we love to eat: red and orange bell peppers, jalapenos, and butternut squash. I let the seeds dry on a plate for about a week and then I filled two egg cartons with dirt from the garden and dropped a couple seeds into each egg holder spot (probably not the correct term).  If I recall correctly from when I bought seeds at Home Depot or Lowes, something would start to sprout within 2-3 weeks. I’m hopeful at least a few of them will grow but in case that doesn’t happen, I wanted to start early so I could try again (and again, and again).

<insert pic that I never took, just imagine a grayish colored egg carton with dirt>

For me, that’s a huge part of the beauty of this place.  It’s “wide open spaces, room to make the big mistakes” as the oh-so-wise Dixie Chicks once said (and yes, I’ve referenced them twice back to back).  While I do not consider attempting to start some veggie plants from seeds and failing a big mistake, it feels so freeing to even have the option now.  If this doesn’t work out, I’m sure there are approximately 147,000 blog posts on how to grow plants from seeds that I could read and learn from, like this on The Spruce.  But naively, I wanted to just attempt it from the simplest most basic logic that came to my mind:  

  1. “This piece of [cucumber] I’m eating has seeds.  
  2. Seeds are what you plant to grow the [cucumber].  
  3. I wonder what would happen if I just toss some of these seeds in a little bit of earth?”

I’m not convinced that I have to buy some kit that costs $59.99 to start seeds.  That just sounds like crazy talk. Full disclaimer: a few years back I asked Cactus Man (aka my husband) to buy me one of those fish tanks that grows herbs on top and he did.  Guess how many herbs I successfully grew? Pick a number between 0 and 0 and you’ll be correct.

And of course if the seed thing doesn’t work out this season, I can always buy some starter plants from a local nursery.  Not gonna be a purist who insists on growing everything from scratch. Plus, I foresee there being lots of other points along the way where I can very realistically mess this up.  Don’t get me wrong, I’m not predicting failure before I even start. I’m just recognizing that I could very well get the starter plants off the ground indoors and then plant them outdoors only to have 27 other curve balls come at me, like weather, and animals, and the soil’s composition, that I wasn’t prepared for.  

But in the meantime, I’m really eager to think about the bounty that we could have all summer long right from our own backyard.  Here’s what I think I want to start with this first year:

  • Lettuce – red leaf and romaine
  • Kale
  • Tomatoes – heirloom and cherry and whatever is good for canning
  • Spicy peppers – jalapeno, habanero
  • Bell peppers
  • Butternut squash
  • Strawberries
  • Blueberries

Biting off more than I can chew?  (couldn’t resist!) Maybe, but I’ve heard all of these are pretty standard/hearty plants for beginners.  So I’ll keep you posted.