Seed Season

It’s seed season. January can be a bit blah from a weather standpoint. Gray days, whipping winds, dark mornings. But thinking about and planning your seedlings can bring a little sunshine.

white fritillaria sprouting in January surrounded by brown leaves

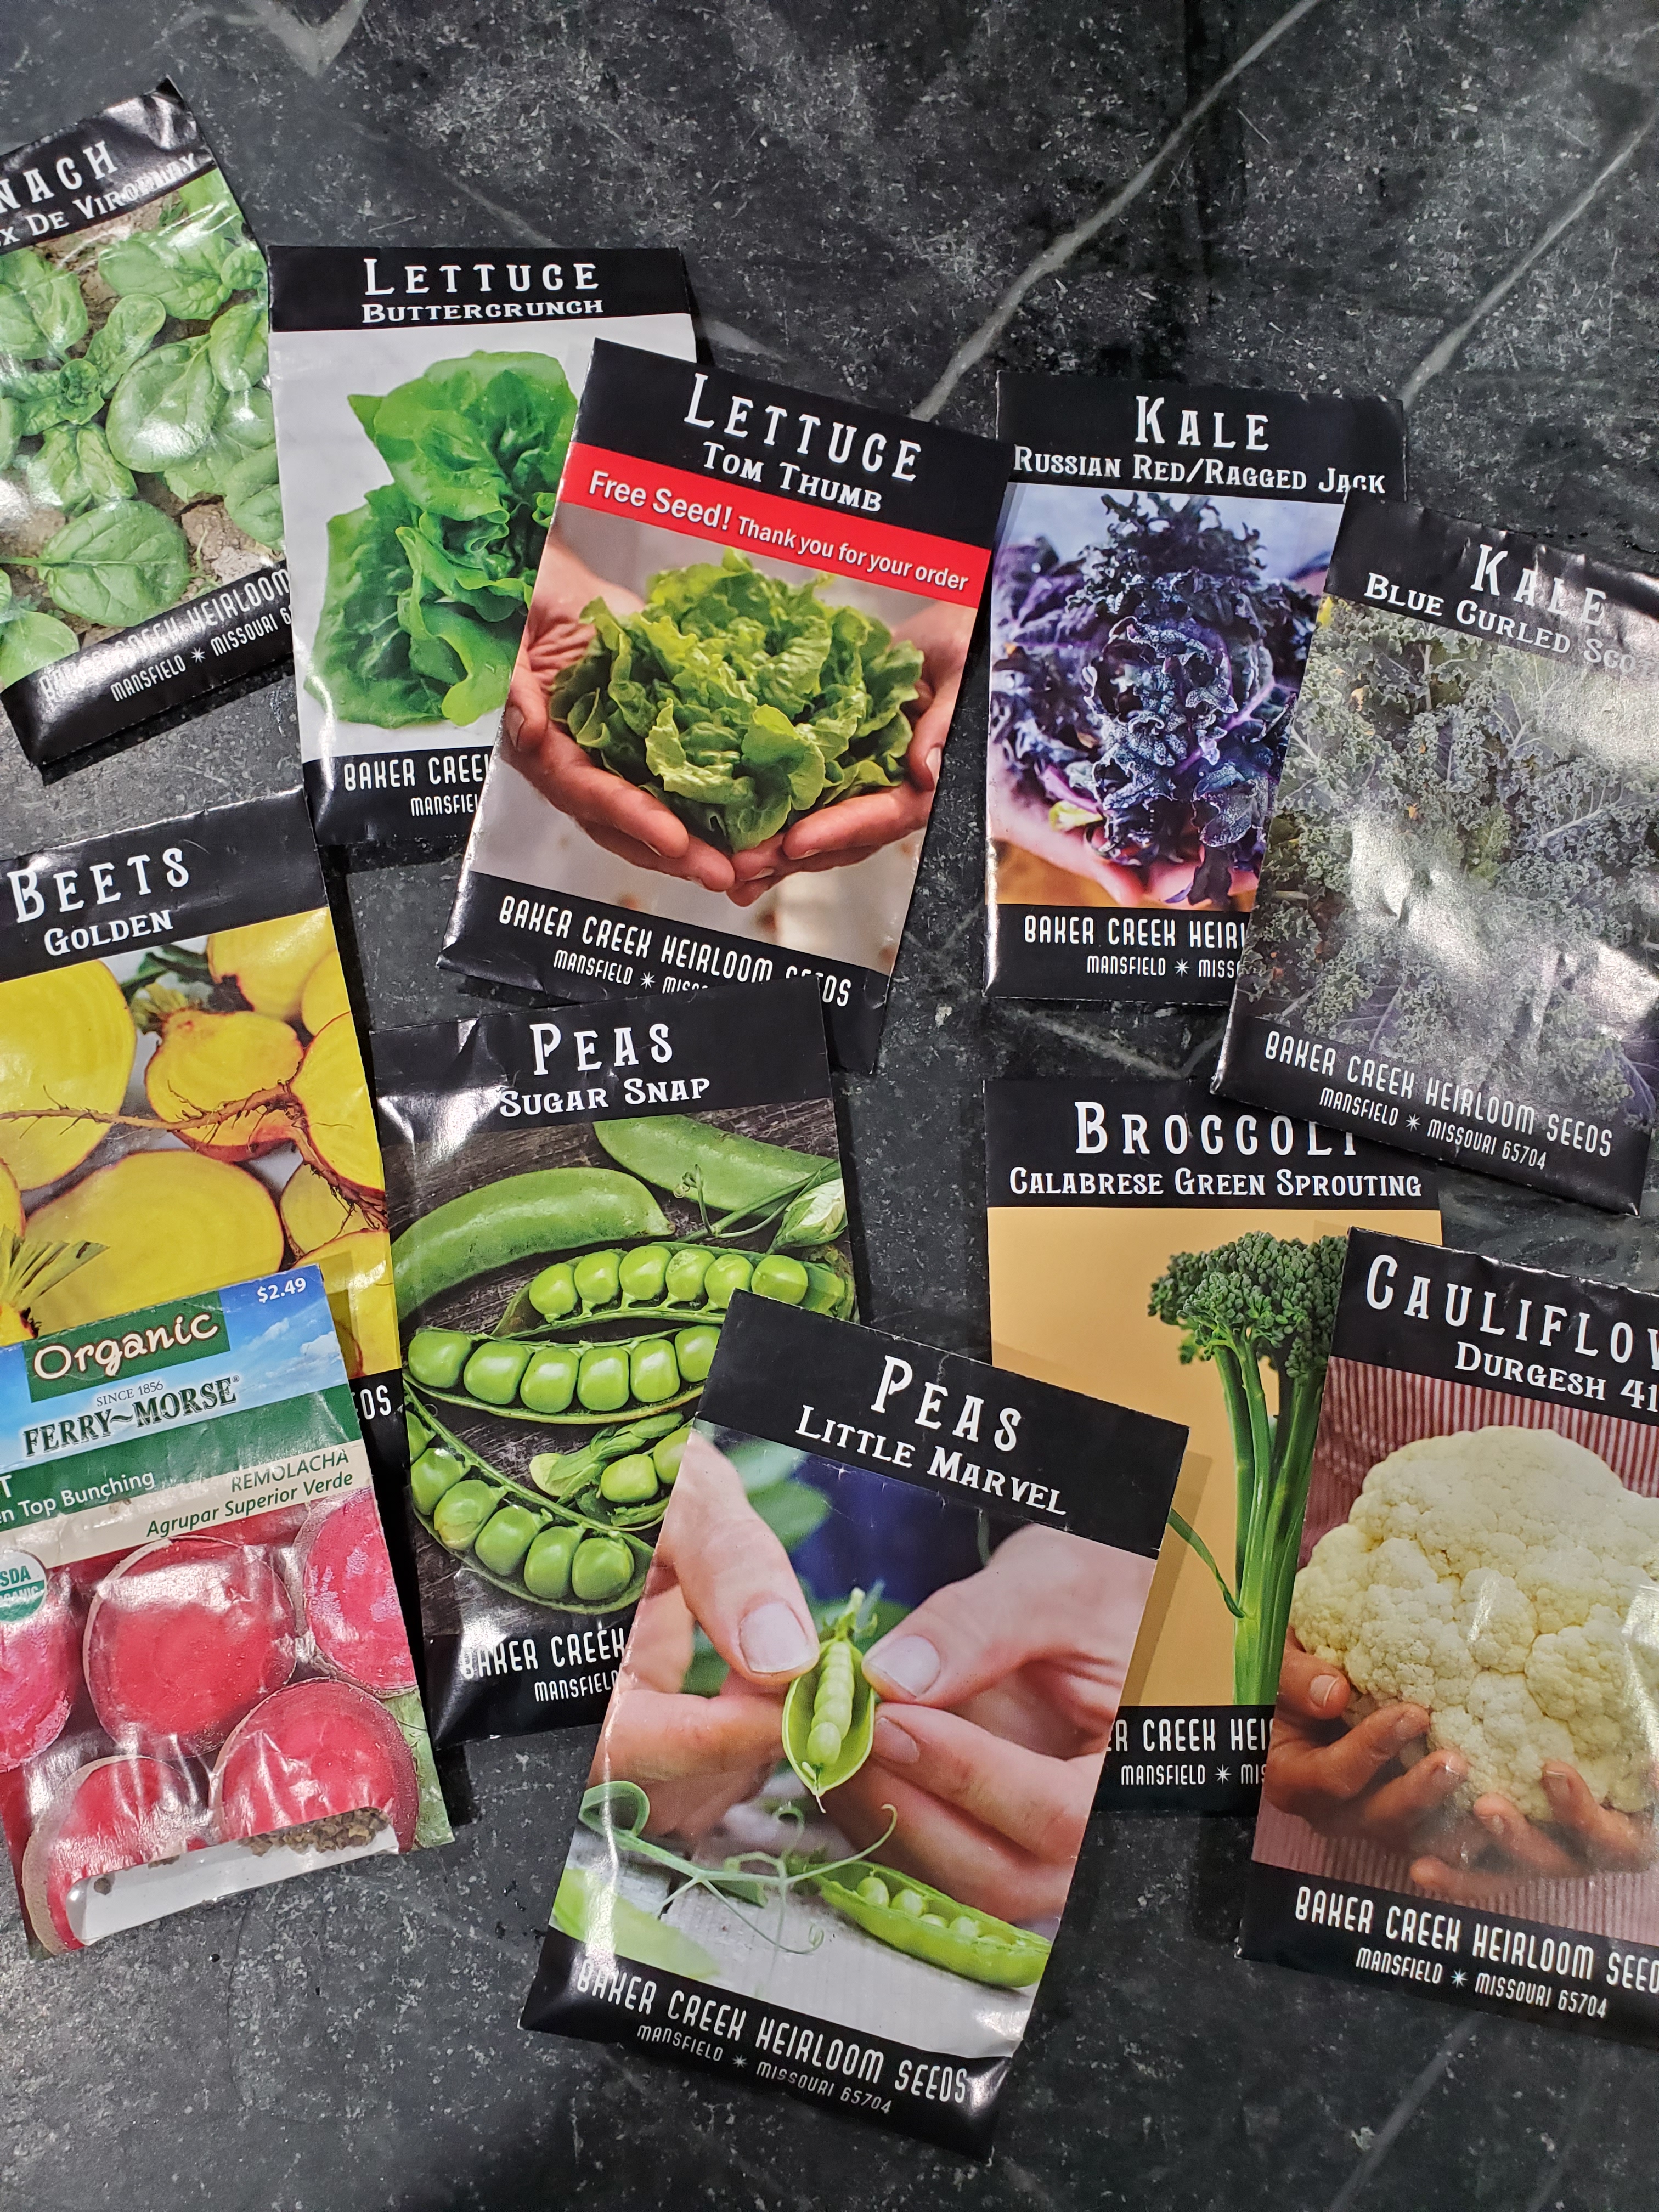
This year I’ve had the most catalogs show up in my mailbox. Ordinarily, I can’t pass up the temptation to order at least a few packs from each supplier. The glossy pages and photos are just too beautiful to pass up. But I’m pretty proud of how sensible I have stayed on the veggie front (flowers are another story so don’t ask).

While this is mostly an exciting process, it can be a bit overwhelming to start thinking about what you need to start in February and March to get the harvest you want later in the year.

To avoid the overwhelm, here are a few tips.

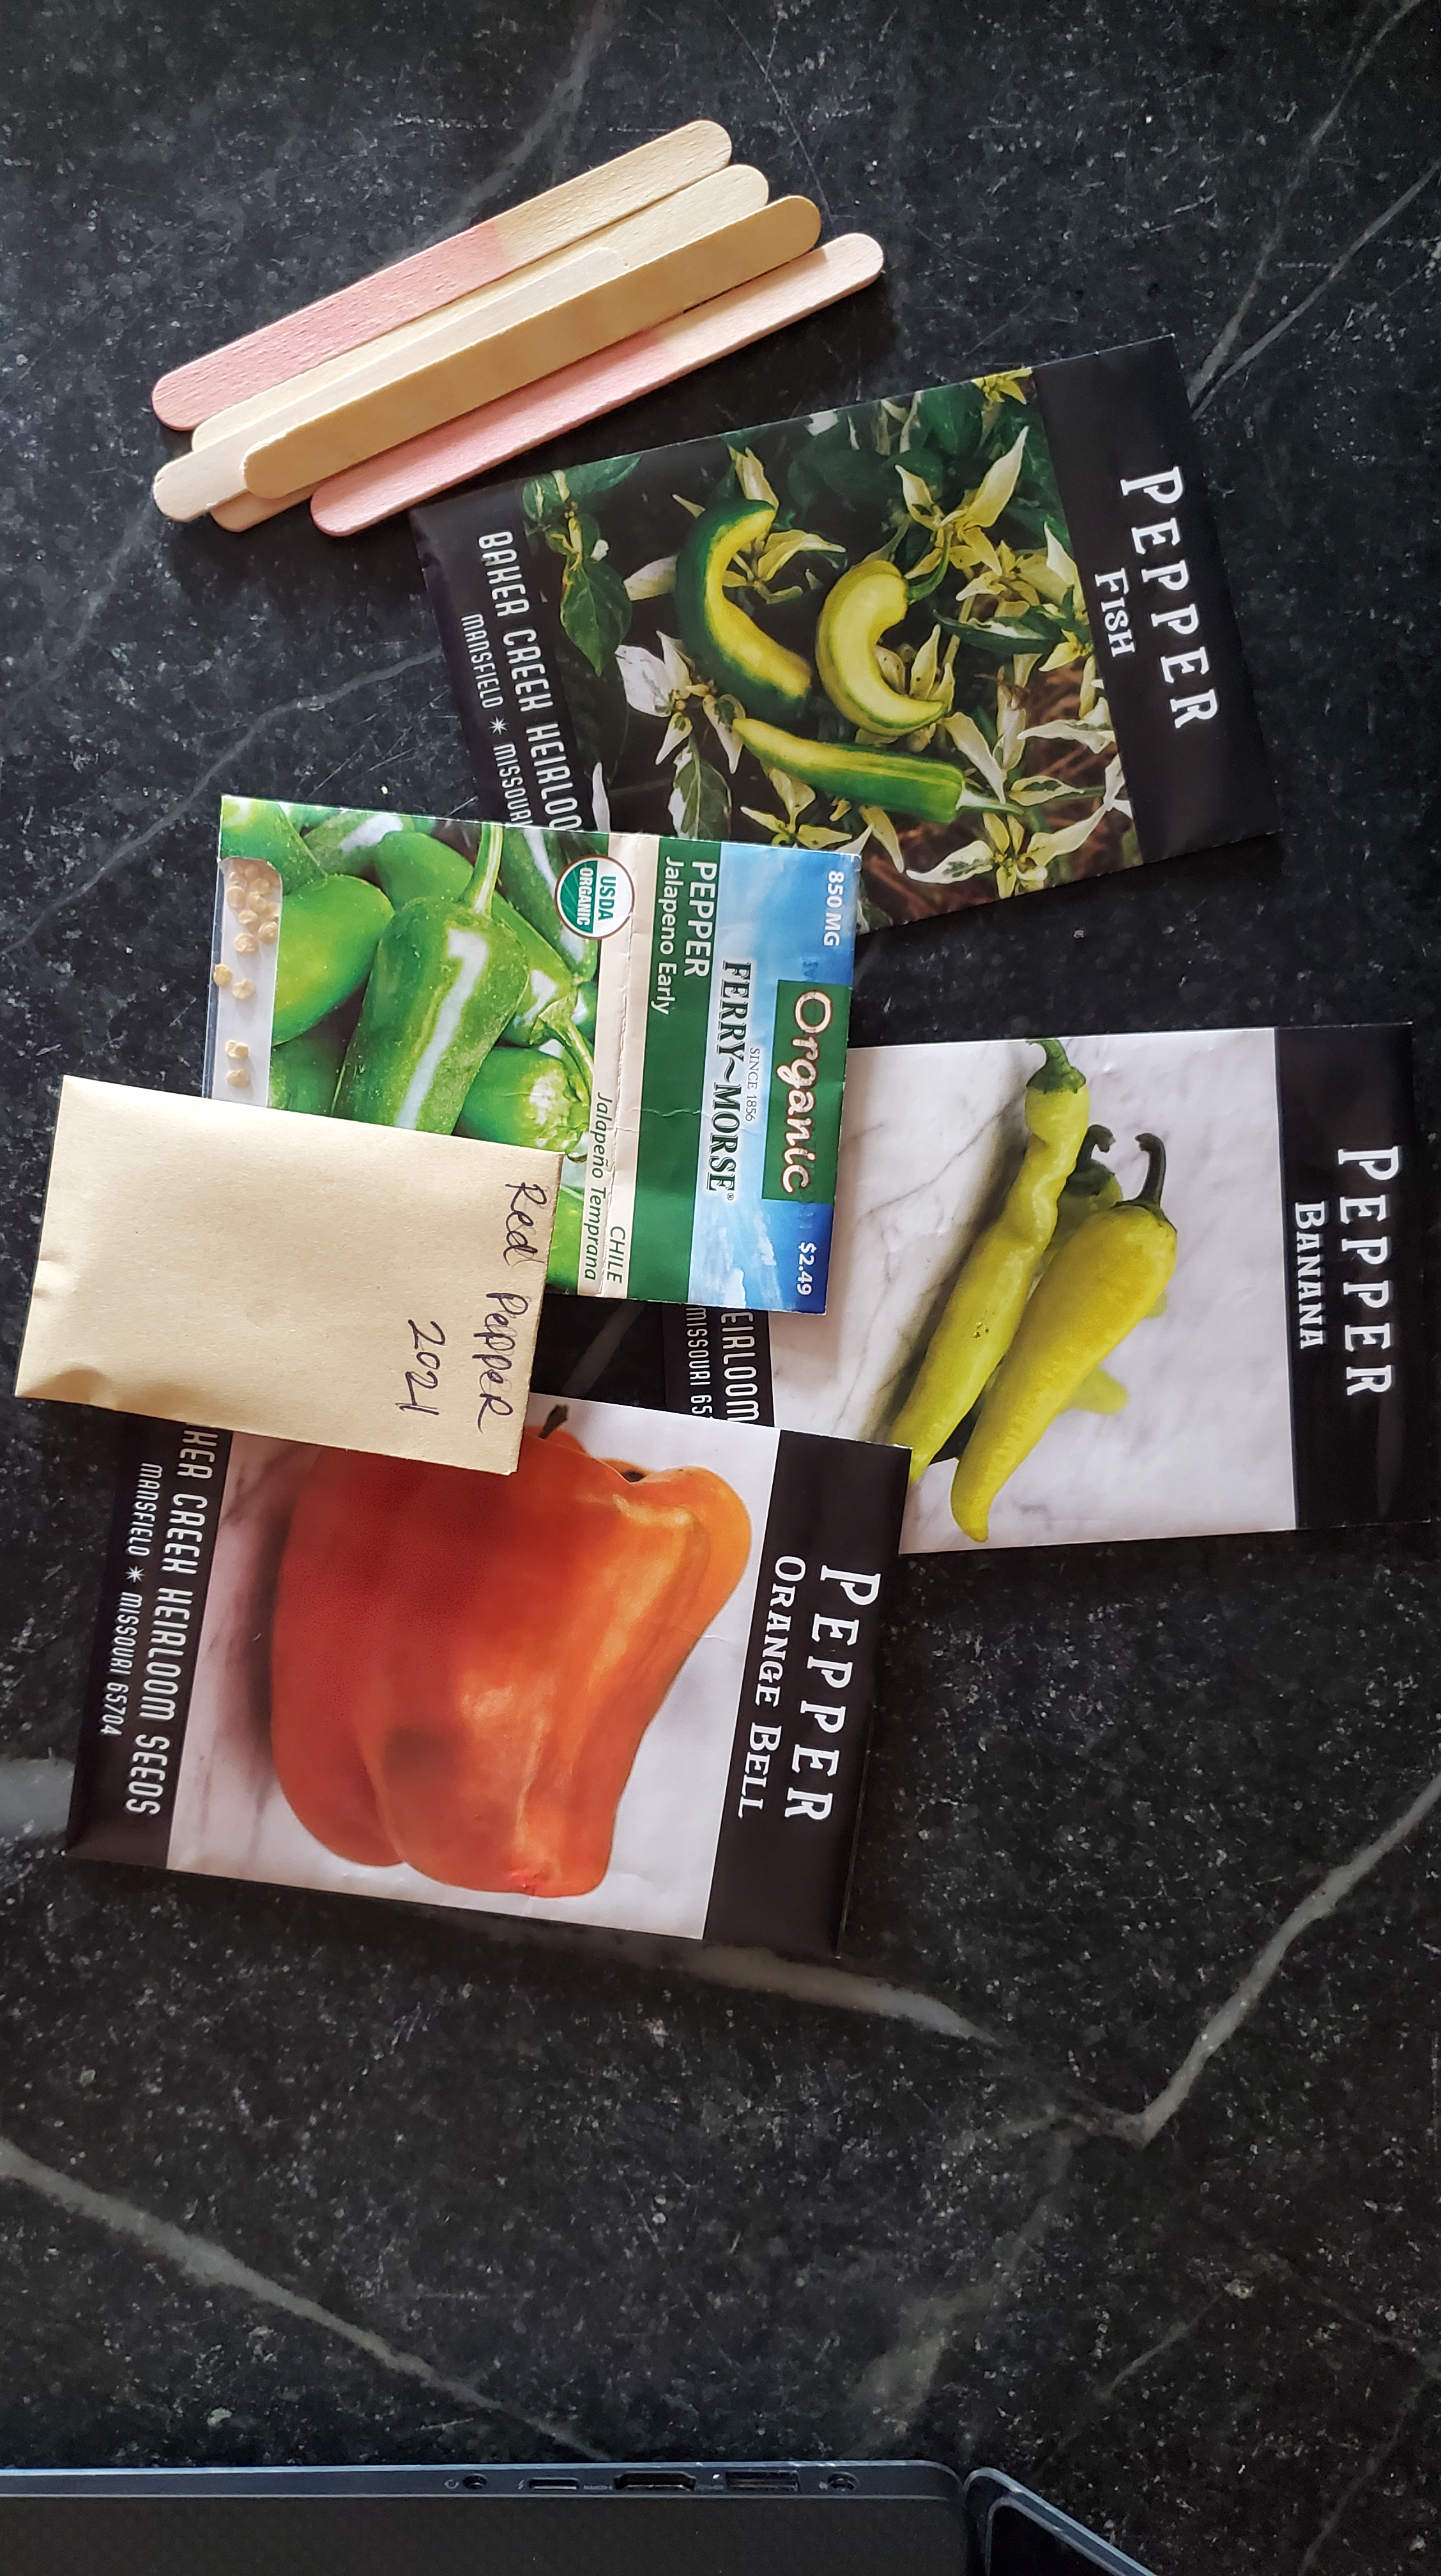
  1. Take inventory of the seeds you already have. If you aren’t keeping them organized in a photo album, binder with plastic sheet protectors, or one of these storage boxes, you aren’t doing yourself any favors. There are many different ways to organize your seeds so do whatever makes sense to you – alphabetical, cool vs warm, etc. The key here is to just do it.
  2. Discard the seeds in your compost that were a flop last year.  Flop is loosely defined in my book – didn’t germinate well, took too much effort to grow, didn’t like the taste, or any combination.
  3. Think about what produce you buy most often at the grocery store each week and over the course of a month. Could you grow any of this yourself and make a dent in your spending? My suggestion would be salad ingredients, like cherry tomatoes, cucumbers, carrots and lettuces.  You can’t go wrong with green beans, fresh herbs and leafy greens either.
  4. Try something new to challenge yourself. Go with something that should work well in your growing zone – a spicy pepper, a wonky eggplant, a crazy crucifer. It’s all learning and you may find a new favorite.
  5. Most importantly, don’t go crazy. If it helps to rein yourself in, I’d go with 5-7 cool crops and 5-7 warm crops. You want to enjoy going out to the garden every day, not dread it.

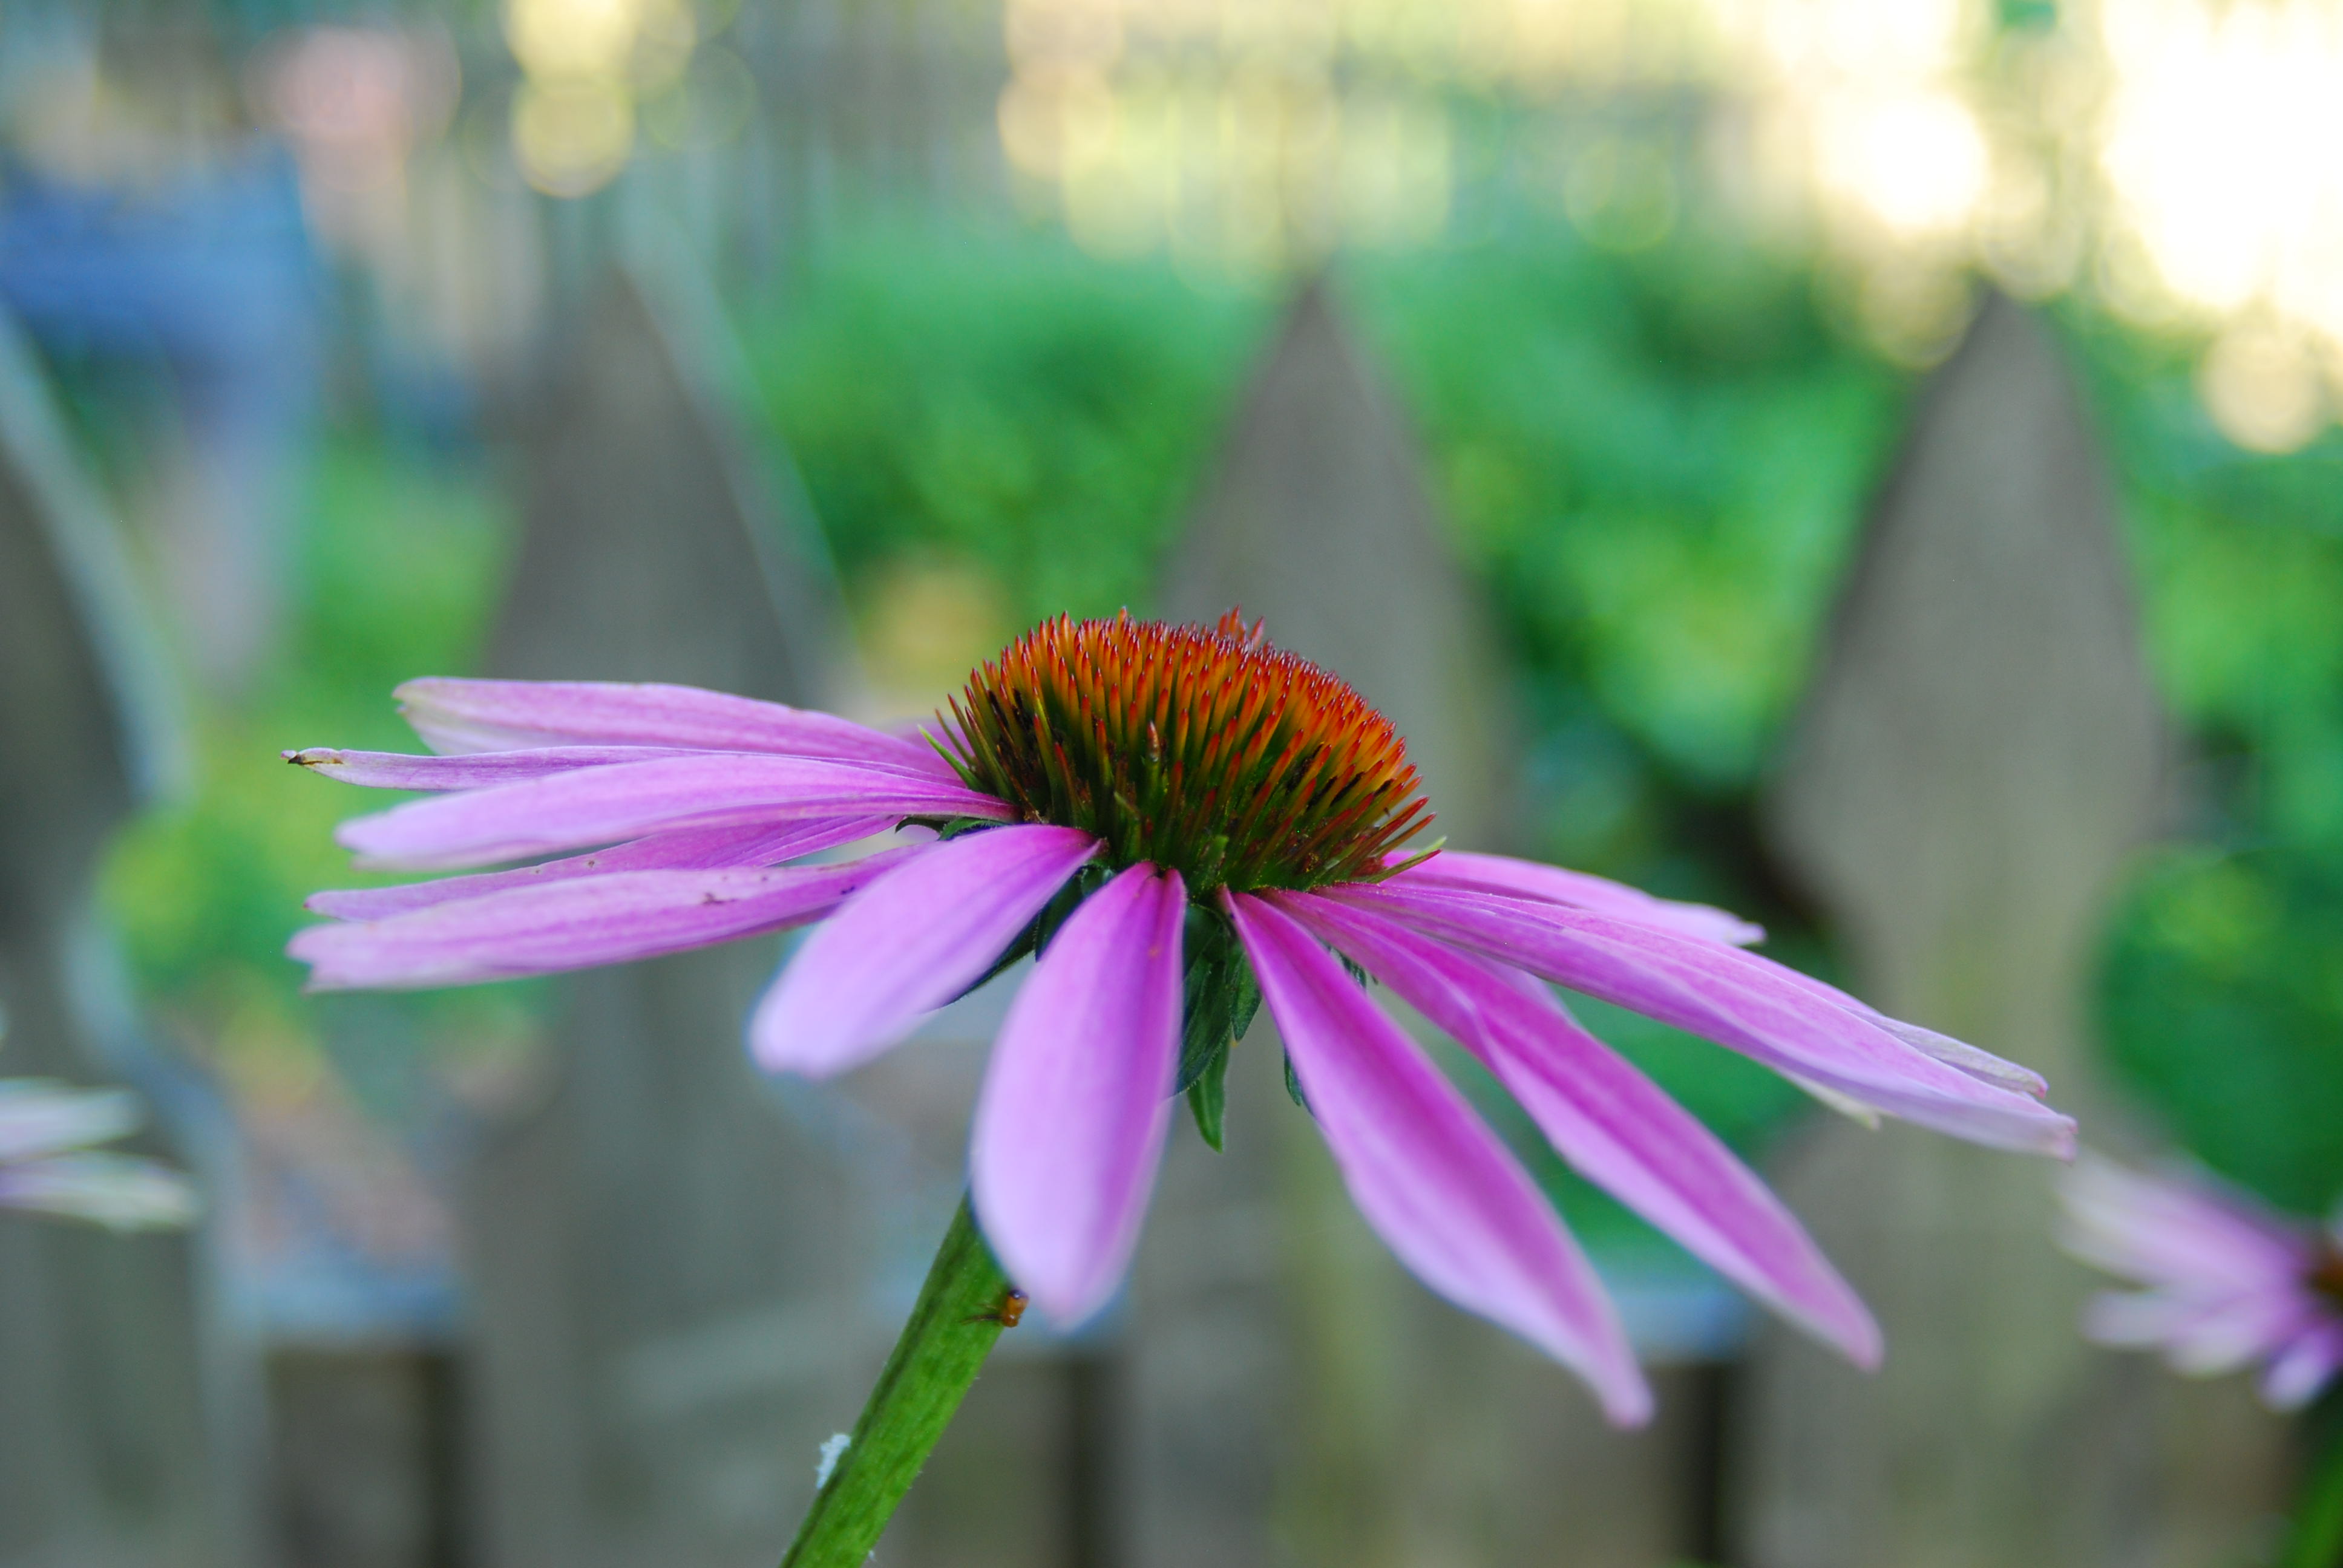
Lastly, don’t forget the flowers. You won’t regret a boarder of sunflowers, zinnias at your entrance, or some celosia as book ends on one of your beds. And the impact on your harvest will be noticeable.

For more thoughts on this, check out other suggestions and considerations to keep in mind.

Seed Starting Peppers

A six cell tray with two popsicle stick labels.

Now that you’ve made your own (#MIM) seed starting mix, it’s time to start some seeds. Yippee!

I’m in Zone 7 and last year I started my spicy peppers about 12 weeks before my LSF (last spring frost) and my sweet peppers just about 8 weeks before my LSF. It all went super well and I could do it exactly the same way again this year but as a gardener, there is always something to test. It took what felt like a really long time to actually get bell peppers that I could harvest, like late July timeframe.

That being said, I’ve decided to start both my spicy and sweet peppers at the same time – about 10 weeks before my LSF. I’m doing the same varieties as last year: jalapeno, fish, banana and bell. Maybe I’ll score some others with a well-timed trip to Home Depot and find loads of free plants in the parking lot like I did last year. And if not, I’m good with what I’ve got.

Here’s the steps to get your seedlings started:

Once you are ready to start some seedlings, I recommend keeping a notebook nearby and creating 6 columns on the page like so:

Crop/QuantityStart DateGerminationPhase 1Phase 2Phase 3
Jalapeno – 122/15 ??2/18-2/212/22-3/73/8-

You’ll want track when you started your seeds, how many, when they germinated, and the different phases of lighting

  • Phase 1 is days 4-7: 24 hours of light
  • Phase 2 is days 8-21: 16 hours of light
  • Phase 3 is day 22 and beyond: 12 hours of light

A couple other tips:

  • Your seedlings need to be in a warm place. I’ve not invested in a heat mat so as long as your seeds are indoors and your house stays around 67 degrees or warmer, you should be good.
  • Place seedlings in a location you will frequent daily. You’ll want to regularly check the soil moisture, lighting, and sing to them (ha!). If you put them in a closet or guest bedroom or hallway you never use, congrats on having a ginormous house but that likely means you are going to forget about them. They are babies. They need your constant care and attention.
  • The soil needs to stay moist until the seeds germinate. Not soaking wet but certainly damp. Then water regularly when the soil has turned entirely light brown.
  • Have trays under your seed cells. It’s best to water from the bottom so it’s a lot easier to just fill about an inch of water in the bottom of a tray (use a 9×13 casserole dish or a cookie sheets with a rim if you didn’t buy a whole fancy seed starting set) and let the seedling soak it up for about 20 minutes.
  • Your lights need to always be about 2-3 inches above your plants. If the light is too close, you can dry out your plants and even burn them. If the light is too far, the plants will get leggy from stretching toward it.

Don’t stress. It may feel like a lot of work and babysitting this first or second go around but you’ll get the hang of it. I mess with my seedlings about 5-10 minutes a day. Well worth it for not having to buy them at the store. But if you do kill them, hey, you can always buy them at the store 😊

Seeds and Trees

If you’re anything like me, you’ve received about a handful of seed catalogues or at least a dozen emails reminding and prompting you to buy your seeds. This typically starts back in late November or early December and for most of us the warm weather is still too far off to seem real so it’s easy to just page through them and dream.  But don’t make the mistake of waiting too long to decide what you are going to plant, and thus the seeds you need to buy, so that you have a good selection to pick from.  I’m already getting “back ordered” and “out of stock” notices for some of my top picks.

I can’t and wouldn’t tell you what to buy or not buy – that’s a very personal choice. I did write a post about this two years ago that gives some questions to consider as you put your plans together. Your plans don’t have to be set in stone yet. They can be rough lists on a notecard (warm weather vs. cool weather crops) or drawings scribbled on a scrap paper of your garden space. You are just going for a general idea of what you want to plant and where. [Mom comment: that’s where doing your “lessons learned” and notetaking throughout the season really comes in handy because you have already identified what worked and didn’t and what you want to do differently this season.]

If you’re new to gardening (I’d say anyone who has been gardening 1-3 years is in this category), this all probably feels very overwhelming. I assure you, by years 4 and 5 it gets better. You’ll have a template, you’ll know what you like growing, what’s worth the effort and what isn’t, and the crops you are determined to figure out no matter how many times you’ve failed (Cucumbers – I’m talking to you!)

Once you’ve hit the “not so new to this” phase, I would encourage you to ponder two additional options: 1) flowers and 2) fruit trees.

Flowers, whether you think they’re beautiful or not, bring all the happy pollinators that will support your garden and bring it to a whole new level of abundance. I happen to think flowers are completely perfect. Their symmetry, colors, and textures take my breath away. And if there is anything I wish we would all appreciate a little more, it’s the magnificence of nature. Flowers and sunsets illustrate that for me time and again. You don’t have to go all out either. Pick some perennials – black eyed susans, coneflowers, cosmos, or alliums – and plant them in and around your garden space. For fun and color, maybe throw in some zinnias, sunflowers, and marigolds.

Beyond your garden, I’d encourage you to look around your space.  Do you have 10-15 square feet in your yard or a shared plot in your neighborhood? If yes, great! Plant a self-pollinating apple, cherry or pear tree. If no, what about a patio, front porch, or balcony? Then you could plant a dwarf option in a container like a Meyer lemon. I’ve chosen a few trees from Stark Brothers this year in the hopes that we’ll have a sweet little orchard going in the next 4-5 years.

Starting seeds

One of the things I am most excited to be able to do now that we have a bigger yard is garden.  Previously, living in a town home, I would say I dabbled in gardening. I’ve read dozens of articles on container gardening and truly believe it’s possible to have quite a fruitful output with window boxes and pots or whatever you can construct out of a pallet, but that never happened for me.  The plants would grow, mostly tomatoes and lettuce and a few peppers, but after picking a few fruits or veggies that was pretty much the end of my harvest. Squirrels and bunnies seemed to have a hay day with my efforts and those were the only creatures who benefited.

So now, I’m hoping to make a much more valiant effort and see a slightly more gratifying result.  For the past few weeks I saved seeds from some of the typical veggies we love to eat: red and orange bell peppers, jalapenos, and butternut squash. I let the seeds dry on a plate for about a week and then I filled two egg cartons with dirt from the garden and dropped a couple seeds into each egg holder spot (probably not the correct term).  If I recall correctly from when I bought seeds at Home Depot or Lowes, something would start to sprout within 2-3 weeks. I’m hopeful at least a few of them will grow but in case that doesn’t happen, I wanted to start early so I could try again (and again, and again).

<insert pic that I never took, just imagine a grayish colored egg carton with dirt>

For me, that’s a huge part of the beauty of this place.  It’s “wide open spaces, room to make the big mistakes” as the oh-so-wise Dixie Chicks once said (and yes, I’ve referenced them twice back to back).  While I do not consider attempting to start some veggie plants from seeds and failing a big mistake, it feels so freeing to even have the option now.  If this doesn’t work out, I’m sure there are approximately 147,000 blog posts on how to grow plants from seeds that I could read and learn from, like this on The Spruce.  But naively, I wanted to just attempt it from the simplest most basic logic that came to my mind:  

  1. “This piece of [cucumber] I’m eating has seeds.  
  2. Seeds are what you plant to grow the [cucumber].  
  3. I wonder what would happen if I just toss some of these seeds in a little bit of earth?”

I’m not convinced that I have to buy some kit that costs $59.99 to start seeds.  That just sounds like crazy talk. Full disclaimer: a few years back I asked Cactus Man (aka my husband) to buy me one of those fish tanks that grows herbs on top and he did.  Guess how many herbs I successfully grew? Pick a number between 0 and 0 and you’ll be correct.

And of course if the seed thing doesn’t work out this season, I can always buy some starter plants from a local nursery.  Not gonna be a purist who insists on growing everything from scratch. Plus, I foresee there being lots of other points along the way where I can very realistically mess this up.  Don’t get me wrong, I’m not predicting failure before I even start. I’m just recognizing that I could very well get the starter plants off the ground indoors and then plant them outdoors only to have 27 other curve balls come at me, like weather, and animals, and the soil’s composition, that I wasn’t prepared for.  

But in the meantime, I’m really eager to think about the bounty that we could have all summer long right from our own backyard.  Here’s what I think I want to start with this first year:

  • Lettuce – red leaf and romaine
  • Kale
  • Tomatoes – heirloom and cherry and whatever is good for canning
  • Spicy peppers – jalapeno, habanero
  • Bell peppers
  • Butternut squash
  • Strawberries
  • Blueberries

Biting off more than I can chew?  (couldn’t resist!) Maybe, but I’ve heard all of these are pretty standard/hearty plants for beginners.  So I’ll keep you posted.