I hope you appreciated the Spice Girls reference in this title. Who doesn’t miss a good 90s girl band? I recently had an opportunity to partake in some karaoke and not gonna lie, a Spice Girls song was on my list of contenders. Didn’t make the cut but it is a crowd pleaser. Alright, moving on…
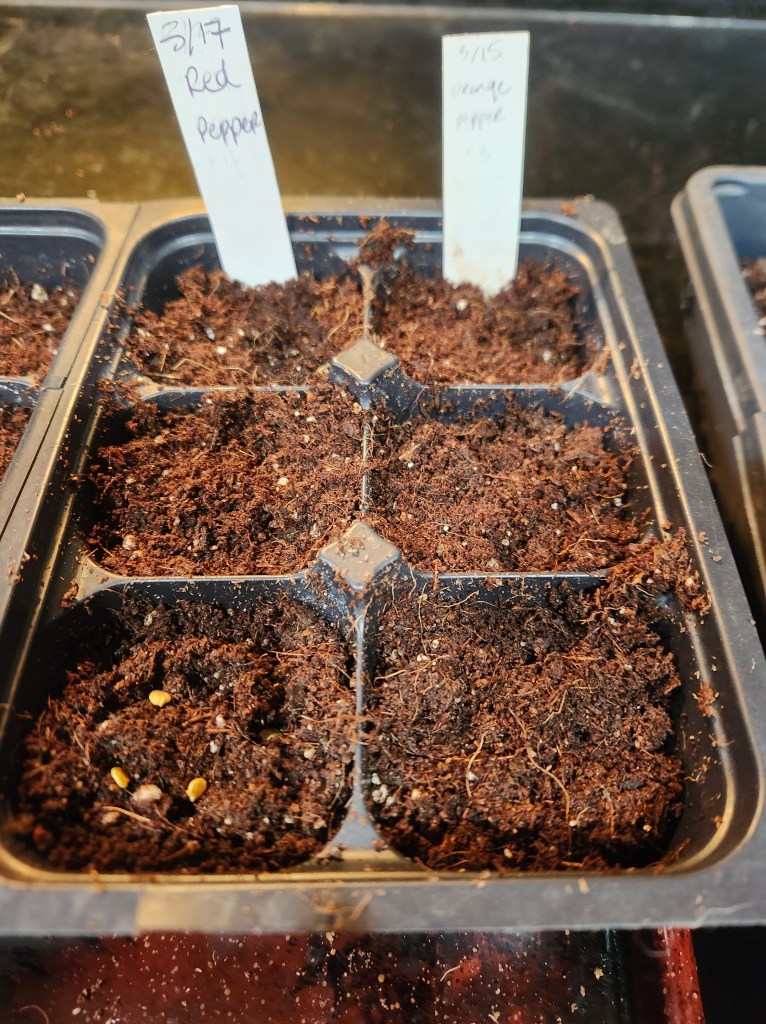
I’ve posted so many times about starting peppers that I honestly don’t think I have anything novel to add. You can read here and here about the tips and process I follow. It’s also good to remember that spicy peppers are pretty much the official start of seed starting season for me in Zone 7. Then every 2-3 weeks or so there are another couple veggies to start. I made this simpler calendar to follow that may or may not be helpful. I just found all the charts that list “start 2-3 weeks before your last frost” were not that easy to actually apply on a weekly basis. I wanted to know in biweekly increments what I should start and not have to do a ton of math every time.
If I had to list my top 5 ‘Do’s’ for starting peppers, they would be:
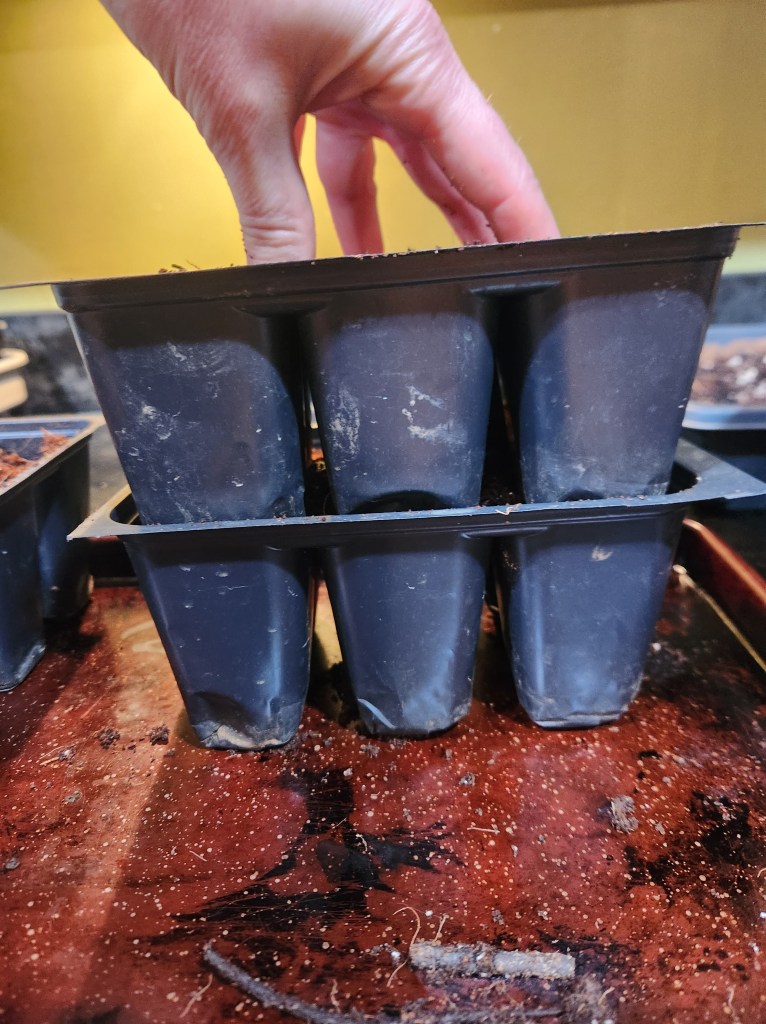
Wash your supplies well in soapy water. You don’t want any remnants from last year’s plants.
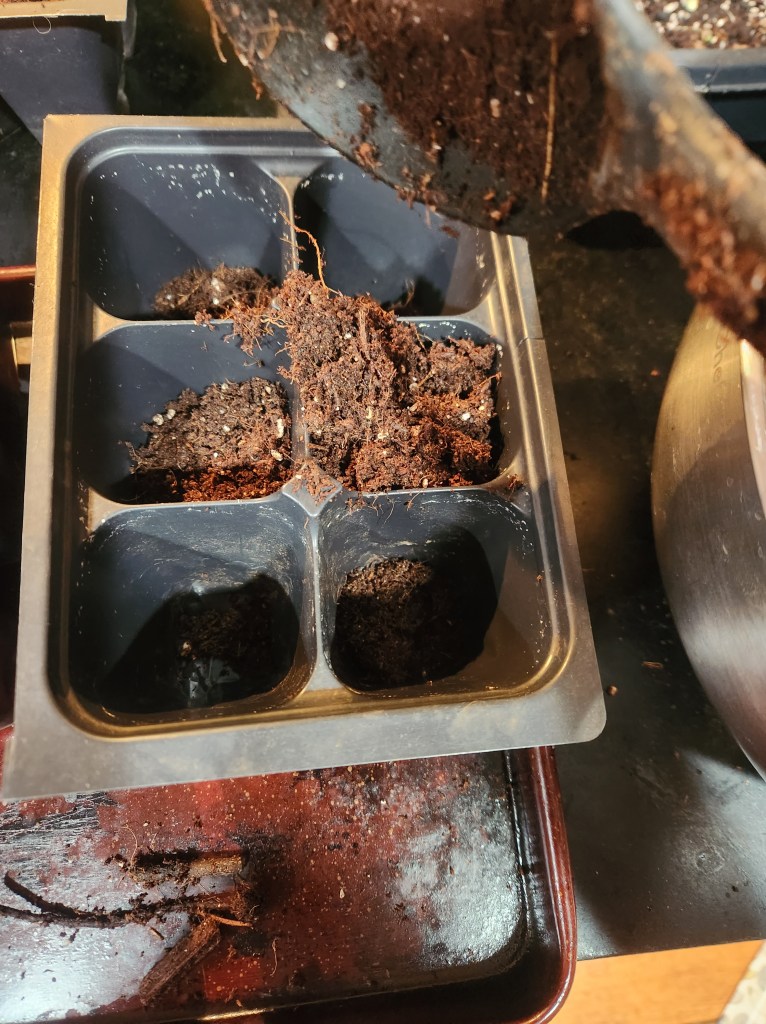
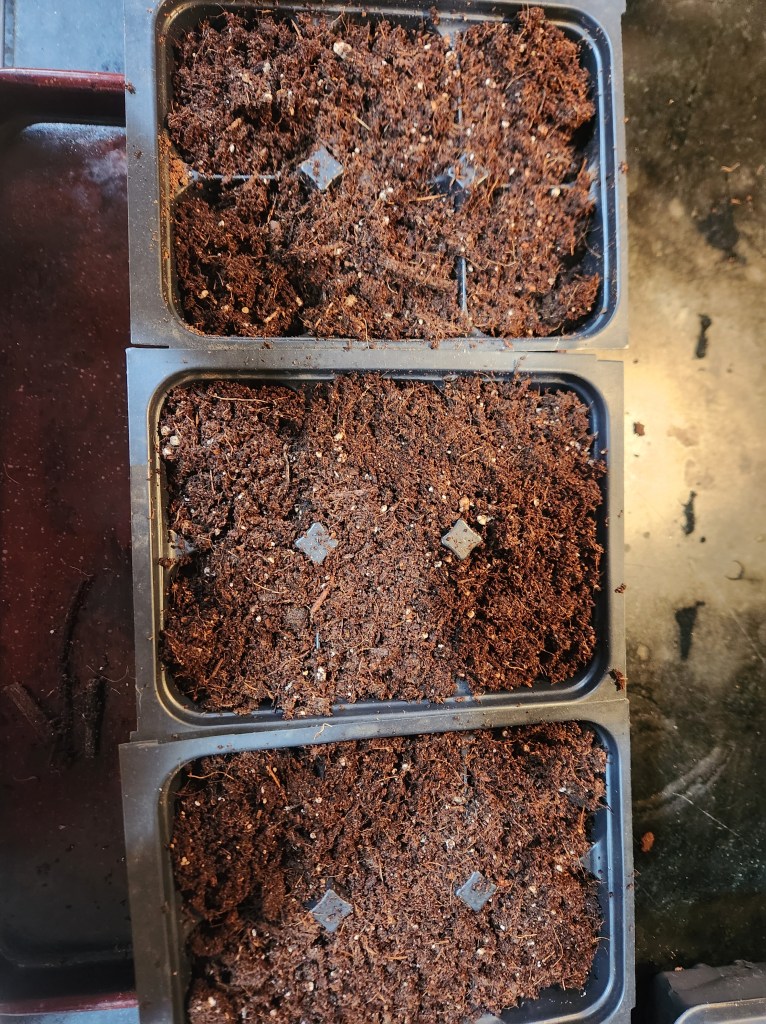
Pick a good seed starting mix. I had tons of gnats last year with the Burpee mix that were quite annoying in my home office. As much as it pains me to use the Miracle Gro mix, I’m using it.
Plant 3-4 seeds per cell to be sure you achieve your desired germination rate. It’s disappointing to plant two six packs because you want 12 jalapeno pepper plants and only 8 germinate. You can always thin them later.
After the first 2 weeks, I use a ‘feed weakly weekly’ approach. To keep track, I only fertilize on Fridays (lots of memory tricks here).
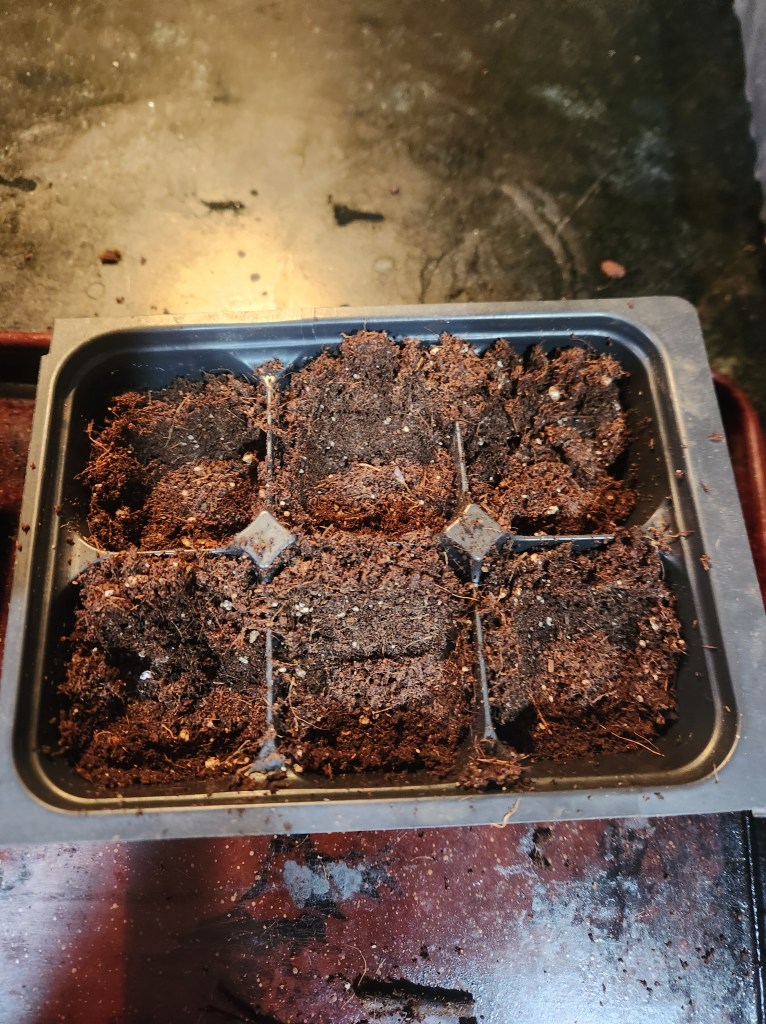
Don’t overwater. Wait for the soilless mix to be light brown before bottom watering. Fill your tray about 1/4 full and let the plants soak up as much as they can for 20 minutes.
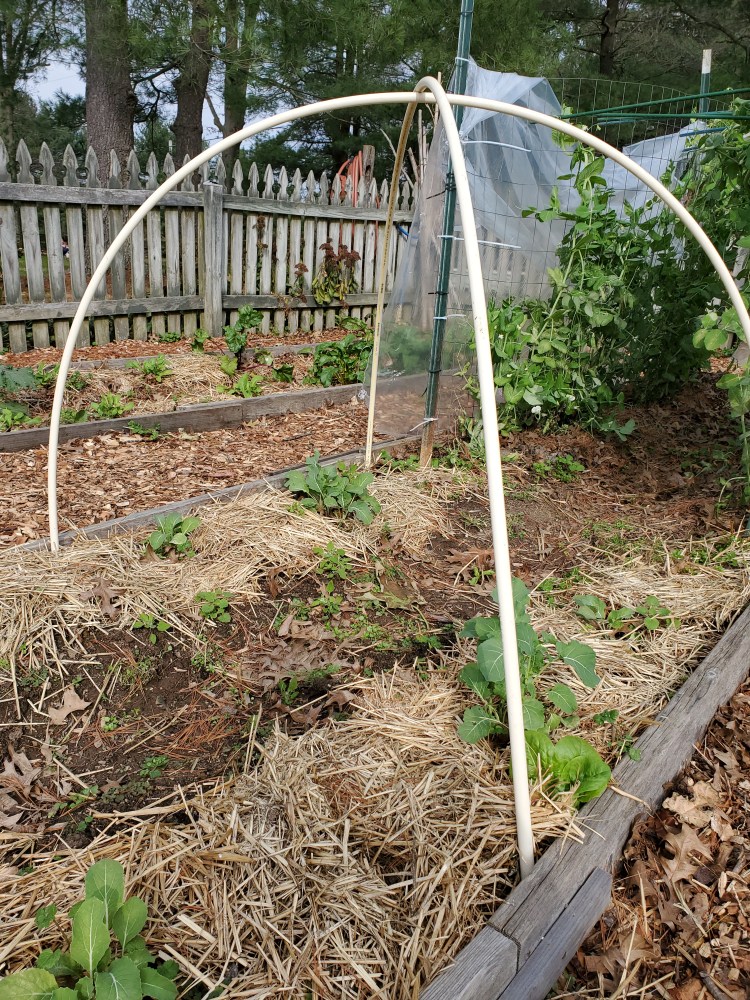
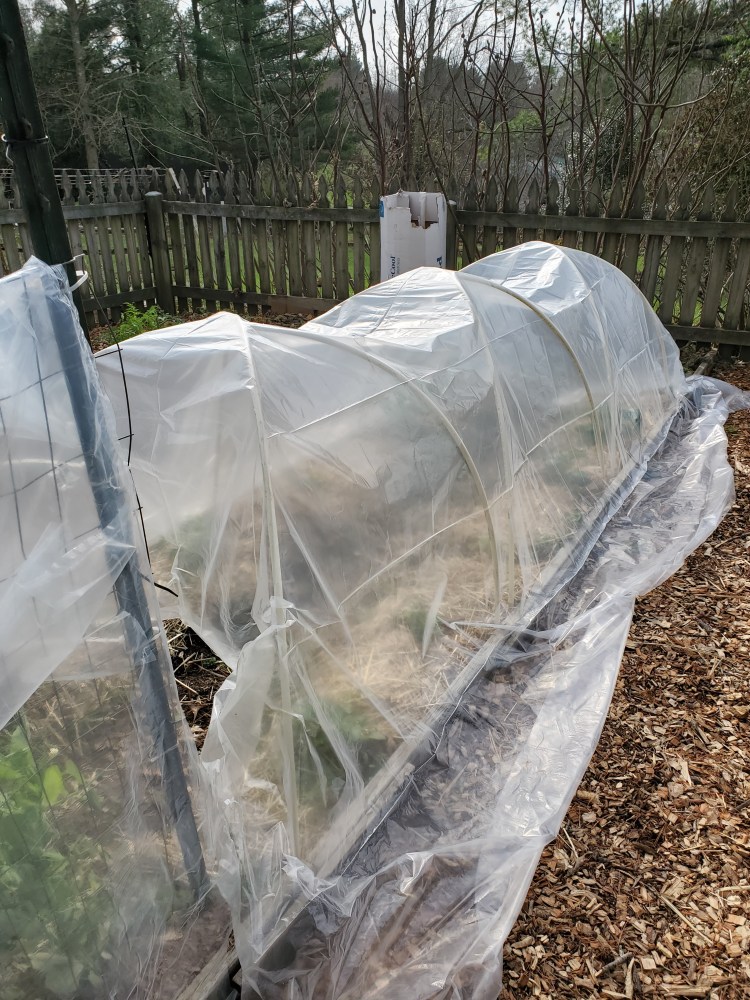
A few weeks back in discussing my fall garden, I referenced that I would be pilot-testing a low tunnel on one of my garden rows. I want to see how/if I can keep my broccoli and cauliflower growing as our temps begin to drop below freezing on a nightly basis. I wasn’t going at this from a particularly evidence-based or scientific approach and largely wanted to use materials I had on hand. One of my favorite sayings is, “when in doubt, recycle!” Ha, that’s not a saying but it should be. We have been very lucky in that the previous owners of this property left lots of tools and supplies, in addition to the fact that Cactus loves picking up “the best trash” from people’s driveways on trash day. And over the last two years I keep having creative spurts for projects that can utilize something I saw in our shed, workshop or barn.
Here is the SUPER simple approach I took:
Identify the location I wanted for the low tunnel.
Determine the size of the low tunnel – how long did I want it to be? I suggest starting small.
What did I want to use for my support structure? The sky (or shed or wallet) is the limit here, friends. You can be really creative (and frugal) and pretty much use anything – PVC, mesh fence, bamboo, tomato cages, etc.
Figure out how many supports I need. I wanted my supports to be pretty close together so that the cover doesn’t sink in as we get more moisture.
How did I need to anchor my supports? Can they go right in the ground or do they need to be fastened to something? Cactus bought me these thinking we would nail them to the boards that divide my garden rows.
What do I want to cover it with? There are (you guessed it!) lots of options on this front too, but I went with the material I had on hand.
How do I want to fasten/attach the covering to the supports? There are probably 517 ways you can attach the thermal covering but I would recommend keeping in mind that you will likely want to remove and re-attach the covering depending on the weather. You will also want to consider what sort of weather it will need to endure – wind, rain, snow, sleet, etc.
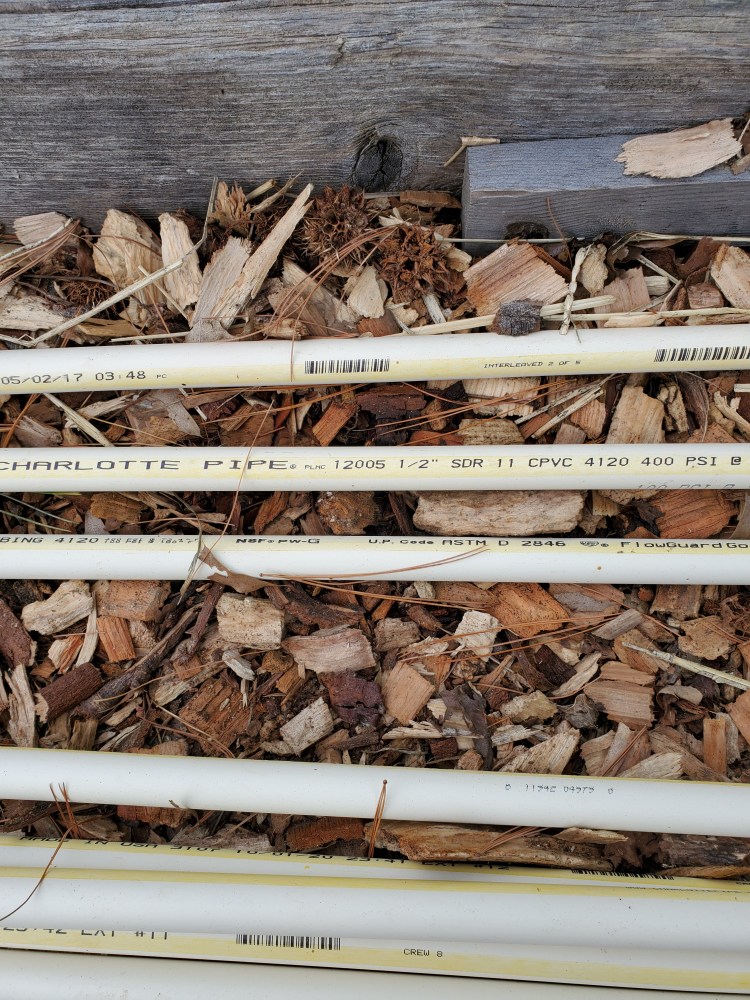
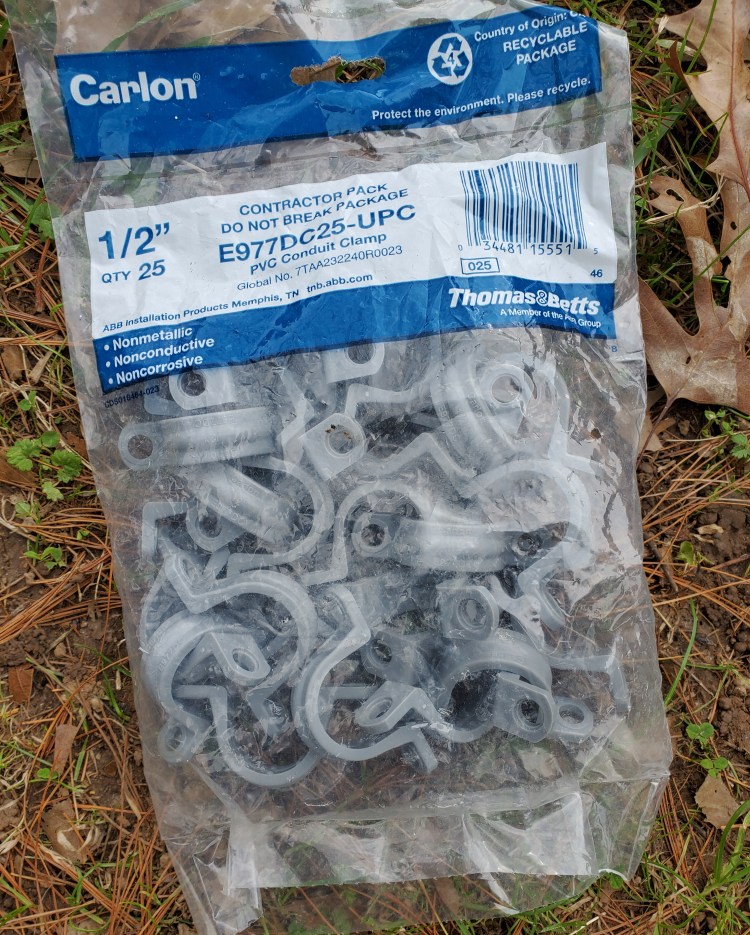
Supplies I used:
Eight 1/2” ten foot long PVC tubes
PVC clamps
Plastic sheeting
Two sets of hands
One brain (being generous 😉)
Steps I followed:
Gather supplies and bring them to my garden.
Ask Cactus to hold opposite end of each PVC line.
At this point, as we were about to attach each end of the PVC to the row border with the above clips, Cactus suggested why not just push them into the ground and see if they will be secure enough.
Ta-da, we saved ourselves the work of screwing and measuring and aligning, and were done in about 5 minutes.
We aligned the PVC pipes to make ‘X’s’ thinking that would be stronger support than individual hoops.
Overlay the plastic sheeting on top of the PVC tunnel.
Secure with your choice of tomato clips, bricks, 2x4s. I laid 3 bricks down each side.
I’ll keep you posted on how effective this little tunnel is. I’m pretty sure the plastic sheeting is not the right material, but I’m recycling an item I have before buying something new.
It’s the most wonderful time of the year (you know the tune). We’ve spent the majority of our days indoors for the last few months, with more darkness than light. And it wasn’t even a harsh winter in the Mid-Atlantic. Nevertheless, I think our bodies follow the seasons to some degree (or would if we listened to them!) so I am ready for the re-awakening that Spring represents. Grasses growing, leaves budding, flowers blooming.
Early March is when I need to start seeds for a few of the crops that need 6-10 weeks of lead time before going outdoors into the ground after the danger of frost has passed. You don’t need to do this for everything, and if you live in the warmer zones 8 and 9 of the country you likely don’t need to do this at all lucky ducks.
How do you know if you need to seed start? If you google your last and first average frost dates that will give you the length of your outdoor growing season. For example, if your last frost date is May 1 and your first frost date is October 1, you have about 150 days in your growing season which could limit the crops you can grow that need 90-120 days of warm weather or cool crops that you want to get a harvest from in the spring and fall. For that reason, it’s pretty common to seed start the following:
Broccoli – 6-8 weeks before last frost
Cabbage – 6-8 weeks before last frost
Cauliflower – 6-8 weeks before last frost
Onions – 10-12 weeks before last frost
Peas – 8 weeks before last frost
Peppers – 8 weeks before last frost
Tomatoes – 8 weeks before last frost
Growing medium to use for seed starting: it is recommended to not just go out in your yard and get a bucket of dirt. You don’t know what bugs and bacteria you may be bringing into your home. This is the time to buy a bag of organic potting soil for veggies. You can make your own using 1/3 each of compost, vermiculite and peat moss but I personally have never done that. You should also pasteurize the soil by baking it. Not gonna lie, I skipped the pasteurizing step this year so I will let you know what happens.
Containers to use for seed starting: There are tons of options for containers that you likely have on hand (I always try to re-use something):
Egg cartons – any paper or plastic egg carton will work well. There are pros and cons for each. The paper carton can be cut up and you can plant the seedling right in the ground when the time comes, but it doesn’t have a lid that light can get through. Plastic cartons essentially create their own greenhouse and are reusable. The plastic cartons will also keep moisture better than the cardboard. I used cardboard last year and will again this year.
Toilet paper rolls – since everyone ran to the store to get TP due to COVID-19 you likely have a ton of toilet paper and what better use for the empty rolls than some seed starting. Just line them up vertically in a tray and fill with your growing medium. Check out Preparedness Mama for her demo.
Berry containers – similar to the egg carton situation in that the container will create its own greenhouse effect. The only difference is that you don’t have the separate sections for each seed.
Be creative! My goal is to always reuse something. Some empty tissue boxes, a clamshell tray that figs came in, a baby wipe container, or the little cartons that mushrooms come in.
Sunlight needs: your little babies need at least 12-14 hours of sunlight. If there is a sunny window in your house that gets southern exposure for the majority of the day and isn’t too drafty, then you’re golden. If not, you probably need to get a grow light. This being my second year starting seeds, I have not invested in a big light setup. I have used a standard lamp with an adjustable neck so that I can move it closer to begin with (4-6”) and then a little further away as they get bigger (6-10”).
Now that you’re all set up, enjoy starting your seeds and get excited for the bounty to come!